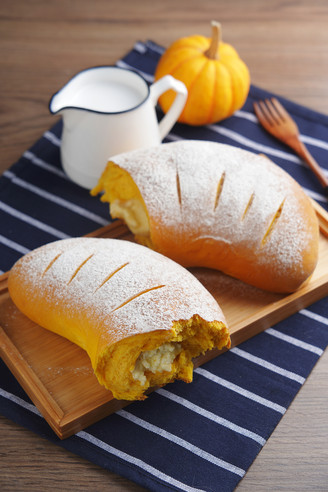
Corn Floss Buns
1.
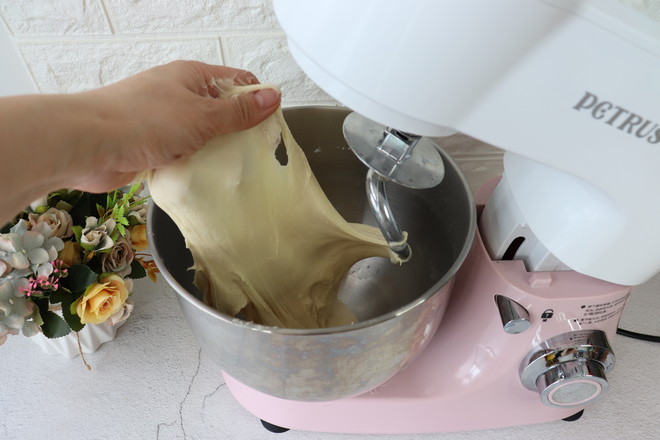
Put the ingredients except butter, salt and yeast into the cook machine, whipped until they can stretch out a thick film, knead them and put them in the refrigerator for 1 hour
2.
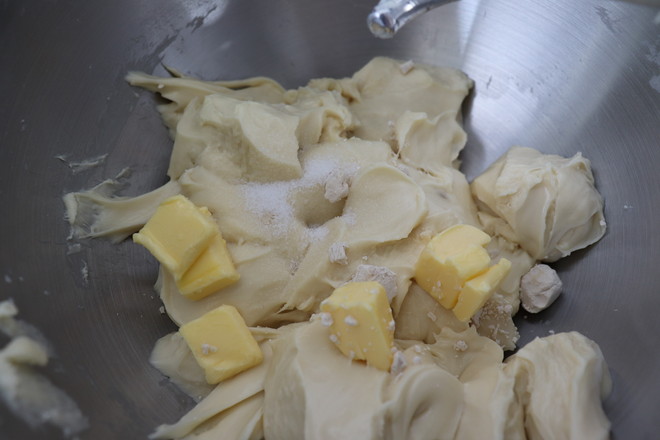
Cut the dough into small pieces, add butter, salt, yeast, and continue to beat
3.
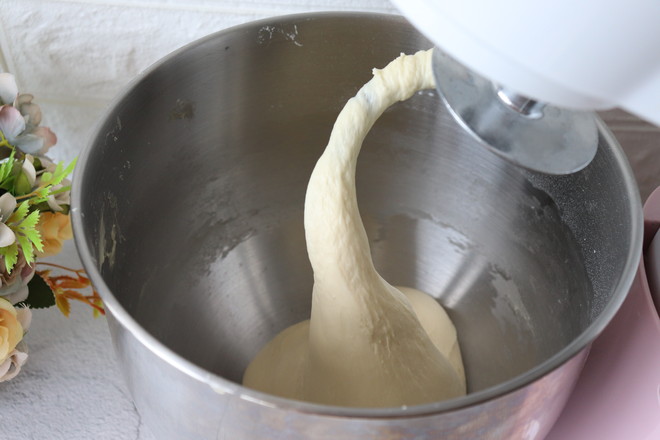
Beat until the surface is smooth, lift up the dough head, the dough will sag naturally, with good elasticity
4.
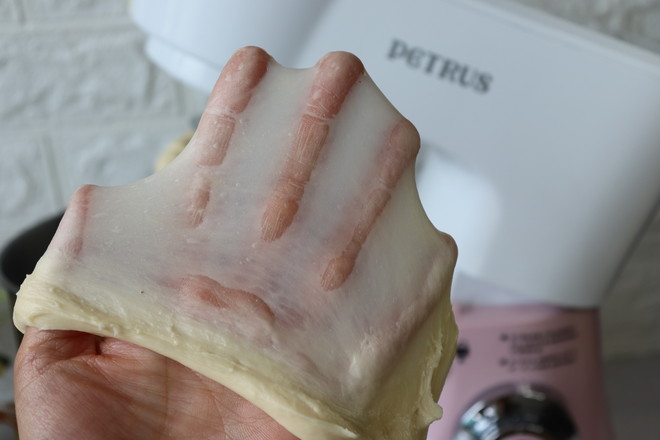
Cut out a small piece, you can stretch out a thin film that is not easy to break
5.
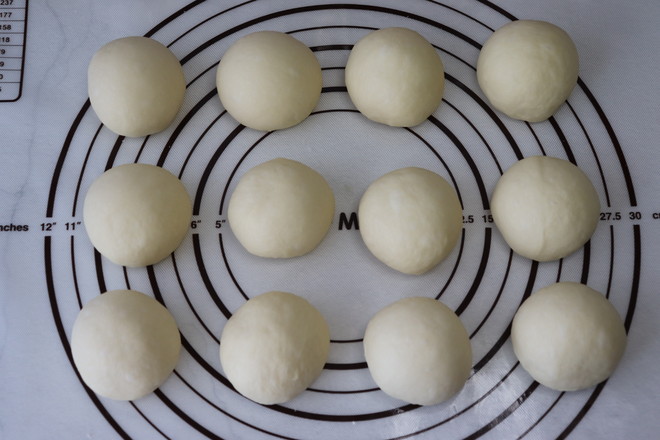
Round the dough, divide it into 12 equal parts, knead round, cover with plastic wrap and relax for 15 minutes
6.
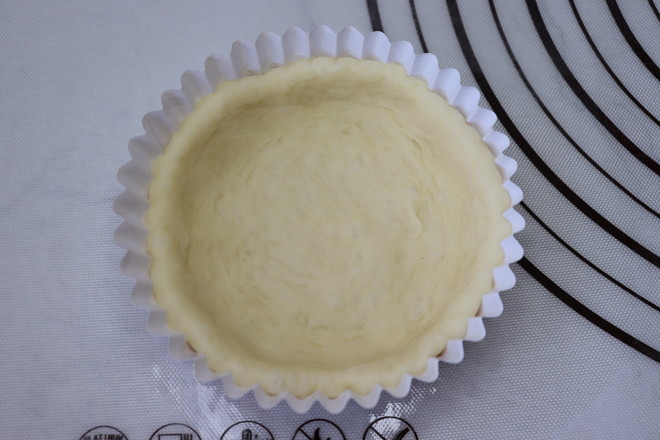
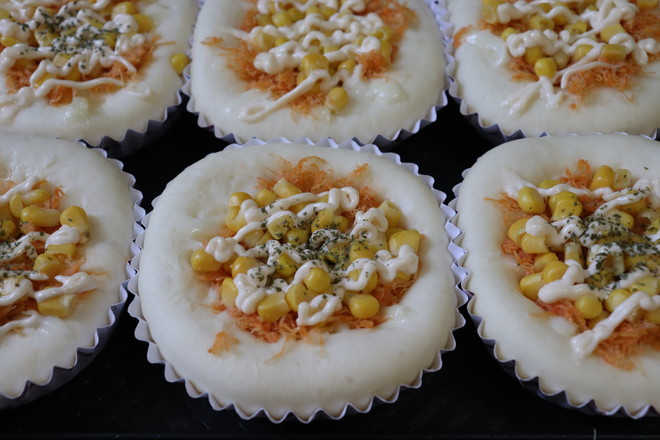
Take a portion into the coated paper tray and press it into a thin bowl in the middle and thick around it
7.
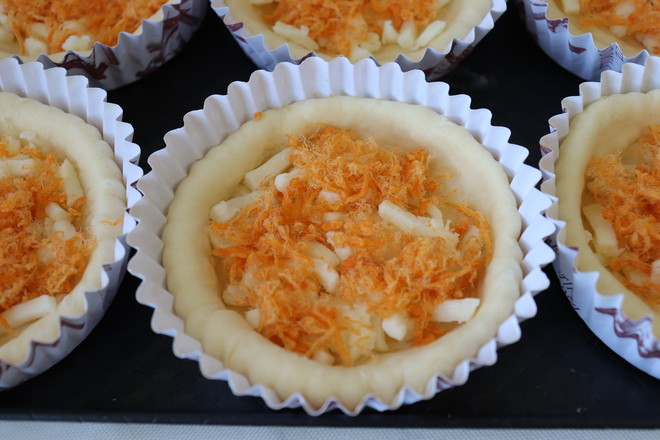
Add mozzarella cheese and pork floss
8.
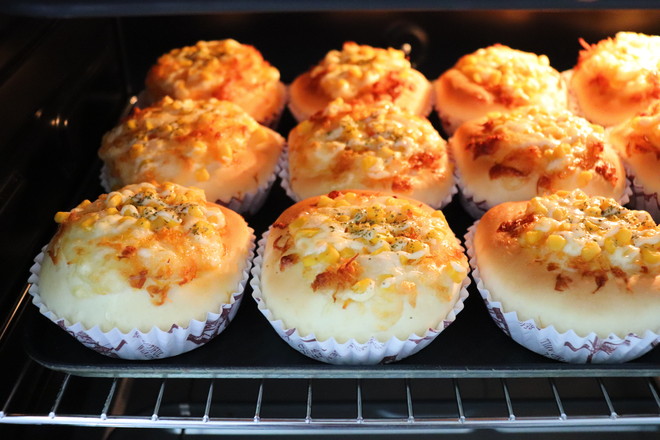
Sprinkle with instant corn kernels, squeeze with salad dressing, sprinkle with chopped parsley for garnish
9.
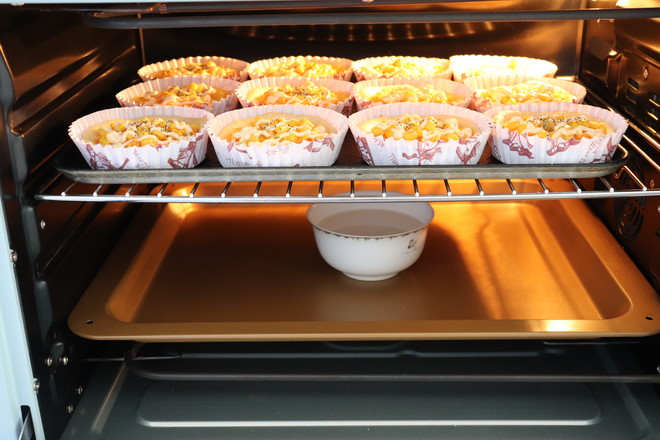
Put it into the oven to turn on the fermentation function, and put a bowl of hot water underneath
10.
Send to twice the size, about 30 minutes
11.
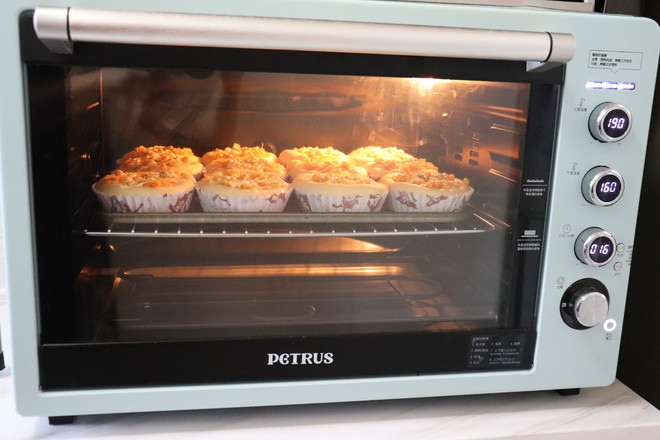
Preheat the oven, upper heat 190℃, lower heat 160℃, bake for about 16 minutes
12.
If you are satisfied with the coloring, you need to stamp the tin foil

Tips:
1. Now that the weather is getting hotter and hotter, the temperature of the center of the dough is easily increased. After the temperature exceeds 28 degrees, the finished product will become rough and not resistant to aging. It is easier to control the temperature of the noodles by taking the water method when kneading the noodles.
2. What is water law? The hydration method is to mix the ingredients except butter, salt, and yeast in the main dough into a dough and put it in the refrigerator for several hours. The dough will naturally form fascia. The shortest refrigeration is one hour and the longest one night. The longer the time, the better the formation of fascia. However, it is easy to knead after adding butter, so I prefer to refrigerate for an hour before kneading, which is easy to control the dough and not break the tendons. When refrigerating the dough, refrigerate the noodle bucket and the noodle hook together. The butter does not need to be softened, and it can be cut.
3. The 8*3cm high temperature resistant round coated paper cup is used in the article. Thanks to Fei'er for providing the formula


