Creamy Soy Milk Box
by Monkey loves food_
Favorite
Difficulty
Easy
Time
15m
Serving
4
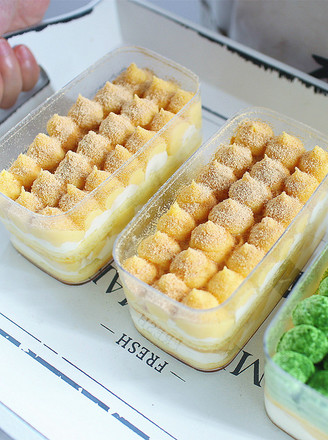
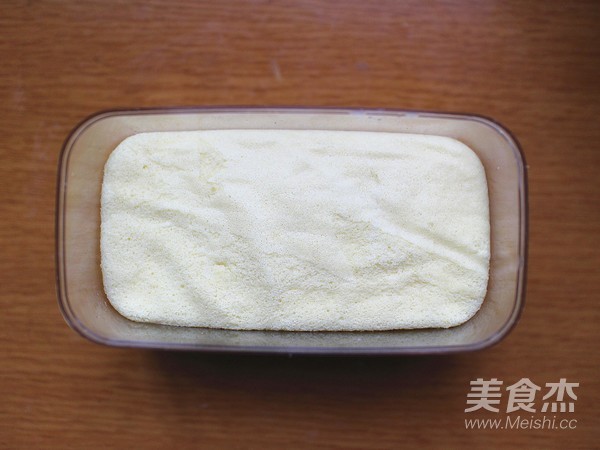
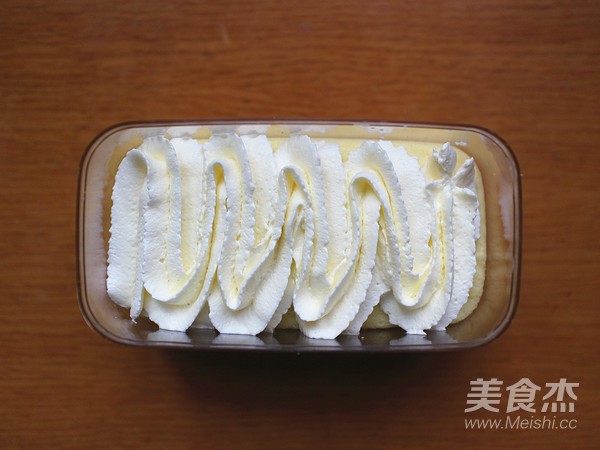
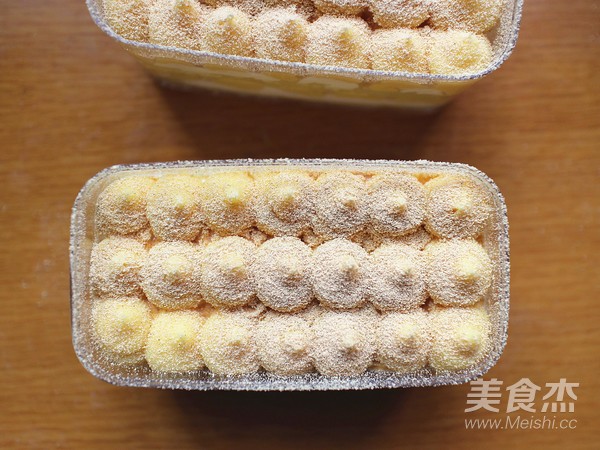
During this period of time, I have been maxing out the net red soy milk box cake in the circle of friends. Today I finally tried to make it. After eating it, I finally understand why it is so popular! The taste is really amazing, the milk is mellow, sweet but not greasy! It's really delicious!
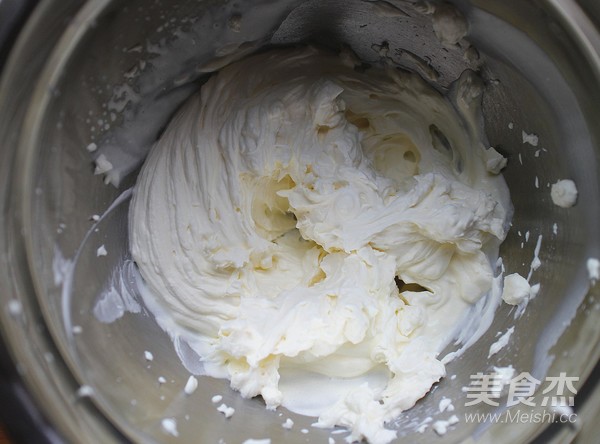
When making soymilk sauce, I use freshly made soy milk, so the finished product tastes more mellow. It is recommended that if you want to make this cake, it is best to squeeze soy milk by yourself, because almost all of the soy milk on the market is redistributed. If you use the purchased soymilk to make soymilk sauce, the taste of the finished product will be greatly reduced! But when I made this time, I replaced the cheese in the original recipe with whipped cream; the soymilk sauce made from the cream has a different texture from the cheese made, but it is also delicious! If it is mainly made with cream, it can well eliminate the excess whipped cream at home, because it is easy to leave a lot of whipped cream after it is bought and opened. In summer, it is high temperature and dairy products are particularly difficult to store, so if the home is often left Many whipped cream friends might as well make the leftover whipped cream into delicious soy milk paste like me! However, the prepared soymilk box must be kept in the refrigerator overnight to taste better!
When making soymilk sauce, I use freshly made soy milk, so the finished product tastes more mellow. It is recommended that if you want to make this cake, it is best to squeeze soy milk by yourself, because almost all of the soy milk on the market is redistributed. If you use the purchased soymilk to make soymilk sauce, the taste of the finished product will be greatly reduced! But when I made this time, I replaced the cheese in the original recipe with whipped cream; the soymilk sauce made from the cream has a different texture from the cheese made, but it is also delicious! If it is mainly made with cream, it can well eliminate the excess whipped cream at home, because it is easy to leave a lot of whipped cream after it is bought and opened. In summer, it is high temperature and dairy products are particularly difficult to store, so if the home is often left Many whipped cream friends might as well make the leftover whipped cream into delicious soy milk paste like me! However, the prepared soymilk box must be kept in the refrigerator overnight to taste better!

