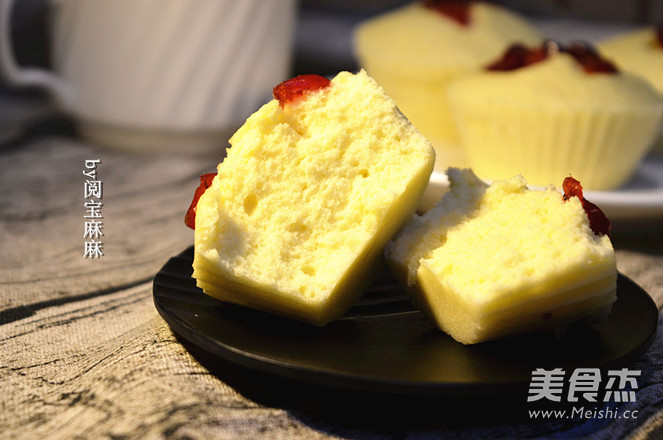
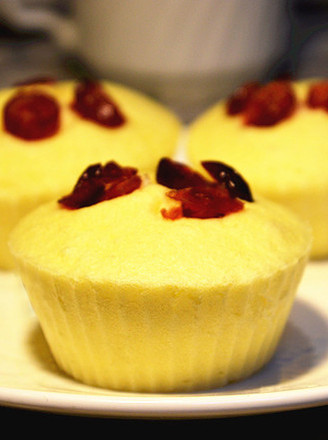
Delicious Cranberry Steamed Cake
1.
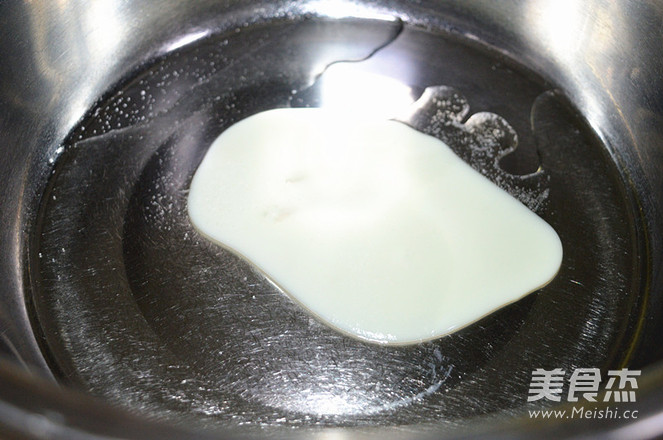
Mix the weighed salt, oil, and condensed milk for later use;
2.
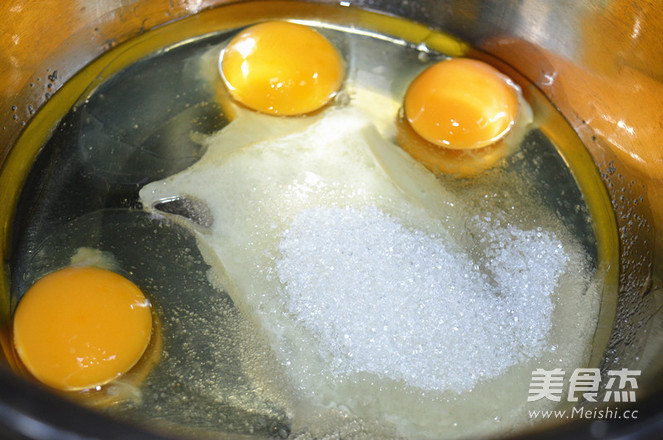
Beat the eggs in the basin, add all the sugar, and add 3 drops of white vinegar to get rid of the smell;
3.
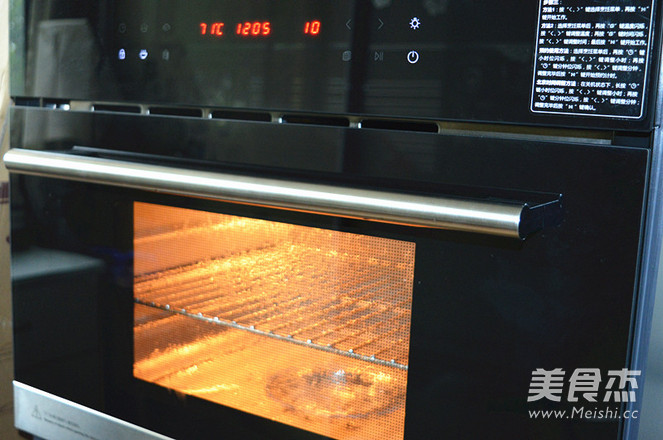
At the same time, turn on the steaming box to set the hot rice mode, and preheat for 5 minutes; (if there is no steaming box at home, the steamer can be heated directly)
4.
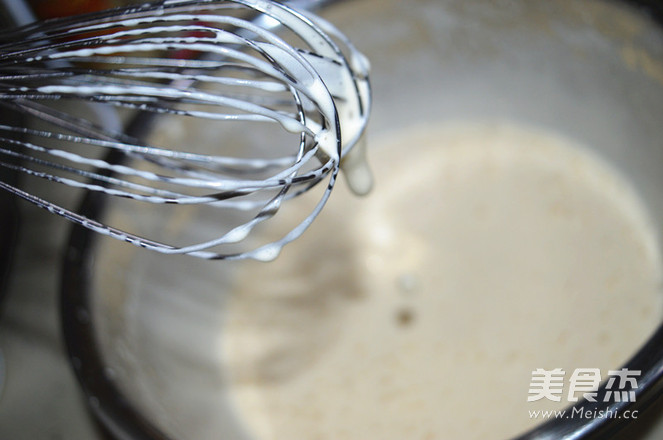
Beat the whole egg until the color of the egg liquid becomes lighter, the egg liquid will not drip quickly when the whisk is lifted, and the traces of the dripped egg liquid will not disappear quickly
5.
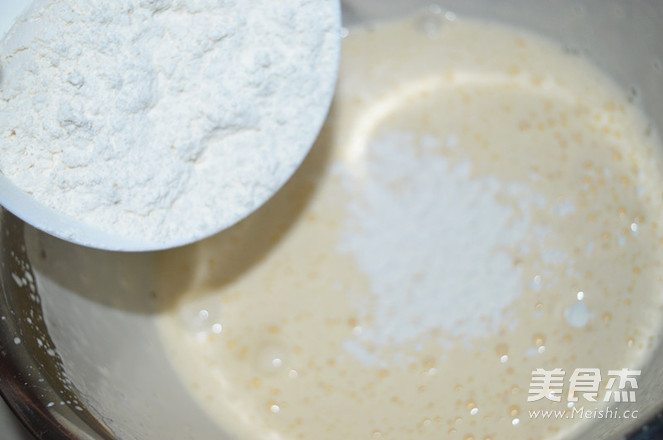
Mix low-gluten flour and baking powder, sieve twice, pour into the egg mixture, quickly stir up and down with a spatula, and pour the batter into the second step, mix and stir evenly;
6.
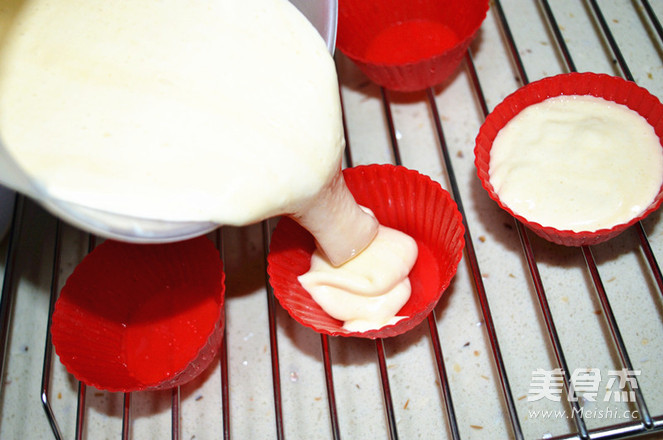
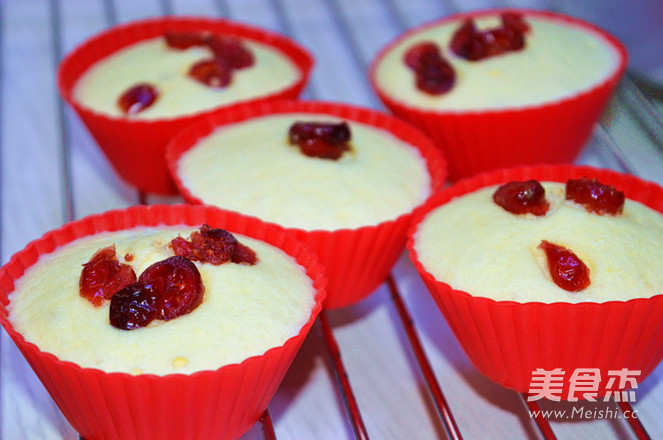
Pour the egg batter into the mold eighth-full, then pour all of them in turn, lift the steamer to make a large bubble, and put cranberries to decorate;
7.
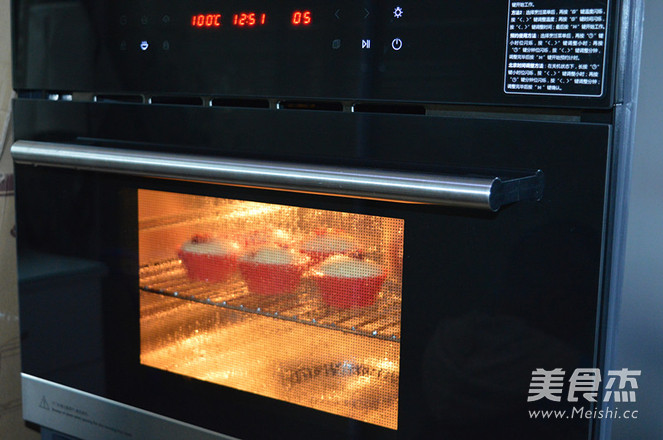
Put the mold into the middle of the steaming box, set the hot rice mode, steam for 15 minutes, simmer for two minutes, and then open the lid.
8.
Let cool and demould;
9.
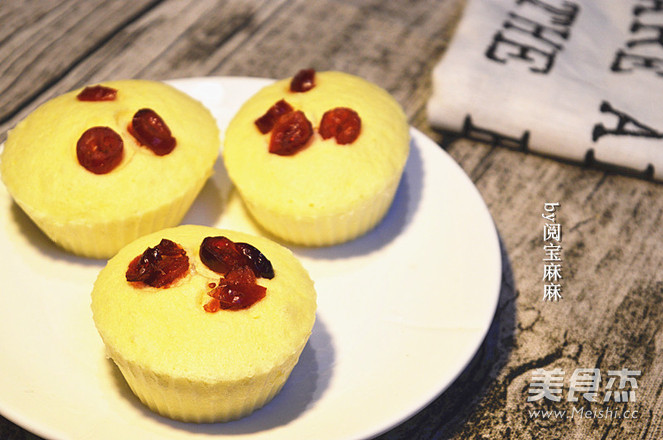
The finished product!
10.
The internal organization department is wrong!

Tips:
1. This recipe is low in sugar, add 10-20 grams of sugar for sweet-loving ones.
2. The mold can be cake molds, ceramic cups and bowls, etc., and a thin layer of oil must be brushed on the inner wall in advance.
3. It is difficult to beat the whole egg, how to beat the whole egg:
The method is also very simple, divided into 4 steps:
1. Take the eggs out of the refrigerator in advance and place them at room temperature. Then all into the egg-beating basin, and then pour the sugar needed in the recipe all at once.
2. Place the egg-beating basin in a water basin of about 50 degrees, and blow the insulated water. First, use a whisk at medium speed for 2 minutes, so that the sugar and eggs are fully mixed.
3. Then switch to a high-speed gear and beat the egg batter to milky white. At this time, the egg batter will flow down slowly when you lift the whisk.
4. Change to medium speed and continue whipping to break up the large bubbles in the batter so that the bubbles are evenly distributed in the batter. Finally, the egg batter that is successfully beaten is delicate and white. When you pull up the whisk, you will find that the egg batter will slowly fall down and will remain on the egg batter in the basin for a period of time. That is success!
Points to note when sending whole eggs:
1. Whole egg beating has strict requirements on the temperature of the eggs, so refrigerated eggs that have just been taken out of the refrigerator must not be used. Take them out and put them in advance.
2. The most suitable temperature for whole egg beating is around 40 degrees, when the efficiency is the highest. Therefore, we usually place the egg-beating basin in the hot water basin, and heat the insulated water, and the temperature of the hot water is controlled at about 50 degrees (it feels a little hot to touch)
3. The standard for judging whether the whole egg is sent successfully or not is different from that of the egg white. For whole eggs, we generally use the "8-character method" to verify whether the whole egg is sent in place. That is, lift the egg beater and draw a figure of 8 with the egg liquid falling on the mixing head. If the figure of 8 can be clearly maintained on the surface of the egg batter for a period of time and will not disappear, it means that the beater is in place.
4. If you need to mix the egg batter in the subsequent production, it is recommended that you beat it for a while after reaching the successful state, because the beaten state of the whole egg is easy to defoam, resulting in the cake growth. So playing for a while can ensure more bubbles (be careful not to overshoot~).




![Seasonal Vegetable Patties [baby Food Supplement] recipe](https://img.simplechinesefood.com/02/024b910033009872aea33017c755a377.jpg)
