Diy Sponge Decorating Cake Cup (entry Level)
1.
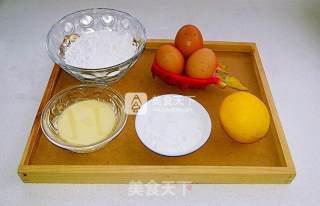
These are the ingredients needed to make cake cups (corn oil and milk can be put in a container)
2.
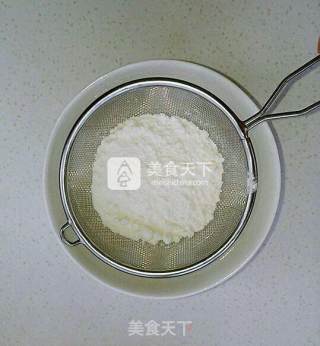
Sift the low flour twice and set aside
3.
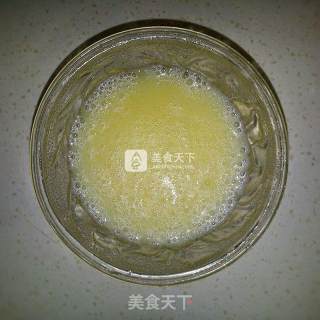
Mix corn oil and milk with chopsticks and set aside
4.
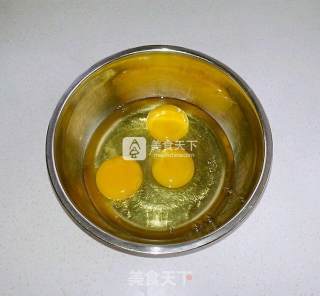
Beat the eggs in a larger container without water and oil
5.
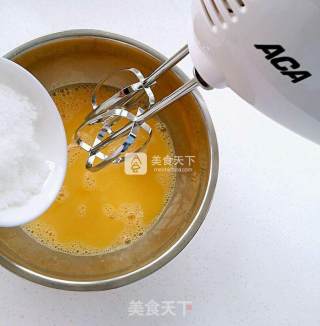
Pour in soft white sugar and beat at low speed with an electric whisk
6.
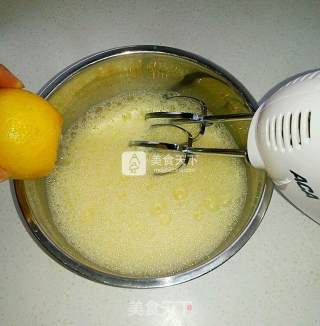
When there are many fisheye bubbles, squeeze a few drops of lemon juice
7.
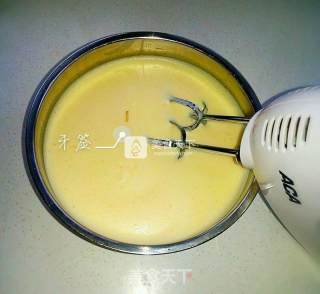
Then beat the toothpick at medium speed until the toothpick is inserted. The toothpick can stand upright, or lift the whisk head, and the egg batter will not disappear easily (at this time, the oven can be preheated, 150 degrees, 5 minutes)
8.
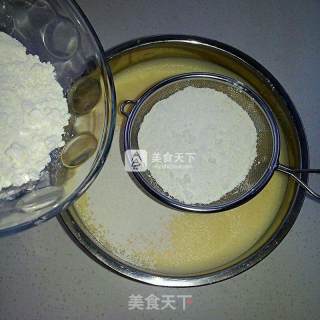
Sift into the low-powder twice, using a bottom-up mixing technique each time, and mix evenly each time
9.
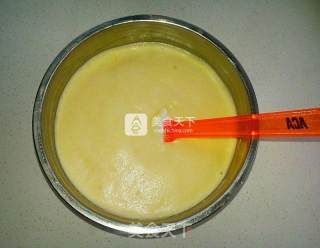
Pour in the mixture of milk and corn oil, mix it while pouring, and mix it evenly. The successful batter is very delicate and light. (Be sure to pay attention to the technique when mixing, be fast, and move lightly to avoid defoaming and batter. Tendon, the cake tastes hard)
10.
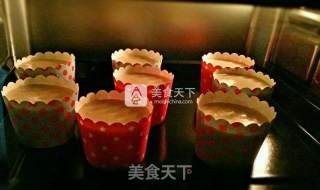
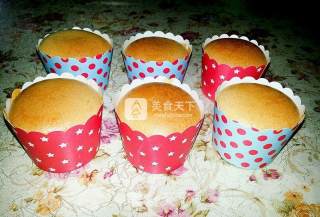
Pour the cake batter into a paper cup of equal size, fill it with 8 minutes full, shake it a few times, put it in the preheated oven, put on the middle layer, and heat up and down at 150 degrees for 25 minutes
11.
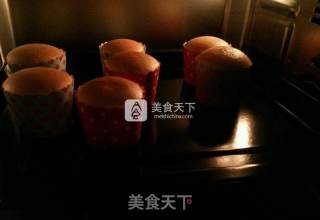
The cake slowly grows taller, which is why it was only filled with 8 points just now
12.
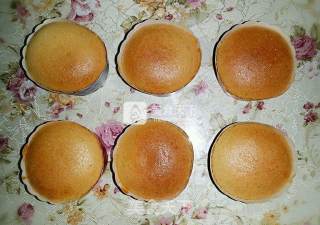
After baking, take it out and let it cool thoroughly before decorating flowers
13.
Successful cake cups have good color and no cracking
14.
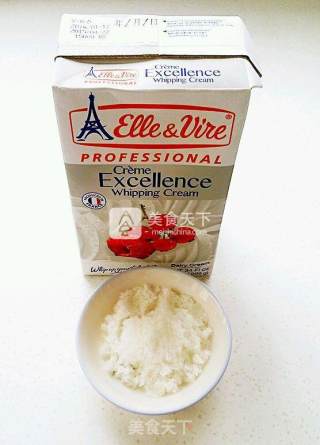
Take out the refrigerated whipped cream and prepare to whipped the cream (I chose the iron tower whipped cream)
15.
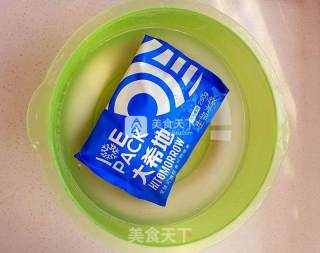
Prepare ice water
16.
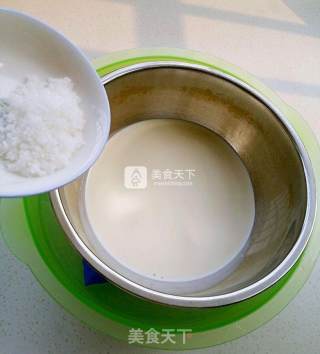
Put the water-free and oil-free basin on the ice water, pour the weighed whipped cream and sugar
17.
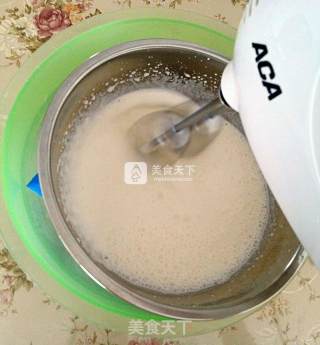
Electric whisk at low speed
18.
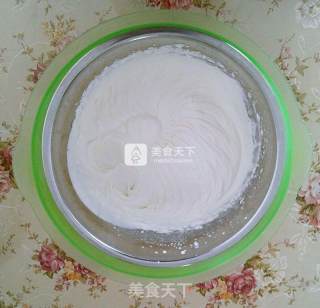
Send at low speed until the lines are clear, that is, the bowl is turned upside down. The cream will not fall off. Keep it in the refrigerator for a while
19.
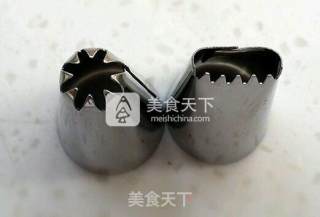
Prepare small eight teeth and braided flower basket decorating head
20.
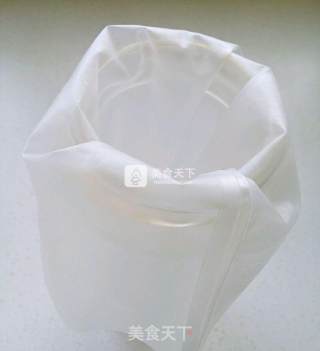
The piping bag is put on the cup, it will be convenient for filling the cream later
21.
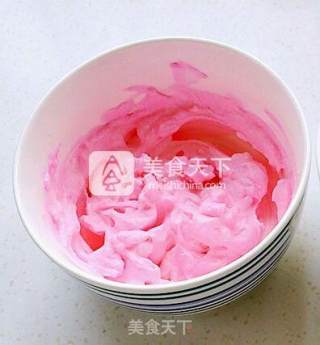
Take out the cream from the refrigerator, divide one third of the cream, add a little red food coloring, and turn it into pink
22.
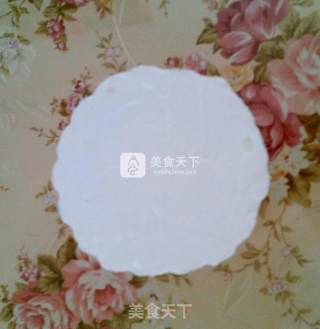
Take a cake cup, use a silicone spatula to take an appropriate amount of white cream and spread the surface evenly
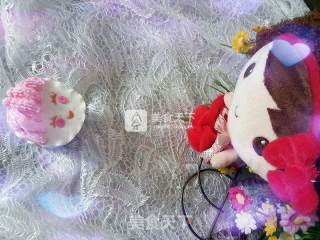
23.
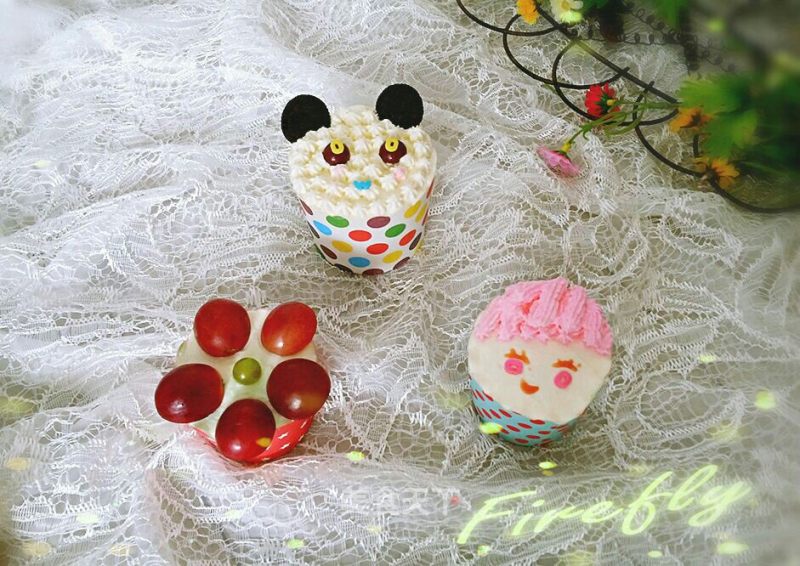
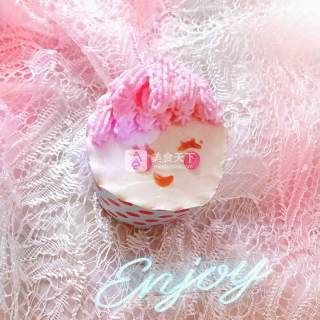
Take the pink cream and frame the doll's hair with small eight teeth, use the letter o to decorate the eyes, and take a little ketchup to draw the eyebrows and mouth
24.
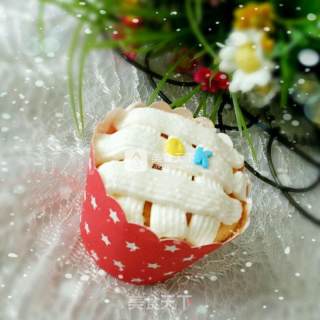
A pattern made with woven basket teeth
25.
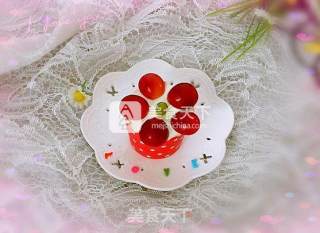
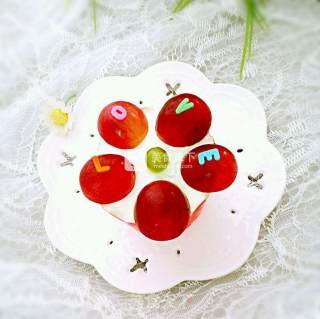
My baby's cake cup designed with red tea
26.
Move a few letters, Niu Niu Bao, let me take a picture
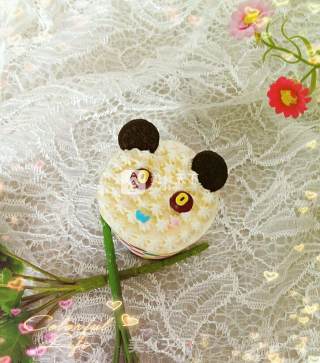
27.
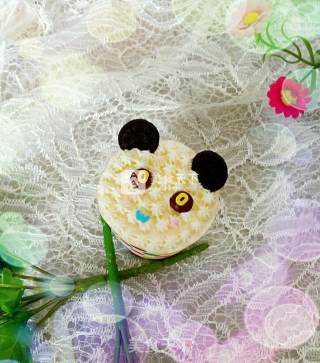
Made it with the baby. He gave his two small biscuits and made ears for the panda. I made the eyes and mouth with rainbow candy and letter pieces.
28.
A very happy parent-child activity, the baby said that we will make baking together next weekend
29.
Whispers in autumn, haha
Tips:
1. There are differences in oven temperature, you can adjust the temperature and time according to the temperature of your own oven
2. If you like the taste of chiffon cakes, you can refer to the recipe in my last recipe
3. Whip the cream as described in the above picture, and then it will become tofu residue, which cannot be decorated.
4. Whipped cream is easy to melt, and it works well at low temperature (in winter). Italian butter cream has better effect on decorating flowers, but there are always people who can’t accept the use of raw eggs.
5. In this season, you can wear cotton gloves on your hands to prevent your hands from simmering the cream. During the process of decorating, the cream that is not used temporarily should be stored in the refrigerator in rotation, and a cup is placed in the refrigerator.

