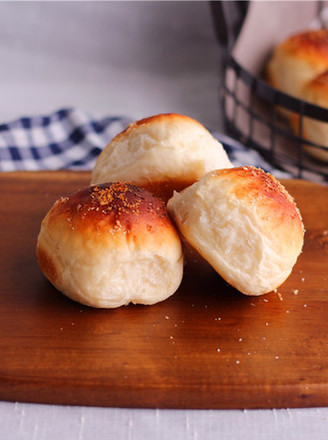
Dog Bone BreadPin this image

Dog Bone Bread

by Happy eating for cats

4.7 (1)
Favorite

Difficulty

Easy

Time

15m

Serving

3

Seeing the bones in the dog's mouth, I suddenly got inspiration and thought about making this dog-bone bread. The effect is pretty good. Give yourself praise and encouragement, hahaha. . . . . .

Dog Bone Bread

1. Put the main ingredients into the bread bucket one by one.

Dog Bone Bread recipePin this image

2. Bread machine dough program.

Dog Bone Bread recipePin this image

3. At the end of the program, take it out for shaping.

Dog Bone Bread recipePin this image

4. After being fully vented, the dough is divided into 6 small doughs.

Dog Bone Bread recipePin this image

5. Cover with plastic wrap and relax for 15-20 minutes.

Dog Bone Bread recipePin this image

6. Take a dough.

Dog Bone Bread recipePin this image

7. Roll into a drop shape.

Dog Bone Bread recipePin this image

8. Roll it out with a rolling stick.

Dog Bone Bread recipePin this image

9. Roll up from the small end to one third.
Divide the remaining two thirds of the dough into two longitudinally.

Dog Bone Bread recipePin this image

10. Cut two knives in each equal portion.

Dog Bone Bread recipePin this image

11. Set of 3 into two braids.

Dog Bone Bread recipePin this image

12. Continue to roll up the rolls.

Dog Bone Bread recipePin this image

13. Put it in a baking dish lined with greased paper, and place it in a warm place for secondary fermentation.

Dog Bone Bread recipePin this image

14. Ferment to double the size.

Dog Bone Bread recipePin this image

15. Brush the surface with egg yolk and sprinkle a little white sesame seeds.

Dog Bone Bread recipePin this image

16. Preheat the oven to 200 degrees and bake for about 15 minutes.

Dog Bone Bread recipePin this image

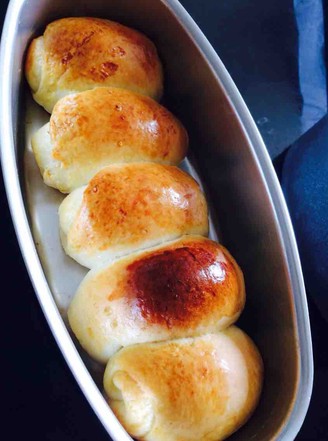
17. Finished picture.

Dog Bone Bread recipePin this image

18. Finished picture.

Dog Bone Bread recipePin this image

19. Finished picture.

Dog Bone Bread recipePin this image
Tips:

1. It is best to leave two-thirds of the egg yolk to brush the noodles before baking. The color of the bread is more beautiful.
2. Yeast should be increased or decreased appropriately according to the climate.
3. Please adjust the baking temperature according to the actual situation of your own oven. When baking, you need to observe the coloring state. The surface of the bread can be covered with a layer of tin foil in the middle of the coloring to avoid excessively deep coloring or burning.

Comments

Similar recipes

Creamy Mushroom Soup-vitamix Edition recipe

Creamy Mushroom Soup-vitamix Edition
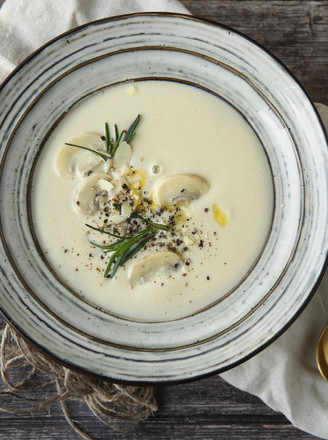
Tricholoma, Chicken Stock, Butter
Sausage and Vegetable Scones recipe

Sausage and Vegetable Scones

Low-gluten Flour, Corn, Butter
Tangzhong Milk Red Bean Buns recipe

Tangzhong Milk Red Bean Buns

High Powder (soup Type), Water (soup Type), High Fan
Steak Vegetable Fort recipe

Steak Vegetable Fort

Sugar, Salt, Butter
Stock Soup Baby Dishes recipe

Stock Soup Baby Dishes

Baby Dishes, Broth, Milk
Ham and Vegetable Pizza recipe

Ham and Vegetable Pizza

High-gluten Flour, Milk, Dry Yeast
Kfc Mashed Potatoes recipe

Kfc Mashed Potatoes

Potato, Milk, Broth
Soup Kind Milk Meal Pack recipe

Soup Kind Milk Meal Pack

High Fan, Milk Powder, Sugar