Egg Yolk Crisp (more Pictures and Super Detailed Explanation)
1.
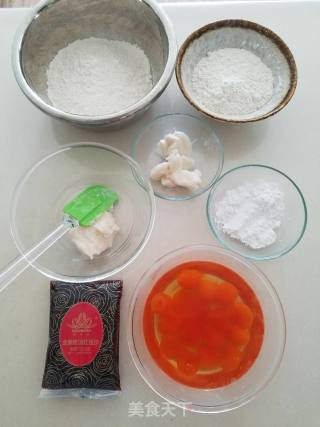
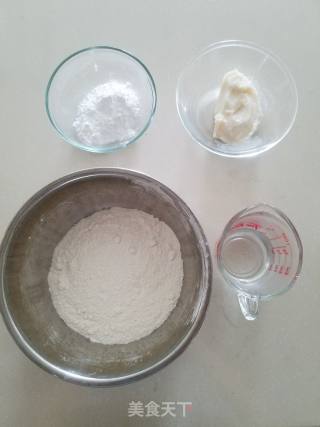
Prepare the ingredients, boil the lard yourself, clean and hygienic, economical. The red bean paste is ready-made, and it’s not easy to cook it by yourself. Buying this oily red bean paste is very easy to handle and tastes good.
2.
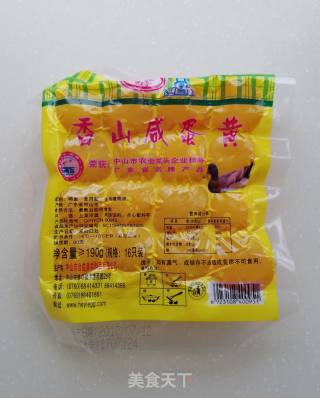
The salted egg yolk bought from Xiangshan is bigger than the red sun's egg yolk.
3.
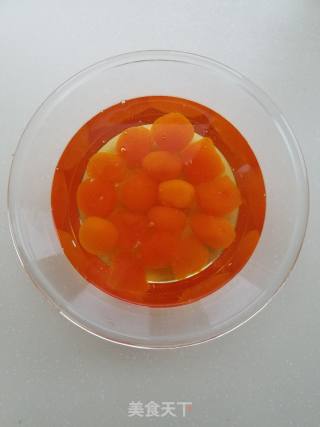
After thawing, the salted egg yolk is soaked in corn oil, sealed and placed in the refrigerator for more than an hour, so that the yolk will not be so dry and will not crack when baked.
4.
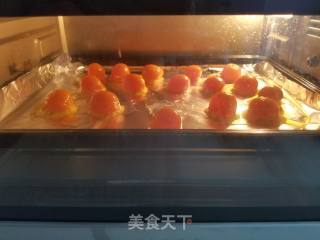
Bake the soaked egg yolks in the oven until they are 80% cooked, preheat the oven at 180 degrees and bake for 8 minutes, then take it out and let it cool for later use.
5.
And you skin, if you have a cook machine, you can pour all the ingredients and stir out the film.
6.
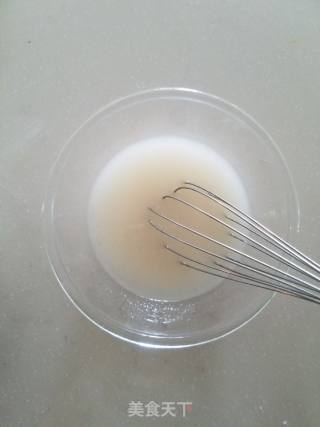
I made the noodles manually. Add 80 grams of lard to 80 milliliters of hot water (about 80 degrees of hot water), and stir well with a whisk.
7.
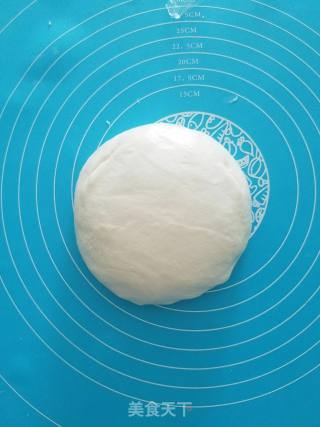
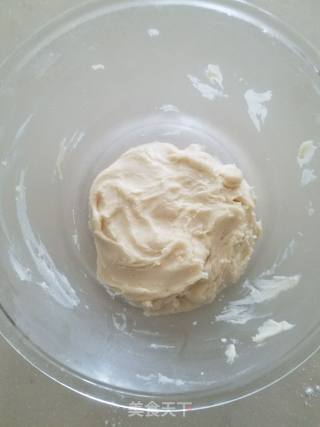
Pour the stirred lard melt into the flour and slowly pour it in. While pouring, stir the flour with chopsticks until the dry powder is no longer visible and the flour becomes flocculent. Knead it by hand to form a smooth and elastic dough, cover it with plastic wrap and let it stand still Relax for 30 minutes.
8.
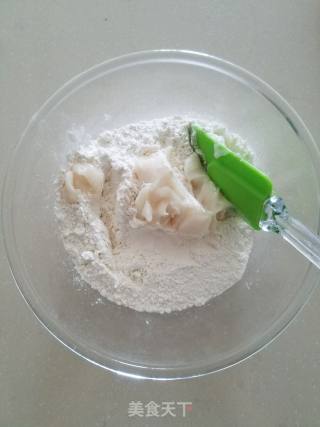
Mix with shortbread, low flour and lard, and stir with a spatula. Remember that no matter how the dosage is increased or decreased, the ratio of low flour to lard is always 2:1.
9.
After mixing until there is no dry powder, knead it with your hands. The warmth of your hands will soften the lard, which can better mix the flour and lard. Remember to wear disposable gloves and cover with plastic wrap after kneading. minute.
10.
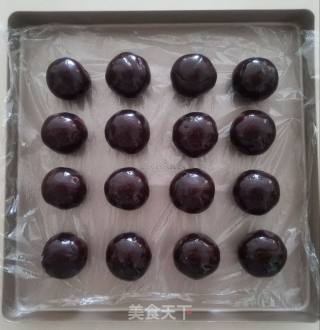
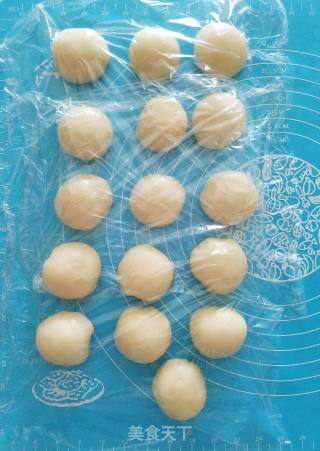
The time for the oily skin and shortbread to relax is just right to wrap the cold salted egg yolk with red bean paste. The oily red bean paste I bought is very easy to wrap and does not stick to your hands. First, the red bean paste is divided into 16 portions of 25 grams each. Wrap it like a bean bun, and then round it. After wrapping, cover with plastic wrap and put it in the refrigerator freezer. The refrigerated filling will be firmer and better.
11.
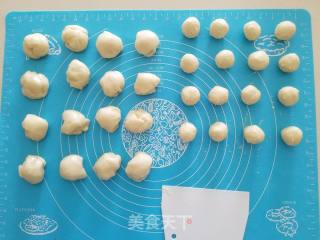
The oily skin and shortbread are also relaxed. You can knead the oily dough again. It is easier to knead the glove film after standing. It does not matter if the film does not come out. The dough is soft and easy to handle. Divide the two types of dough into 16 portions, each with 25 grams of oil crust and 13 grams of short pastry. If the pastry is too sticky in hot weather, you can cover it with plastic wrap and put it in the refrigerator for a while, and take it out for about 10 minutes. Divide it into rounds and set aside.
12.
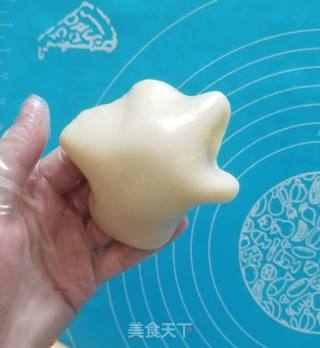
Rub the oily skin round and squeeze it on your hands, take it into a shortbread bag, move it up with a tiger's mouth, and then wrap it up.
13.
Wrap all the pastry and cover with plastic wrap and let stand for 20 minutes
14.
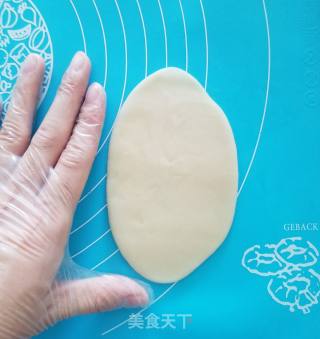
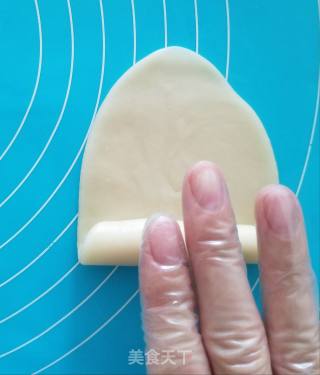
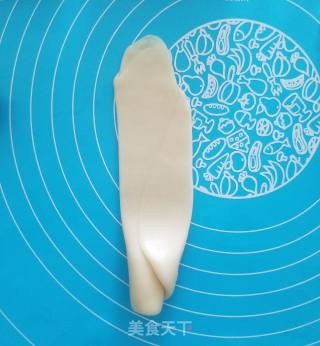
After slack, take a dough and squeeze it gently with your hand, and then use a rolling pin to roll it from the middle to the top and down into a tongue shape. Don’t roll it back and forth. You don’t need to roll it too long the first time, as shown in the picture. can.
15.
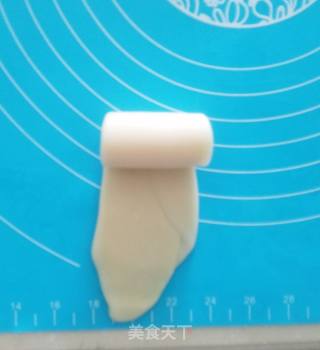
Roll up from bottom to top
16.
Close up
17.
Then cover with plastic wrap and let it stand for 20 minutes. Remember to start from the first one in order for each operation, so that all the dough will have the same relaxation time.
18.
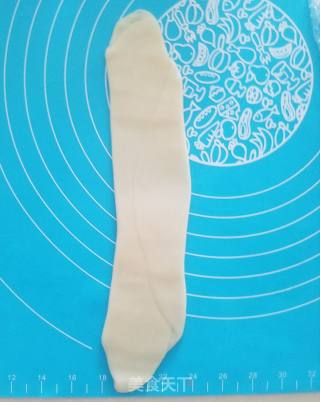
Roll the roll for the second time after slack, and roll the roll up and down from the middle one time.
19.
Roll into a strip
20.
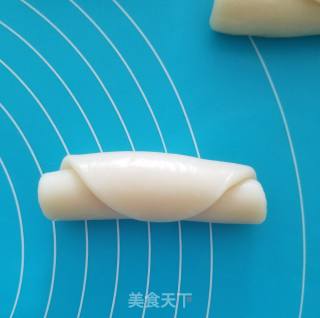
Then roll up from top to bottom
21.
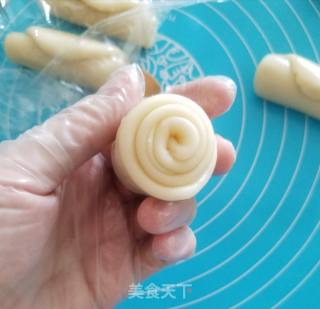
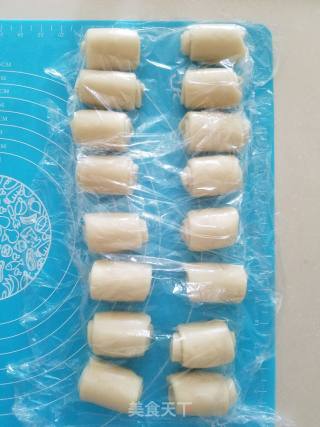
Rolled into such a small roll
22.
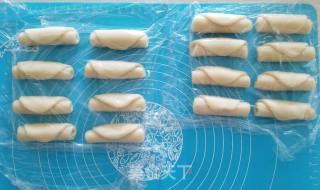
Continue to cover with plastic wrap and let stand for 20 minutes
23.
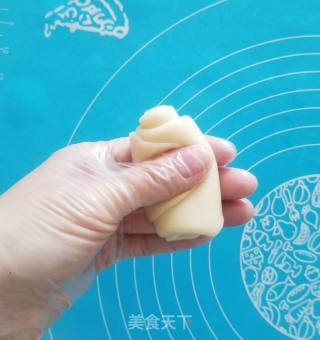
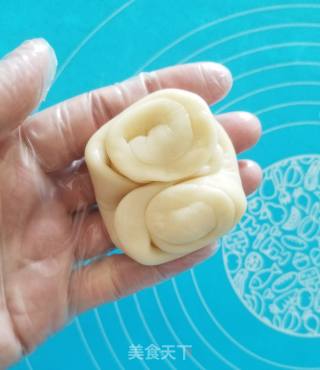
Take a small roll and squeeze it from the middle with your thumb
24.
Then pinch the two sides in the middle
25.
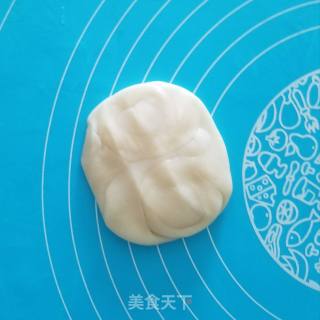
Squeeze gently with your hands
26.
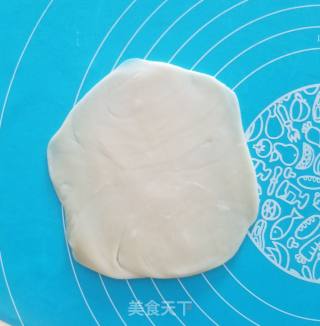
Use a rolling pin to roll up, down, left, and right, starting from the middle, with gentle movements. Do not roll back and forth forcefully, which will cause it to break.
27.
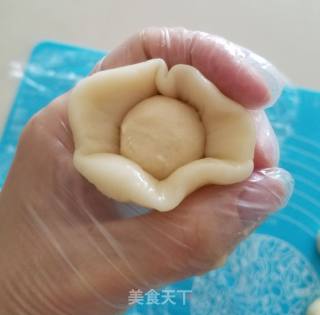
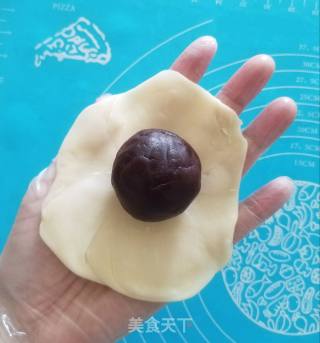
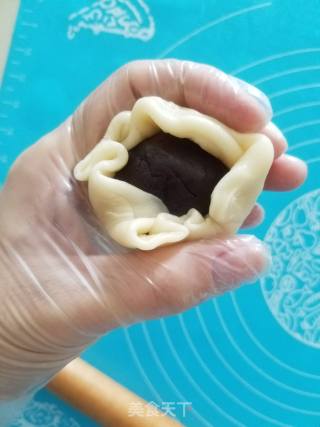
Take a bean paste and egg yolk filling in the middle of the skin
28.
After the inverted buckle, hold the bean paste ball in your right hand and make a circle, and move your left hand down with the tiger's mouth, so that the skin and filling will fit more closely.
29.
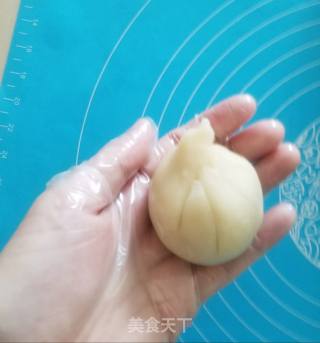
Then turn it over and continue to move up with the mouth of the left hand
30.
Move in a circle with your right hand while moving, and finally squeeze the mouth tightly with a tiger's mouth.
31.
Don't waste it when you eat it by yourself, squeeze at the closing and stick to the bottom.
32.
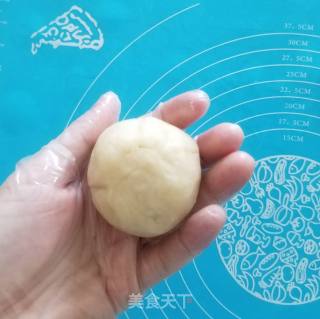
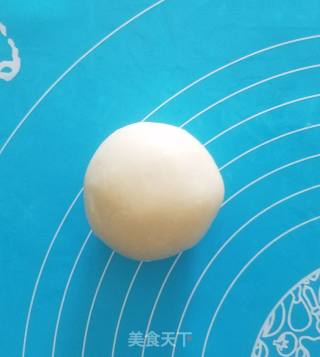
Round the shape on the chopping board, closing the mouth downwards.
33.
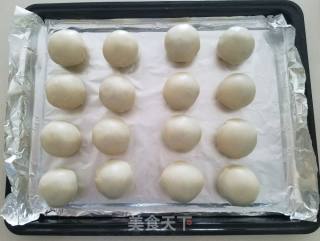
Spread tin foil or grease paper on the baking tray, cover the wrapped egg yolk pastry with plastic wrap and let it stand for 30 minutes, so that the pastry can be loose and malleable, and will not burst when baking. The other is to refrigerate the pastry. The pasted filling returns to room temperature, otherwise it will easily burst when it expands and shrinks.
34.
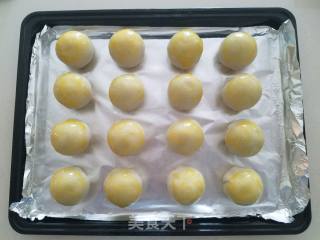
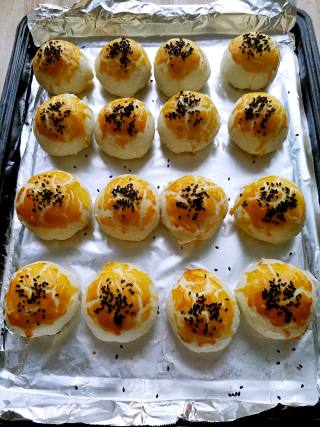
Separate the egg yolk from the egg, use an oil brush to wipe the egg yolk crisp, preheat the oven to 180 degrees and bake it for 10 minutes.
35.
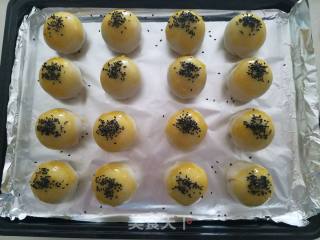
After 10 minutes, take out and brush the egg yolk liquid, then sprinkle with black sesame seeds and bake for another 20 minutes. If it is troublesome, you can just brush the egg liquid once, and brush twice to make the color more beautiful.
36.
It's coming out, the whole room is full of fragrance.
37.
I ate one while it was hot and it was burned to my mouth by the bean paste😅
38.
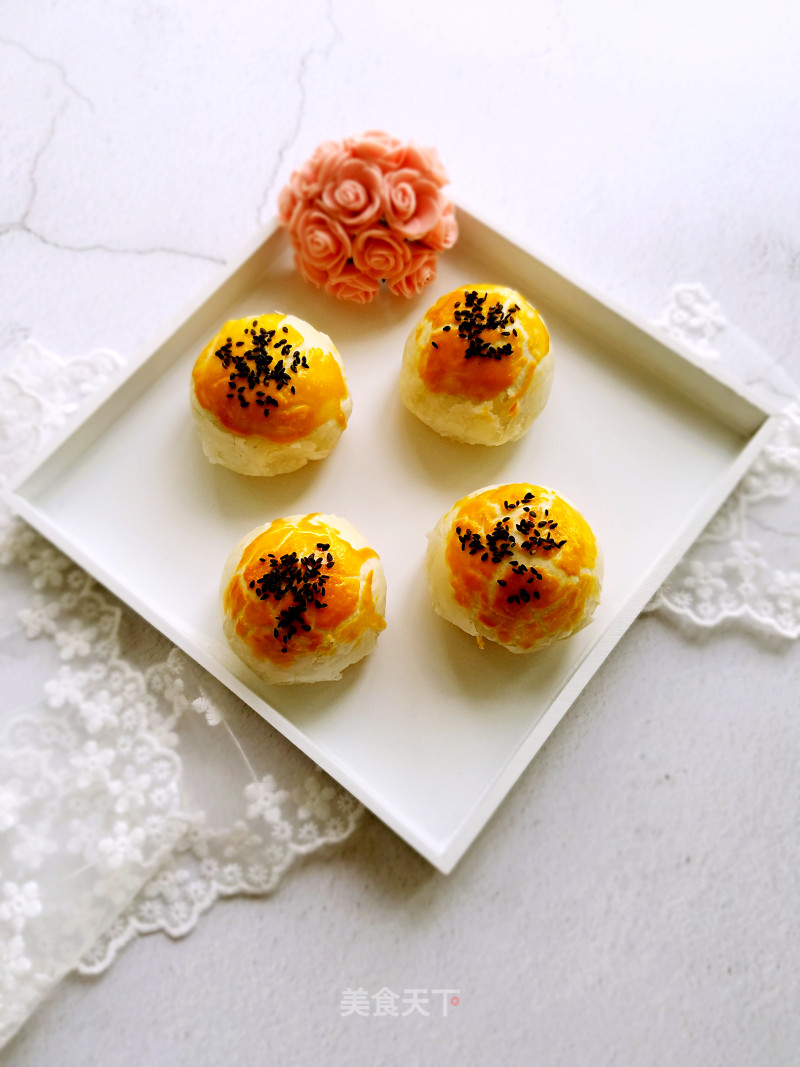
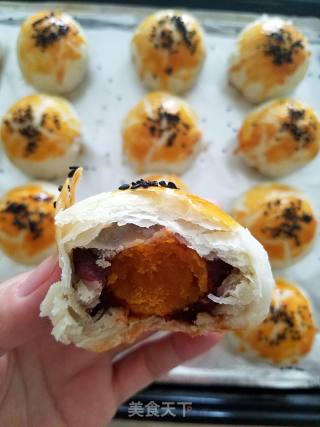
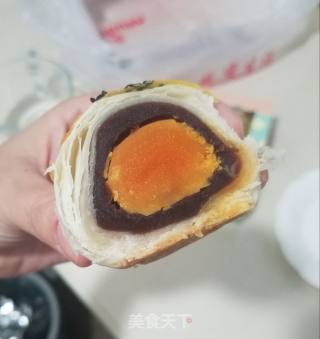
After letting cool, it is more beautiful to cut open. It is a big egg yolk with distinct layers and crisp layers.
39.
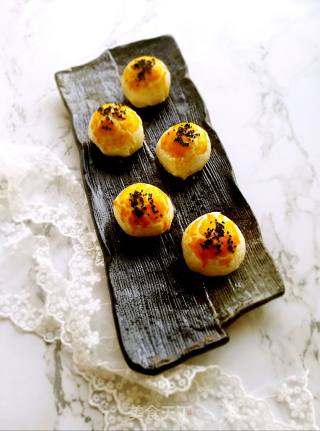
Finished picture
40.
Wrap it and give it to a friend. The finished product is 75-80 grams each and stuffed into a box full of stuff.

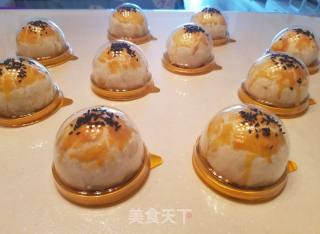
Tips:
1. When kneading the oily crust, be sure to knead it until the surface is smooth. It is best to pull out the glove film, so that the oily crust has a certain degree of toughness to cover the oily pastry and not easy to crack and mix. I used hot water to knead the dough, so the dough will be very soft even if you can't knead it out.
2. The water absorption of flour is different, and it is affected by seasonal humidity. The amount of lard and water in the recipe is not necessarily dead. If you feel that the kneaded dough is too dry, you can add some lard or water. Very sticky, you can add some flour. The final kneaded dough should be soft but easy to handle.
3. The relaxation time required for each step must be reached, so that the dough has sufficient ductility, will not burst or crack when baking, and the finished product will have a good shortening effect. Roll it out twice and then roll it up again. The rolling action should be as gentle as possible to prevent the pastry from leaking.
4. In the process of making, always remember to cover with plastic wrap after finishing, and don't let the dough become dry.
5. The lard in the recipe can be replaced with the same amount of butter or vegetable oil, but as far as the effect is concerned, the shortening effect of lard is the best.

