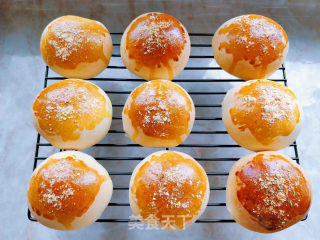
Egg Yolk, Floss, Mochi, Red Bean and Taro Bag

Egg Yolk, Floss, Mochi, Red Bean and Taro Bag

by Looking for Peach Blossom Island

4.9 (1)
Favorite

Difficulty

Normal

Time

2h

Serving

2

Egg yolk, floss, mochi, red bean and taro bag——

The name of this bread is so long because it brings together almost all the delicious internet celebrities-whether it's smooth and silky mochi, or a balance of salty and sweetness, savory egg yolks, pork floss and honey beans, or mellow. The taro mash can be found here. And these kinds of flavors are unexpectedly coordinated. Every bite in a different part has a different deliciousness, which is full of surprises. No wonder it has become the signature product of many pastry shops this year, and many young people have to line up to buy and eat.

Its production method is similar to that of ordinary stuffing small meal buns. Because the stuffing is richer, it is a little more troublesome, but it is not difficult. You can make it yourself at home. Let's take a look at how to do it next.

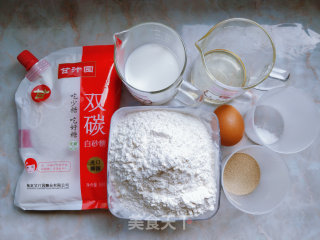
A. Bread body: 200 grams of milk, 4 grams of yeast powder, 380 grams of high-gluten flour, 1 egg, 40 grams of white sugar, 2 grams of salt, and 20 grams of corn oil.
B. Filling: 9 salted egg yolks, 180 grams of pork floss, 150 grams of honey beans, appropriate amount of mochi filling, appropriate amount of taro mash.
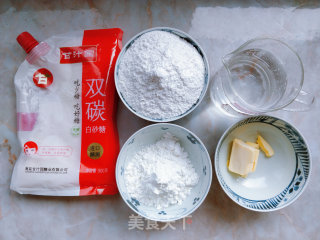
C. Mochi filling: 180 grams of glutinous rice flour, 55 grams of corn starch, 70 grams of white sugar, 15 grams of butter (or corn oil).
D. Taro puree: 100 grams of taro, a little water.
E. Decoration: 1 egg yolk, a little water, and a little coconut paste. "


Ingredients

Egg Yolk, Floss, Mochi, Red Bean and Taro Bag

1. 1. First prepare the ingredients for making bread. The dough has to be fermented twice before baking, and the structure is more delicate and elastic. While the dough is fermenting, it also leaves a suitable operating time for the stuffing.

Egg Yolk, Floss, Mochi, Red Bean and Taro Bag recipe

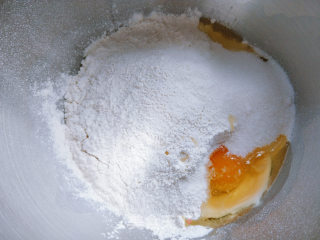
2. Pour milk, yeast powder, high-gluten powder, eggs, sugar and salt into the cook machine and the noodle bucket in turn. Note that the sugar and salt should not directly contact the yeast, which will affect the fermentation effect.

Egg Yolk, Floss, Mochi, Red Bean and Taro Bag recipe

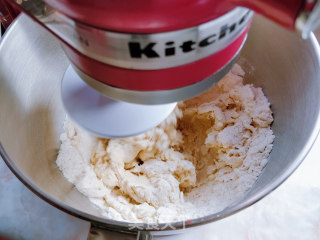
3. Start the cook machine to make the noodles. If you don’t have a cook machine at home, you can mix noodles manually.

Egg Yolk, Floss, Mochi, Red Bean and Taro Bag recipe

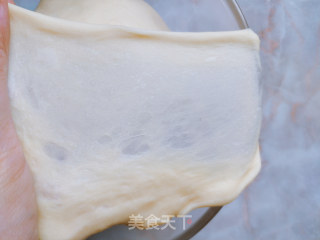
4. After kneading into a smooth dough, pour in corn oil and continue kneading until it is completely absorbed and becomes gluten. Cut a piece of dough and stretch out a slightly thicker film. The dough in this state is just right to make a small meal bag. If you want to make toast, you must continue to mix the dough to the fully expanded stage, that is, you can pull out the thin and hard-to-break glove film.

Egg Yolk, Floss, Mochi, Red Bean and Taro Bag recipe

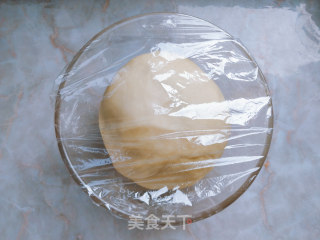
5. Next, round the dough, put it in a large bowl, cover with plastic wrap, and carry out the first fermentation at room temperature. In summer, the room temperature is relatively high, and fermentation at room temperature is sufficient. If it is winter, it is best to put it in the oven for constant temperature fermentation.

Egg Yolk, Floss, Mochi, Red Bean and Taro Bag recipe

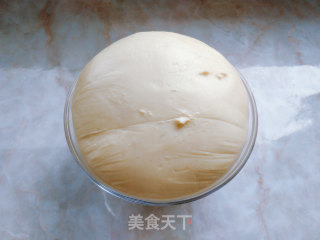
6. In about 50 minutes, the dough can be fermented to twice its size, and the first fermentation is complete.

Egg Yolk, Floss, Mochi, Red Bean and Taro Bag recipe

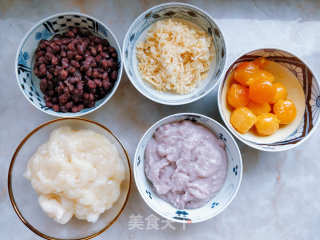
7. Make the stuffing while the dough is fermenting. Prepare the salted egg yolk, honey beans and pork floss, and scrape the taro into pieces.

Egg Yolk, Floss, Mochi, Red Bean and Taro Bag recipe

8. Make mochi filling and prepare various materials.

Egg Yolk, Floss, Mochi, Red Bean and Taro Bag recipe

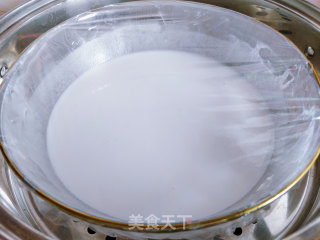
9. Pour the glutinous rice flour, corn starch, and white sugar into a large bowl, stir evenly until there are no particles, cover with plastic wrap, put it in a steamer together with the taro block, and steam for 25 minutes on high heat.

Egg Yolk, Floss, Mochi, Red Bean and Taro Bag recipe

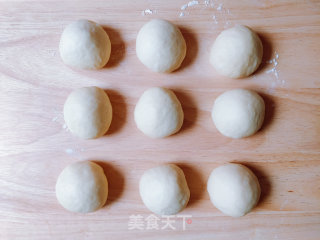
10. While steaming the mochi and taro mash, vent the dough and knead it evenly, divide it into 9 pieces of the same size, each about 75 grams, round and cover the noodles for 10 minutes.

Egg Yolk, Floss, Mochi, Red Bean and Taro Bag recipe

11. Put the salted egg yolk in the microwave and heat it on medium heat for 30 seconds. After about 3 times of heating, the egg yolk will be cooked. Set aside to cool. Then crush the steamed taro into puree. Stir the steamed mochi filling with butter while it is hot, stir well and let cool.

Egg Yolk, Floss, Mochi, Red Bean and Taro Bag recipe

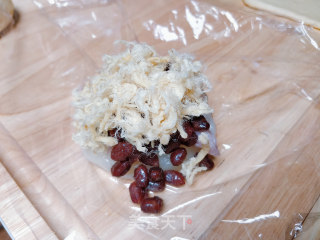
12. Next, start filling. Put a small piece of mochi, mashed taro, a salted egg yolk, some honey beans and pork floss on the plastic wrap, wrap it up and twist it into a ball.

Egg Yolk, Floss, Mochi, Red Bean and Taro Bag recipe

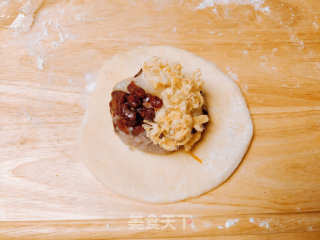
13. Take a piece of dough and roll it into a round piece, and place the ball of filling in the center.

Egg Yolk, Floss, Mochi, Red Bean and Taro Bag recipe

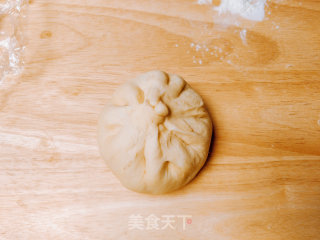
14. Like a bun, press the filling inside while closing the mouth, and finally pinch the mouth tightly.

Egg Yolk, Floss, Mochi, Red Bean and Taro Bag recipe

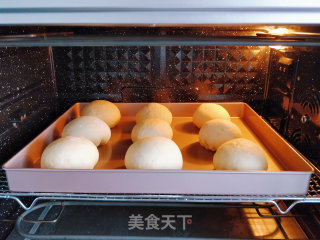
15. Place the interface down in the baking tray. Leave a certain space in the middle of each, and put them in the oven for secondary fermentation this time.

Egg Yolk, Floss, Mochi, Red Bean and Taro Bag recipe

16. Set the fermentation temperature to 28 degrees and ferment for about 30 minutes.

Egg Yolk, Floss, Mochi, Red Bean and Taro Bag recipe

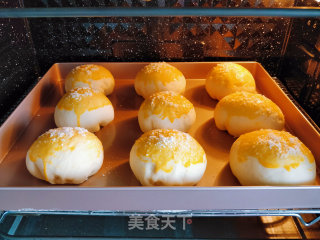
17. After fermenting to 1.5 times the size, brush a little egg yolk liquid on the surface (stir the egg yolk with water), then sprinkle a little coconut paste.

Egg Yolk, Floss, Mochi, Red Bean and Taro Bag recipe

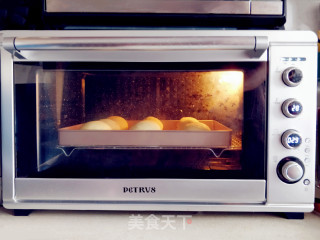
18. Put it back in the middle of the oven and bake for 25 minutes at 160 degrees, take it out and let it cool, and you can eat it.

Egg Yolk, Floss, Mochi, Red Bean and Taro Bag recipe

Tips:

1. The white granulated sugar I use is Ganzhiyuan double-carbon white granulated sugar, which has not been vulcanized, has a pure texture and no impurities, and is safe and secure.
2. The bakeware is a large 60X40 non-stick bakeware that can hold 9 pieces of 150 grams of bread. The space is large enough that no adhesion will occur; the oven is Baicui PE5609, 60 liters capacity, and it is just right to put this size bakeware ; The chef machine is Kitchen Aid.
3. Before filling the dough into the dough, it must be allowed to cool until it is not hot, otherwise it will affect the effect of secondary fermentation.
4. The finished bread weighs about 130-150 grams each, and its size is similar to pineapple buns. The proportion of fillings and the overall size can also be adjusted according to personal preference.
5. Due to the hot weather, it is best to store the finished bread in a cool place, and eat it within 2 days. Do not refrigerate, it will accelerate the aging of starch and affect the taste. You can freeze it directly, take it out when you eat it, and thaw it naturally, and then rebake it.

Comments

Similar recipes

Creamy Mushroom Soup

Tricholoma, Onion, Bread

Creamy Mushroom Soup

Onion, Bread, Tricholoma

Tomato and Potato Soup

Potato, Onion, Tomato

Simple Breakfast Sandwich

Bread, Sausage, Egg

Shrimp Toast Salad

Shrimp, Bread, Haricot Vert

Egg Sandwich

Bread, Egg, Cucumber

Fried Meatballs

Pork, Bread, Milk