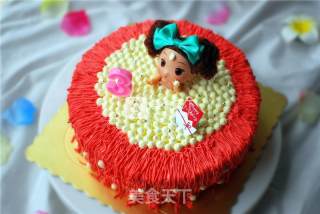
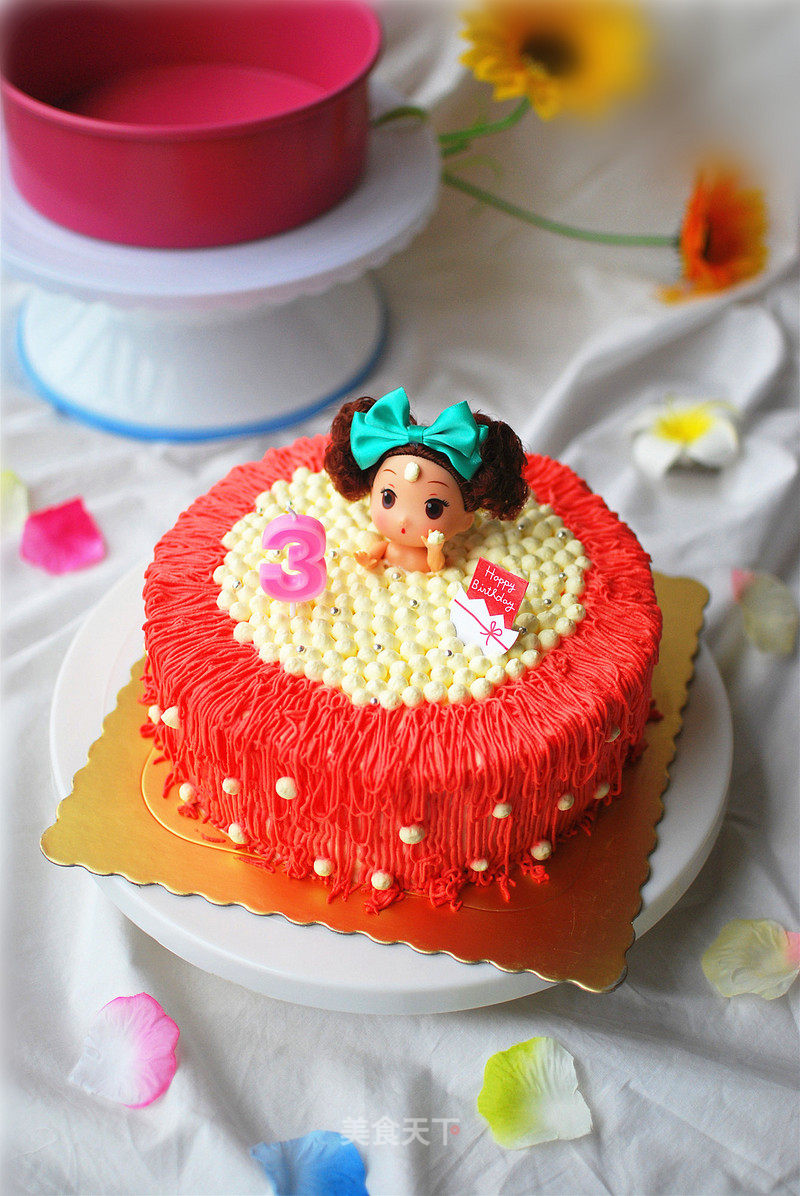
Eight-inch Bath Princess Cake
1.
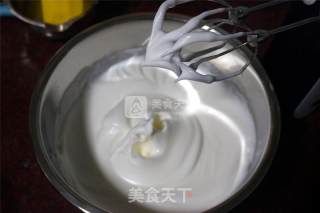
Add 80 grams of caster sugar to the egg whites in three times and beat them until they are wet and dry. At the same time, the oven is preheated up and down to 150 degrees. Put a dish of clean water on the baking tray and put it in the bottom of the oven to prepare for the water bath.
2.
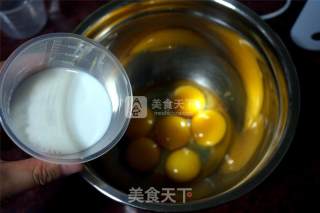
Put 5 egg yolks and 1 whole egg into an egg beater, add 80 grams of milk in three times, and stir evenly with an egg beater.
3.
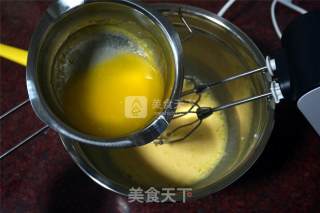
Melt the butter over water, then add it to the egg yolk paste, add 1 gram of salt, and mix well.
4.
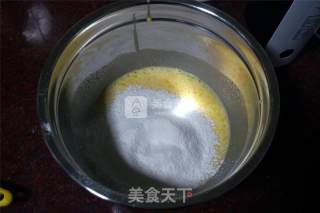
Sift in the low-gluten flour, start the whisk at low speed and beat evenly into a particle-free state.
5.
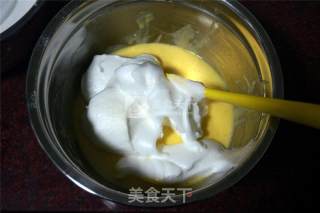
Cut and mix the egg white batter and egg yolk batter to form a cake batter.
6.
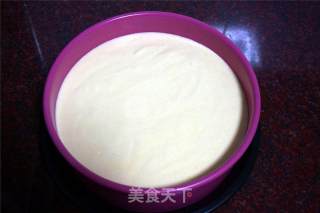
Place an 8-inch round oil-absorbing paper on the bottom of the 8-inch mold (if you don't have one, please ignore it), brush it with a thin layer of baking pan oil, then pour the cake batter, and shake out large bubbles.
7.
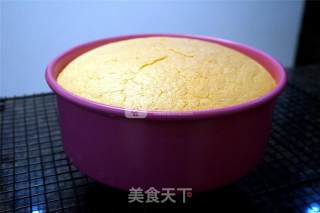
Put it on the grill on the penultimate floor of the preheated oven, heat up and down at 150 degrees, and bake in a water bath for about 60 minutes. After being out of the oven, it is transferred to the cooling rack for cooling, no need to reverse button.
8.
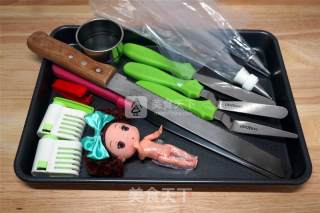
In the process of baking the cake, prepare the tools for making the cake. After the princess doll is rinsed, use a paper towel to soak up the water, and then wrap it in plastic wrap.
9.
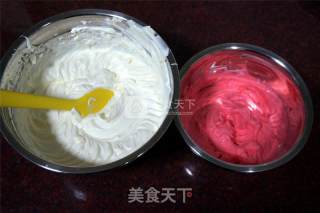
Whip the cream while baking the cake. Add 600 grams of whipped cream to 60 grams of caster sugar and beat. When it is 8 minutes hard, take a small bowl of whipped cream, add a few drops of food coloring, and then continue to beat until hard foaming. The white cream continues to whip until hard foaming. Put the whipped cream in the fresh-keeping layer of the refrigerator for later use.
10.
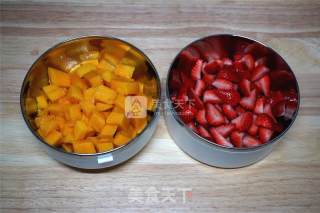
While the cake is cooling, cut the mango and strawberry into cubes.
11.
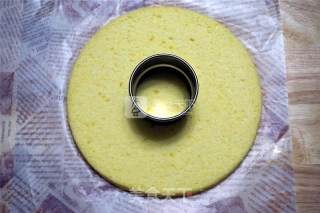
After the cake body has cooled, divide it into 3 pieces, take the middle piece of cake, and use a round mold to hollow it out for later use.
12.
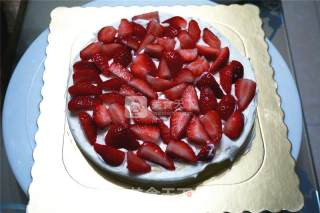
Put the bottom piece of cake on the bottom tray, smear a layer of light cream, and then spread the strawberry diced. Put more fruit to fill it with less cream, and it will taste more refreshing and not greasy.
13.
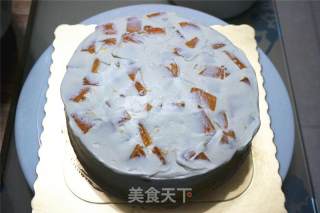
Fill the gaps with whipped cream and smooth them. Then put the second piece of cake, the same way, the second layer is the mango flesh.
14.
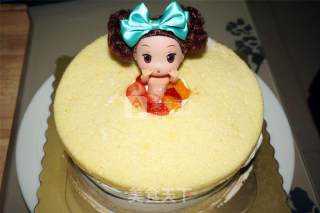
Put the last slice of cake hollowed out in the middle to the top layer, then insert the princess doll, and fill it with fruit particles around it.
15.
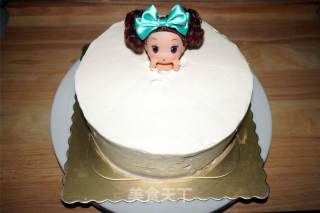
Spread a layer of whipped cream on the whole cake, which is 80% complete by this time.
16.
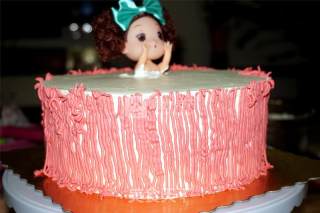
Put the small hole piping mouth into the piping bag, and then fill the red cream, and squeeze the vertical strips around the cake, as shown in the picture.
17.
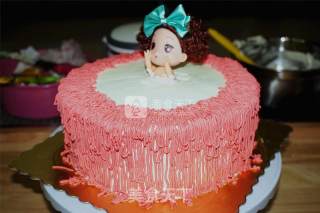
Use a toothpick to draw a circle about 3 cm away from the edge on the surface of the cake, and then use this circle as the inner boundary to draw a line on the edge of the cake back and forth.
18.
Finally, put the remaining white whipped cream into the piping bag, cut out a small opening (about 0.5 cm in diameter) and squeeze out small balls around the doll princess as bubbles. You can also squeeze some bubbles around the cake as decoration. Finally, put a few silver beads on the bubble for decoration, insert birthday candles and decorative cards.

Tips:
1. Beat the egg whites first, and then use a whisk to beat the egg yolk paste. The order should not be chaotic. Because if the egg yolk paste is beaten first, the head of the whisk will be stained with water and oil, which will affect the egg whites.
2. Preheat the oven at the beginning, fill a pan with water and put it in the oven at the same time. Melt the butter, you can also put it in the oven at this time, I always do this.
3. In the process of baking the cake, prepare the tools for making the cake and whipped the cream, and put the whipped cream in the fresh-keeping layer of the refrigerator for later use.
4. In the cake body, if there is more fruit, the filling cream will be less, and vice versa. Fruits generally use soft varieties, such as kiwi, mango, strawberry, dragon fruit, etc.
5. It is best to smooth each layer before proceeding to the next layer. Once the foundation is laid, the "leaning tower of Bill" will not appear.


![Seasonal Vegetable Patties [baby Food Supplement] recipe](https://img.simplechinesefood.com/02/024b910033009872aea33017c755a377.jpg)
