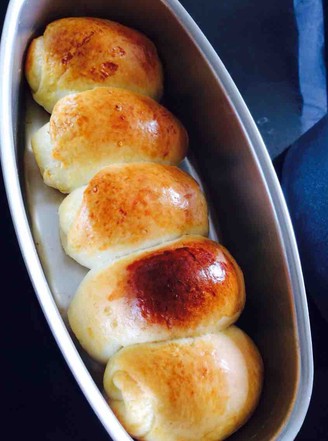
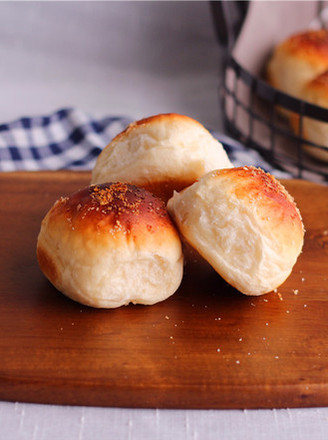
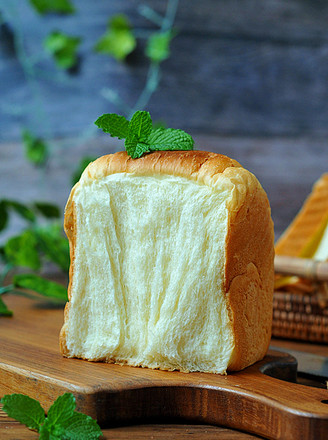
Fermented Coconut Sponge Toast
by Maggie
Favorite
2
Difficulty
Easy
Time
2h
Serving
2
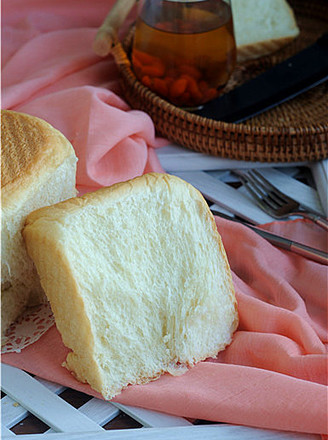
There is a scent that comes naturally. If it is not pretentious, it comes from coconut milk and coconut paste
I like to incorporate this aroma into the aroma of coconut and wheat in the bread. The refreshing and pleasant combination is obviously a tasteless accessory, but it feels sweeter after eating it. This is its magic.
This toast is very fragrant and soft, so soft that it is difficult to slice, it is only suitable for hand tearing (the original one comes from the soft toast of Mr. Jin Dawang, slightly modified)