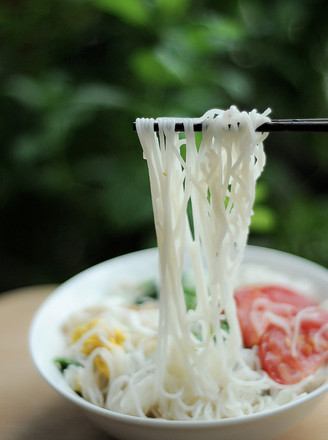
Giraffe Cake Roll
1.
Separate the egg yolk and egg white, and the egg white basin must be water-free; pour 35G soft white sugar into the egg yolk and stir evenly;
2.
Pour water and oil into the egg liquid and stir well;
3.
Sift in low-gluten flour and stir
4.
, Until the batter is not granular;
5.
Pour a little bit of white vinegar or lemon juice into the egg white to eliminate the smell of the egg; use an electric whisk to beat the egg white to coarse foaming, pour a part of the soft white sugar, and then start to beat until the fine foaming will remain. Pour in the soft white sugar, and finally beat the egg white to the wet foam that can be pulled out of the barb.
6.
Pour a small part of the egg white into the egg yolk batter and stir evenly (Note: Do not draw a circle, stir up and down in a cross shape)
7.
Stir the batter evenly and then pour it into the beaten egg whites and stir it evenly. The same cross-type stirring method is also used;
8.
After mixing, pour a little bit of the white batter into a painting bag, spread greased paper on the baking tray, and draw a pattern that resembles giraffe markings. Preheat the oven to 150 degrees, put the previously mounted pattern into the oven and bake for about 1-2 minutes;
9.
When the pattern is baking, pour the cocoa powder into the remaining batter and stir, and finally the brown batter is poured into the fixed pattern.
10.
Spread the brown batter evenly around the baking tray, and finally shake it up and down to remove air bubbles; also put it in a preheated 150 degree oven and bake for about 20 minutes.
11.
While waiting for the cake to bake, start to make the cream part, pour the whipped cream and the powdered sugar together; use an electric whisk to beat the cream until the texture does not disappear immediately.
12.
Put the baked cake on the grill and let it cool slightly
13.
After that, use a knife to cut off a little cake at a 45-degree angle for the final finishing touch at about 1cm on one side of the cake body;
14.
Then on the other side, about 6-7CM and 14CM, lightly scratch from the beginning to the end to make it easier to roll the cake afterwards;
15.
The butter should be spread at a trapezoidal angle. The butter in step 17 should be thick, and the butter in step 16 should be spread thinly. When rolling, use the previous oil paper as a bedding to roll the cake, and oil paper also Wrap it outside; put it in the refrigerator and leave it in the refrigerator for 4-5 hours to set the shape, then cut off the edges of the cake on both sides.


Tips:
Because I want to make a pattern, there is one more step. If you are making it for the first time, you can remove the ninth and tenth steps. Stir the batter and pour it directly on the baking pan covered with greased paper, shake off the bubbles and put it into the oven. .
The baking pan I used here is a bit uneven from the oven, but it is not very influential for baking cake rolls. Because there is a step of cutting off the edges afterwards, there is no need to entangle the baking pan.
When the cake body is baking, some parts may suddenly rise and crack. This is the reason for the air inside. Don't worry, because this part is rolled inside and you can't see it. If you don't rest assured, you can first Take the cake out and let it cool and put it in the oven to bake until the surface is browned.