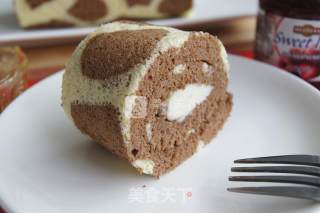
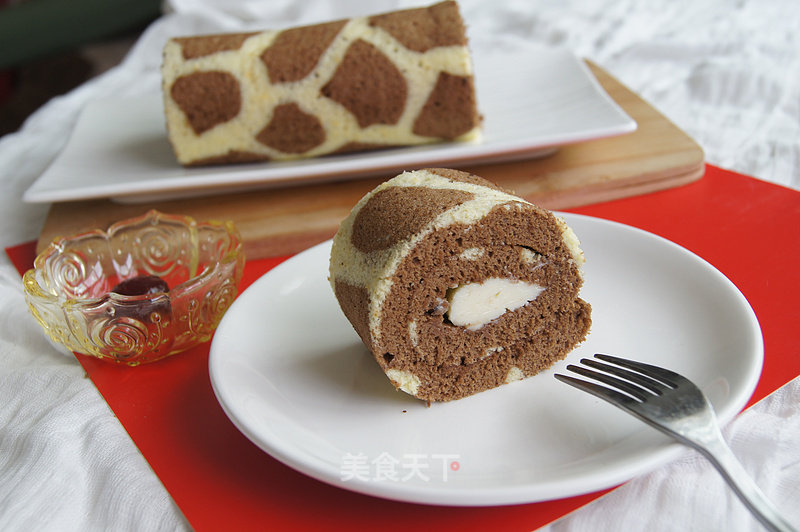
Giraffe Chiffon Cake Roll
1.
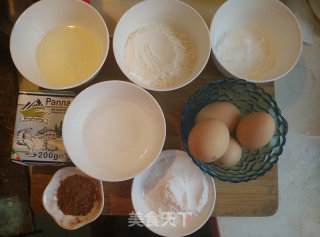
Weigh various raw materials with electronic scales for later use.
2.
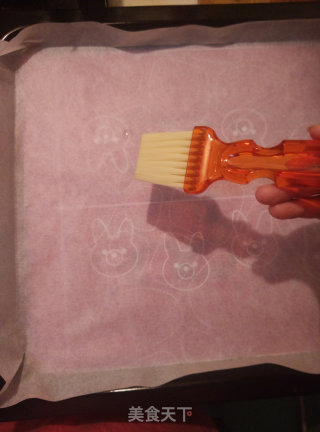
Put the silicone mat with giraffe pattern on the baking tray, and spread a layer of greased paper on it, brush a thin layer of oil, and set aside for later use. If there is no patterned silicone pad, you can also draw the pattern directly on the greased paper.
3.
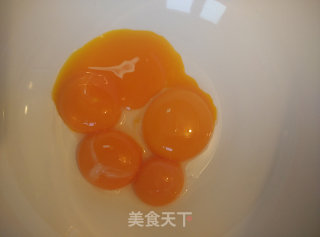
Prepare two large clean and oil-free bowls and carefully separate the egg yolks and egg whites. Be careful not to mix egg yolks in the egg whites.
4.
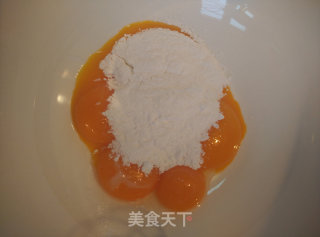
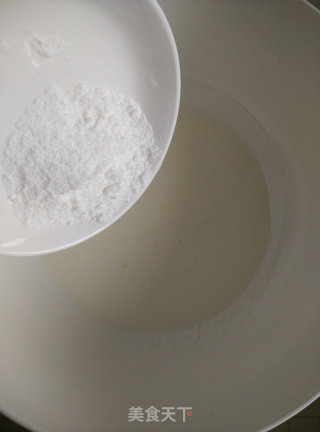
Pour the confectioner's sugar into the egg yolks and mix them evenly with a manual whisk.
5.
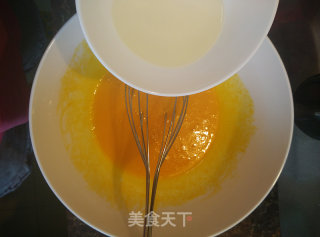
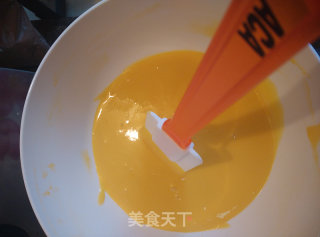
Pour the sunflower oil into the egg yolk three times, mix well, then add water and mix well.
6.
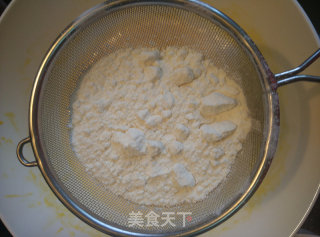
Sift the flour into the egg yolk and mix well.
7.
The mixed batter should be smooth and free of particles. Be careful to hang down the batter on the wall of the bowl and mix it evenly.
8.
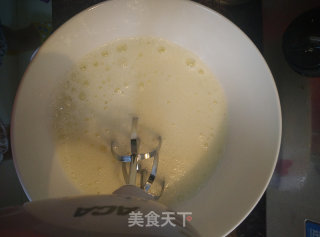
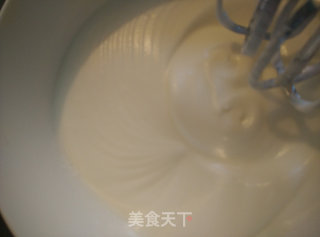
Use an electric whisk to break up the egg whites and add the fine sugar in three times. When large bubbles appear on the surface of the egg whites, add one-third of the fine sugar and continue to beat.
9.
When fine bubbles appear on the surface of the egg whites, add one third of the fine sugar and continue to beat.
10.
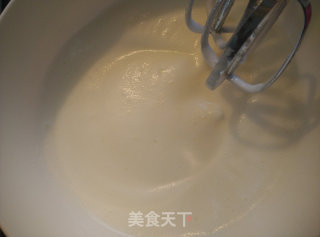
When lines appear on the surface of the egg whites, add the remaining fine sugar and continue to beat.
11.
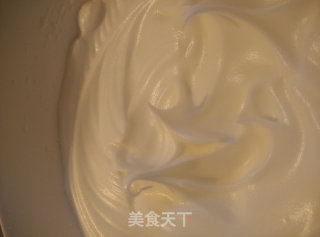
When the egg beater is lifted vertically, small hooks appear on the surface of the egg white, which is a wet foam, and the egg white is completely beaten.
12.
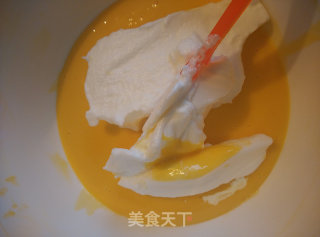
Take one-third of the egg white and put it in the egg yolk paste, and stir evenly with a spatula. The movement should be fast and light, and the amplitude should be large. Do not stir in a circular motion to prevent defoaming.
13.
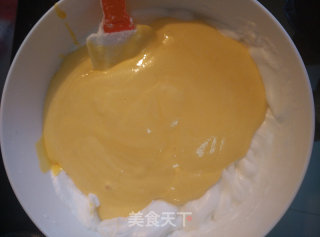
Pour the mixed egg yolk paste into the remaining egg whites and use a spatula to quickly turn up and down to mix evenly. Do not stir in a circular motion to prevent defoaming.
14.
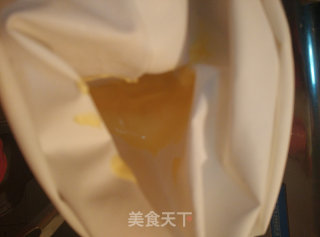
Put the piping bag on the mouth of the bowl or bottle, and put two tablespoons of batter into the piping bag.
15.
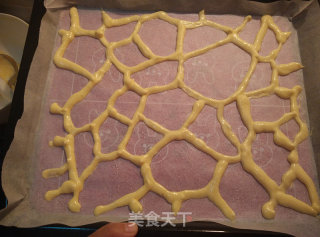
Extrude the giraffe pattern outline on the greased paper, put it in the oven and bake for 2 minutes, take it out immediately, and let it cool.
16.
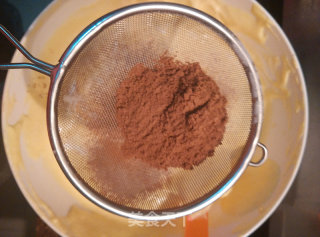
Sift the cocoa powder into the batter and use a spatula to quickly stir up and down evenly.
17.
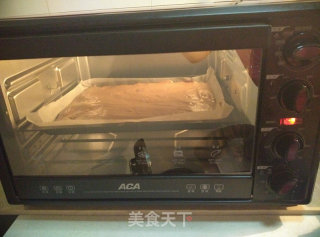
Put it in the oven, heat up and down at 175 degrees, and bake for 15 minutes. Gently touch the surface with your hands. It is soft and non-sticky, and it does not leave fingerprints.
18.
Take out the bakeware and immediately buckle it upside down on the grid covered with greased paper.
19.
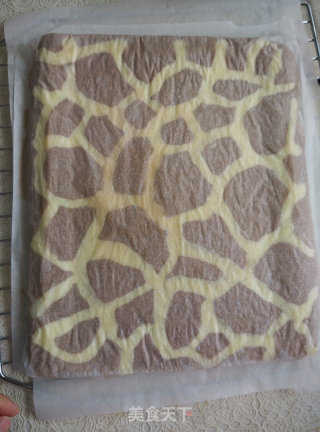
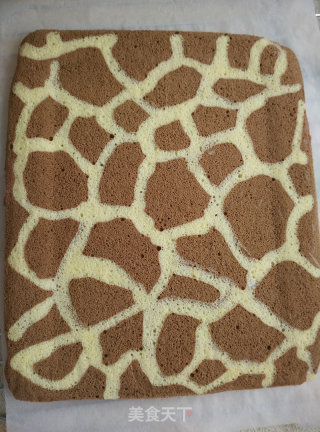
Gently lift the greased paper to form a beautiful giraffe pattern, and then lightly cover the greased paper to prevent the surface from drying and cracking. Place to cool.
20.
Pour the cream and granulated sugar into a large bowl, and use an electric whisk until fluffy and maintain the pattern.
21.
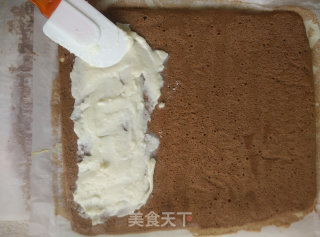
Turn the cake over and spread the cream evenly. Roll up the cake with the help of a rolling pin.
22.
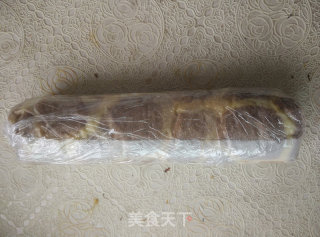
After the roll is finished, wrap the cake roll with greased paper and put it in the refrigerator for more than 4 hours to set the shape.
23.
Slice and eat.

Tips:
1. If there is no sunflower oil, odorless vegetable oils such as corn oil or salad oil can be used.
2. When mixing flour and egg yolk, do not over-mix to prevent gluten.
3. Roast the giraffe pattern for 2 minutes. Just set the shape slightly. Don't take too long. Pour the batter after cooling, otherwise it will easily cause the batter to defoam.
4. When baking the cake, you can lightly press the surface of the batter with your hands. The surface will not stick to your hands and the batter is ready to bake. If there are fingerprints, you need to continue to bake, if it is hard, it will be over baked and it will break easily when making a roll. The temperature of the household oven is not very accurate, so it is necessary to test it by hand.
5. The roasting time and temperature are for reference only, depending on the situation of each oven.
6. The cream needs to be refrigerated for more than 12 hours before being sent. It should be fluffy and the pattern can be maintained. Don't over-whip it.
7. When putting the cake rolls in the refrigerator, be sure to put the more beautiful side up.


![Seasonal Vegetable Patties [baby Food Supplement] recipe](https://img.simplechinesefood.com/02/024b910033009872aea33017c755a377.jpg)
