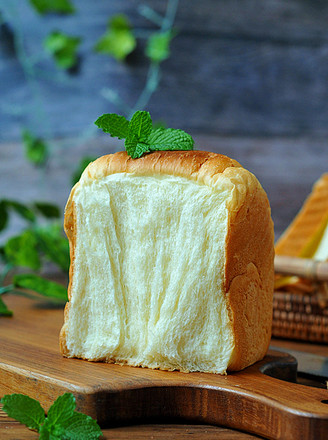
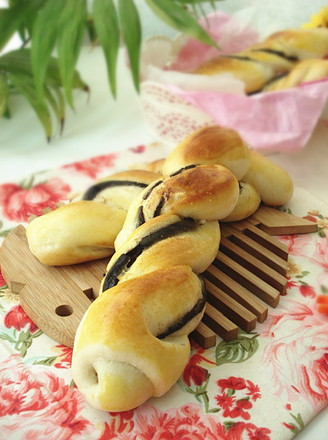
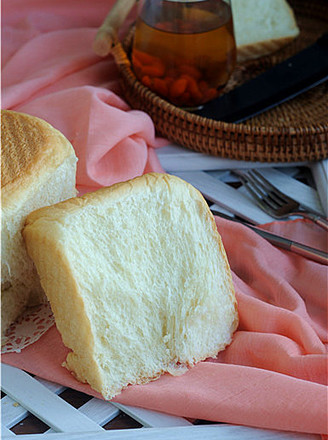
【grape Milk Crisp Bread】--- Simple Yet Delicious (full Bread Machine Version)
1.
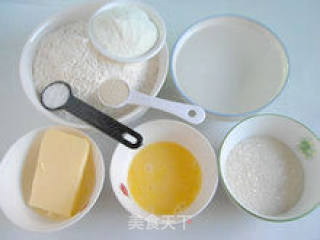
Dough raw material illustration.
2.
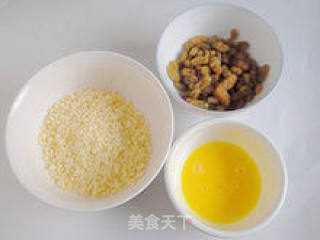
Figures of fillings and surface decoration ingredients.
3.
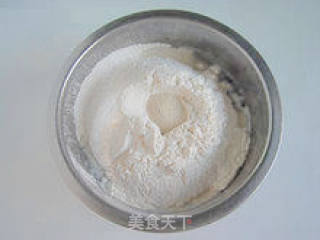
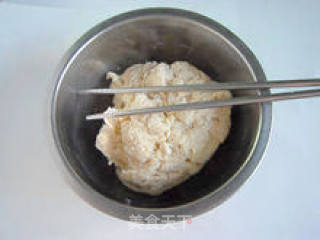
Put the dough ingredients into a larger basin in the order of liquid first, then powder, except for the butter. Put the yeast last and put it on top of the flour.
4.
Use chopsticks to stir until there is no dry powder. (The purpose of this is to save the dough time for the bread machine)
5.
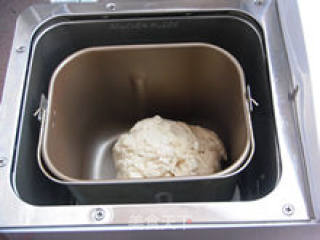
Put it in the bread machine and start the dough mixing program. (1 kneading process is 15 minutes)
6.
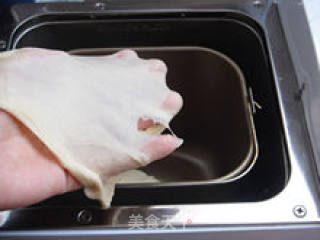
After the kneading procedure is over, the bread machine will have a "di" sound prompt, first check the dough, then the thicker dough can be pulled apart. The dough is in the expansion phase.
7.
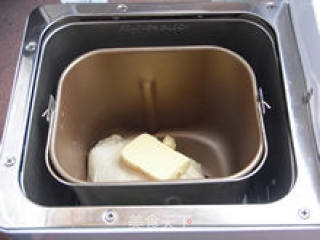
Add the softened butter and start the dough mixing process again. After the kneading is over, continue kneading for 5 minutes, and then manually close the program.
8.
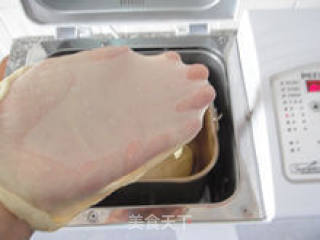
Take a piece of dough and test it. The perfect "glove film" can be pulled out. At this time, the dough has reached the complete stage and can be used to make toast.
9.
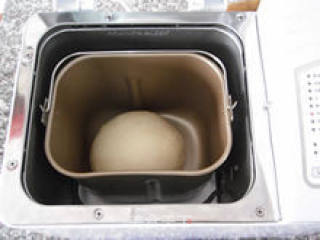
Round the dough and place it in a bread bucket.
10.
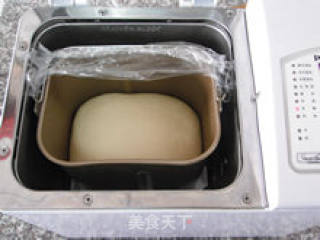
Cover with plastic wrap, start the fermentation function of the bread machine, and ferment the dough to 2.5 times its original size.
11.
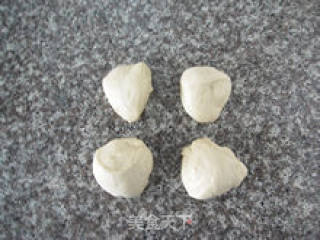
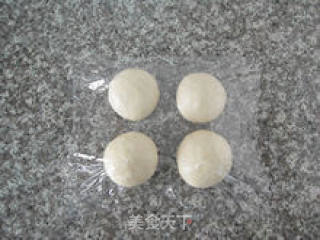
After the fermented dough is taken out and exhausted, it is divided into four equal parts.
12.
Roll round one by one, cover with plastic wrap and let for 15 minutes in the middle.
13.
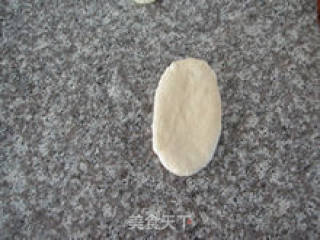
Take a portion and roll it into an oval shape.
14.
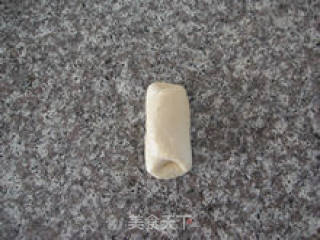
Start at either end, perform a three-fold fold, and then switch to 90 degrees. (Because you have to roll it later, just put it straight and roll it out)
15.
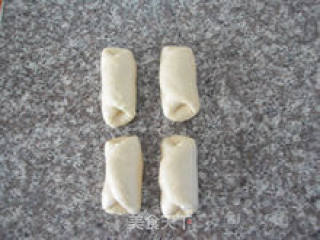
Roll up four doughs one by one.
16.
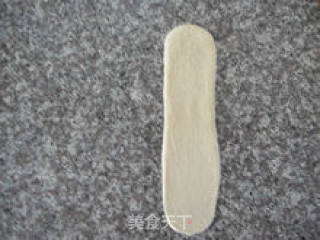
Starting from the first finished dough, roll it out into a long strip, and at the same time roll out a thin bottom edge. (The width of the dough is half the length of the bread bucket)
17.
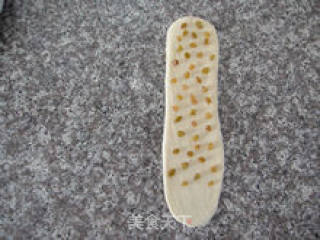
Spread the right amount of raisins more evenly. (If the raisins are very dry, soak them in clean water for 15 minutes in advance and then use kitchen paper to absorb the moisture outside)
18.
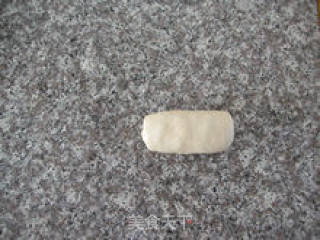
Roll up tightly from top to bottom, and make 4 doughs in turn.
19.
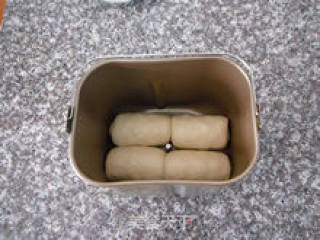
Put the four rolled doughs into the bread bucket one by one.
20.
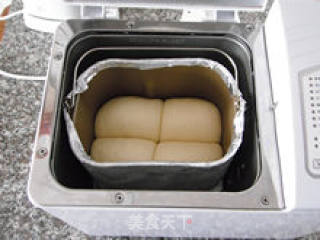
Cover with plastic wrap, start the fermentation function of the bread machine, and ferment to twice its original size, then take out the bread bucket and wrap it with a layer of tin foil and put it back. (The matte side of the tin foil faces the bread bucket)
21.
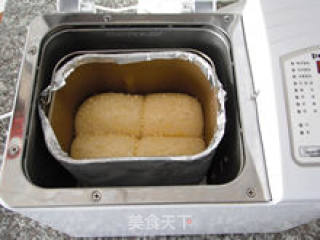
Brush a layer of whole egg liquid on the fermented dough, and then sprinkle an appropriate amount of milk crumbs. (I brushed the egg liquid twice to make the surface a little heavier)
22.
Start the baking function of the bread machine, set the time to 35 minutes, select "medium" for coloring, turn on the bread machine after 15 minutes, quickly remove the tin foil, and continue to finish by making)

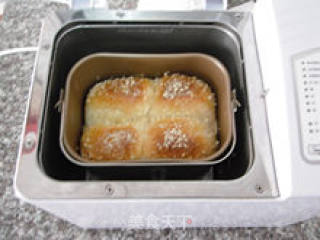
Tips:
Poetry heart phrase:
1: When adding raw materials, avoid direct contact between salt and yeast to prevent salt from killing yeast and affecting fermentation. When using the reservation function of the bread machine, the yeast should be placed on the top of the flour to avoid contact with liquid and early fermentation. In addition, although the amount of salt is small, it must be added. Its role cannot be ignored. It can strengthen the gluten of the dough and regulate the fermentation. (When using salt and yeast, because the amount is relatively small, I personally feel that it is more accurate to use a measuring spoon. A teaspoon of salt is equal to 5 grams, and a teaspoon of yeast is equal to 3 grams)
2: In front of He, I like to add the ingredients to a large bowl, stir with chopsticks until there is no dry powder, and then put it into the bread machine. This is to save the dough time of the bread machine, so that the mixed dough is put into the bread After the machine can be wrapped in a large piece on the mixing knife, generally 35 minutes of kneading can appear "glove film", but the power of different bread machines is different, so if the dough can not reach the complete stage within this time, you need to Add some mixing time.
3: Because the heating tube of the bread machine is on the four walls, if the color is light when baking, the color of the bread is just right around it, but the color on the surface is lighter. If the coloring is selected, the surface color of the bread is just right, and the coloring on the walls will be a bit too heavy. So when baking, you can wrap a layer of tin foil on the bread bucket and start the baking function. After baking for 15 minutes, remove the tin foil and continue baking. (The tin foil here is like baking bread in the oven and then covering it with tin foil. It is a good way to prevent the bread from being over-colored), so that the sides and surface of the baked bread are just colored it is good. But if you prefer lighter coloring around the sides, you can remove the tin foil after baking for 20 minutes. Conversely, if you prefer a darker color around the bread, you can appropriately shorten the time for wrapping tin foil. In addition, different amounts of bread have different baking times, so you need to treat them on a case-by-case basis.

