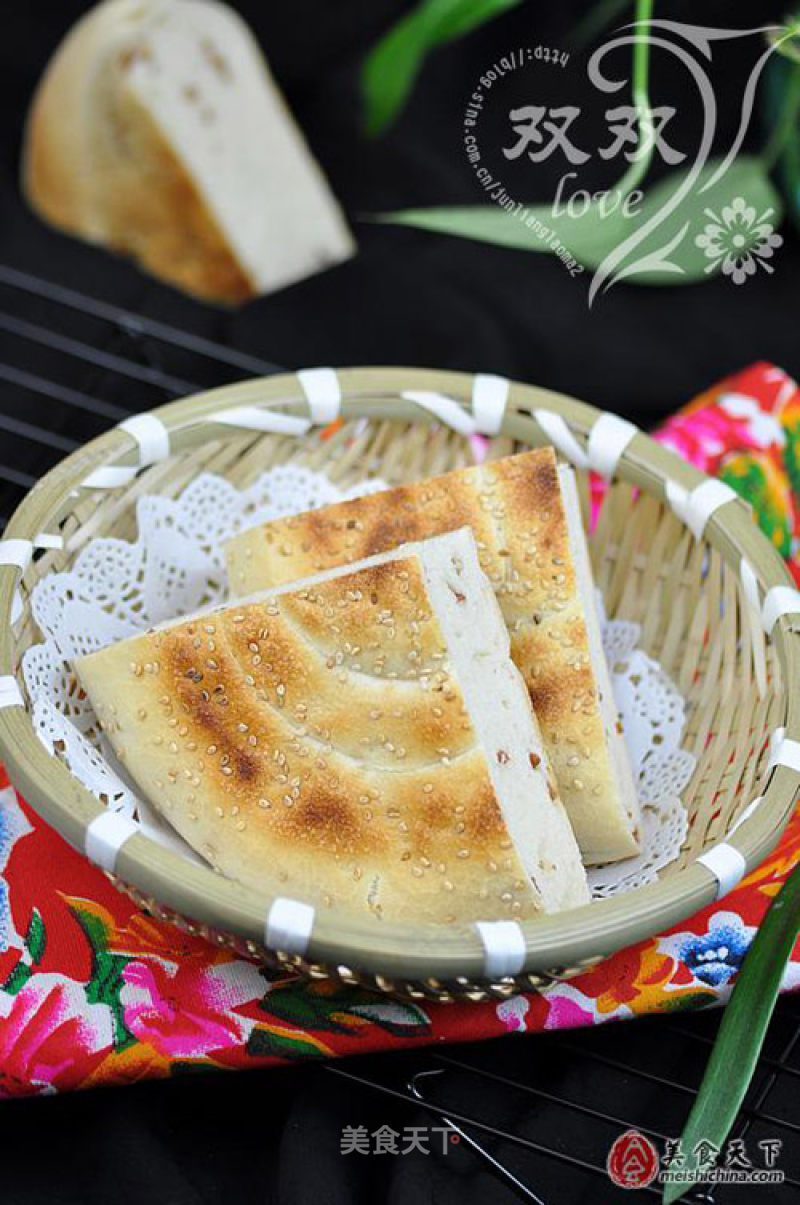
Hand-made "stomach Nourishing" Biscuits-bacon Pan Biscuits
1.
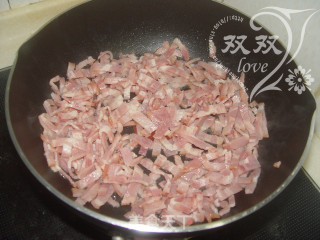
Chop the bacon, heat the pan, put the bacon in, and stir-fry on low heat.
2.
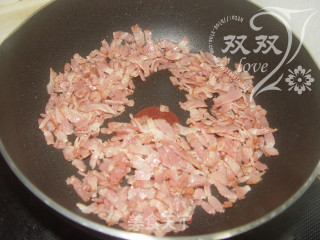
Stir-fry until the edges of the meat are slightly rolled up, turn off the heat and let cool.
3.
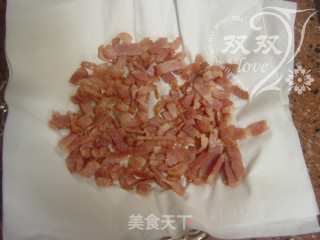
Pour it on kitchen paper and absorb the oil.
4.
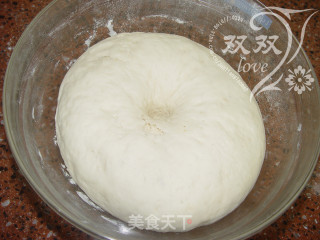
Warm water to dissolve the yeast powder, add the flour and noodles, and leave it in a warm place to ferment to double its size.
5.
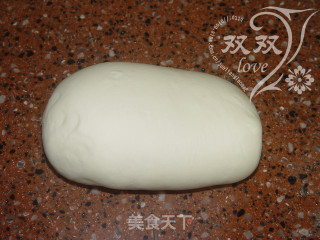
After fermentation is complete, take it out and knead it into a smooth dough. (Knead more)
6.
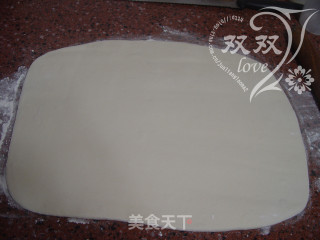
Roll out the dough into a rectangular pie.
7.
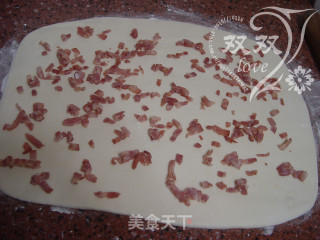
Sprinkle the bacon crumbles on top.
8.
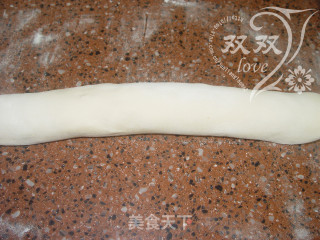
Starting from the bottom, roll up the pie slowly.
9.
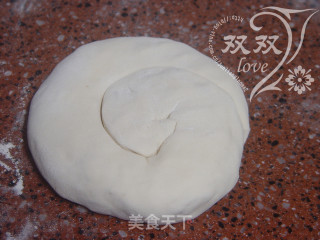
Start from the left end of the roll-up cake, roll it up, place the end underneath, and press.
10.
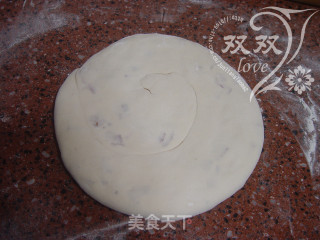
Press lightly with your hand, and use a toothpick to tie the place where there is gas. Let it stand and wake up for about 20 minutes.
11.
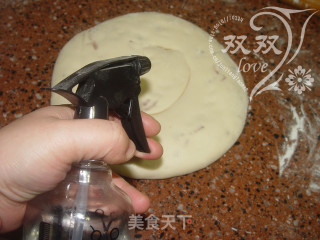
Spray water on the surface.
12.
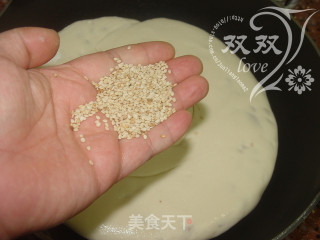
Sprinkle with sesame seeds.
13.
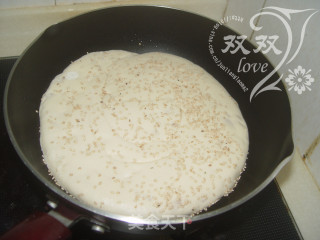
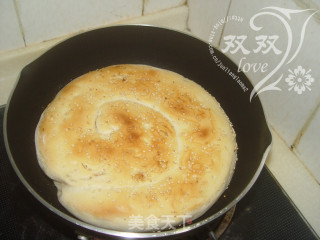
Heat the pan, turn the side with the sesame seeds down, spray water on the top, and sprinkle the sesame seeds.
14.
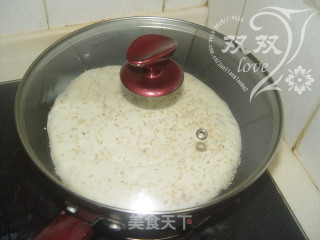
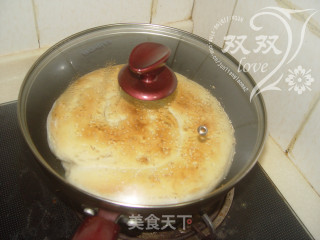
On a low fire, set a small shelf for boiling milk on the stove, put the pan on, and cover the lid.
15.
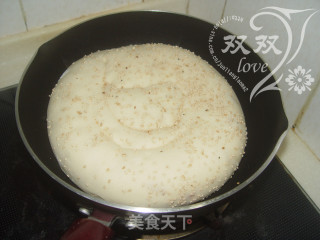
It is obvious that the cake is fermented when it is baked for about 15 minutes in a small fire, right? (Observe the coloring situation below, don't confuse the bottom)
16.
Turn the pie over.
17.
Cover the lid, and burn the bottom part again.
18.
Take out the cake, cut into small pieces with a knife, let it cool, and store it in a fresh-keeping bag to prevent it from drying out.


Tips:
1. After the bacon is fried, it has a faint burnt fragrance, and part of the grease can be removed.
2. The dough should be fully kneaded, and the dough should be slightly harder, and the taste will be better when it is baked!
3. With this kind of burrito, there may be residual air. You can pierce it with a toothpick and press it with your hands. Try not to use a rolling pin, it is easy to break the filling and reveal the filling.
4. In order not to paste the pot, put the small hot milk stove that comes with the stove on it, keeping the bottom of the pot and the flame a little far away.
5. When the lid is closed, water vapor will be generated, and the cake will be softer inside. If you like to eat hard and dry ones, you can leave the lid uncovered.
6. The time for sintering should also be determined according to the size of the firepower, so be sure to check it frequently to prevent the bottom from getting muddled!

