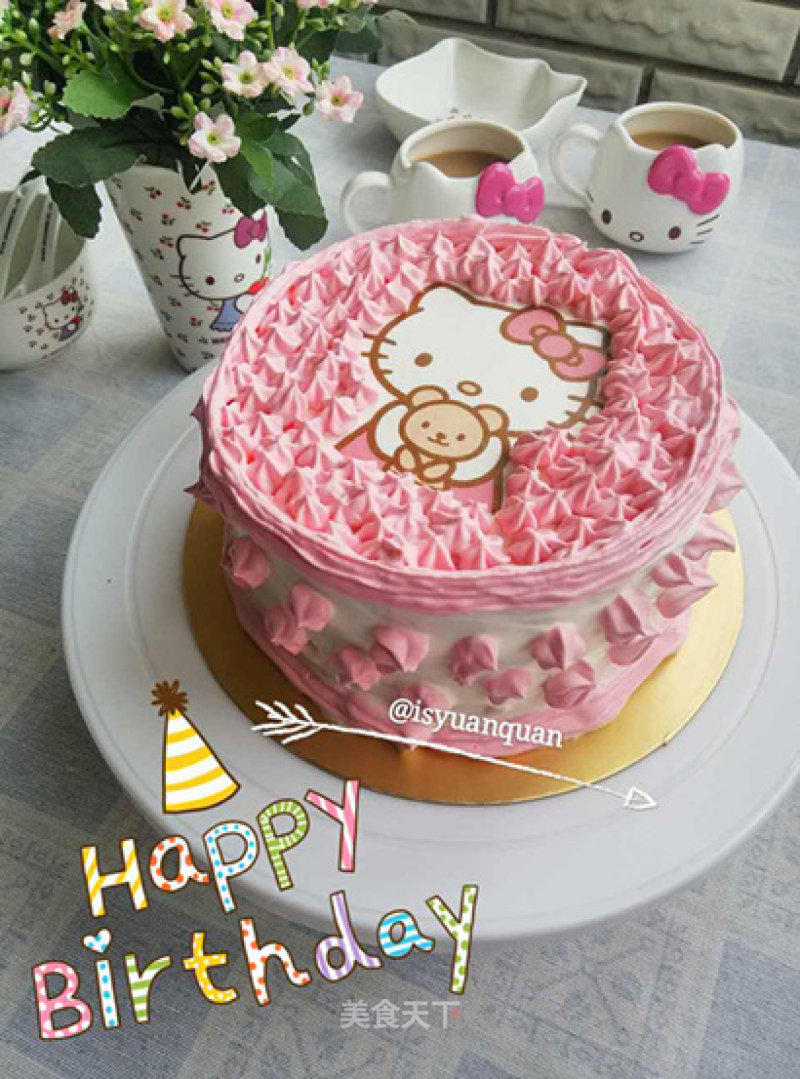
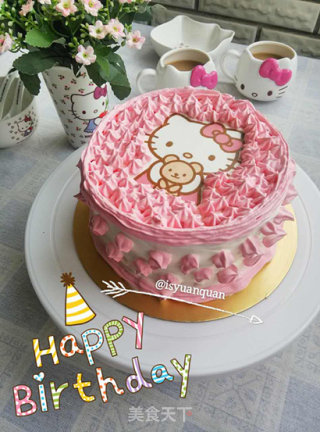
Hello Kitty Cream Birthday Cake (6 Inches)
1.
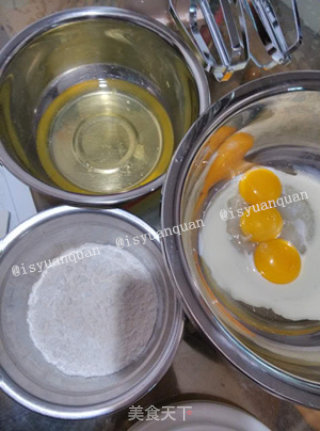
Do chiffon first. Separate the egg whites and egg yolks, put the egg yolks, corn oil, milk, and salt into a basin, and put the egg whites in another oil- and water-free basin.
2.
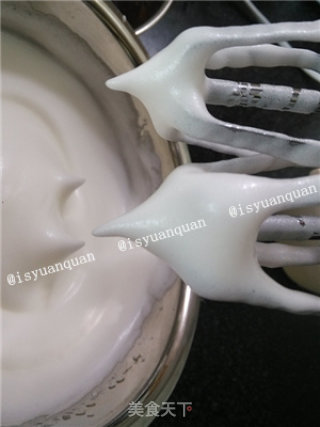
Add a few drops of lemon juice to the egg whites until thick foaming, add sugar at a time to beat hard meringue, lift up the egg beater to appear upright small triangles, and put the beaten meringue in the refrigerator.
3.
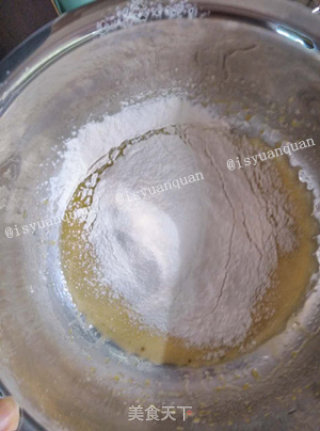
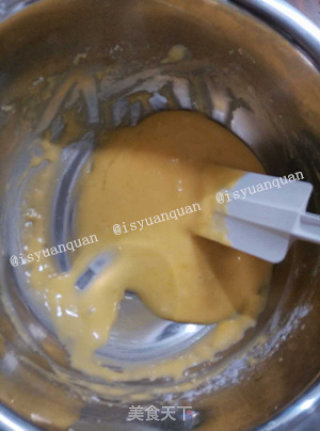
Stir the egg yolk, corn oil, milk, and salt evenly, and sift into the low flour. At this time, preheat the oven to 125 degrees.
4.
Sift in low flour and stir into a particle-free egg yolk paste.
5.
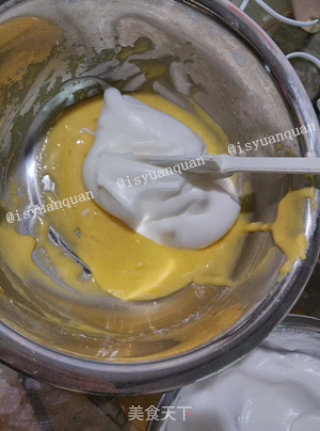
Take the meringue out of the refrigerator, scoop half of the meringue into the egg yolk paste, and mix quickly evenly.
6.
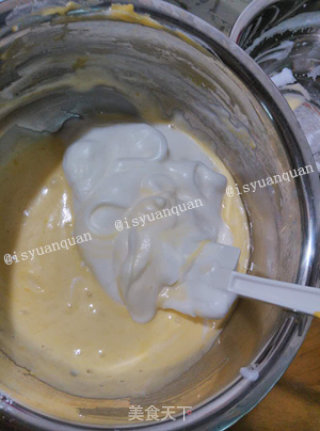
Pour the remaining meringue into the basin and continue to mix until it becomes a cake batter.
7.
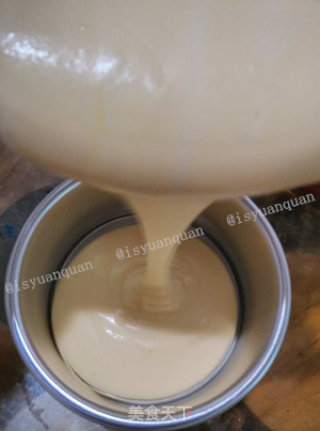
Pour the cake batter into a 6-inch mold and gently shake out bubbles.
8.
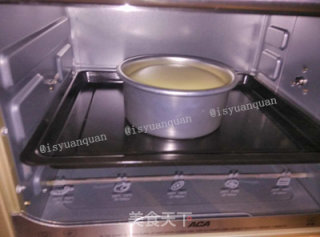
Put it in the middle and lower level of the ACA oven, which looks like 125 degrees for 20 minutes.
9.
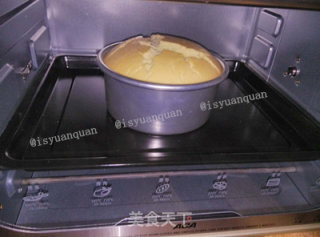
Here comes one before it is released. This is 125 degrees and 50 minutes. It's so capricious, haha.
10.
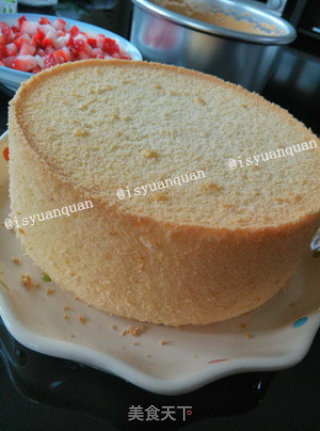
After being out of the oven, it is inverted, and it is completely cooled before demoulding. When baking the cake, take care of the strawberries.
11.
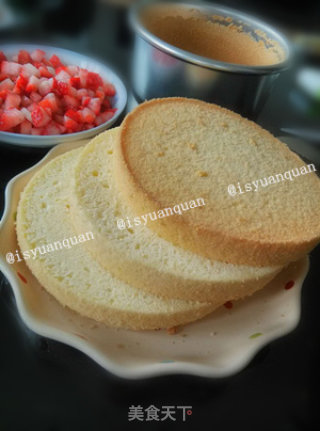
After unmolding the cake, cut it into 3 slices.
12.
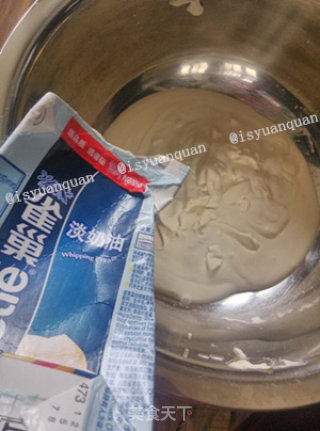
Put animal whipped cream in the refrigerator in advance for at least 12 hours. Pour this box of 250ML into an oil- and water-free basin.
13.
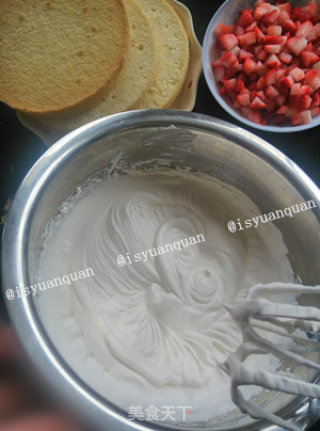
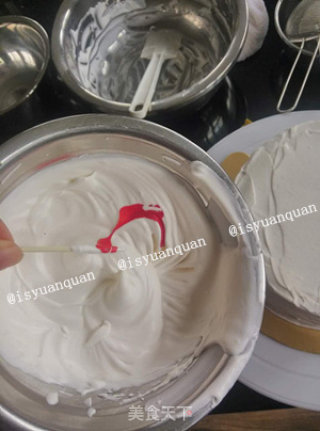
Add sugar and beat until there are lines, it looks firmer. Divide a small part of the cream into a clean basin. This one is to be used for decorating and put in the refrigerator first; most of the remaining cream is used to spread the noodles and stuffing.
14.
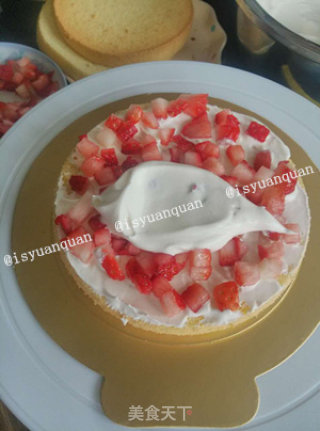
Start filling, take a slice of cake and spread a little cream frosting, spread strawberry diced, and then put a layer of cream frosting on the second slice of cake. Repeat this step until the three cake slices are used up.
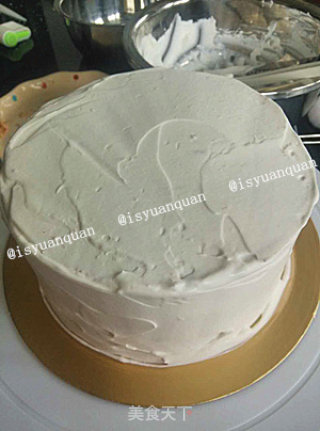
15.
Look at this wipe, I have tried my best, ha ha!
16.
Take out the reserved butter cream from the refrigerator, add food coloring, and add in small amounts several times to adjust the color you like.
17.
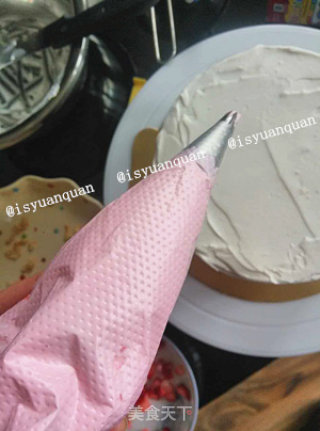
After adjusting the color, put it into a piping bag, spread the edible print pattern in the middle of the cake, and then squeeze the small flowers and the rim. The hands are full of cream, no pictures~
18.
It’s the first time to make a birthday cake. The surface and decoration are rough. You can only look at it from a distance, huh!

Tips:
1. Regarding chiffon, there will be different degrees of cracking every time you bake it. Although it is cracked, it does not collapse or shrink, and it does not affect the taste, so I still choose to crack, haha! (This time around 125 degrees and 50 minutes)
2. Whipping the cream, often some friends say that this brand of animal cream is not easy to whipped, I have used it twice (the first time is to make strawberry naked cake, see the recipe), maybe it is related to the temperature, put it in the refrigerator It is easier to pass after refrigerating for at least 12 hours.
3. This time I used a box of cream (250ml). After whipping, filling, pasting and decorating are just enough. If it is a complicated decorating, the amount of cream needs to be increased. Record the amount this time. For future reference.
4. Animal cream is healthier than non-dairy cream, but it is not as stable as non-dairy cream and requires low-temperature operation. Now it is winter, and it is easier to operate than summer, but I wear cotton gloves when decorating the flowers to prevent the temperature of the hands from affecting the cream. After decorating the flowers, they still need to be stored at a low temperature.
5. Regarding edible printing patterns, there are many options online, and you can also provide photos for sellers to customize their favorite patterns.

