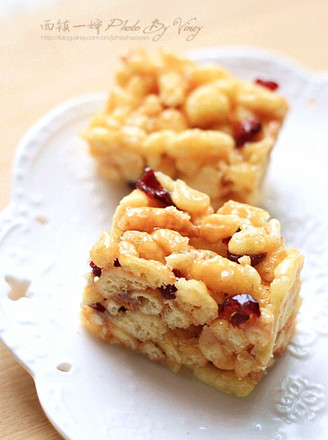
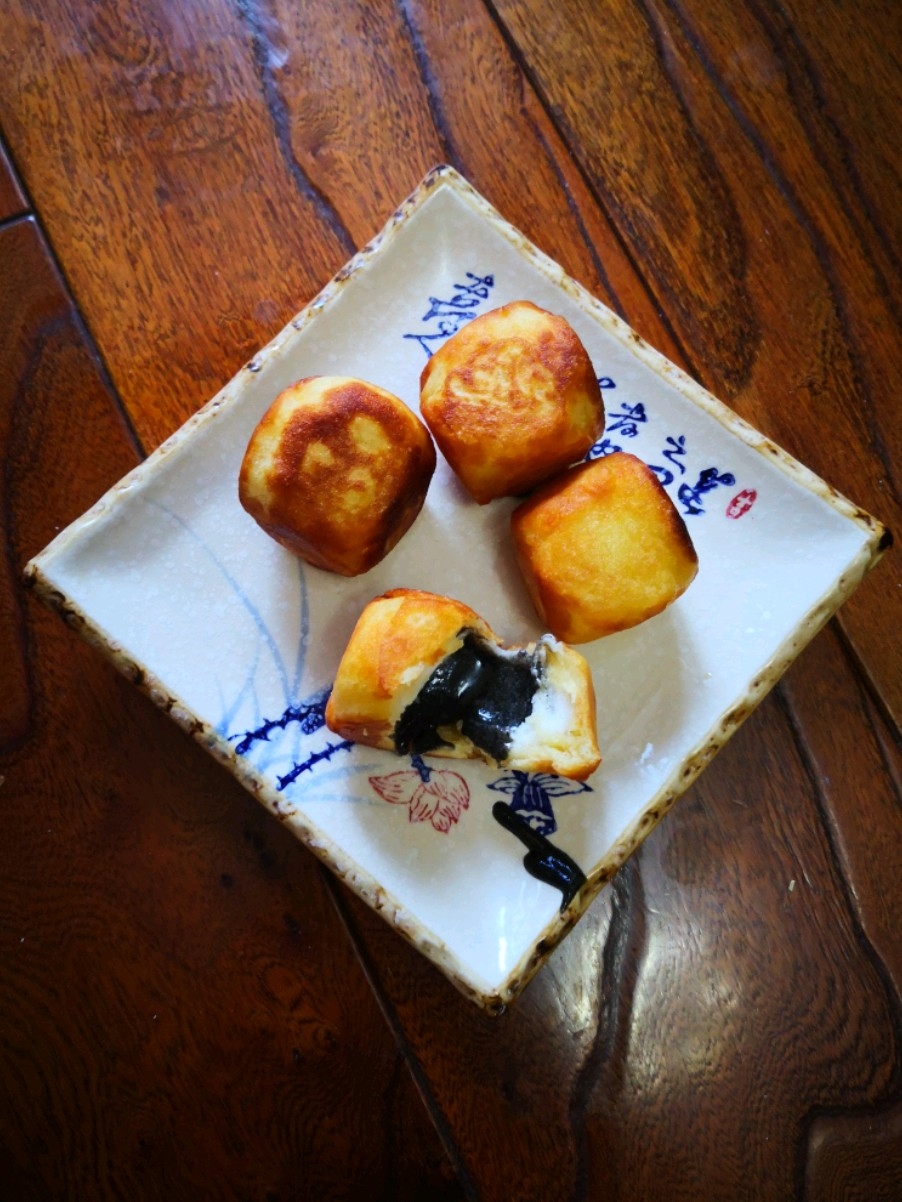
Homemade Sachima
1.
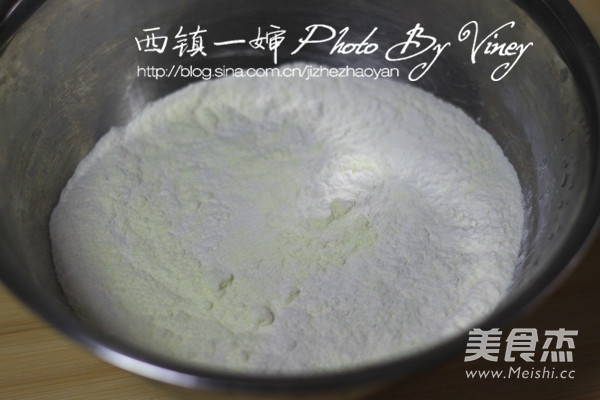
Mix ordinary flour and milk powder
2.
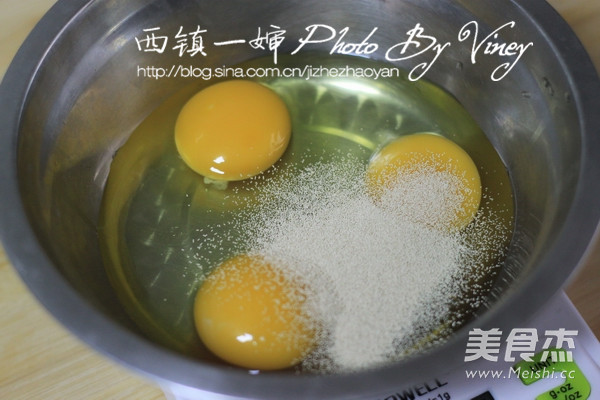
Find a small pot, add three eggs, pour dry yeast, and mix well with chopsticks
3.
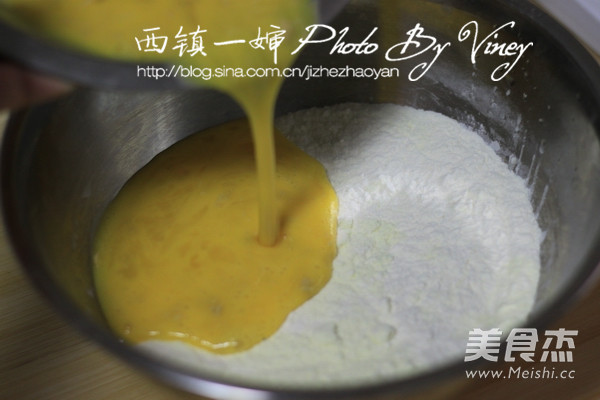
Pour the egg liquid into the flour
4.
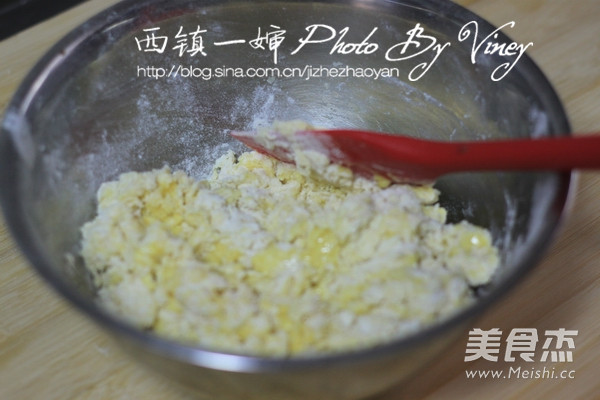
Then stir evenly with a spatula. Because the dough will be sticky, don’t use your hands
5.
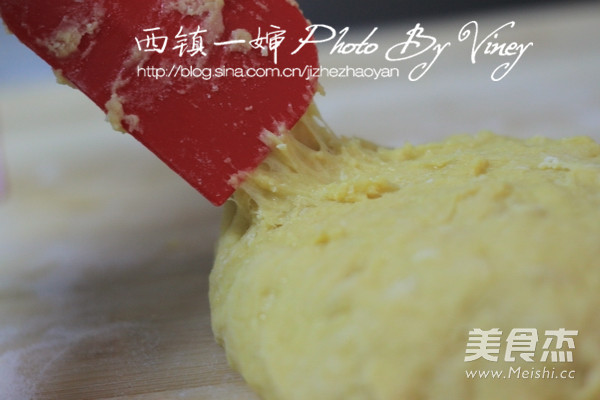
Shaqima's dough should not be too dry, otherwise the noodles will taste too hard, like the wet viscosity in the picture, so I don't recommend you to knead it with your hands, it will be very sticky
6.
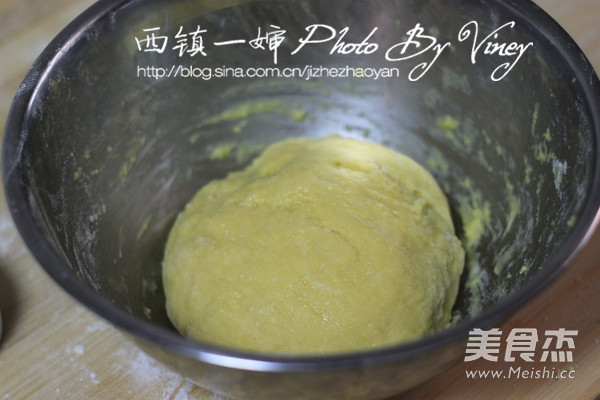
Leave the dough in the bowl, cover with plastic wrap, and let it rest for 40 minutes
7.
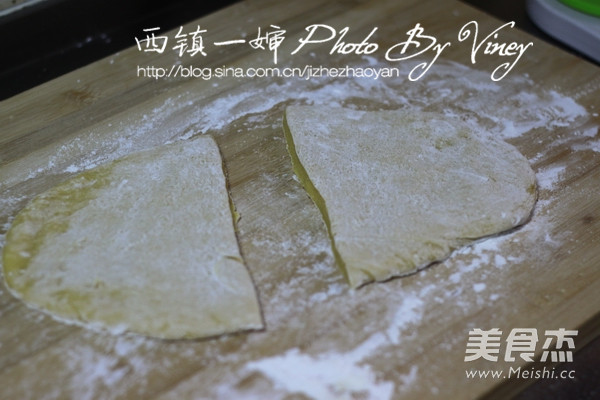
After forty minutes, put some cornstarch on your hands to take out the dough. Also pour some cornstarch on the chopping board to prevent sticking, then roll the dough into large pieces, and then cut it in half
8.
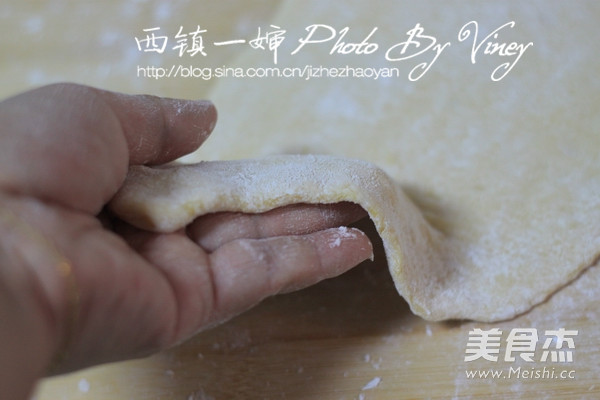
Continue to roll the sliced dough out, as far as possible into a rectangular shape, the thickness is about this, about 0.2 cm. The correct Sachima noodles are very soft. When I take photos to show the thickness, the noodles are soft and difficult to pull up.
9.
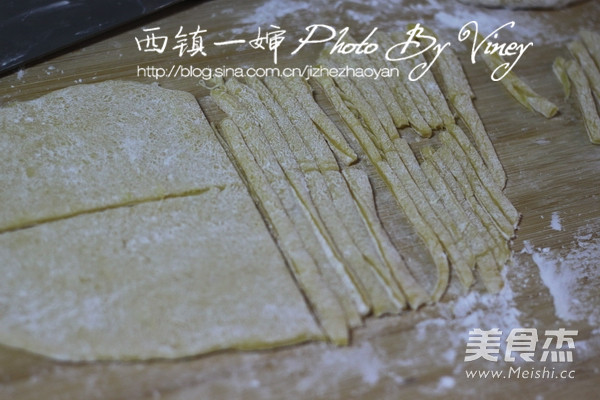
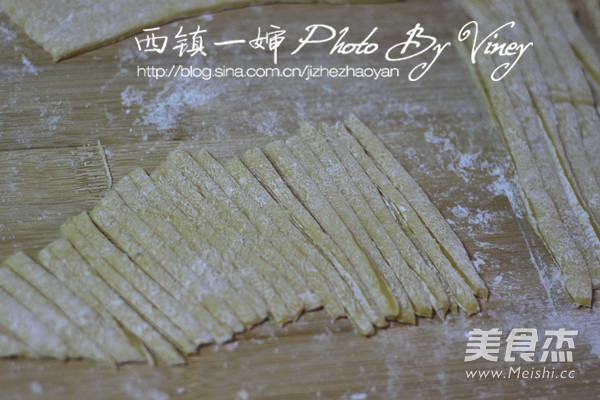
Then cut the dough piece from the middle, and then cut it into 0.3-0.4 cm wide strips
10.
Anyway, the noodle size is like this.
11.
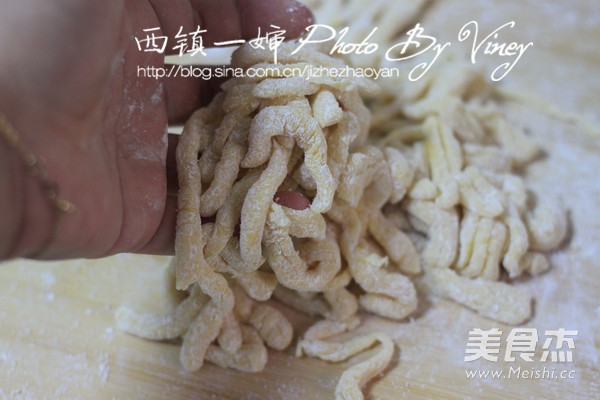
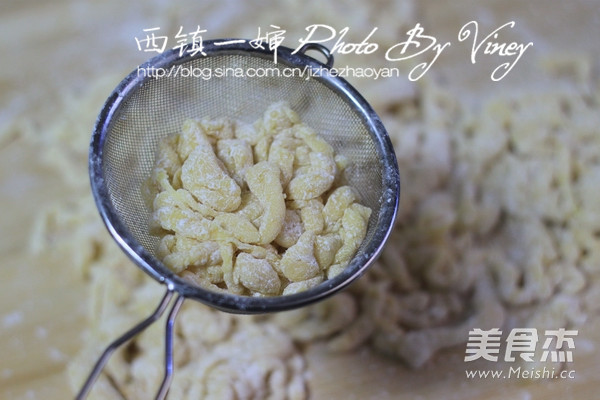
Then sprinkle some cornstarch to scatter the noodles into one root, don’t stick
12.
Then use flour to sift out the excess starch in the noodles
13.
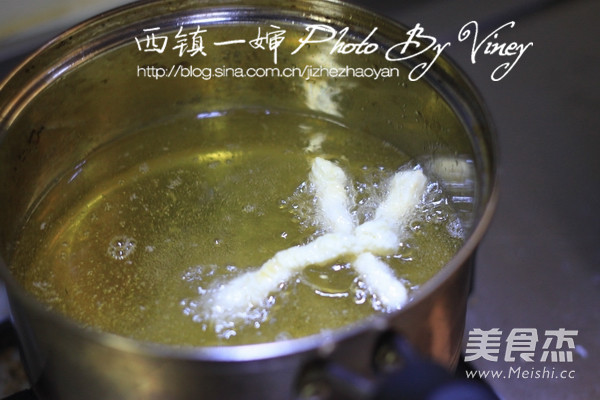
Pour an appropriate amount of peanut oil into the pot and heat it over medium heat. How far is it heated? Just throw a piece of noodles in and it will float right away.
14.
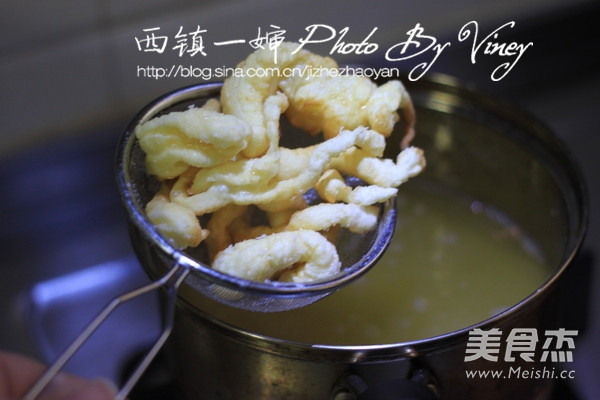
My pot is small, so I put some noodles in a flour sieve and put them in the oil for frying. The noodles swell as soon as they encounter oil. It is spectacular. Remember not to fry it for too long, as the noodles turn slightly golden and quickly take it out. Shaqima will become very hard after being fried
15.
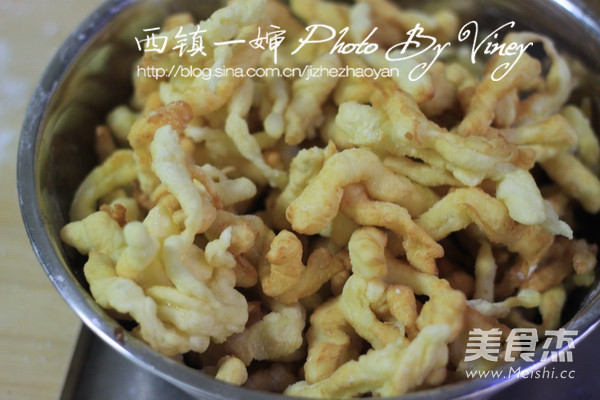
This is how the noodles are fried and set aside for later use
16.
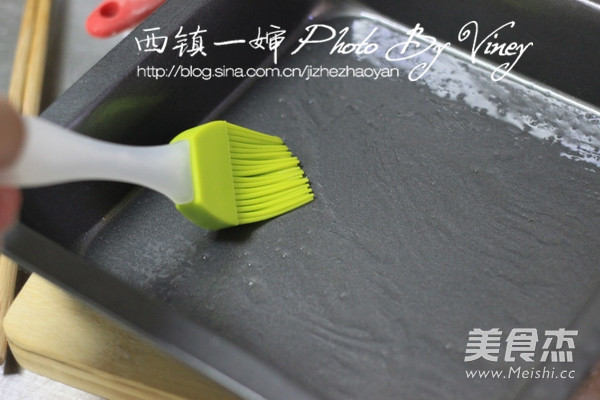
Then grease all the walls of the container with Shaqima
17.
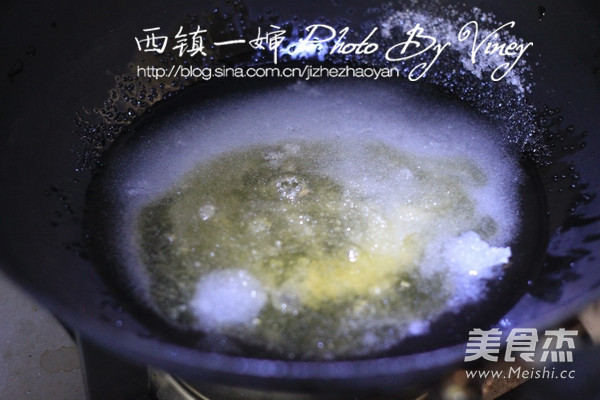
At this time, start to boil the syrup. Pour the maltose, granulated sugar and water used to make the syrup into a pot, and simmer on a low heat.
18.
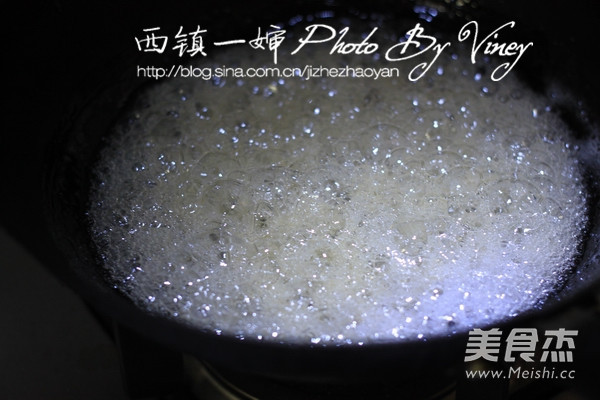
The syrup will be opened in a while. At this time, use a temperature agent to measure it and turn off the heat when it reaches 115 degrees.
19.
If you don't have a temperature agent, just use chopsticks to take up the syrup, and after a little cooling, you can pull out the filaments as shown in the picture. Or prepare a bowl of cold water, dip a little syrup into the water with chopsticks, and the syrup will solidify immediately after entering the water.
20.
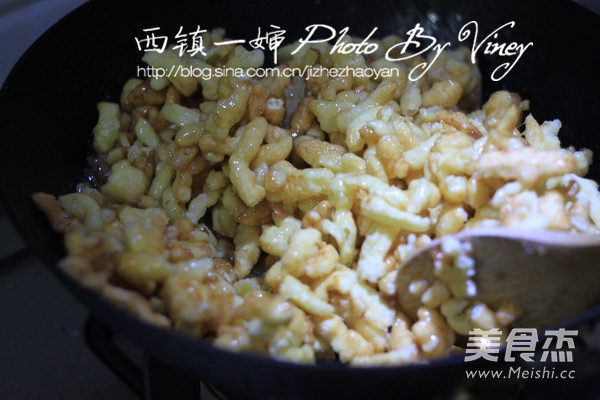
After turning off the heat, immediately pour the noodles in, and pour in the dried cranberries. Use a spatula to stir-fry each noodle evenly. The action must be fast, or the syrup will solidify as soon as the temperature drops.
21.
After wrapping, while hot, pour the noodles into the greased container. Dip some water on your hands and flatten them.
22.
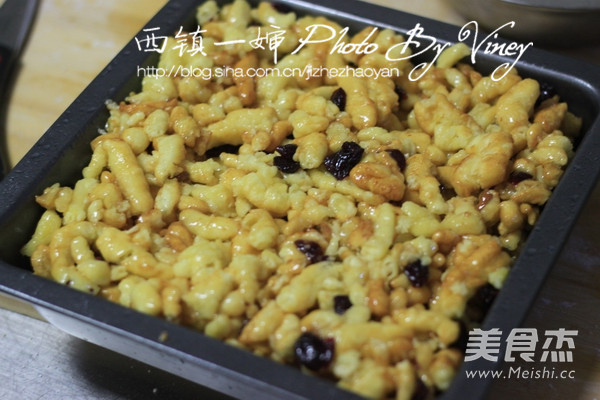
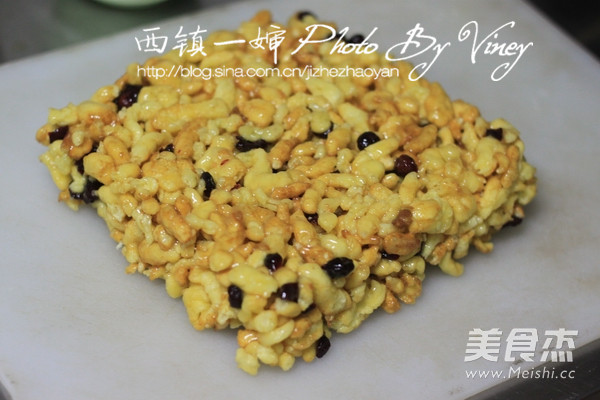
After that, wait for it to completely cool down and set the shape. This is what it looks like after it has been completely cooled and shaped. I waited for about two hours. It looks like Shaqima. Cut into pieces and you can eat it

Tips:
1. Shaqima's dough must be sticky, and the noodles will be soft when the water is large;
2. If there is no dry yeast, you can also put a little baking powder, of course, you can also put nothing, but the dough will not be fluffy and the taste will be hard;
3. If there is no maltose, you can use honey or all granulated sugar to replace it. It must be boiled to 115 degrees. But try to use maltose, because maltose has viscosity, can make the cakes soft, fluffy and delicious, and can reduce the sweetness. The sweetness of maltose is only one third of that of sugar. If all sugar is used, it will be too sweet. In addition, the color of caster sugar will become darker during cooking, so if you accidentally boil it into caramel, your efforts will be lost. The addition of maltose can make the syrup clearer, and it can also ensure that the finished product will not loosen easily after being shaped;
4. The noodles should not be cut too thick, because the oil will expand very much, let me see it is about 1:4 size;
5. If your shaqima falls apart when it is cut into pieces after it has been shaped, it means that the syrup has been boiled incorrectly. It must reach the temperature and state as I mentioned in step 18.
7. In addition to dried cranberries, you can also add sesame, peanuts, and raisins to make a cut cake of your own, haha;
8. Once it is cooked and cooked again, it’s okay if it fails the first time, just do it a few more times. The first time I did it, it looked very awkward. You can save the fried oil for next time.

