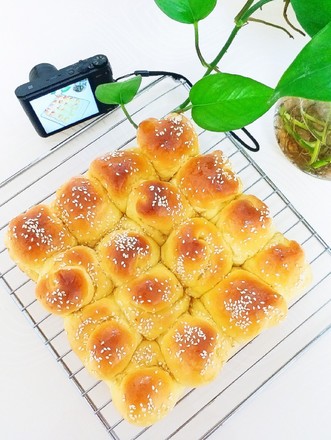
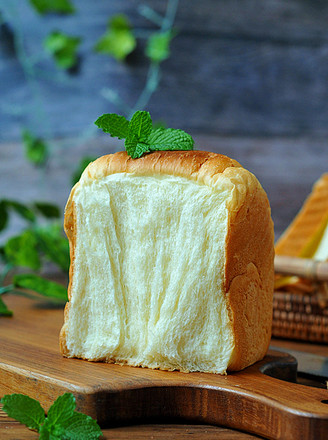
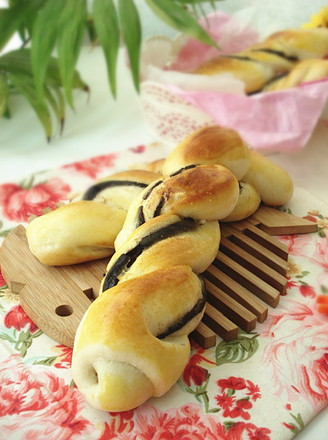
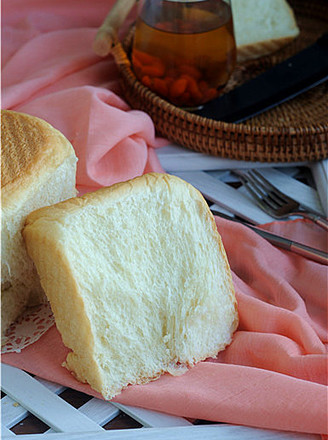
Honey Crispy Bread
1.
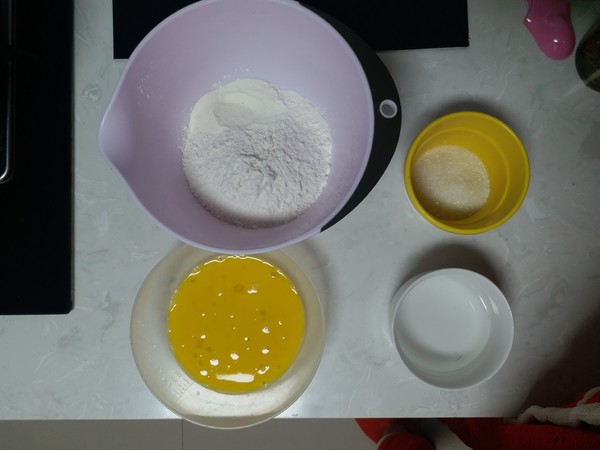
Prepare all materials
2.
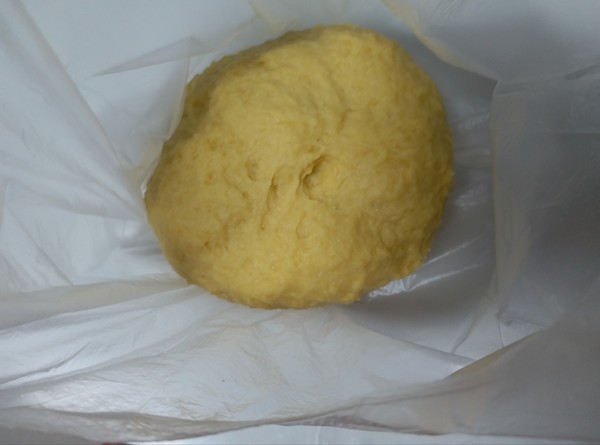
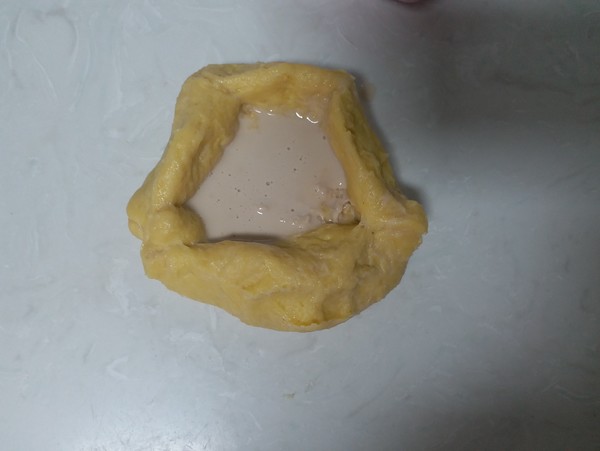
All ingredients except yeast, reserve 10 grams of liquid, mix and knead (this bread does not add butter)
3.
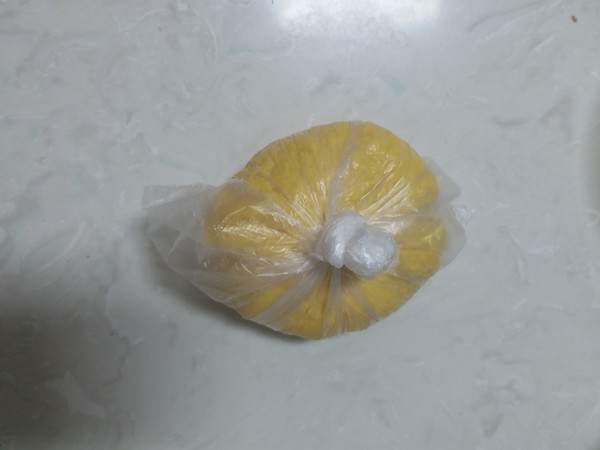
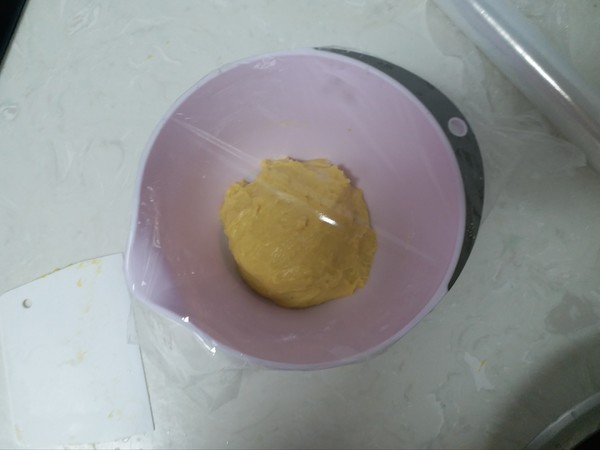
Pack it in a fresh-keeping bag, fasten it and put it in the refrigerator and let it stand overnight (I used the yeast post-position method). I use the manual kneading method. If you use the chef's machine to knead, please ignore this step and directly follow the chef's machine kneading procedure.
4.
The next day, take out the resting dough and warm it up slightly, put the yeast into the reserved liquid, mix and melt (apply the reserved liquid reasonably according to the dry humidity of the dough), and then put the dough into the dough and knead it by hand, knead , Beat
5.
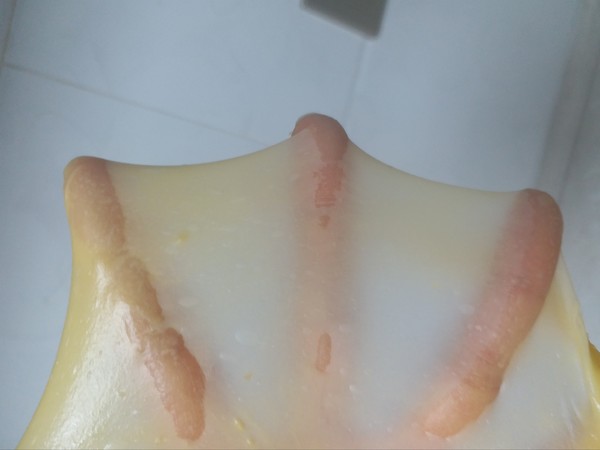
Knead into glove film
6.
Put it in a basin and perform a shot in a warm environment
7.
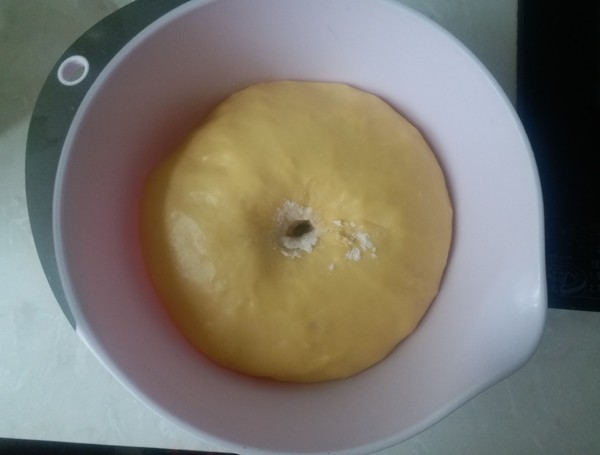
Fermentation takes about an hour at a temperature of about 28 degrees, and one shot will be completed without collapsing or retracting by hand poking the hole.
8.
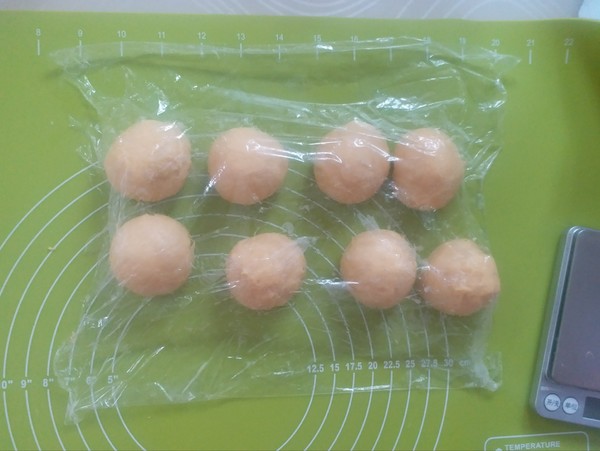
Take out the fermented dough and gently press it to exhaust, divide it into eight doughs and round them, cover with plastic wrap and relax for about 15 minutes
9.
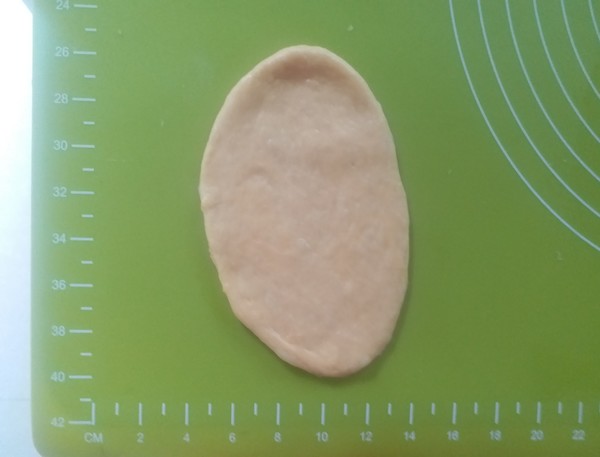
Take out a loose dough and shape it into an oval shape with a rolling pin. Don’t roll it too long.
10.
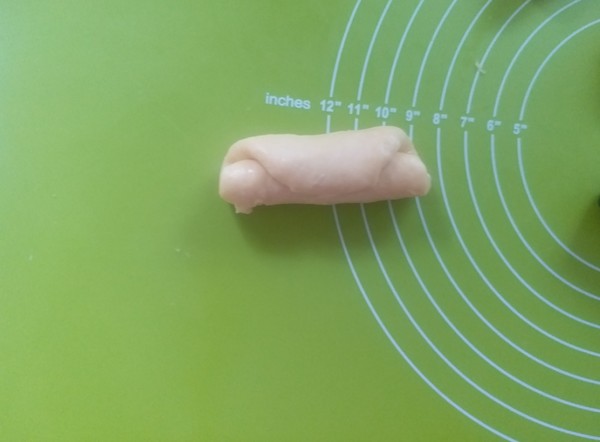
Roll up from bottom to top, the joint must be pinched tightly to prevent loosening and deformation during the second serve
11.
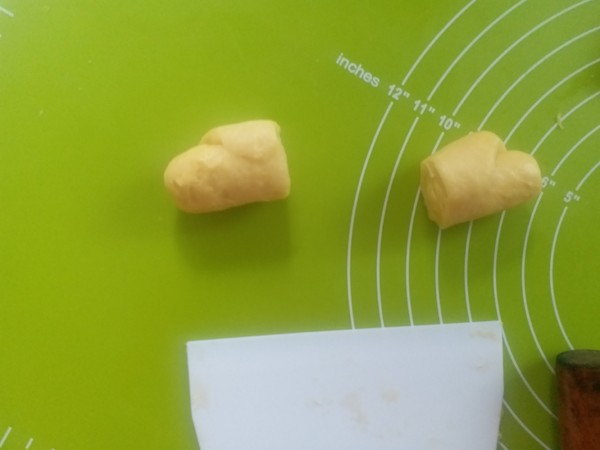
Divide the rolled dough into two with a knife
12.
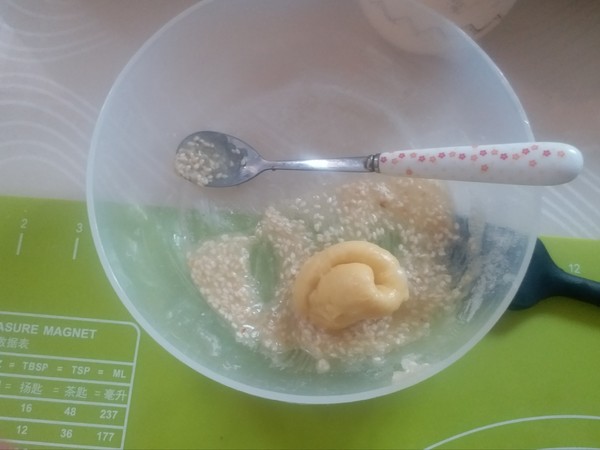
Dip water on the bottom of each dough, and then dip some mixed and crispy bottom ingredients
13.
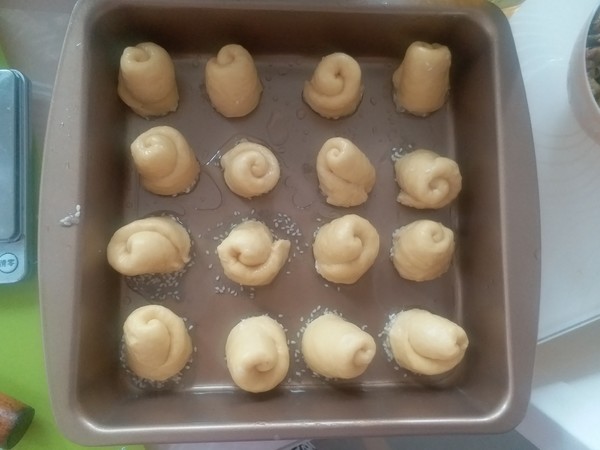
Place a spaced eight-inch square plate brushed with corn oil, and brush the sides of the square plate with corn oil.
14.
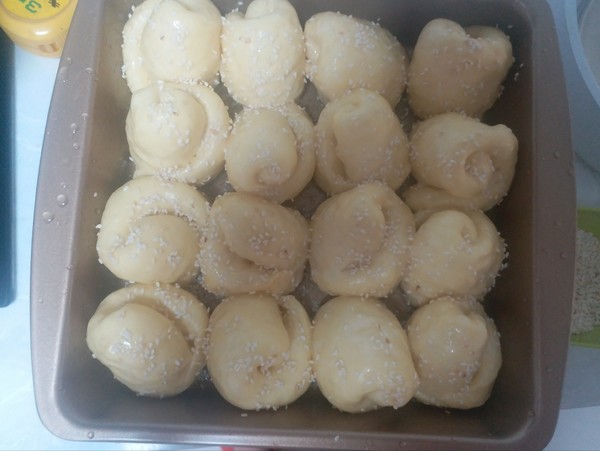
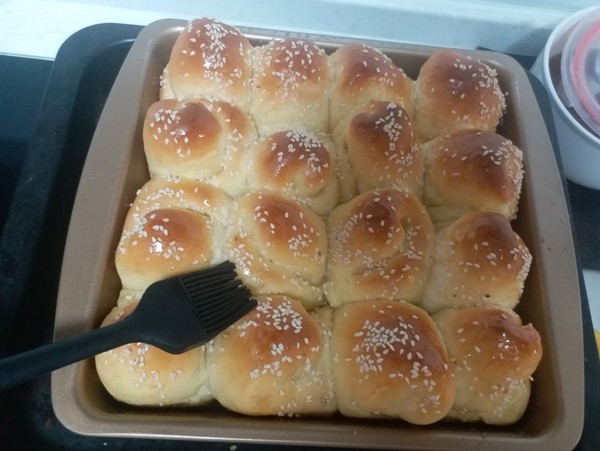
Put it in the oven at 35°C, take about 60 minutes to send twice, and send to three times the size, spray some water on the fermented bread embryo and sprinkle white sesame
15.
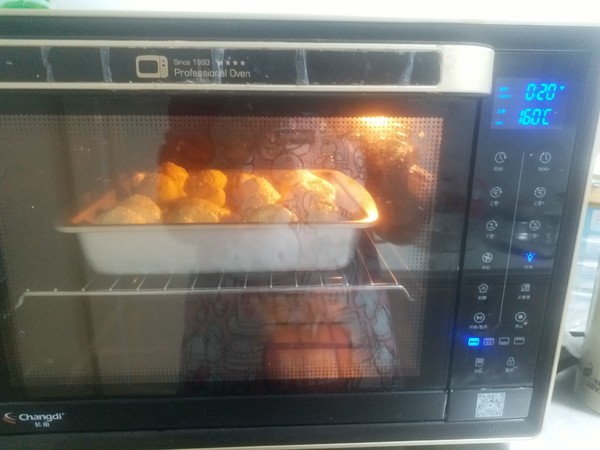
Put it into the preheated oven and heat up to 160, lower the heat to 180 and bake for 20_22 minutes
16.
Prepare honey water, half a spoon of honey, and half a spoon of clean water during baking, mix well, brush with honey water immediately after baking
17.
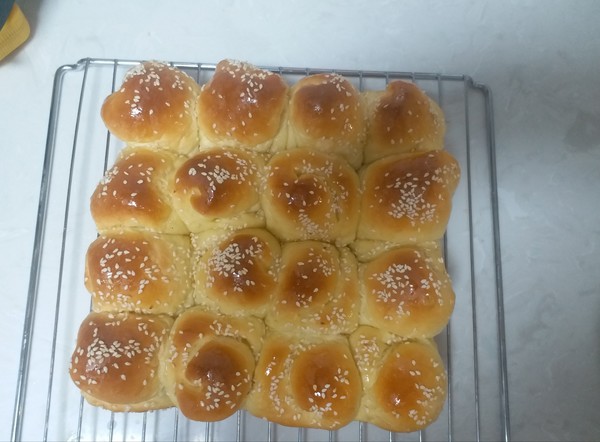
Unmold and put on the grill to cool to hand temperature, bag and seal
Tips:
1: Flour is different in each family, the season is different, and the water absorption of the flour is different, so you must reserve the liquid and increase or decrease it reasonably.\n2: Brush the bottom of the mold with a little more oil, the finished product will be more crisp when baked\n3: Baking time and temperature According to the temperament of each oven\n4

