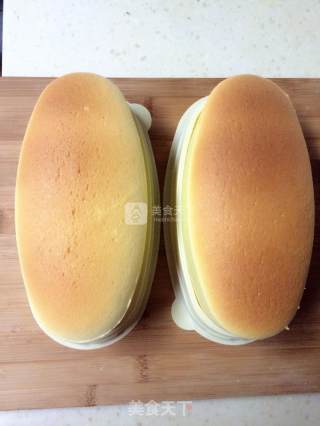
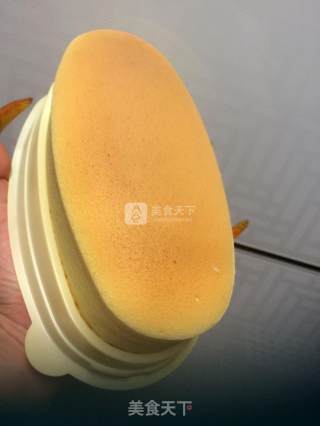
Light Cheese Cake ~ Easy to Use Version
1.
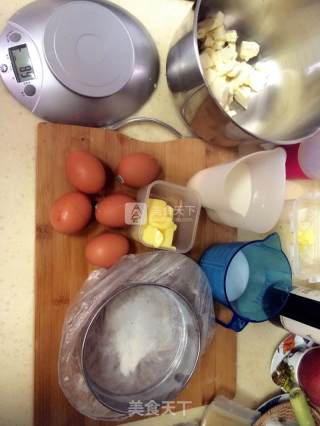
All ingredients are weighed and cheese is softened at room temperature in advance
2.
Make a pot of water for use
3.
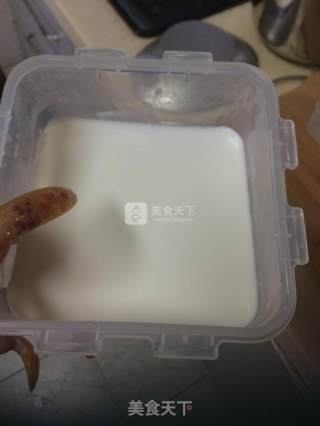
Heat the milk in the microwave for 20 seconds until it is warm
4.
Put water in the baking pan, my oven is 32L, the full pan is about 250ML, about one centimeter high, please adjust it yourself.
5.
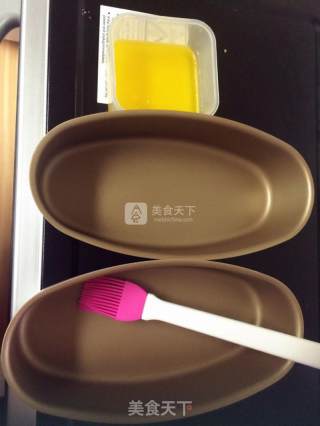
Heat the butter in the microwave for 20 seconds, then brush a layer in the mold with your hands, not too much.
6.
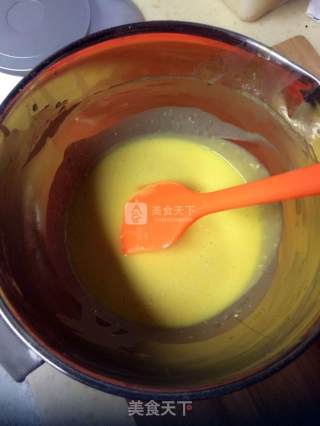
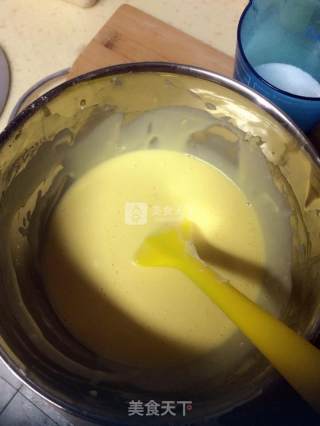
Start to make egg yolk paste. Use a whisk to beat the yolks evenly. Add 100 grams of yogurt and mix well. Pour the melted butter and mix well. Add the sifted low powder and mix well until no particles are smooth;
7.
Put the weighed cream cheese in the basin. Please soften it in advance. Use an electric whisk to beat evenly. Then add 100 grams of milk to beat well. Put the cheese basin on a pot of hot water and melt it. Cream cheese until it has no particles and is completely thick.
8.
Add the cheese paste to the egg yolk paste and mix well
9.
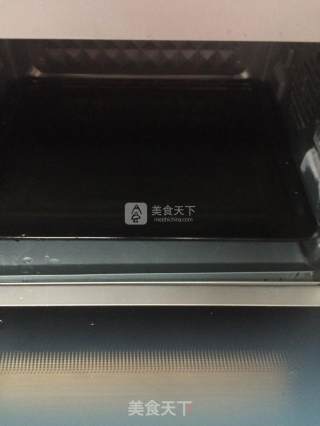
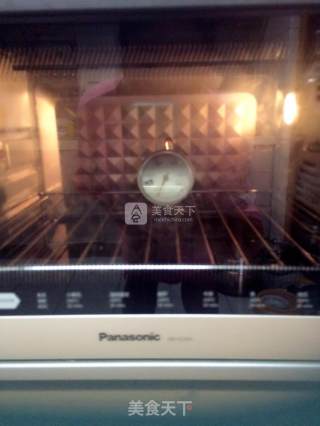
Preheat the oven to 230 degrees.
10.
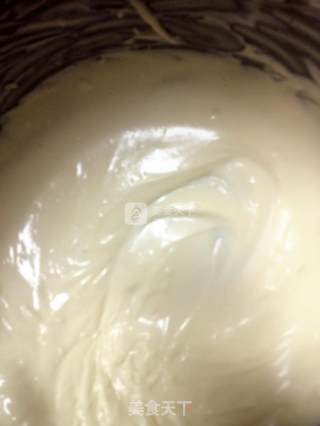
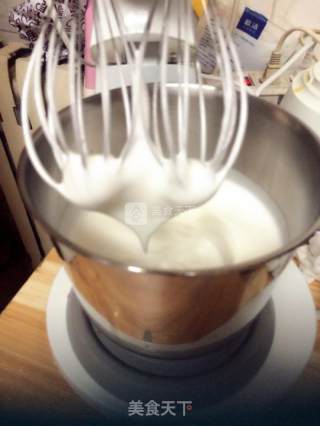
Add a spoonful of salt to the egg whites, about 1g. Beat until fish-eye bubbles are formed, add a few drops of lemon juice, and add fine sugar in three times, stir until moist foaming, and distribute about seven times, that is, lift the whisk head to pull out a slightly shaped triangle. It cannot be made dry, otherwise it will easily crack. [There are a lot of bubbles in the process of whisking the egg whites, and the bubbles will expand and burst when the temperature is too high, so the egg whites must not be excessively beaten, just 7 minutes of wet foaming]
11.
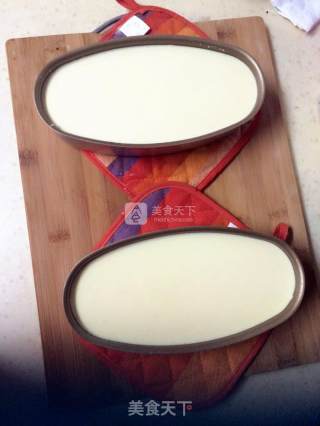
Add 1/3 of the whipped egg whites to the batter in 8 and mix well with the cutting and mixing method. Pour the well-mixed batter back into the remaining 2/3 of the egg whites and mix with the same cutting and mixing method. Evenly; pour the mixed cheese batter into the baking tin, flatten it, and pour it into eighty-eight full. Look, the recipe is just right.
12.
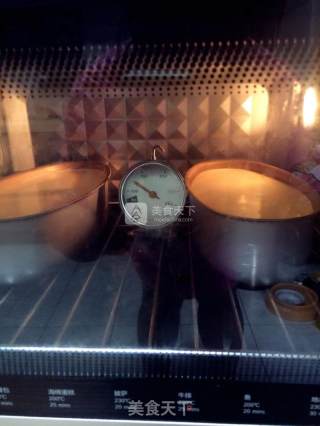
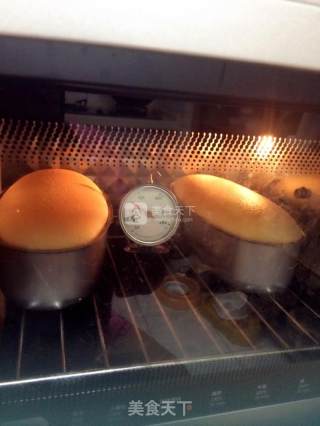
Put it in a preheated oven and bake in water (water bath method). Bake the upper and lower heat, the middle and lower layers, and bake at 230 degrees for 10 minutes to color, and then turn to 160 degrees and bake for 60 minutes.
13.
The fire of my Panasonic oven is weak, it takes only 20 minutes to color
14.
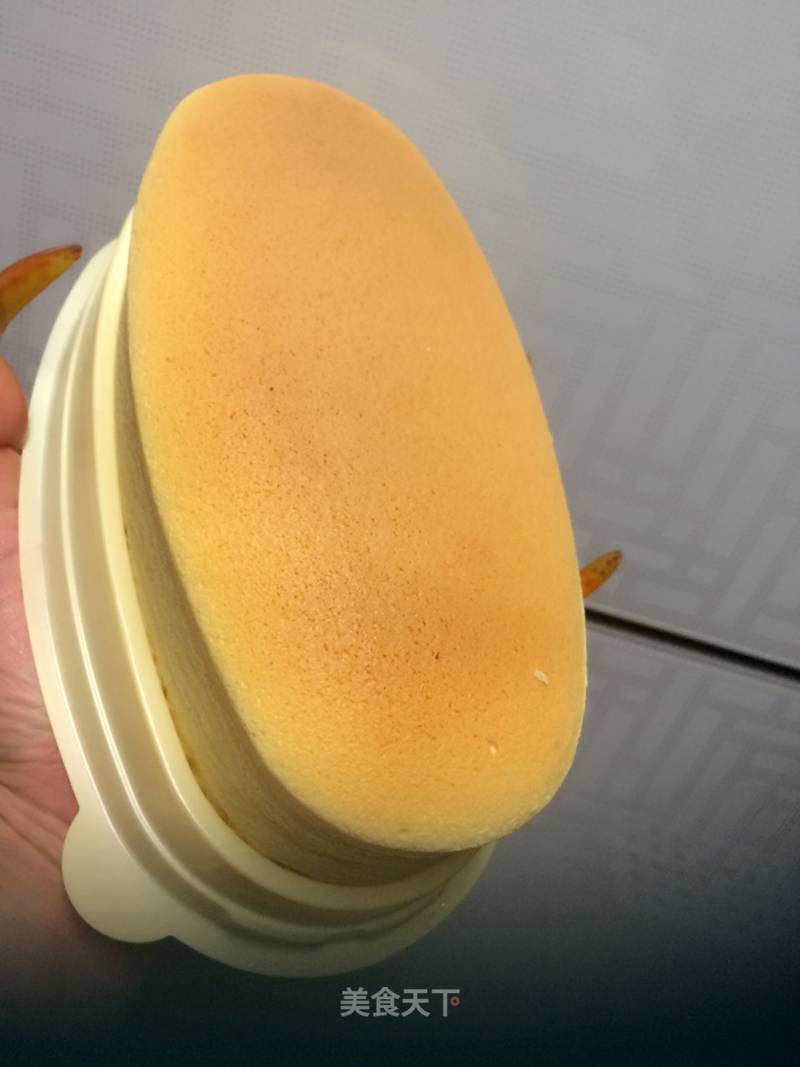
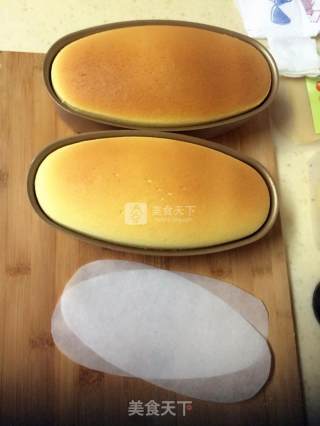
Approximately 3 minutes after baking, remove the mold while it is hot, and place it in a moderately sized plate. You can put it on a greased paper to hold it. It is convenient, and then it is placed in the cake tray, and it will taste better if it is stored in the refrigerator overnight.
15.
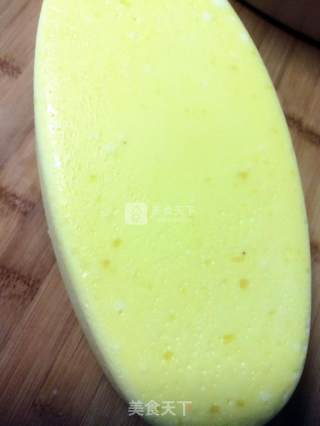
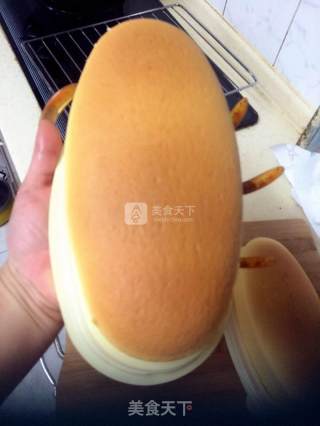
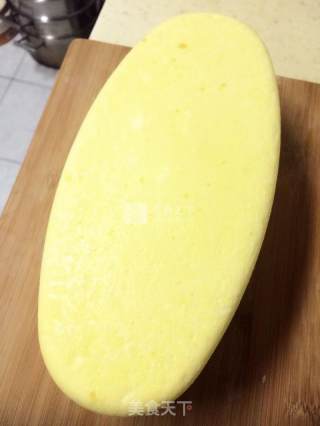
Bottom~
16.
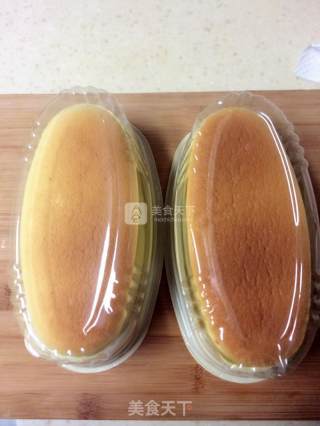
There is oil paper for easy packing in small boxes, and it is hygienic
17.
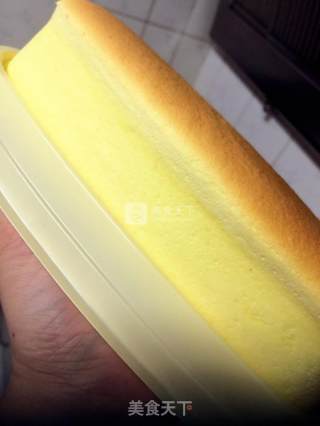
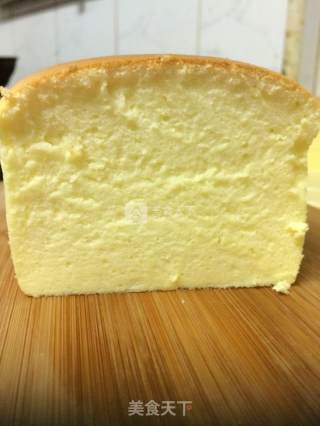
Perfect noodles~~I don’t think about pectin noodles if you eat it by yourself
18.
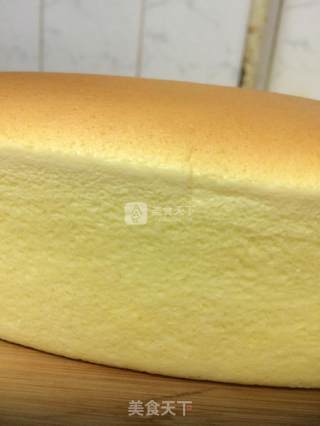
side
19.
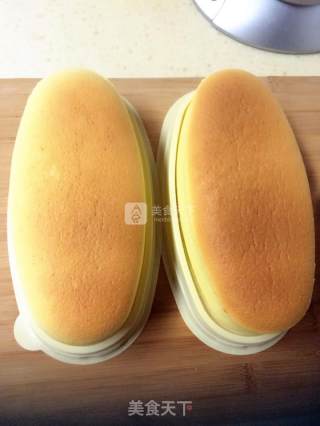
In the box
20.
Doesn’t it look like it’s sold?
21.
Hard show
22.
Show
23.
Show
24.
Okay, don’t watch it, go do it, go to show your own go🐥🐥🐥
Tips:
1⃣️ I use homemade yogurt because I always make yogurt. This recipe is also an upgraded version of yogurt cake. Yogurt is good for the stomach and intestines, and it will make the cake more delicate. It can be replaced by 100g of milk, and the formula is 200g of milk.
2⃣️ The oven is different. I think it can be painted at 230 degrees for 15 minutes, and I use Panasonic, the temperature is low, about 20-25 minutes, for your reference.
3⃣️ Let the oven cool and wipe it thoroughly, there may be water underneath.
4⃣️ Regarding corn starch, novices can put in more than ten grams, 67+13, and have a custom-made use for setting the shape. In fact, the cheese will naturally condense when it is cold.

