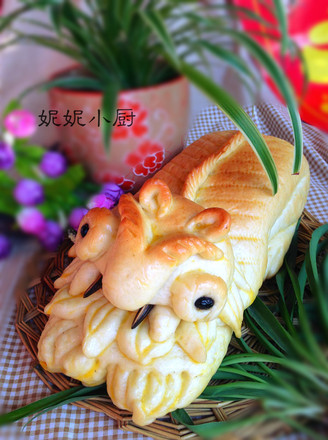
Little Tiger Bun
1.
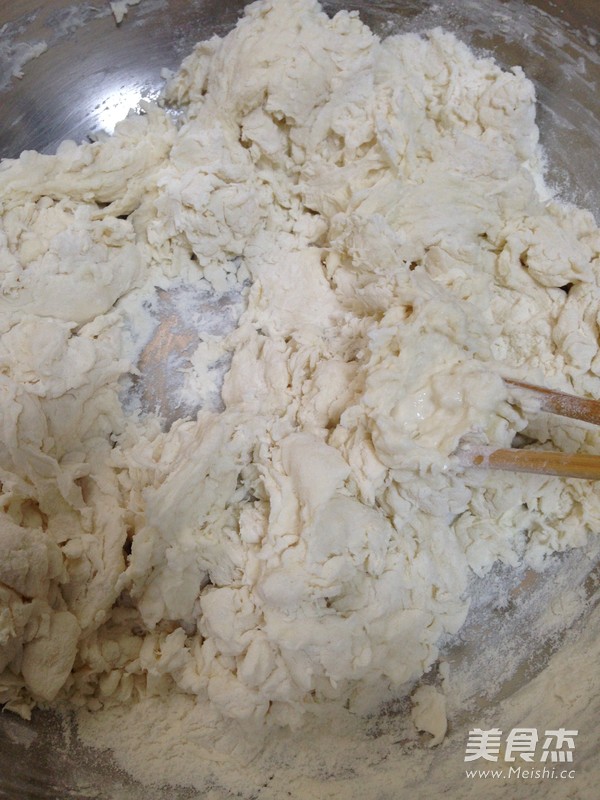
Use a little warm water to dissolve the yeast, pour it into the flour, slowly pour it into warm water, stir it into a flocculent shape, and then blend it into a smooth dough
2.
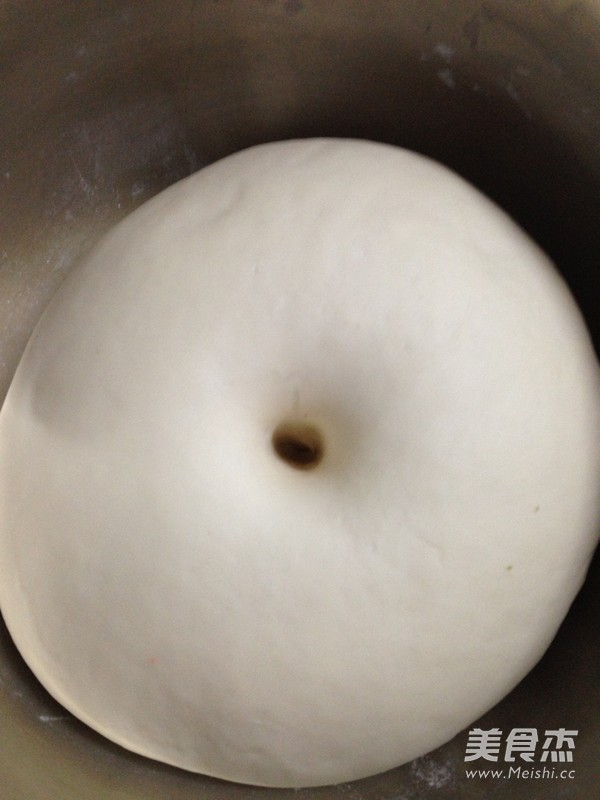
Cover and proof until the dough is twice as large as the original volume
3.
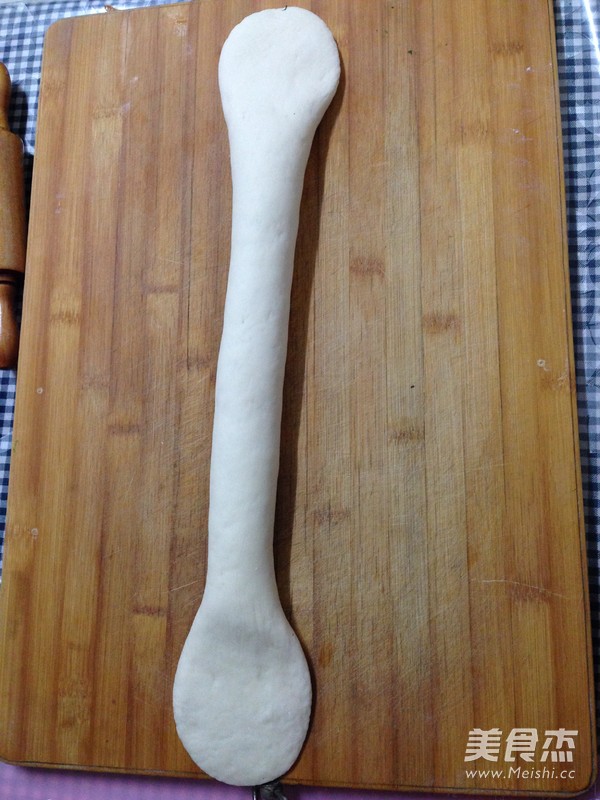
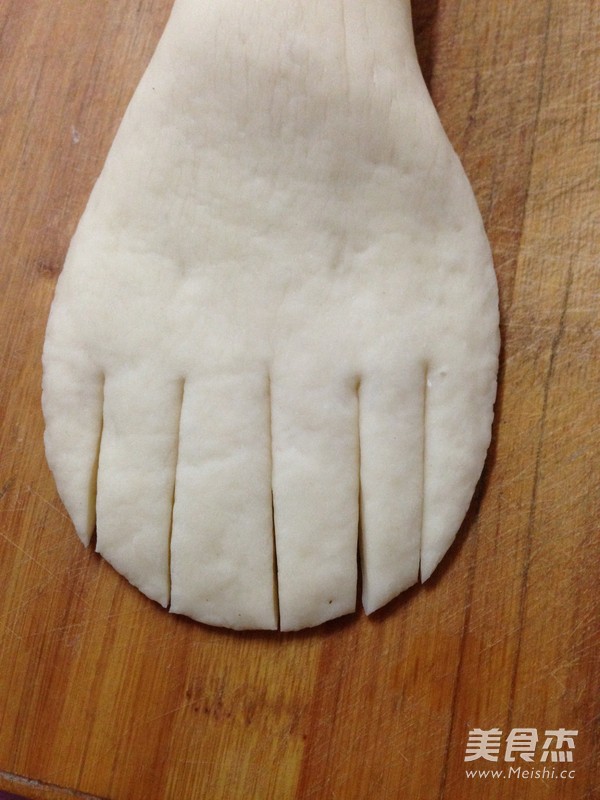
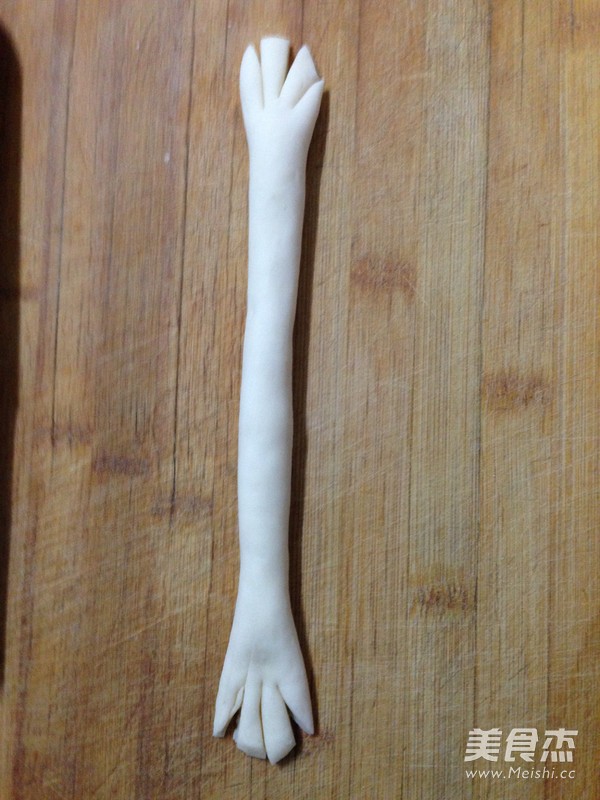
Knead the fermented dough until it is completely exhausted. Weigh a piece of dough weighing 540 grams as the tiger's body, roll it round and knead it into a strip, and press the two ends flat.
4.
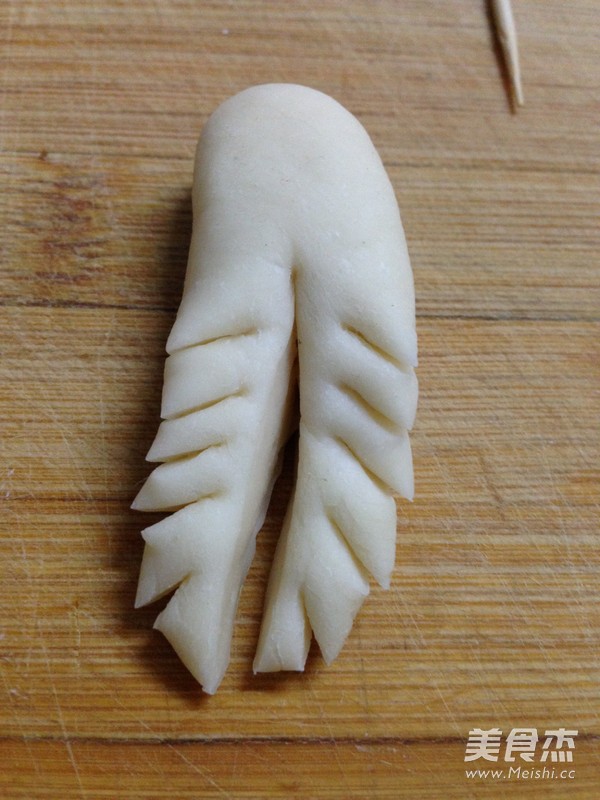
Cut 5 knives with a knife on one end
5.
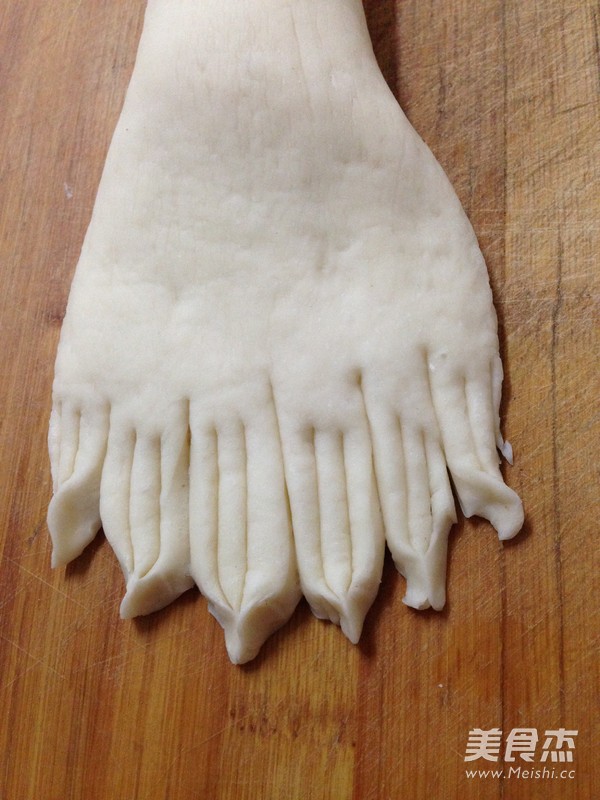
Cut two cuts for each portion, pinch each 3 pieces
6.
Then the three are pinched together to become the front paws of the little tiger
7.
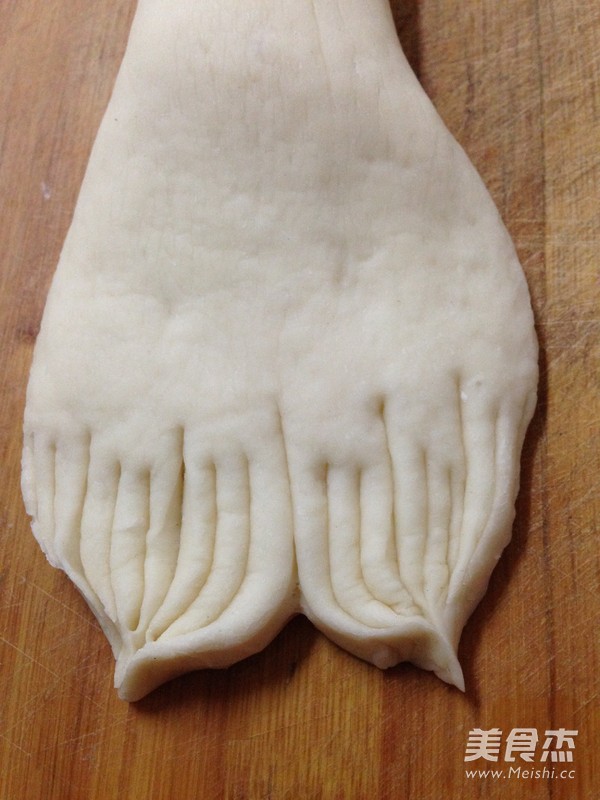
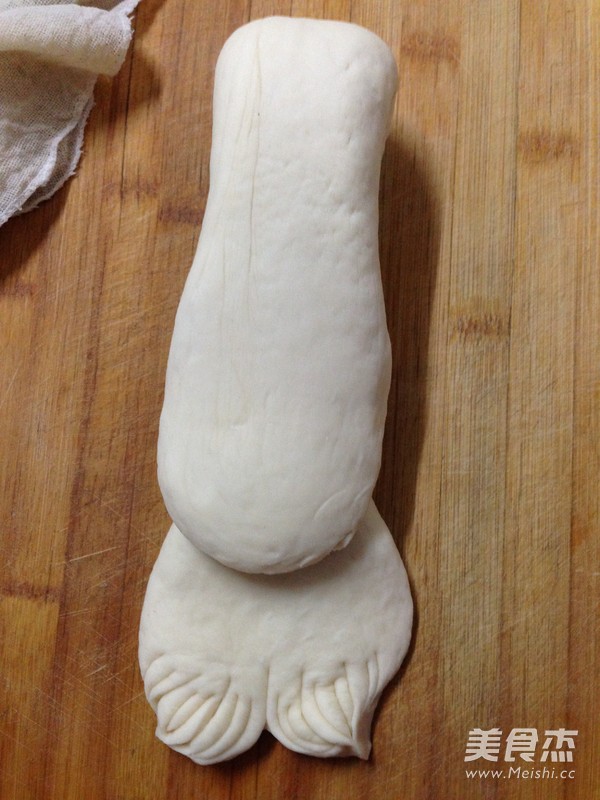
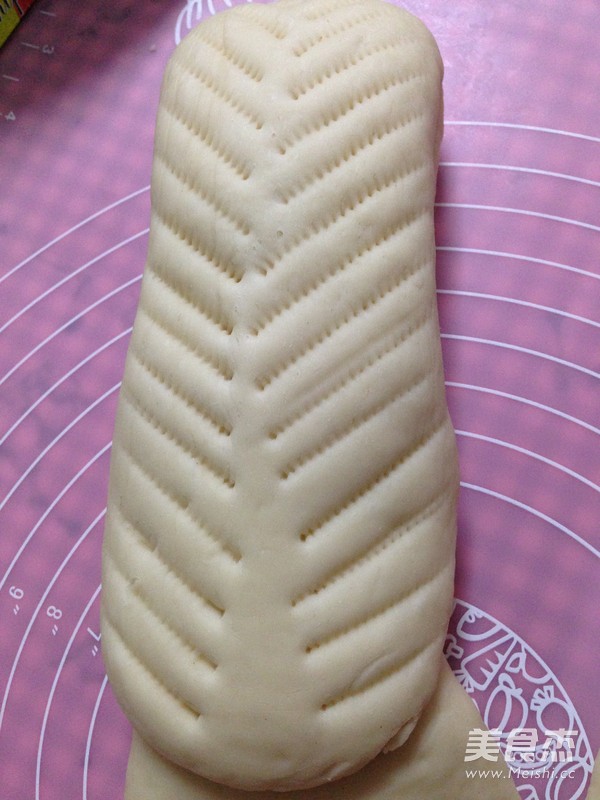
Fold the other end from the top
8.
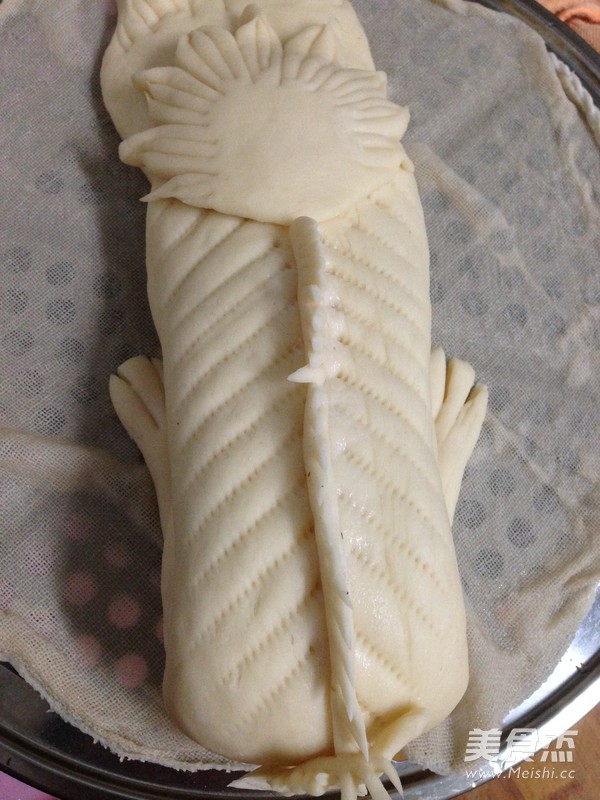
Use a small comb to make a symmetrical pattern on it.
9.
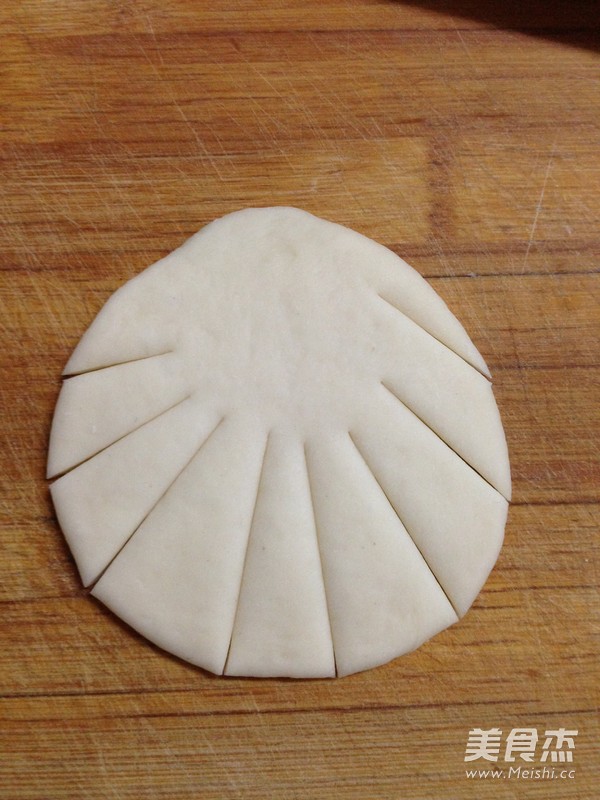
Take another piece of 35 grams of dough and knead it into a round shape and press it into flat pieces. Cut 8 knives on one side.
10.
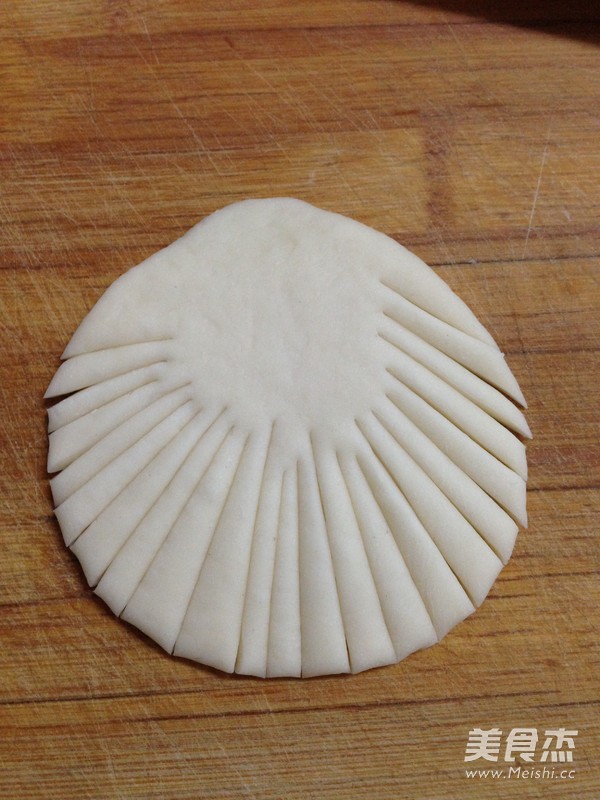
Cut 2 knives for each
11.
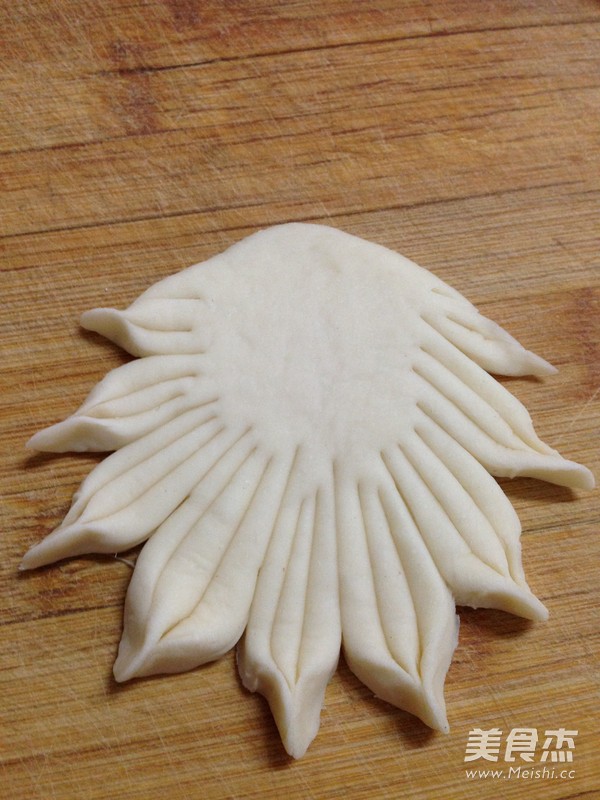
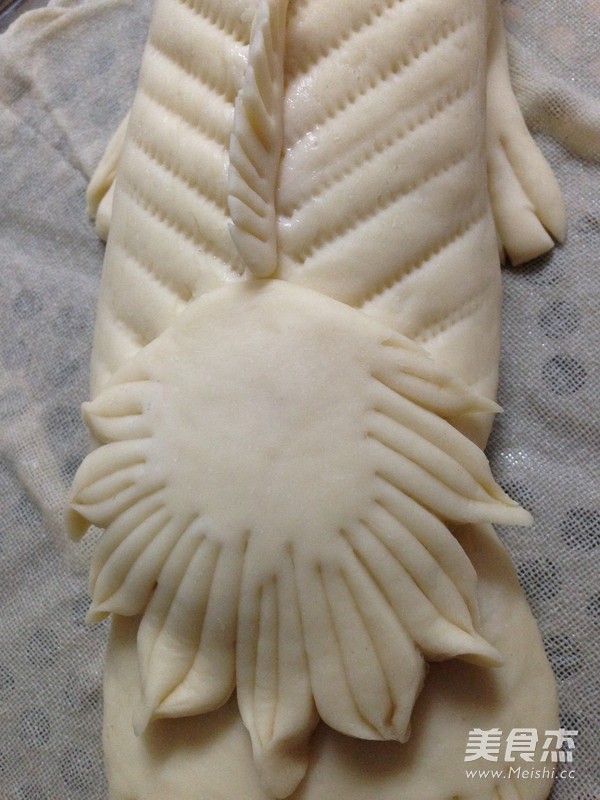
Pinch every 3 as a tiger's mane
12.
Weigh out one piece of 55 grams of dough, round it and knead it into a strip, press both ends slightly, and cut 3 knives to cut out the back toes.
13.
Brush the bottom of the neck bristle with a little water and install it on the front of the body, then bend the hind legs into a U-shaped surface and brush a layer of water and place it under the tail of the little tiger.
14.
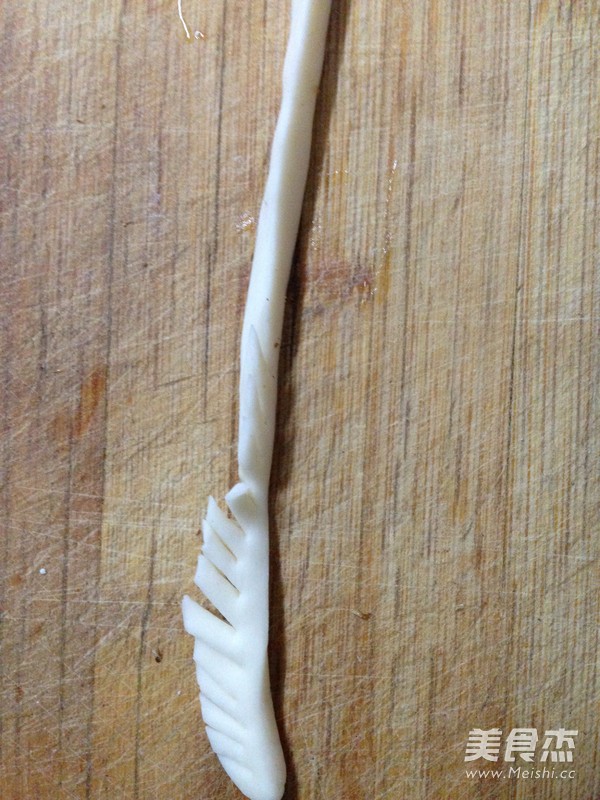
Take another 10g piece of small dough, knead it into a long strip, knead it into a triangular strip, and cut the top edge with scissors
15.
Brush the bottom of the finished triangle with clean water, install it on the back of the little tiger, and bend the tail upward to make a tail.
16.
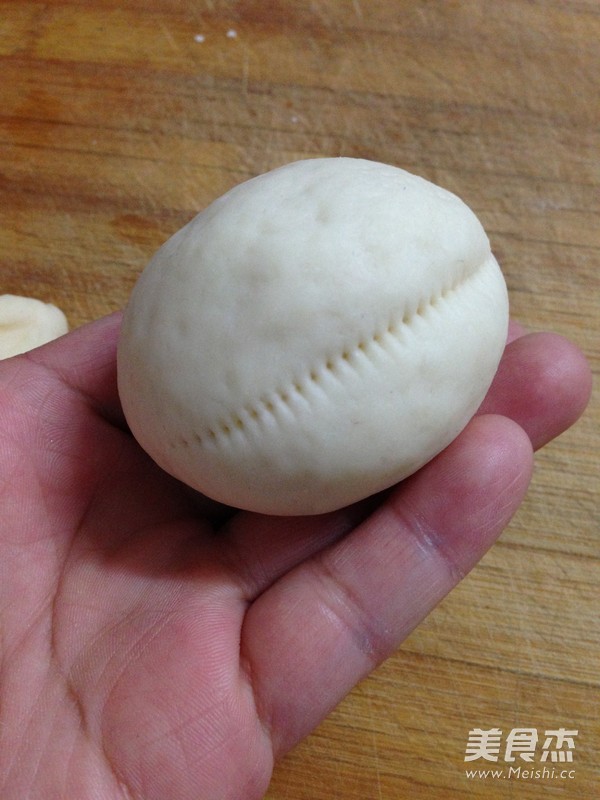
Take a piece of dough weighing 85 grams and round it, and use a small comb to press the mouth shape inward in the middle.
17.
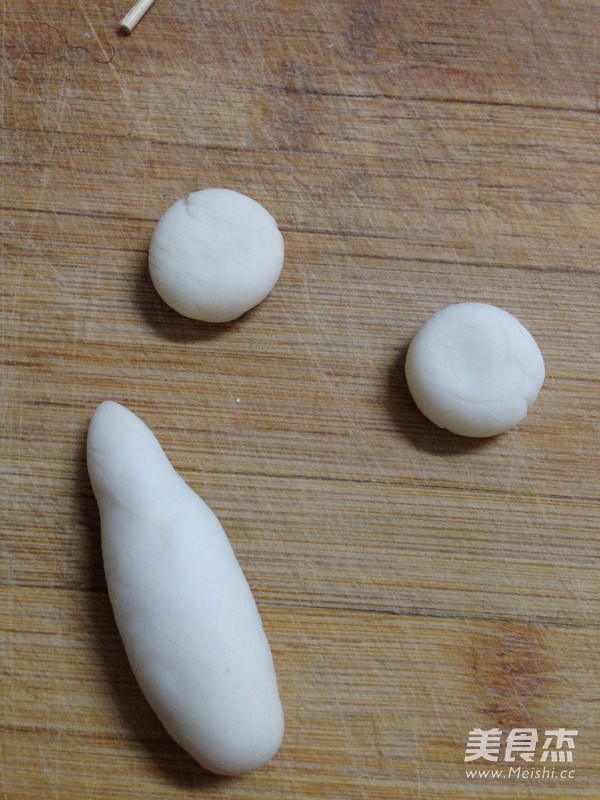
Take another piece of 15g small dough to make a long cone, take two small pieces of 5g dough, knead and press flat
18.
The long cone is cut at the tip end with scissors to make the nose, and the top is cut with scissors to cut out the broken edges
19.
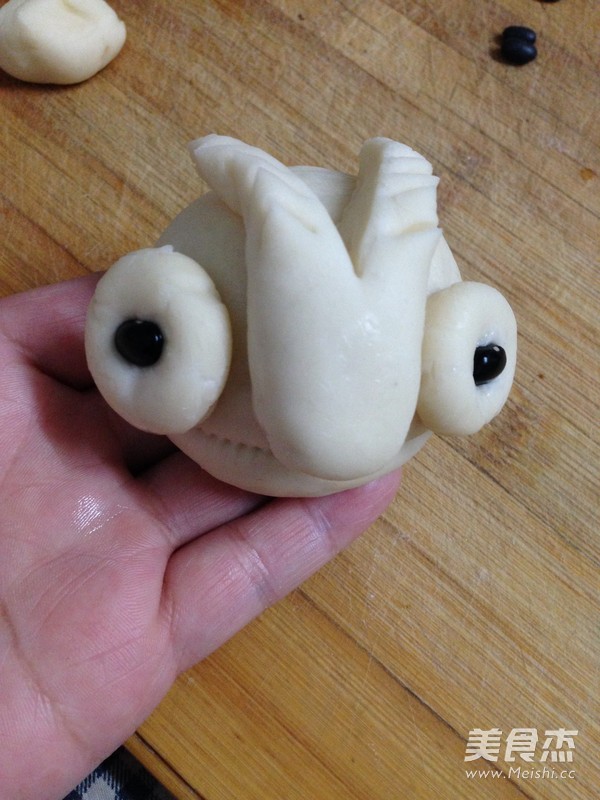
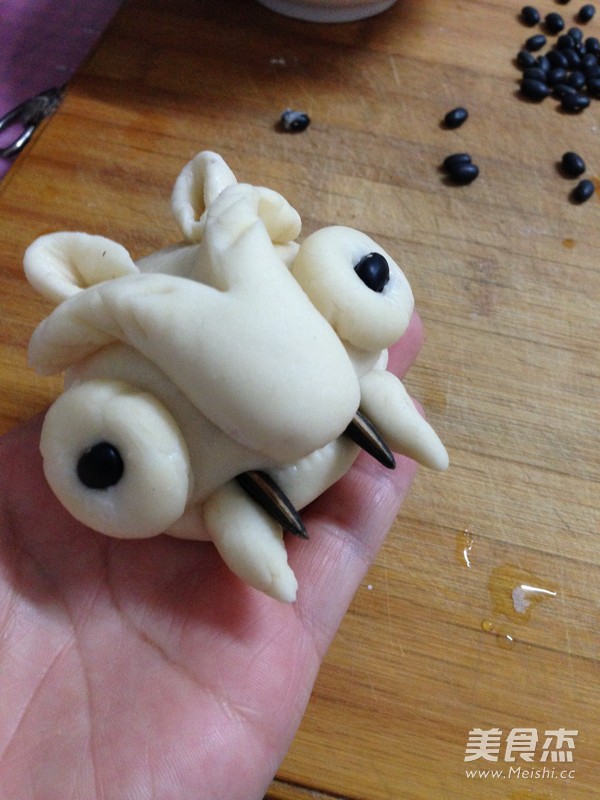
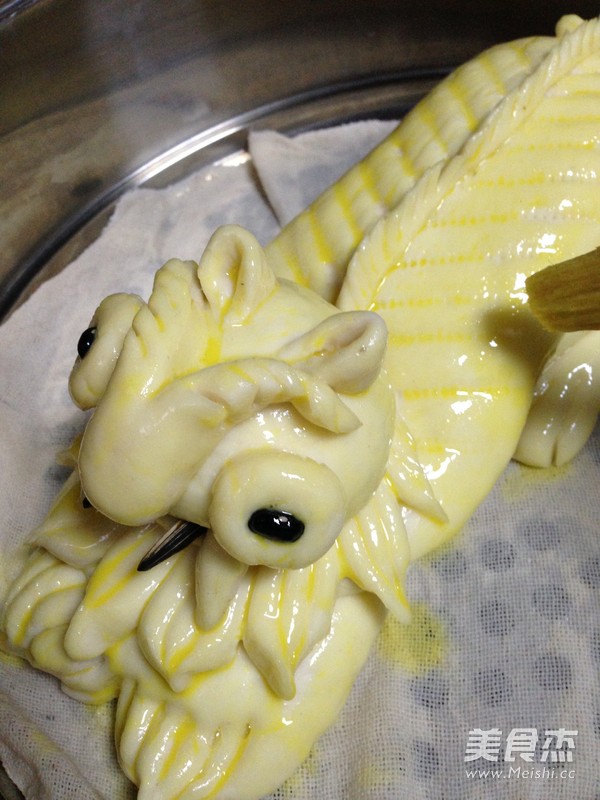
After the bottom of the component is brushed with water, install it on the nose of the little tiger, and tie out the nostrils with a bamboo stick. The disc is installed on the eyes, and the black beans smeared with water are used to make the eyes.
20.
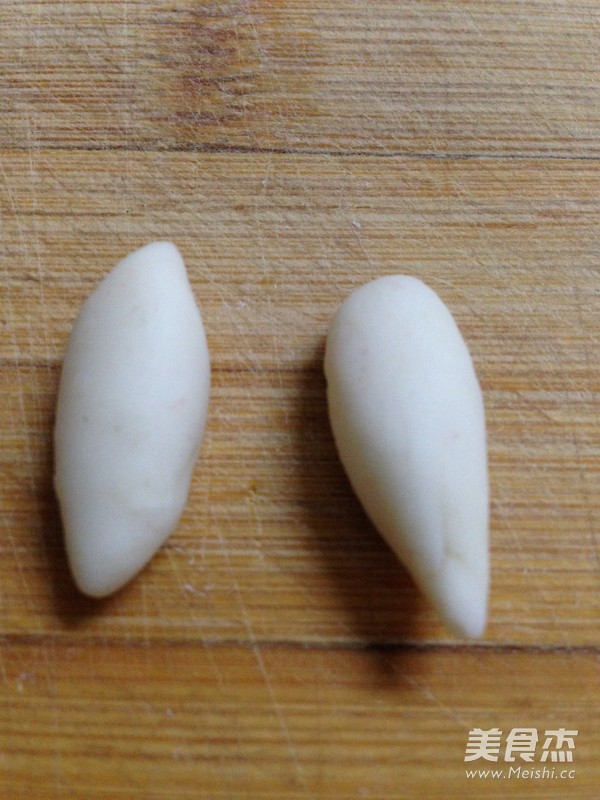
Divide the remaining dough into two portions, one portion, rub 2 small spindles and press flat
21.
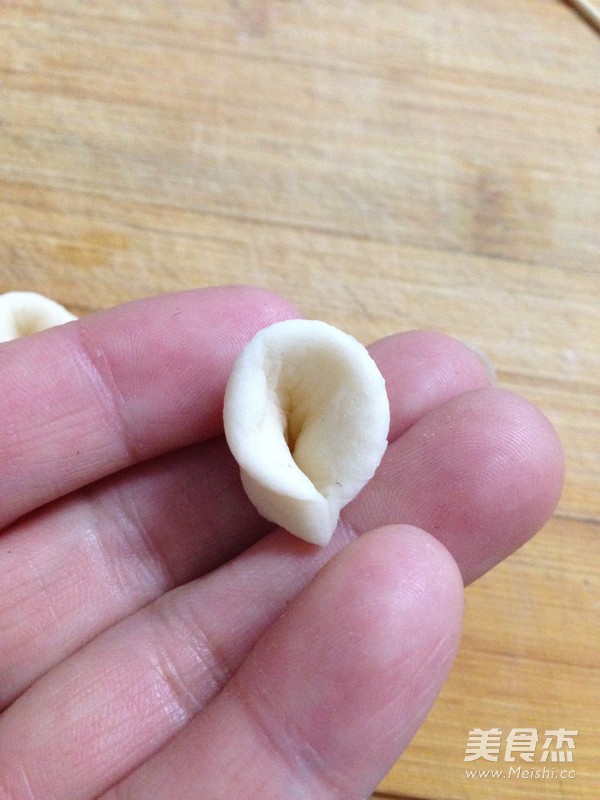
The other round is pressed flat and cut from the middle. The bottom bends inward as the ears of the little tiger
22.
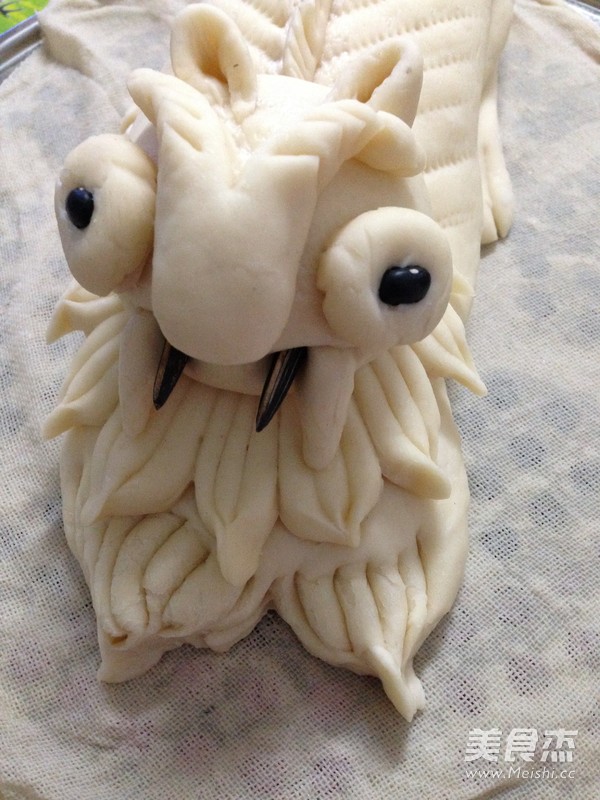
Use bamboo sticks to assist in the installation to the corners of the two mouths as the big teeth of the little tigers, and then insert melon seeds for decoration
23.
Brush the bottom of the finished tiger head with water and install it on the bristles of the front neck of the body
24.
The finished green tiger cub is covered and proofed for 20 minutes, and the surface is brushed with a layer of egg yolk liquid. Put it in a steamer and steam for 20 minutes.
25.
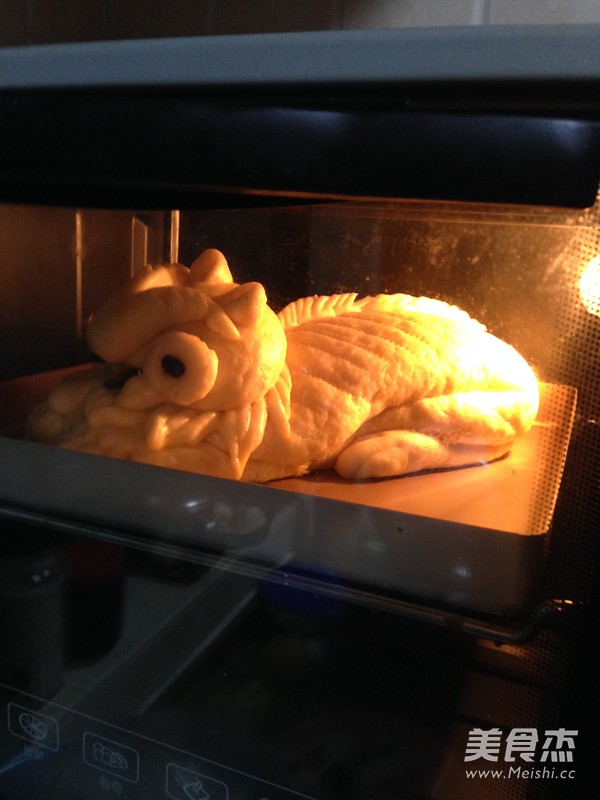
Take out the steamed tiger cubs, put them in the preheated oven 180 and bake them for 10 minutes until the surface is colored.
Tips:
1. The better the dough is kneaded, the smoother the surface of the finished product will be, and the dough should be harder and better shaped.
2. The final roasting can make the skin of the little tiger golden, and the taste will be better and more beautiful.
3. Cover with a damp cloth during the operation to prevent the dough from drying out

