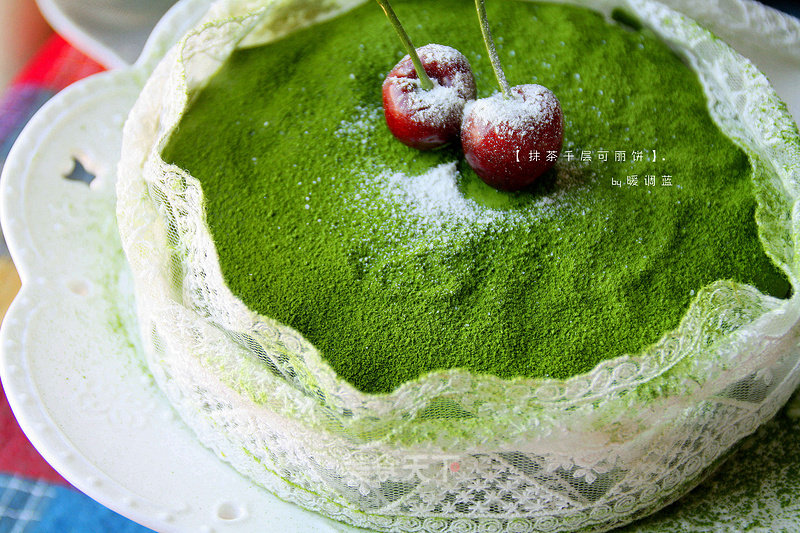
【matcha Mille Crepes】
1.
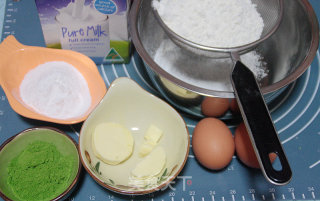
First make crepes. Prepare all the ingredients for making crepes;
2.
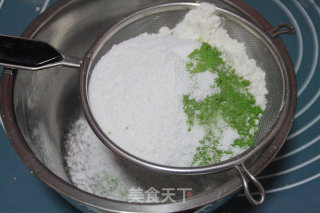
Mix low-gluten flour with matcha powder and salt, and sieve 2~3 times;
3.
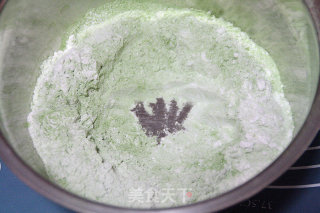
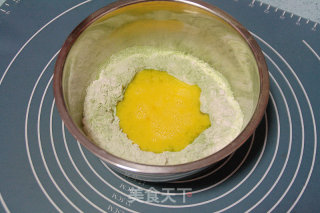
Dig a hole in the middle of the flour mixture;
4.
Knock the eggs in the hole, add the eggs one by one, knock into one first;
5.
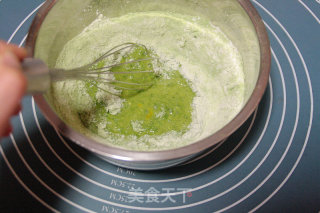
Using chopsticks or a whisk, start along the hole in the middle of the flour and beat the eggs in circular motions. This will first stir in the flour around the egg, and then gradually expand outward;
6.
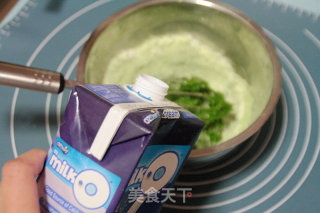
Keep stirring, adding the second egg during the process until the egg and flour are completely fused and the flour in the basin becomes a very viscous paste. If the egg liquid is not enough, you can add some milk in an appropriate amount. But it needs to be added in a very small amount, and each time you have to wait until the milk and flour added in the previous time are completely mixed before adding the next time;
7.
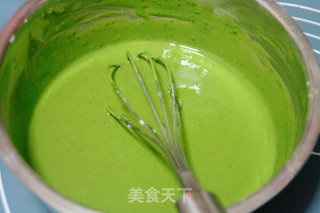
Finally, the powder becomes a paste-like liquid completely;
8.
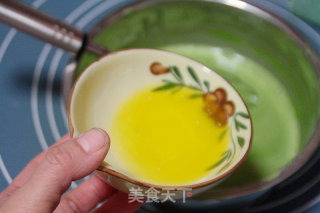
Melt the butter into a liquid state, add powder to the roux while it is hot, and mix well;
9.
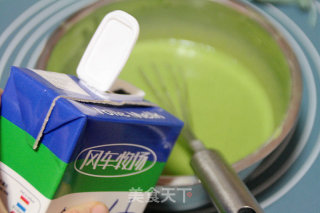
Heat the milk to a warm state, add it to the roux, and mix well;
10.
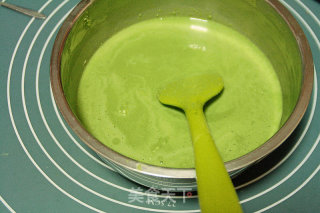
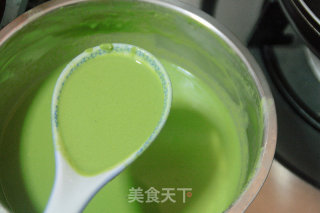
The final mixed crepe paste should be a smooth paste without granular dough;
11.
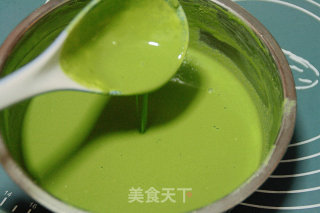
Take a look at the consistency of the paste. Cover with a lid or plastic wrap and store in the refrigerator for more than 1 hour or overnight. I stayed overnight;
12.
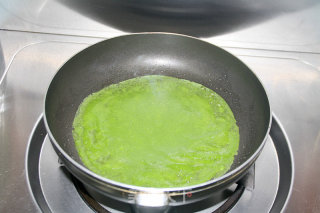
The next day, take out the crepe paste and mix it well again (the paste at this time may be slightly thicker than before standing, this is normal). Heat the pot on medium and small heat until you put your hand at a height of 5cm from the pot, you can feel the heat that is not hot (the pot must not smoke), and add a spoonful of powder slurry (this is the large spoon we usually use for soup, about 30ml) ;
13.
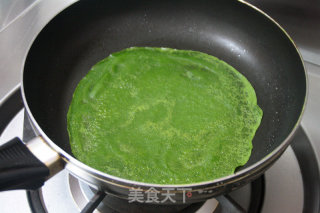
Shake the pot to spread the slurry evenly on the bottom of the pot;
14.
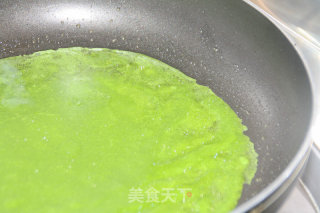
Continue to heat until the crepes in the pot puff up bubbles, and the edges of the crepes begin to dry and crust slightly;
15.
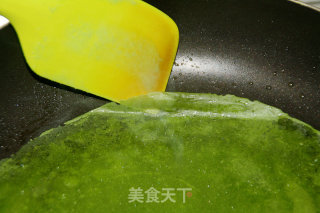
Turn the heat to low, and use a spatula to make a circle along the edge of the crepe to separate the edge of the crust from the pot;
16.
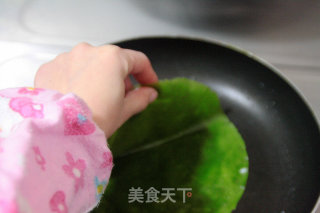
Slowly lift the crepe with both hands and quickly turn it over. The picture is taken with one hand, preferably two hands together;
17.
If the temperature is right, you will see a lace pattern on the side of the crepe;
18.
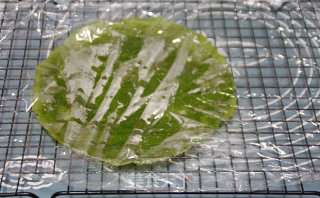
Turn to medium and low heat, and continue to heat the other side for 10 seconds, then pour the crepes on the cold rack, cool to lukewarm, and cover with plastic wrap or wet towel. Repeat this process until all the paste is used. Note that before spreading the cakes, remix the flour paste;
19.
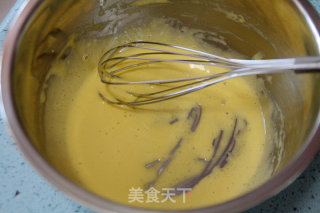
Then make custard cream sauce. Take the yolks (B) of two eggs, add sugar 1 (B) and salt (B), beat until the sugar is almost melted, and the two are mixed evenly. There is no need to beat here (in fact, whole eggs can also be used, but if you only use egg yolks, the color will be golden and more fragrant);
20.
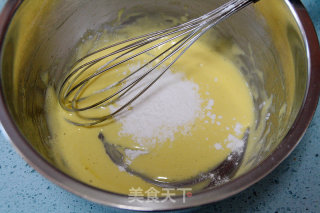
Add corn starch (B) and stir evenly until there are no powdery particles;
21.
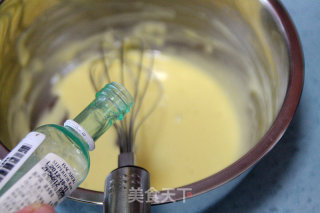
Add rum (B) and continue to mix well;
22.
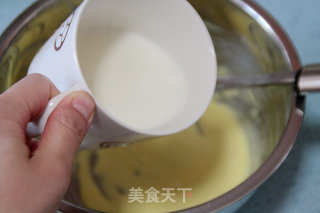
Heat the milk (B) in the microwave on medium-high heat for 2 minutes (or almost boiling), then slowly pour it into the egg yolk slurry while it is hot, stirring quickly with a whisk while pouring, to prevent the egg yolk from being cooked;
23.
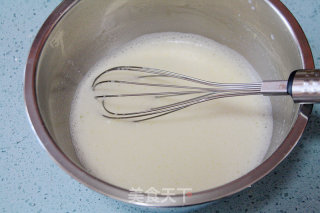
After all the milk is added, continue to stir until the liquid is lukewarm. There will be many bubbles on the surface at this time;
24.
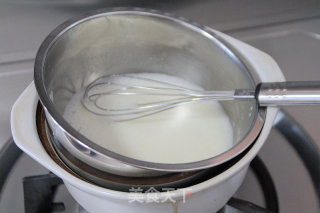
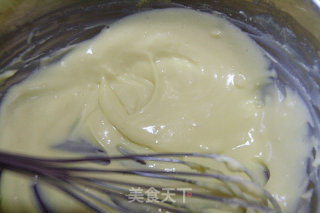
Make a pot of clean water, turn to a low heat after boiling, heat the custard over water, stirring continuously during the process, until thick lines appear;
25.
Continue to stir continuously through cold water until the temperature of the custard drops to room temperature, showing a very smooth and shiny state. The custard sauce is ready, cover with a lid or plastic wrap, and refrigerate for later use;
26.
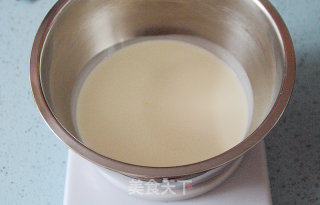
Pour whipped cream in an egg beater, add rum (B), caster sugar 2 (B) and lemon juice (B);
27.
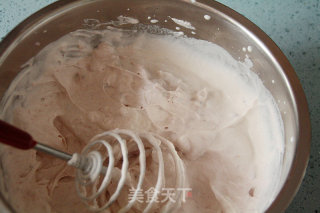
Send it to 8 to distribute, that is, the whipped cream is thick and has large stable lines;
28.
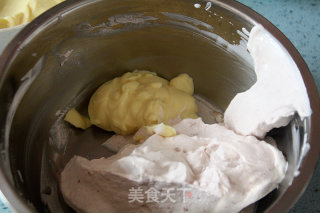
Take a part of the whipped cream, mix it with the custard sauce made before, cut and mix evenly;
29.
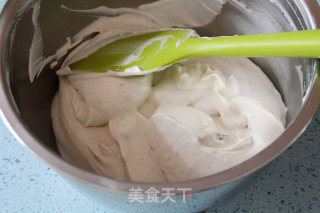
Then mix the remaining whipped cream with the custard sauce and mix well, and the filling is ready;
30.
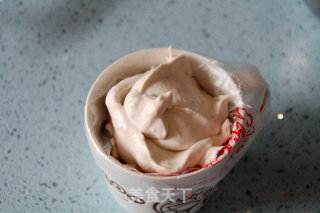
Put the ready-made custard cream filling into the piping bag;
31.
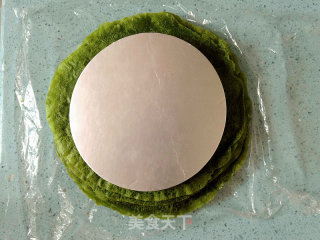
Take an 8-inch round mold and cut the crepes neatly;
32.
Take a crepe and squeeze it with custard cream filling (note that there can be a blank of about 2cm on the edge);
33.
After spreading evenly, put on a crepe and squeeze some custard cream filling;
34.
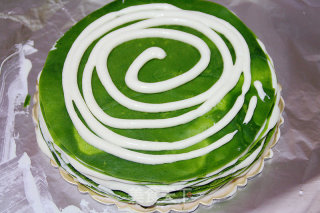
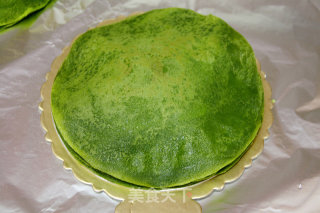
Repeat this process until all crepes and cream are used, and then slightly press the cake body from the top;
35.
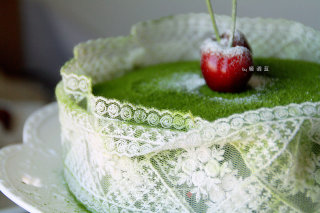
Refrigerate for more than 3 hours, take it out and sprinkle with matcha powder, make some simple decorations, and you can eat it;
36.
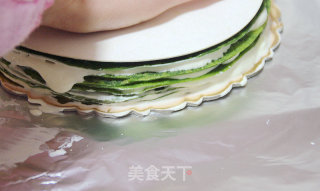
Details of the cut surface.

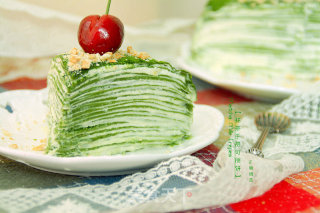
Tips:
1. This method of mixing powders and liquids can effectively prevent the flour from clumping during the mixing process, and the final mixed slurry can not be screened. If you use other methods, it is best to sift the slurry after mixing. In short, it is necessary to ensure that there are absolutely no powdery particles in the slurry;
2. After the flour paste is mixed, let it stand for a period of time, so that the flour can better absorb water and make the cake more fragrant and flexible. Before using the settled powder slurry, mix it well to prevent it from sinking to the bottom;
3. When spreading the cakes, the pot should not be too hot. My experience is to put your hands 5cm above the pot, you can feel warm, but not hot. Another more intuitive way to judge is to add a little batter and try it. When the batter is put into the pot, it will make a "chuck" sound and it will solidify. With the rotation of the pot, the slurry solidifies at the same time, which is the best state. Usually if the temperature is right, after the pot is turned around, the slurry will spread on the bottom of the pot into a uniform round cake (the edge part will be slightly thinner, but the difference will not be too big). If the pot temperature is not enough, the slurry will not solidify. If the temperature of the pot is too high, the powder paste will all solidify before the turn is completed. In this way, the thickness of the crust will be very uneven;
4. When making the first crepe, you can put a little oil in the pan to prevent it from sticking. This recipe actually already contains butter. Generally, if you use a non-stick pan, it won't stick. There is no need to apply oil for the subsequent operations;
5. You can prepare a damp cloth in advance. Every time you make a crepe, you can place the pan on a damp cloth to cool down. Recently, the room temperature is relatively low. When I do this, I basically don’t need to cool down. I will do the second one after finishing one. In addition, each time you make a piece of cake, you must re-mix the paste, otherwise it will sink to the bottom;
6. When spreading the cakes, when there are a lot of big bubbles in the pan, you can turn to a low heat and continue to heat for 10 seconds, then you can turn it over. When turning over, use two hands to gently lift the crepe and then quickly turn it over. But don't tear the crepes too hard. If the turning time is right, it should be easy to lift the cake, and a lace-like burnt yellow pattern will appear. After turning over, if the pie is not well spread on the bottom of the pan, you can use a spatula to tidy it up. When uncovering the cake, be careful of steaming your hands;
7. After turning over, it will be ready to cook until it needs to be heated for about 10 seconds. Or you can shake the pot, if the cake can move in the pot, then it can be out of the pot;
8. After the crepes are made, let them cool down and cover them with plastic wrap or a damp towel to prevent them from drying out. In addition, don’t stack the freshly made crepes, open them up slightly, wait for the lukewarm temperature, and then stack them together;
9. The most important thing in the process of spreading cakes is temperature, but only through actual operations can it be well mastered. So, please try a few times by yourself, it will be good if you are proficient;
10. For the production of custard cream filling, it should be noted that when heating in water, it must be stirred continuously. Do this

