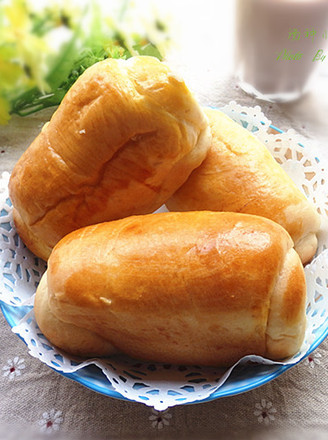
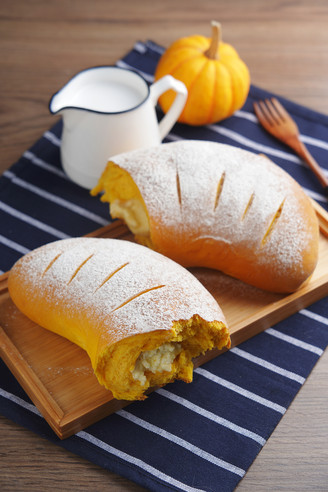
Milky Toast-never Tire of Making It!
by Diners
Favorite
Difficulty
Normal
Time
2h
Serving
2
Yesterday: When I was young, there were few cars and lots of vegetation, short houses and few people. The river was wide and the air was clear. You wouldn’t have a stomachache if you drank tap water directly. Over liquid.
Today: In addition to pesticides that exceed the standards for food, various additives and hydrogenated vegetable oils are almost invariably used, and even black food is used as a house.
Tomorrow: Food DIY-Let us eat with confidence and eat healthy!
To the point:
Oven 20 liters
2 450g toast moulds (with greaseproof paper for non-stick effect)
Preheat the oven at 180 degrees for 5 minutes. After placing the lower mold, change the fire to 200 degrees and bake for 15 minutes, then raise the mold to a layer and bake at 200 degrees for 5 minutes, then put the mold back on the lower layer and change the fire to 180 degrees. Approximately 5-10 minutes, observe the golden orange on the surface and it will be out of the oven. "

