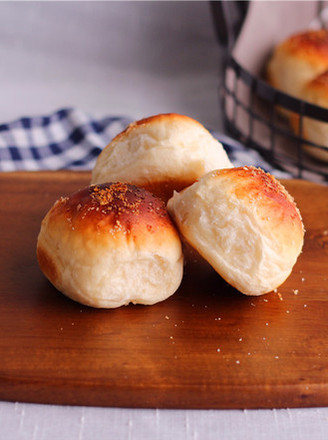
Mochi Ball Dinosaur Egg (one-time Success)
1.
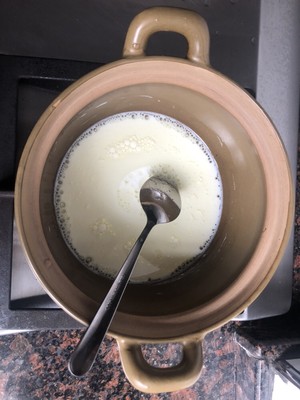
Step 1: Pour milk, sugar, salt, and corn oil into a small pot. You can use a milk pot, stir evenly, and cook until the sugar melts. It is hot but not boiling at about 70 degrees. (⚠️Don't boil! The milk temperature is about 70 degrees Celsius and add high powder. If you accidentally boil it and wait for the temperature to drop slightly, ⚠️but don't add high powder at too low temperature, too low temperature will also affect the hollow).
2.
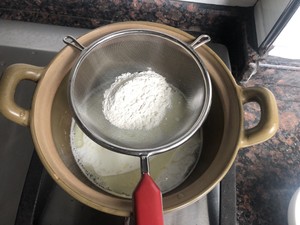
Step 2: Turn off the fire! Add high-gluten flour after turning off the heat! And make sure that the milk and the pan are not very hot before adding the flour! ⚠️If the milk is boiling, wait for the milk temperature to decrease slightly before adding the high-gluten flour! Then stir until there is no dry powder (it is a very thin batter at this time). Then ⚠️ reheat (low fire) and stir while heating, and stir until the batter is viscous (to be very viscous).

3.
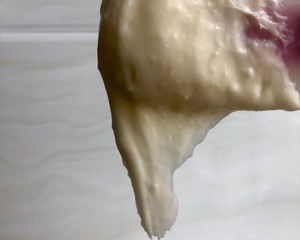
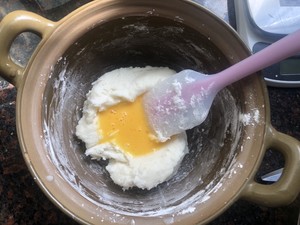
Step 3: After the high-gluten flour is stirred into a viscous batter, turn off the heat! Then pour the tapioca flour while it is hot, and stir with a spatula. Stir in all the dry powder as much as possible (as shown in the picture, after mixing in tapioca starch, the dough can form a dough, no fluidity). Then, add 1/2 whole egg liquid (the whole egg liquid of an egg, add it in two parts), stir slowly, and add the second time after the first egg liquid is absorbed! Add the egg liquid and stir until the batter is completely absorbed, and stir until the batter is in an inverted triangle shape when the spatula lifts up, and the spatula does not drip down slightly by gently swinging it (the batter is fluid at this time). (Note ⚠️: The egg liquid does not have to be added completely. If you add 1/2 egg liquid once and can be stirred until the batter is upside down, don't add the remaining egg liquid! You can go to the next step.)

4.
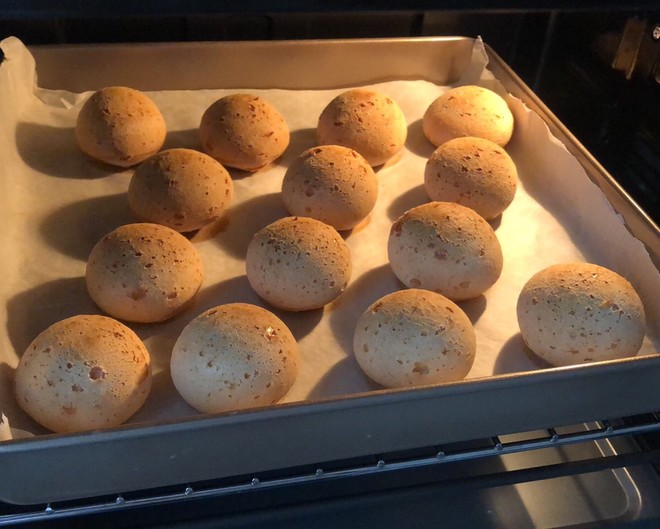
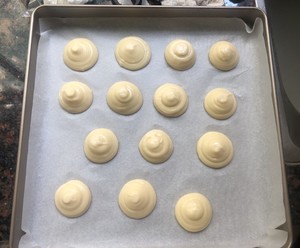
Step 4: Put the batter into the piping bag. It is recommended to use a round piping nozzle (it will be easier to squeeze), or you can directly cut a small opening in the piping bag without the piping nozzle. When squeezing mochi, the piping bag and the baking tray Be vertical! vertical! Pull up while squeezing (try not to pause when squeezing). Finally, put it in the preheated oven and bake at 180 degrees for 23 minutes. Don't open the door and take it out immediately after baking, continue to put it in the oven for 5 minutes before opening the door and take it out! This will not collapse!
5.
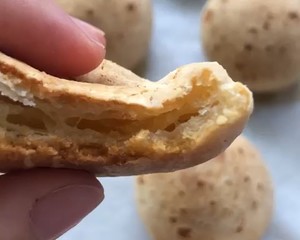
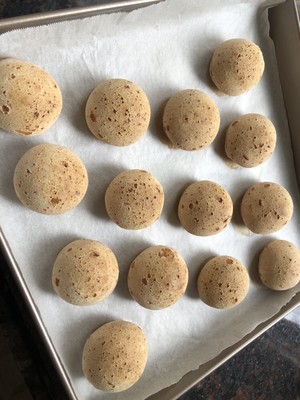
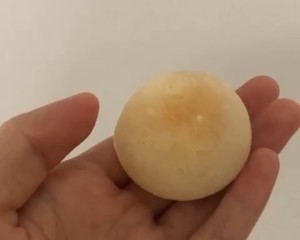
Okay, let it cool and taste better! I baked each one is just hollow, but also very chewy~
6.
After baking and letting cool
7.
Add a piece of the state of squeezing the batter when I make it later (probably similar to this, it is smoother, but it can be hung with the spatula, it is almost enough, I don't make the batter exactly the same every time 😄).
8.
Add another sheet of the final batter when I made it later. It's almost like this, can hang the scraper, shake it lightly without dripping. (It can't be too thin! It must be able to hang up and not drip!)
9.
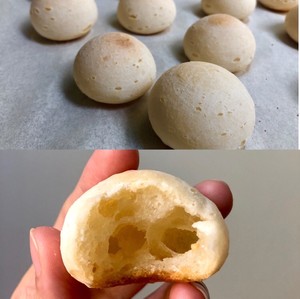
There is a message saying that the original recipe is a bit hard when it is baked. I tried 175 degrees for 23 minutes. The skin after roasting is not hard, does not collapse, does not have a concave bottom, and the interior is relatively less hollow (as shown in the picture above). The overall taste is softer and softer. The original recipe has a crisper skin and more hollows at 180 degrees for 23-25 minutes. More chewy. Everyone chooses to try it by themselves.
10.
175 degrees for 23 minutes, the state animation after the cool is placed, it is Q bomb!
Tips:
1. The baking time and temperature of the mochi balls are slightly increased or decreased according to the oven. If the baking temperature and time are not enough, the mochi balls will not be hollow, or the sudden drop in temperature may cause the mochi balls to dent, and they will be baked at the end. The process should also be observed to avoid scorching.
2. Adding the egg liquid step, the egg liquid does not necessarily have to be added completely, because each brand of high-gluten flour and cassava flour have a difference in water absorption, just add it to the batter to reach the predetermined usable state (instructions in step 3). It is necessary to add a small amount multiple times. I add it in two batches. You can also add it in three or four times, adding 1/3 and 1/4 each time. It is easier to control the batter. Will not cause the batter to be too thin.

