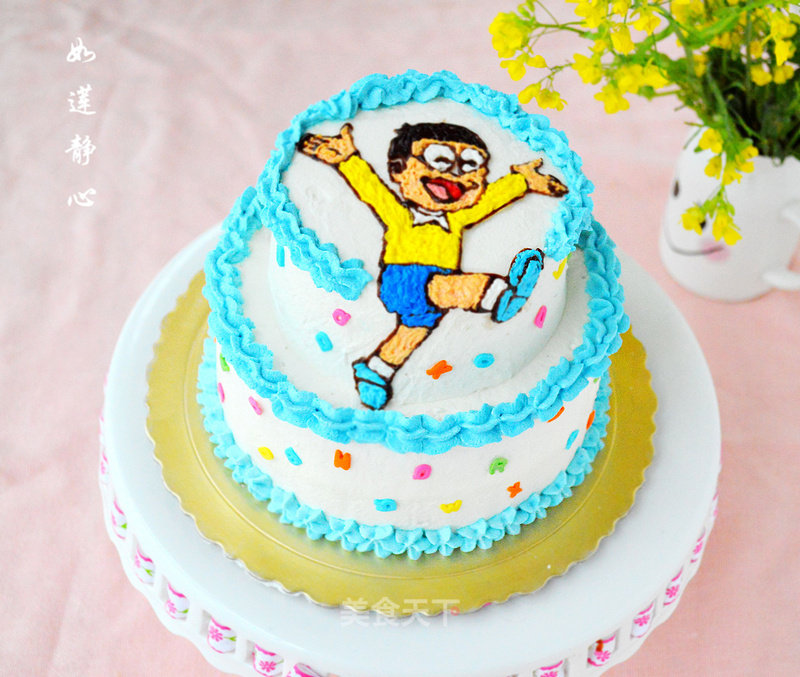
Nobita Birthday Cake
by Rulian meditation
Favorite
Difficulty
Normal
Time
2h
Serving
2
At 6.1, I watched "Doraemon Along with Me" with my daughter. One of the protagonists of the movie is Nobi Nobi who lives in Tokyo, Japan, a boy who is not motivated in his studies, confused daily and is bullied by his classmates. His character not only influences his career and marriage, but also has a great influence on future children and grandchildren. For this reason, Shixiu, the grandson of Nobita's grandson, took the cat-shaped robot Doraemon and took a time machine to visit suddenly, hoping to completely change the fate of Nobita and the whole family. With the help of Doraemon, Nobita is no longer bullied by Fathu and Xiaofu. He likes the beautiful girl Yuan Shizuka. In order to realize the fate of marrying Shizuka, he and Doraemon traveled through time and space and witnessed the most critical moments and events that determine life. When Nobita slowly began to become happy, Doraemon had to return to the 22nd century...
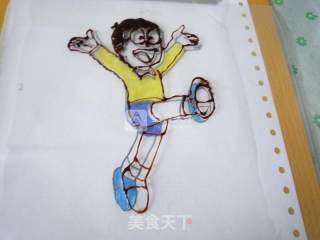
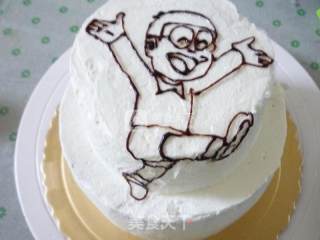
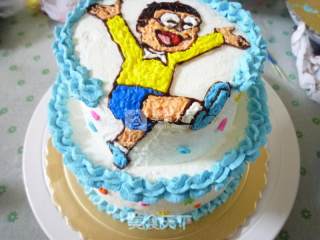
Although Daxiong has many shortcomings, he also has his own advantages. He is kind-hearted, righteous, enthusiastic, and loves nature. Therefore, the children prefer this protagonist. After coming back, it happened that a good friend of his daughter had a birthday and asked what cake he liked. I thought I would say I like Doraemon, but they say I like Nobita, and they want a two-tiered one. At that time, I really wanted to persuade me to be a Doraemon. Then I thought about challenging it. After I tried it, I was very anxious and called my daughter to ask, "Who is this?" "Nobita!" Yeah! I'm relieved if I recognize it.
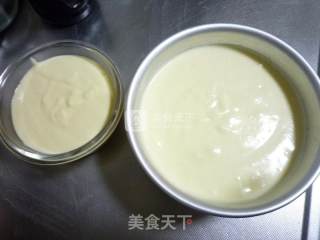
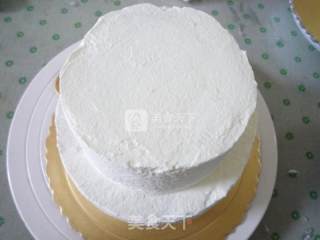
Because the kid asked to make a double layer, but there were few people eating it, they made a four-egg recipe and baked a 6-inch and a 4-inch mold on top of each other. ""

