Norwegian Christmas Sand Cake

by Feixue Piaoxu (from Tencent.)

4.8 (1)
Favorite
1

Difficulty

Normal

Time

1h

Serving

4

Norway, which has been rated by the United Nations as the most suitable country for human habitation for nine years, is so remote and unfamiliar to me. Of course, I don’t know much about the cuisine of this country. However, in the Internet age, food has also achieved a journey through. Enthusiastic Norwegian instructors shared us with the recipe of Norwegian Christmas cookies. I didn't like to eat biscuits, nor did I like to join in the fun of Christmas. But I am just curious about the flavor of Sandkaker in Norwegian. It is said that curiosity is the driving force of human learning. So with this production process of mine, no matter if Christmas is over, I posted it to share. Personally, it takes a lot of time to make, but the taste is very special.

Norwegian Christmas Sand Cake

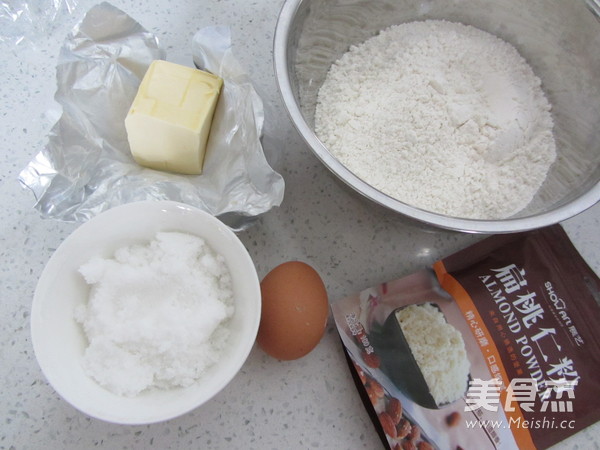
1. With the ingredients map, 28 sand cakes can be made in the end.

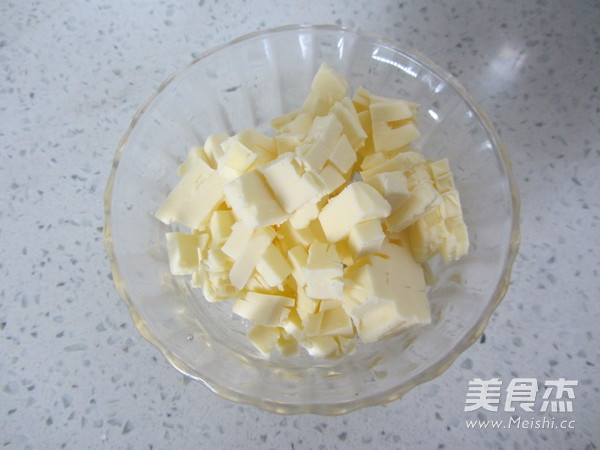
2. Cut the butter into small pieces and let it soften naturally.

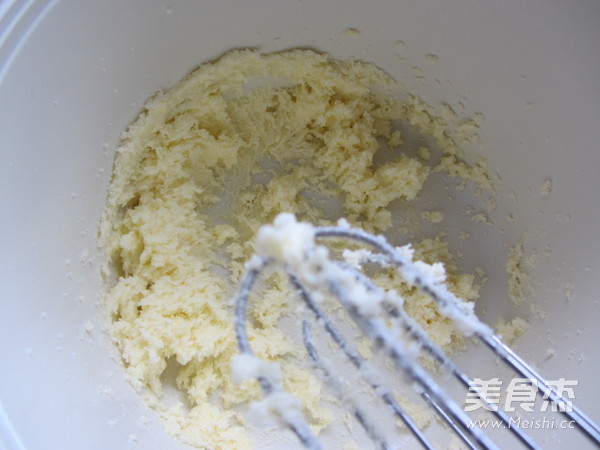
3. Butter and sugar are beaten with a small electric whisk.

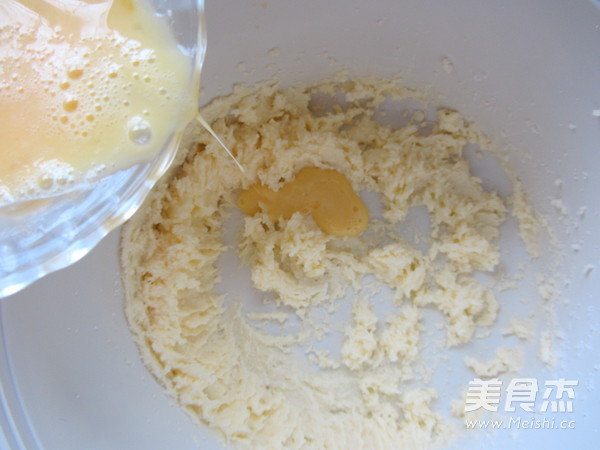
4. Add the egg liquid and add it in small portions. Stir evenly after each addition, until the egg liquid and the butter are completely fused.

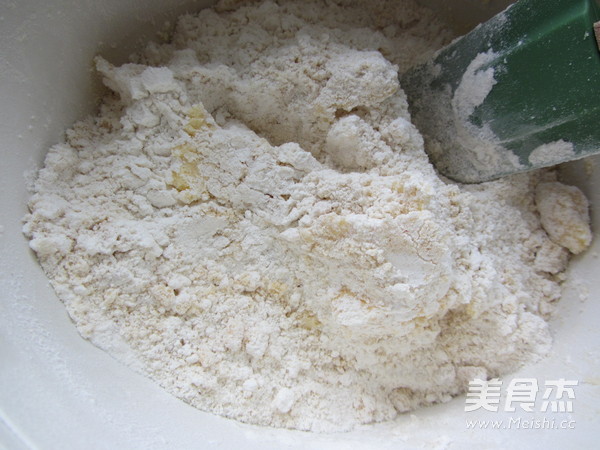
5. Sift in the flour and almond flour and mix well with a rubber spatula to completely mix the flour and butter (the almond flour can be sifted through the sieve with the help of hand).

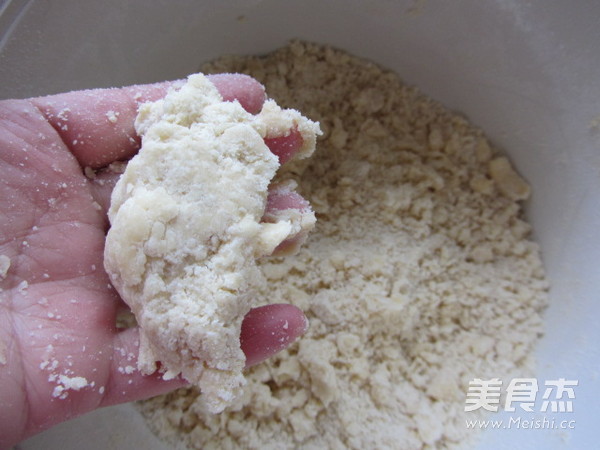
6. Mix until there is no dry powder, you can grab into a dough.

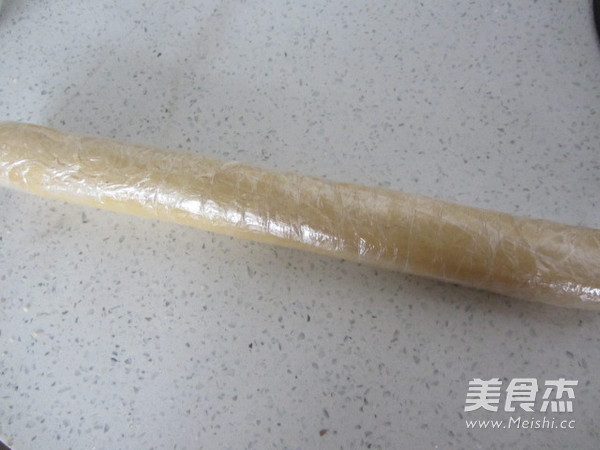
7. After rubbing into a long strip, wrap it with plastic wrap, and put it in the refrigerator to wake up for 12-24 hours.

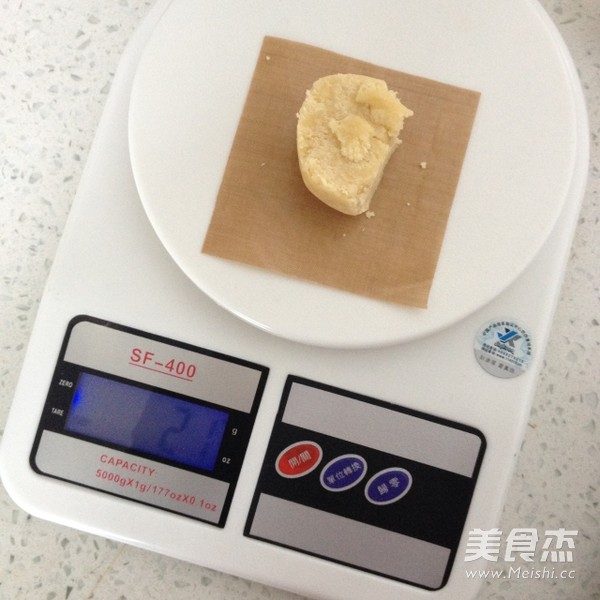
8. Take out the next day, divide into 28 equal portions, each about 20 grams.

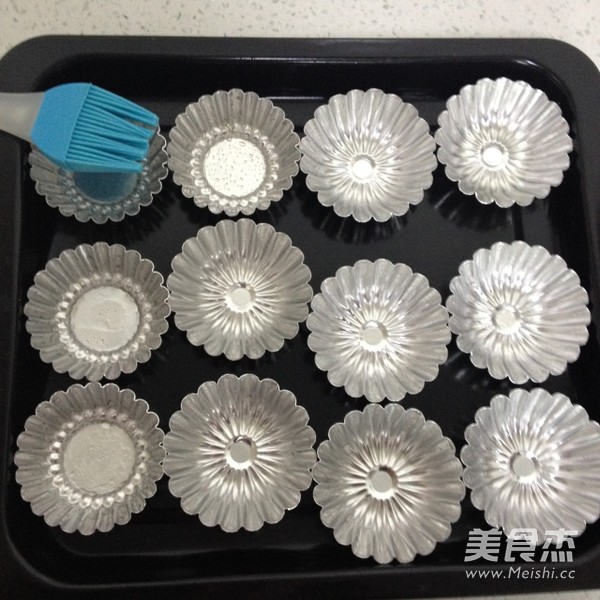
9. Brush the mold with a thin layer of vegetable oil.

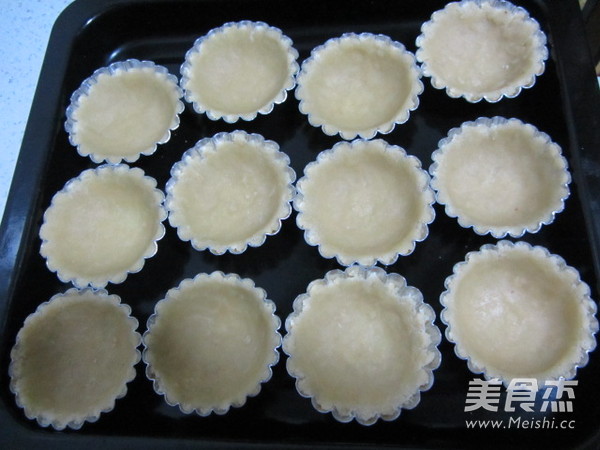
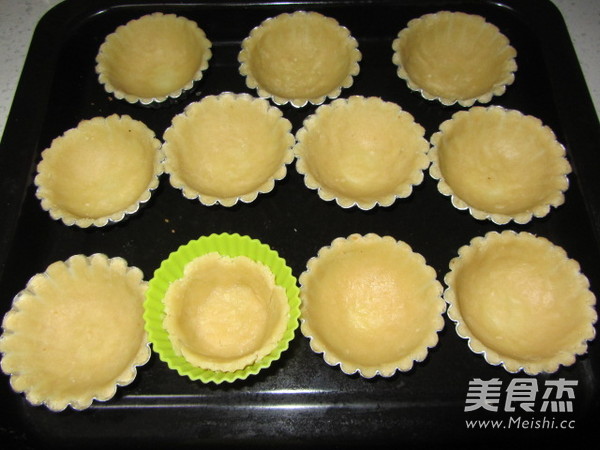
10. Take a small portion and press it into the mold. Dip your thumb with oil, which is more convenient for operation.
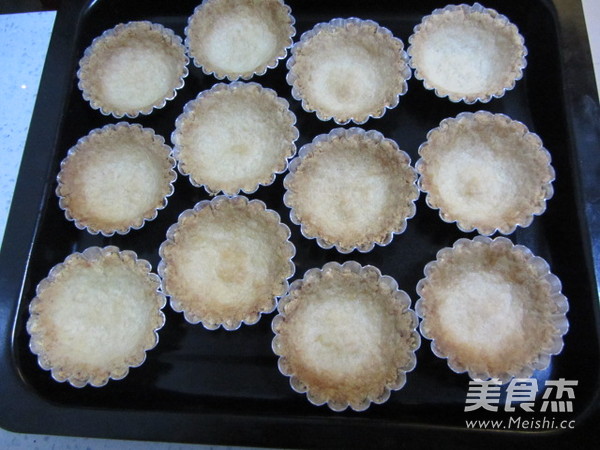
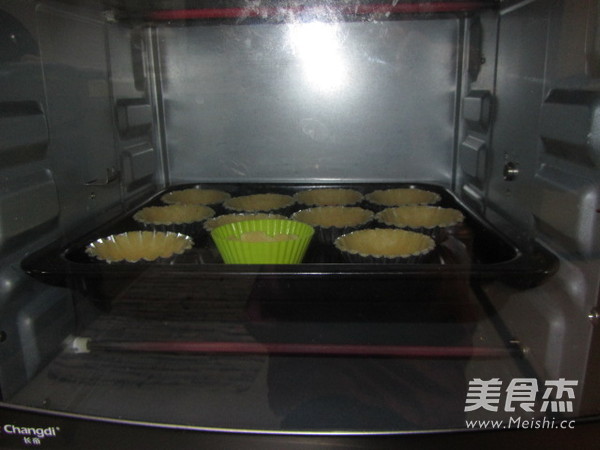
11. Put it in an oven preheated to 180 degrees, bake for about 18 minutes, and then take it out of the oven.

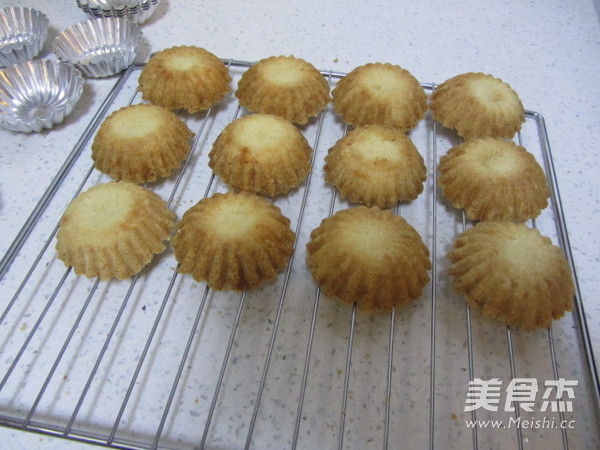
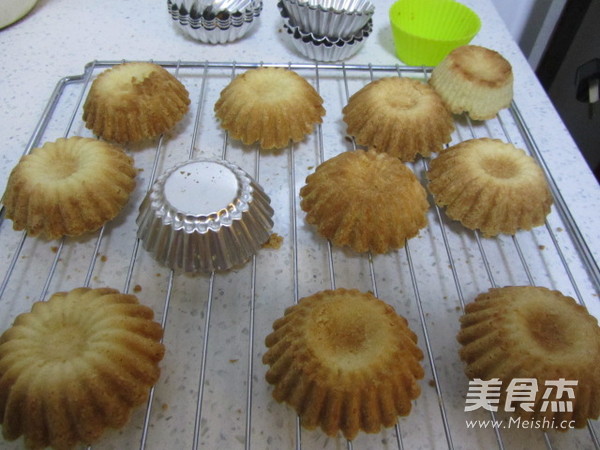
12. After demoulding, put it on the rack for heat dissipation.

13. Continue to bake a second time and tried a silicone mold.

14. Directly into the 180 degree oven, bake for about 18 minutes.

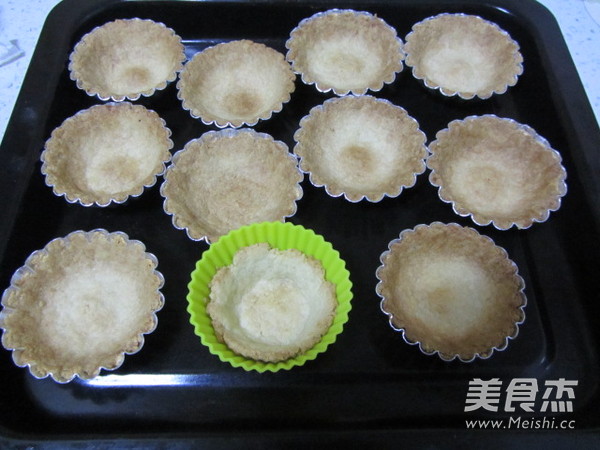
15. Time to get out of the oven.

16. After demolding, put it on the rack to dissipate heat (there is a diehard who failed to demold smoothly, so it is slightly cooler).

Tips:

1. Keep the noodles in the refrigerator for 12-24 hours as required, only then the taste is good.
2. It is not a non-stick mold, it must be brushed to make it easy to take out.
3. Low-gluten flour and medium-gluten flour (rich and strong flour) can be used. Due to the different hygroscopicity of flour, if it is too dry, add some vegetable oil, but do not add water, or it will be hard.

Comments

Similar recipes

Cabbage Bacon Pancakes with Black Pepper Omelette

All-purpose Flour, White Shark Sticky Rice Noodles, Water

Tomato Lump Soup

All-purpose Flour, Tomato, Egg

Pimple Soup

All-purpose Flour, Spinach, Carrot

Potato Cake

Potato Chips, All-purpose Flour, Chopped Green Onion

Pumpkin Buns

All-purpose Flour, Mashed Noodles, Caster Sugar

Pumpkin Pattern Buns

All-purpose Flour, Pumpkin Puree, Plain Water

Nutritious and Healthy Cornmeal Buns!

Corn Flour, Boiling Water, All-purpose Flour