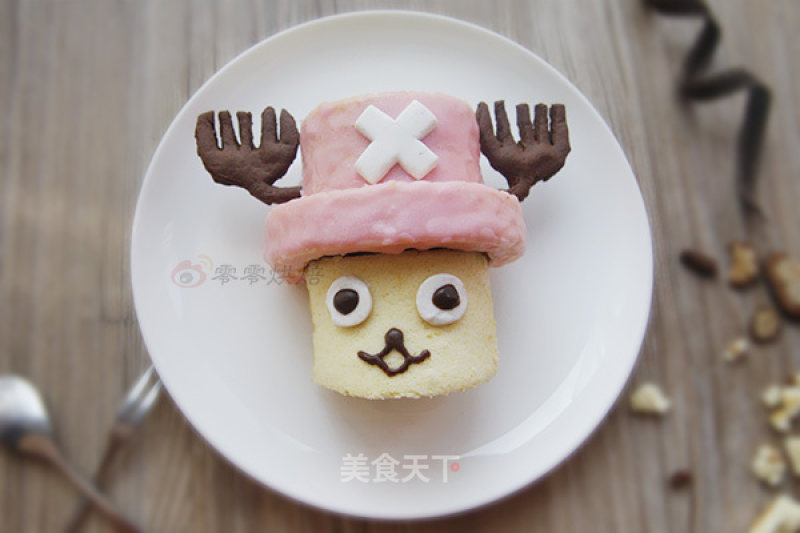
One Piece Choba Chiffon Cake Roll
1.
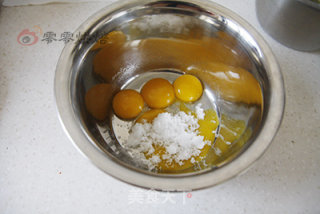
First make the cake roll. The ingredients for the cake roll: low-gluten flour 80G, 4 eggs, 45G salad oil, 45G milk, 60G fine sugar. Separate the egg yolk and protein, put them into different egg-beating bowls, put 20G fine sugar in the egg-yolk bowls, and beat them evenly with a manual whisk
2.
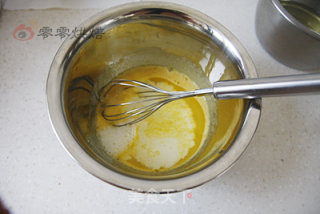
Add milk and salad oil, continue to beat until the oil and water are mixed
3.
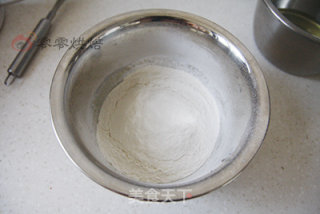
Sift in low-gluten flour and continue to mix well
4.
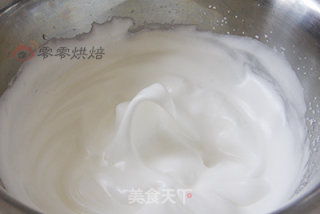
Beat the egg whites with 40G fine sugar, beat with an electric whisk until wet and foam, gently lift the beater head to form a curved corner. After laying, turn on the oven to preheat at 140 degrees
5.
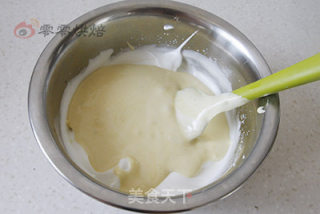
Use a rubber spatula to dig a scoop of the beaten meringue into the egg yolk bowl, stir evenly from the bottom up, then pour it into the meringue bowl, continue to mix evenly
6.
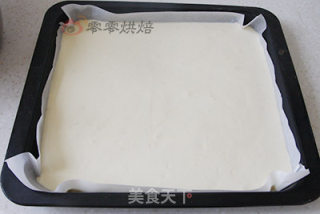
Put it in a baking tray lined with greased paper, and gently drop the baking tray on the countertop a few times to produce large bubbles. Then put it in the middle of the oven and bake for 30-35 minutes
7.
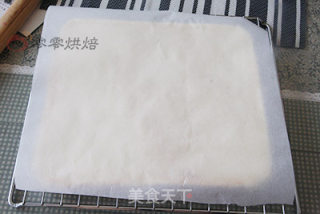
Take out the baked cake, remove the greased paper from the surrounding area and let it dry for two minutes, then buckle it upside down on the grilling net and tear off the greased paper, then cover it with a piece of fresh greased paper and let it cool to prevent the surface from drying out.
8.
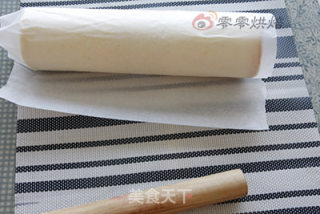
The dried cake is turned over and rolled up with a rolling pin (the rolling method is shown in the picture of the cake roll made before). Wrap both ends and put it in the refrigerator for half an hour.
9.
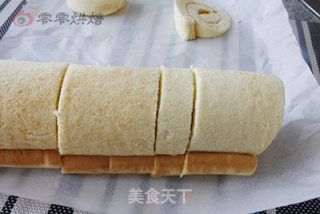
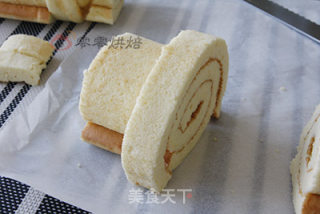
After taking out the cake roll, cut off two ends, and then cut it into three pieces, as shown in the picture on the right, three pieces, the rightmost is the face, the middle is the brim, and the third is the hat. One end of the face needs to be cut obliquely. Okay, otherwise it won’t stand firmly, it’s about 80 degrees from the desktop
10.
The brim piece is placed on the hat, it can come out a little bit on the face
11.
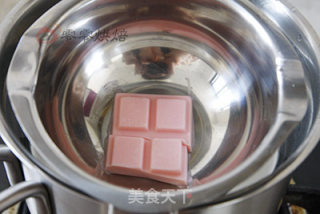
The powdered chocolate is heated until it melts in water, and it melts into a flowable chocolate paste. If it is too thick, add a few drops of water
12.
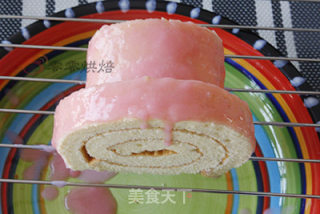
Put the whole cap on the grilling net, put a plate under it, and pour the melted chocolate paste on it. When you pour it, you can cool it down for a while and pour it when it's thicker. You can use a spoon to get it.
13.
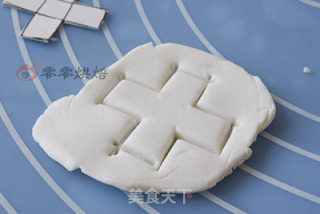
Take a piece of fondant, roll it into a piece, and cut it into a cross. You can draw a paper mold for your reference
14.
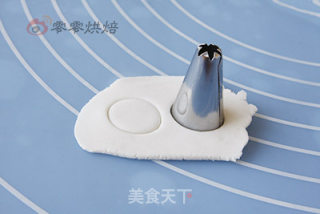
Use a suitable flower mouth to press out the whites of the eyes
15.
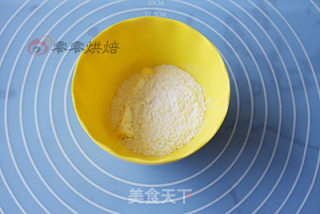
After 10G of butter is softened, add flour and knead it into a dough, then add cocoa powder and knead it into a smooth dough. If it is too hard, add a little bit of water properly.
16.
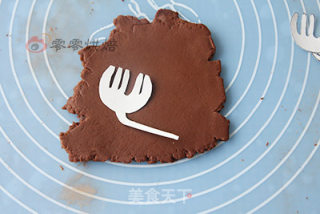
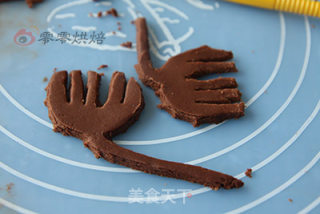
Roll the cocoa dough into a sheet, cut out the paper mold in advance, use the paper mold reference to cut the dough into a paper mold shape
17.
Then repair the surrounding area, put it in the middle layer of the tarp-covered oven and bake at 180 degrees for 10 minutes, take it out and let it cool for later use
18.
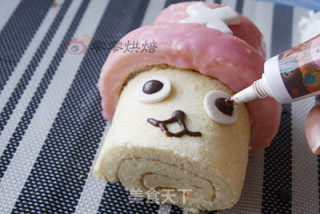
This step is to assemble the parts. The cross fondant and the fondant on the white of the eye can be glued with a little honey. After the chocolate pen melts, draw the eyeball and mouth, poke a small hole on each side of the hat, and decorate the freshly baked biscuits. Plug it in.
Tips:
The main reason is that you need to be careful when assembling the parts. When drawing the chocolate strokes, you must also grasp the temperature. The temperature is too high and it will flow everywhere, and the temperature is too low to squeeze out. You can try it on more cakes before painting.

![Seasonal Vegetable Patties [baby Food Supplement] recipe](https://img.simplechinesefood.com/02/024b910033009872aea33017c755a377.jpg)
