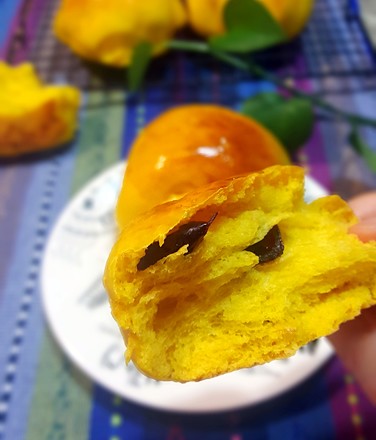
Pan Cake
1.
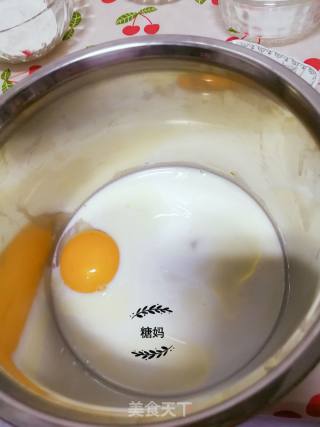
1. Take an egg, separate the egg white and the yolk.
2.
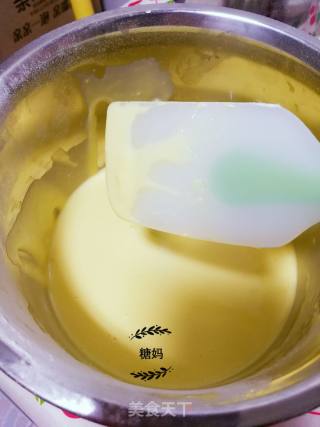
2. Add the formula milk to the egg yolk, then add edible oil, sift into the low-gluten flour, and mix it all evenly and finely. The stirred egg yolk paste is sticky and slippery.
3.
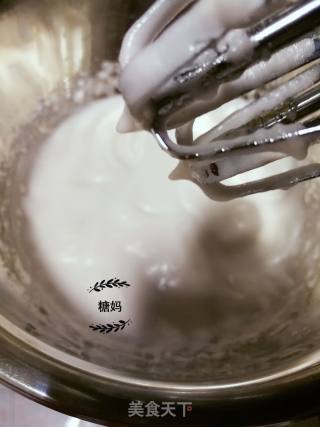
.The sugar is added to the egg white three times and beaten. The first time the sugar is added, the fish-eye shape is formed; the second time the sugar is added, the wet foam is formed; the third time the sugar is added, the shape is like a pair of small spikes. PS: The small spike means that when the stirring rod is lifted, the egg white can see two obvious upward pointed ends.
4.
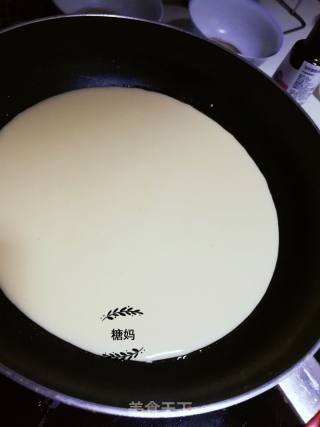
4. Take 1/3 of the whipped egg white, add it to the egg yolk paste, cut and mix while turning. Then pour the well-stirred egg yolk paste back into the remaining 2/3 egg whites, continue to cut and mix while turning, until it is sticky and not easy to slip off. 5. Brush the pan with oil first (don't turn on the fire at this step), pour in and stir PS: When brushing the oil, brush the bottom and sides of the pan.
5.
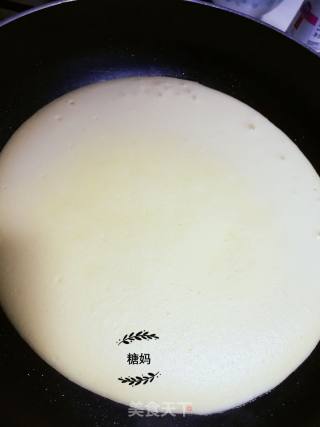
6. Turn on low heat, cover the pot, and simmer for about 2 minutes. After seeing small holes popping up on the surface of the cake and solidifying, it can be turned over. PS: Be careful when lifting the cake to avoid puncturing the cake too quickly.
6.
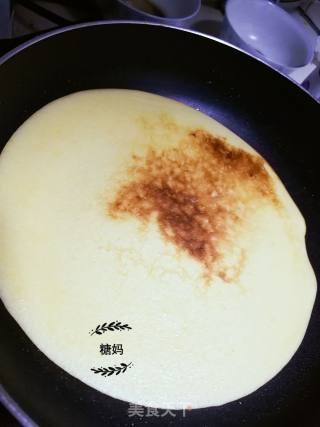
7. The bottom of the mothers should be fried to such a slightly golden color, so as not to fry for too long. PS: Remind again, the whole process is a small fire. 8. After frying on one side, turn over and fry for about 1 minute. 9. The time to fry after turning over should not be too long, as long as it has solidified and cooked. Turn off the heat in time, then simmer for 2 minutes with the remaining temperature. PS: The thickness of the cakes you make may vary. If it is thick, it is recommended to extend the frying time by 0.5~1 minutes on both sides, but remember to look at the bottom occasionally in the middle to avoid sticking the pan. The pan does not have a matching lid, that is, use a large lid
7.
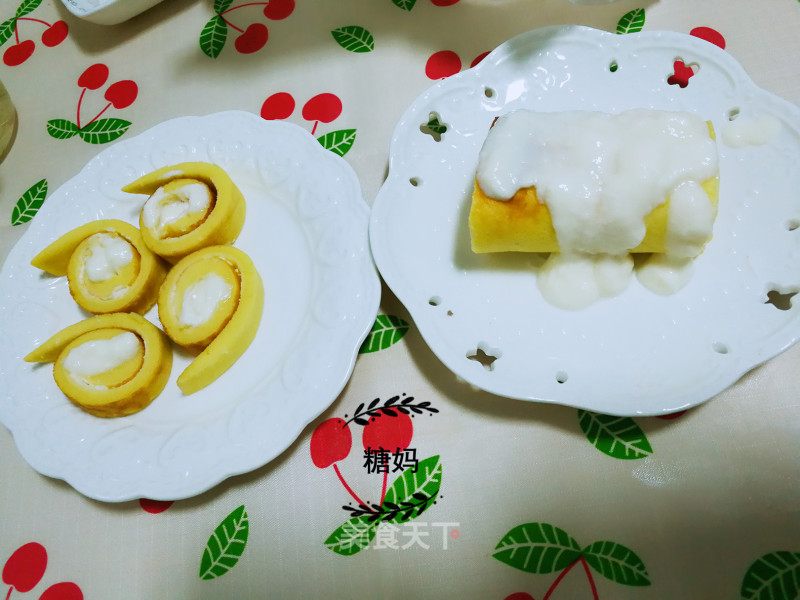
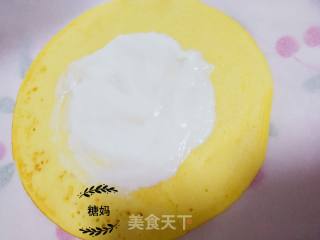
11. Pour the finished cake directly on the silicone oil paper and spread a little yogurt. PS: The amount of yogurt applied should be small, don’t apply too much at a time, so as to avoid excessive yogurt being squeezed out when rolling
8.
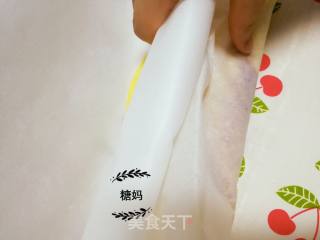
12. Roll up while it's hot. When rolling, use silicone oil paper to push the cake. PS: Roll the cake as tightly as possible, the roll is too loose, and the sides will be scattered and unsightly.
9.
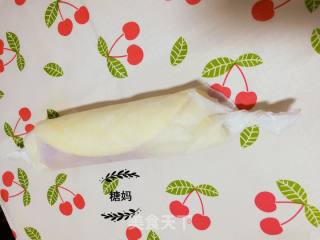
13. The rolled cake roll is wrapped tightly with silicone oil paper, the two sides are twisted and fixed like a candy wrapper, and the shape is set for half an hour
10.
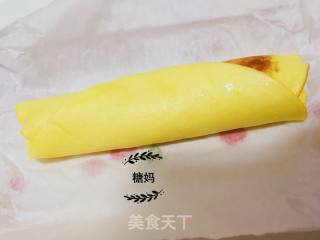
14. After the cake roll has cooled naturally, untie the silicone oil paper, and then it can be sliced.
Tips:
Sugar mom said:
1. Maybe some mothers will stop learning this cake because they are afraid of not playing well. In fact, even if it fails, we can mix all the ingredients and continue frying to make a delicious cake, but it's not so fluffy.
2. Use low heat when frying this pan cake! small fire! Be sure to master the heat.
3. Bao moms don't have to roll the cake into a roll like me, you can also directly cut it into cubes or diamonds and eat directly. The styling moms are completely free to play!

![Seasonal Vegetable Patties [baby Food Supplement] recipe](https://img.simplechinesefood.com/02/024b910033009872aea33017c755a377.jpg)
