Pictographic Walnut: Walnut Crisp

Pictographic Walnut: Walnut Crisp

by A little girl has grown up

4.7 (1)
Favorite

Difficulty

Hard

Time

2h

Serving

2

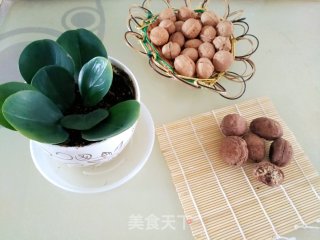
When you see this picture, you will be stunned: this is a food stall that can't put walnuts, or is it black and white, what do you mean? Let me tell you: This is a trick for blindfolding: the bottom is fake walnuts. Don't you believe it? It is the most prestigious pastry in Suzhou and Hangzhou: walnut crisp! The black color is due to the addition of cocoa powder. Its filling, oily skin and dry pastry are all added with salt and pepper and white sugar. If you taste it carefully, the taste is salty and sweet, with the aroma of walnuts, the numb aroma of pepper, and the sweet aroma of cooked sesame. A variety of tastes are contained in a black fake walnut.
If you make a pot of Longjing and taste this Suzhou-Hangzhou pastry, in meditation, it is as if you are between the covered bridge and the water pavilion in Wuzhen, and you are sitting on a cruise ship.
The pingtan tunes of Babbling from the pink walls and black tiles sounded in your ears. Under the blue sky and white clouds, there is a unity of heaven and earth, the unity of objects and me, and the beautiful harmony between man and nature.
When sitting on a cruise ship rippling among the water towns, you have an illusion of traveling through time and space, as if you were in the Ming Dynasty in the same period as Tang Bohu, Zhu Zhishan and other elegant scholars...
Have you eaten yet? A voice came. Are you eating fake walnuts, like fake replacements? When your eyes turn and you retort, I don't want to change it, the walnut crisp is delicious! "

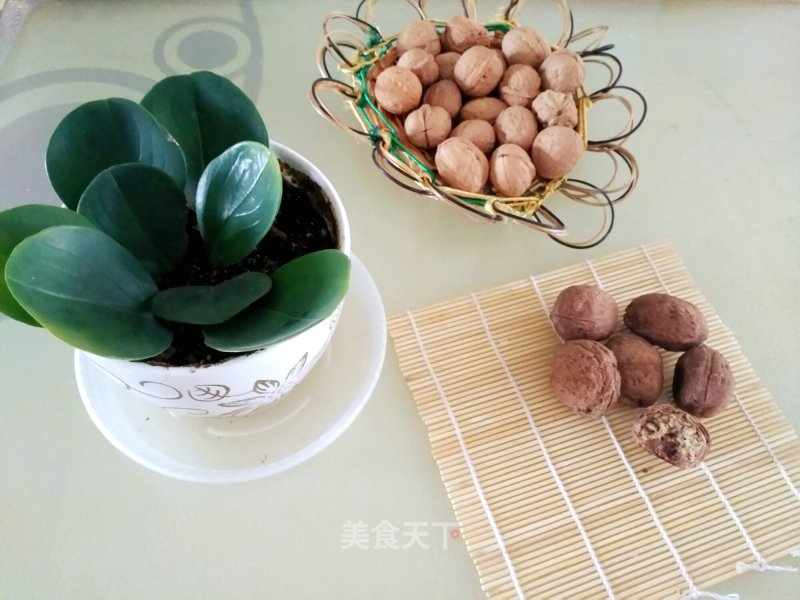
Ingredients

Pictographic Walnut: Walnut Crisp

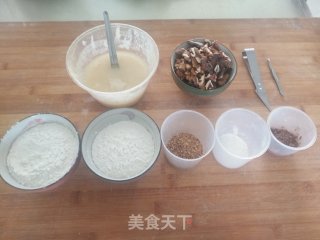
1. Preparation materials: lard, walnut kernels, noodles for water and oily skins, noodles for dry pastry, salt and pepper, white sugar, cocoa powder.

Pictographic Walnut: Walnut Crisp recipe

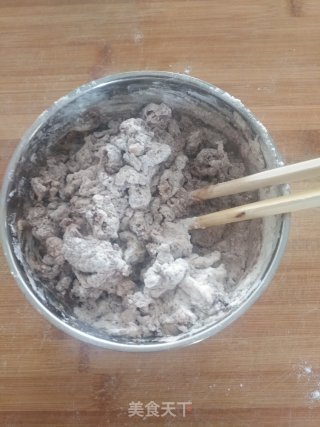
2. Let's make the water and oil skin first: put various materials into a bowl and stir them into a flocculent shape with chopsticks (for demonstration purposes, hand kneading is used).

Pictographic Walnut: Walnut Crisp recipe

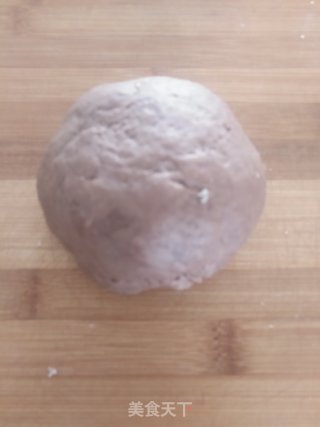
3. Knead into a smooth dough.

Pictographic Walnut: Walnut Crisp recipe

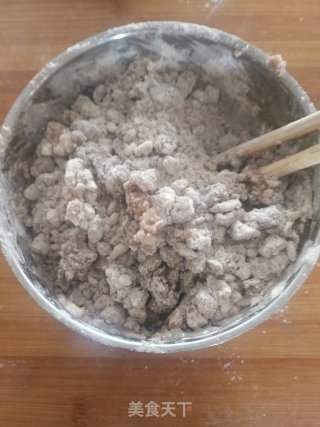
4. Make dry shortbread. Put various materials into a bowl and stir into a flocculent shape with chopsticks.

Pictographic Walnut: Walnut Crisp recipe

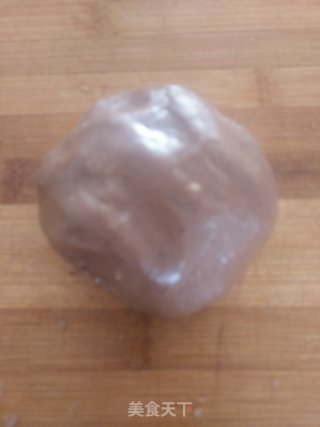
5. Knead into a smooth pastry.

Pictographic Walnut: Walnut Crisp recipe

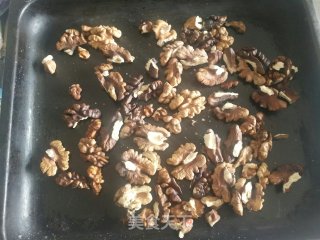
6. Bake the cooked walnuts in a baking tray (upper and lower fire at 120°C, roast for 20 minutes).

Pictographic Walnut: Walnut Crisp recipe

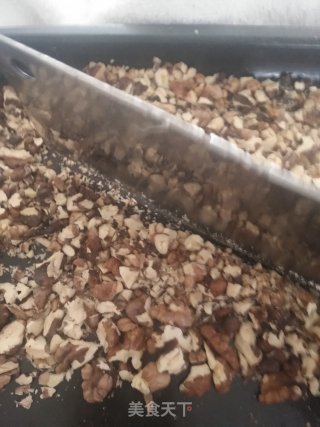
7. After cooling, use a knife to chop the walnuts in the baking tray (the method is to hold the knife in your right hand, hold the back of the knife with your left hand, and chop the walnuts up and down together with both hands, so that the walnuts will not splash around).

Pictographic Walnut: Walnut Crisp recipe

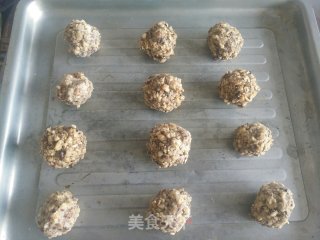
8. Add all kinds of materials and squeeze them into a filling one after another.

Pictographic Walnut: Walnut Crisp recipe

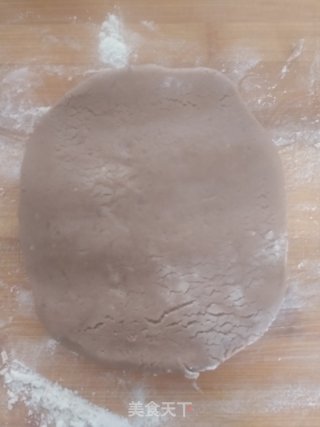
9. Enter the critical stage of opening crisp. Roll the dried pastry into a rectangle.

Pictographic Walnut: Walnut Crisp recipe

10. Grasp the size, and roll the water and oily skin into twice the size of the shortbread.

Pictographic Walnut: Walnut Crisp recipe

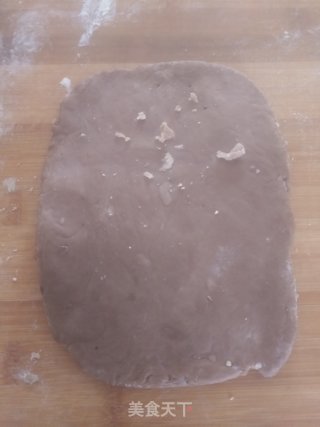
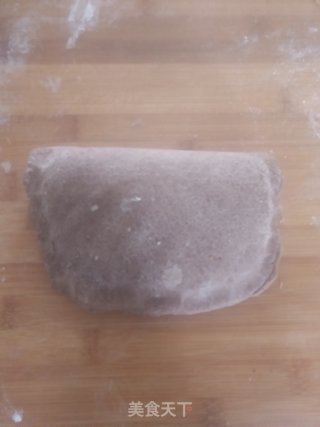
11. Using the pastry method of opening the pastry, place the shortbread on half of the water and oily skin, then fold the other side to wrap the dry shortbread, and pinch the edges.

Pictographic Walnut: Walnut Crisp recipe

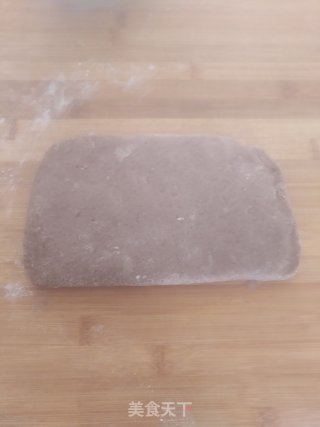
12. Roll out the dough thin with a rolling pin (do not fold it many times, if you fold it too much, the puff pastry will crack and slag).

Pictographic Walnut: Walnut Crisp recipe

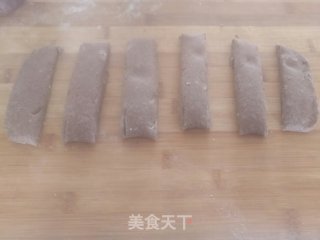
13. Divide into six parts with a knife.

Pictographic Walnut: Walnut Crisp recipe

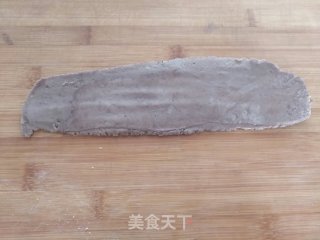
14. Take a vertical and horizontal roll out.

Pictographic Walnut: Walnut Crisp recipe

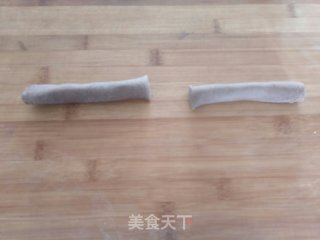
15. Roll up lightly and cut into 2 portions with a knife.

Pictographic Walnut: Walnut Crisp recipe

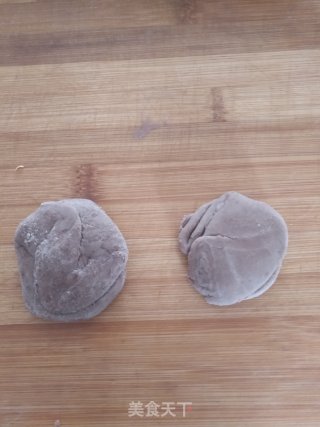
16. Twist it into a spiral and squash it like a twist.

Pictographic Walnut: Walnut Crisp recipe

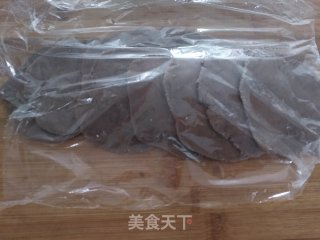
17. Roll out all the noodles into dumpling wrappers, and cover the dough with plastic wrap to prevent cracking of the puff pastry.

Pictographic Walnut: Walnut Crisp recipe

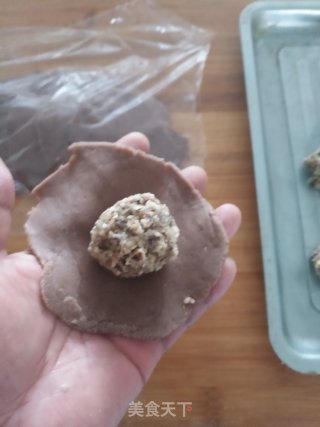
18. Packing fillings.

Pictographic Walnut: Walnut Crisp recipe

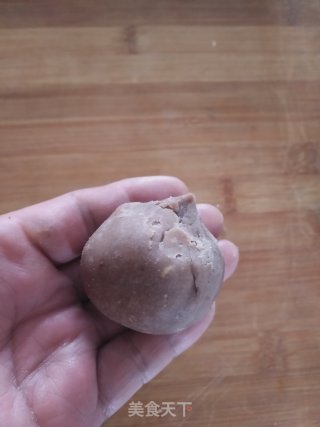
19. Pinch the bottom firmly.

Pictographic Walnut: Walnut Crisp recipe

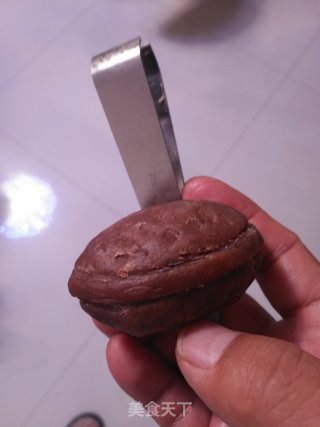
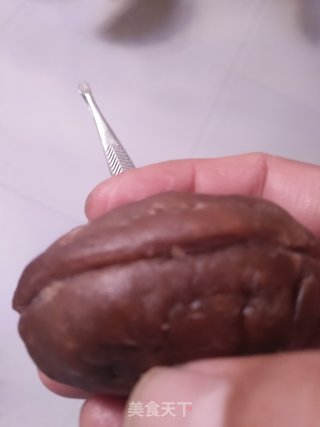
20. Enter the carving stage: Pinch the dough embryos into an oval shape to pinch out the sharp corners at both ends, and use large tweezers to pinch out the dividing line in the middle of the walnut.

Pictographic Walnut: Walnut Crisp recipe

21. Use the tip of small tweezers to press out the uneven marks on the walnut skin.

Pictographic Walnut: Walnut Crisp recipe

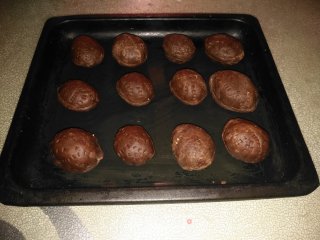
22. Put the sculpted fake walnuts in the baking tray, and preheat the oven at 220 ℃.

Pictographic Walnut: Walnut Crisp recipe

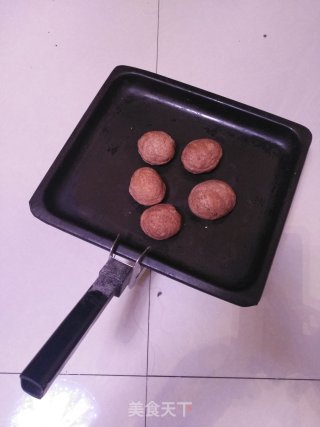
23. Heat at 220°C, lower at 200°C, and bake for 20 minutes.

Pictographic Walnut: Walnut Crisp recipe

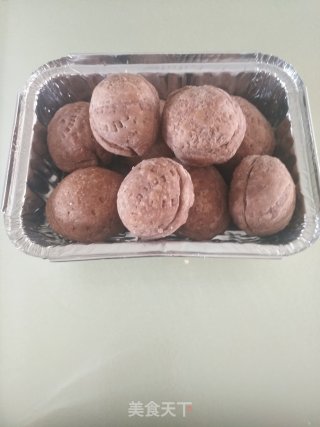
24. Finished picture.

Pictographic Walnut: Walnut Crisp recipe

25. Finished picture.

Pictographic Walnut: Walnut Crisp recipe

Tips:

1. Although the steps are complicated, you must have confidence: I can do it.
2. Cracking is the key. Always cover the cracked dough with plastic wrap to prevent cracking.
3. If you don't like salt and pepper flavor, you can use sugar. It can also be coconut flavored or chocolate flavored, depending on personal preference.

Comments

Similar recipes

Braised Eggplant

Eggplant, Salt, Flour

Pimple Soup

Ginger, Parsley, Chives

Seasonal Vegetable Pie

Flour, Shimizu, Cucumber

Pimple Soup

Flour, Tomato, Water

Seasonal Vegetable Quiche

Green Bean Sprouts, Carrot, Shiitake Mushrooms

Seasonal Vegetable Soup Baba

Flour, Tomato, Sausage

Cornmeal Fried Dumplings

Glutinous Rice Balls, Flour, Cornmeal

Pimple Soup

Tomato, Flour, Rape