Pita Pocket Bread
1.
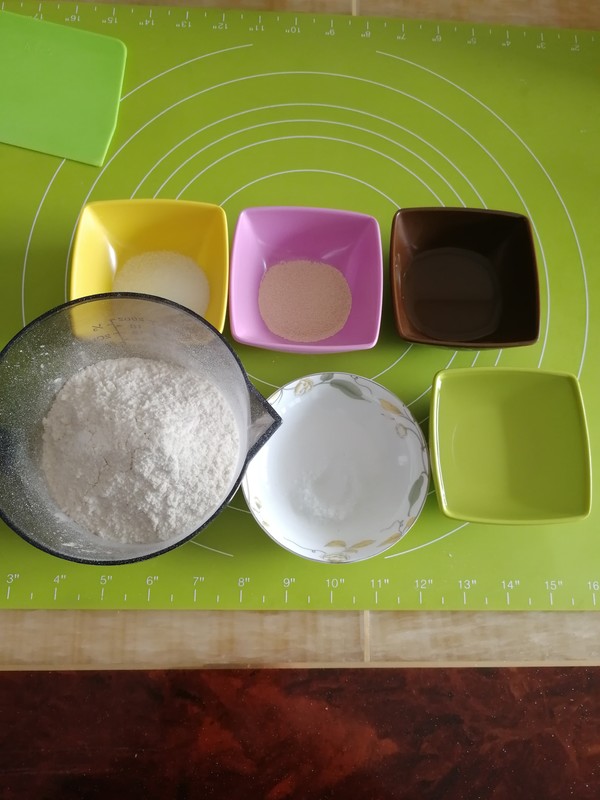
Prepare the materials. Without corn oil, olive oil will work.
2.
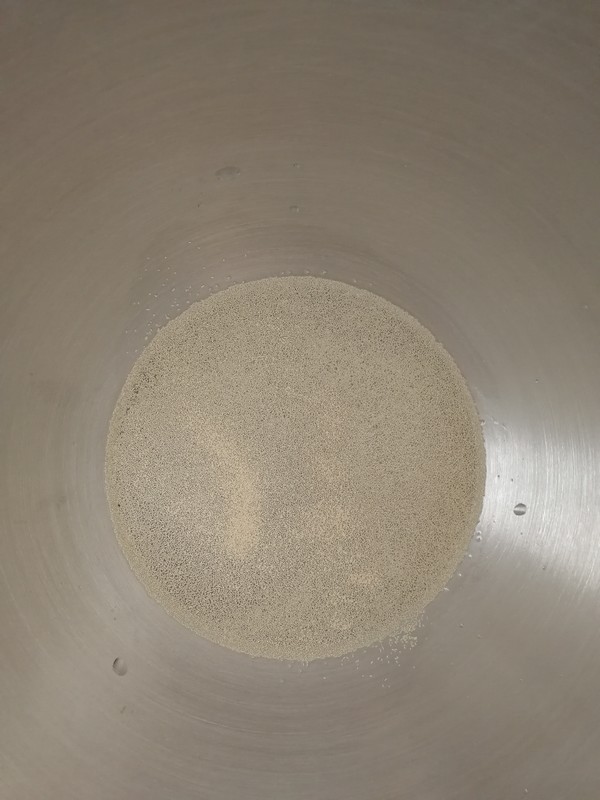
In the noodle bucket, add water first, and then evenly sprinkle the yeast. Season and the water absorption of flour have an impact, so 5-10 grams of water can be reserved for adjustment.
3.
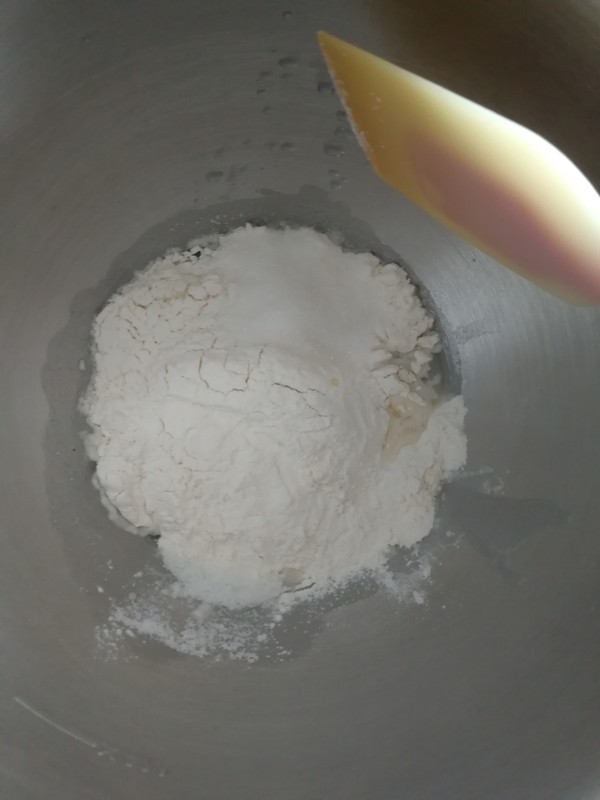
Then add corn oil, high-gluten flour, sugar and salt in two corners.
4.
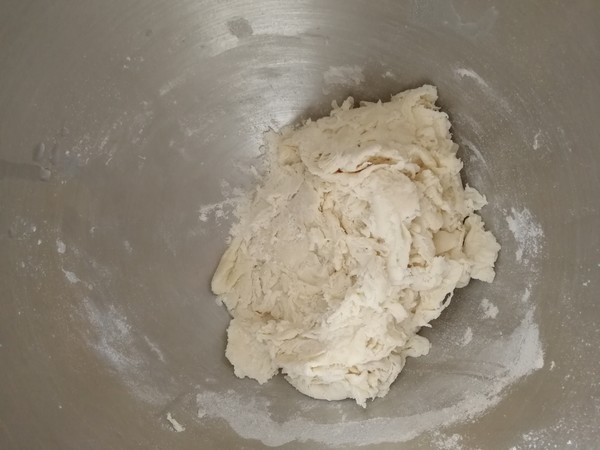
The amount of flour in the formula is relatively small. First, use a silicone spatula to stir until there is no dry powder, and then use a chef's machine to beat it. It will quickly hook on the noodle hook, 3-4 block noodles.
5.
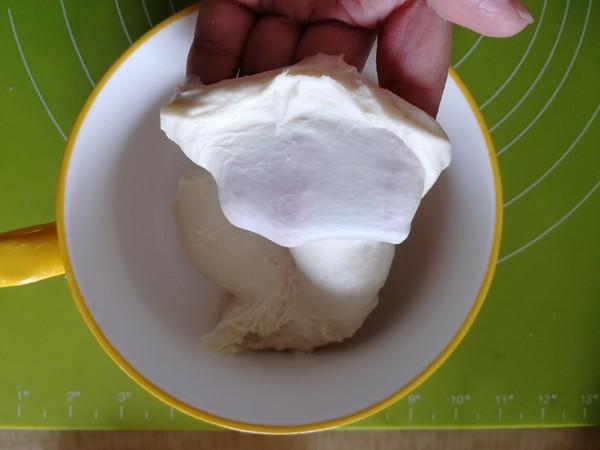
Hit the expansion stage. The dough is malleable enough to hold more carbon dioxide and other gases produced by yeast fermentation during the fermentation process. The dough will not expand until it is baked.
6.
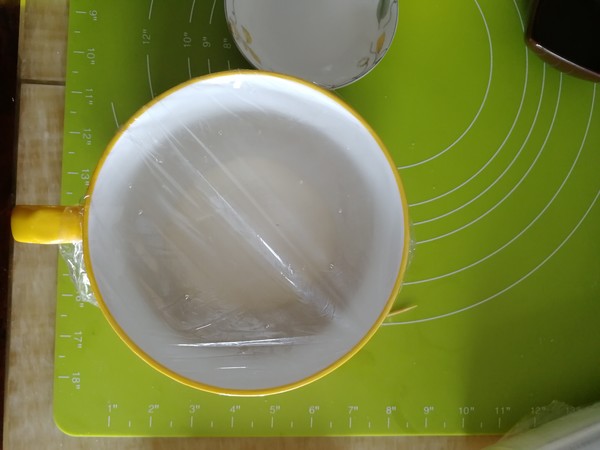
In a clean container, apply a thin layer of oil, round the beaten dough, put it in, cover with plastic wrap, and perform the first fermentation at a temperature of 25-28 degrees.
7.
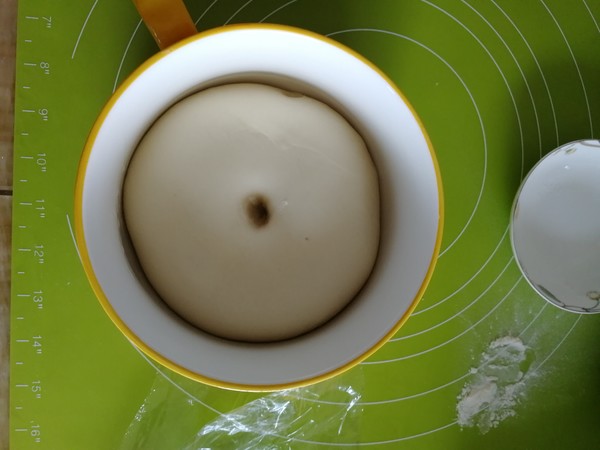
Ferment for 1-1.5 hours, double the size, dip your fingers in flour and poke into the dough, the hole does not shrink, does not collapse, fermentation is complete.
8.
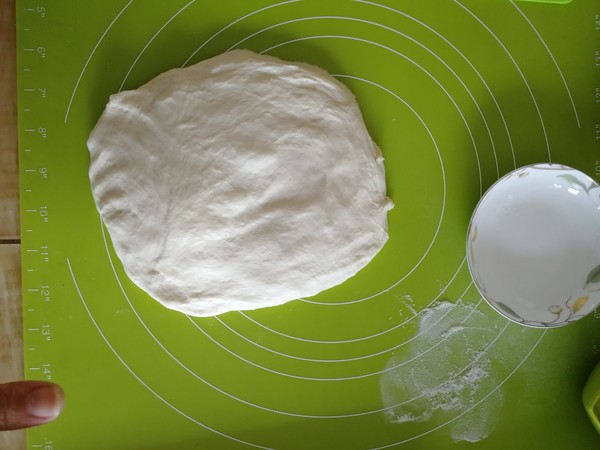
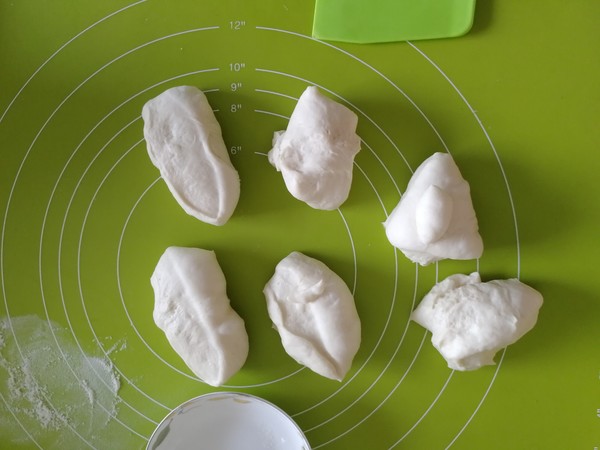
6Take out the fermented dough, and gently press to exhaust.
9.
Divide into 6 evenly
10.
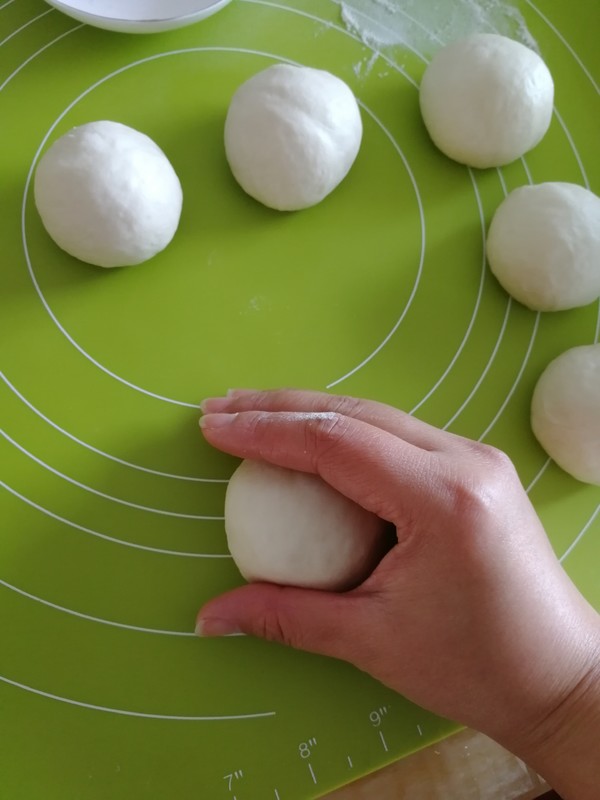
Knead the circle in a C-shape with your hand inverted, and slightly force it counterclockwise to make a circle.
11.
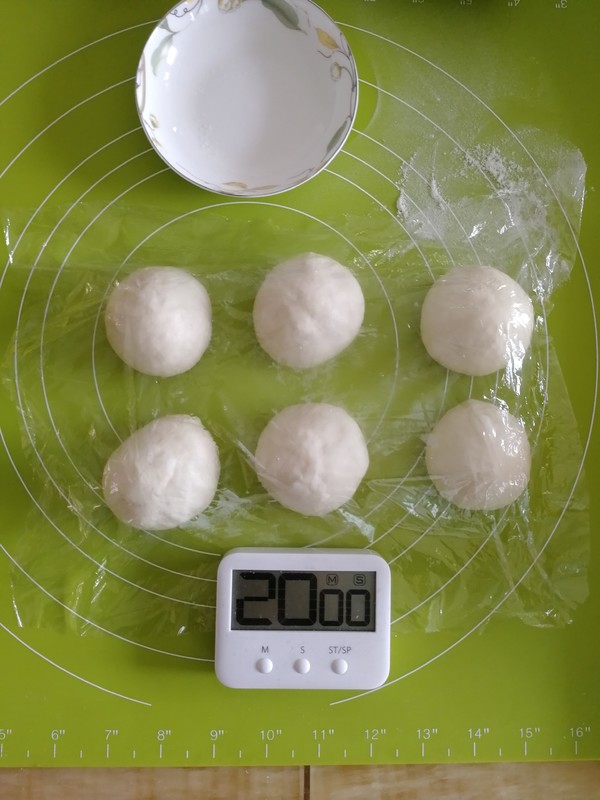
Cover with plastic wrap and relax for 20 minutes. When the dough is relaxed, preheat the oven to 230 degrees up and down for about 10 minutes. Line the baking tray with greased paper and put it in the oven to preheat. The operating table clears out the place where the hot bakeware can be placed.
12.
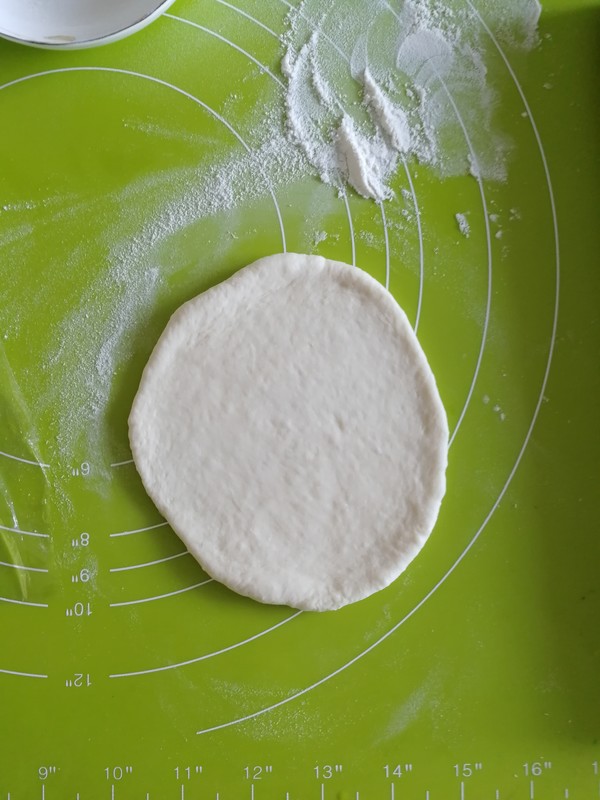
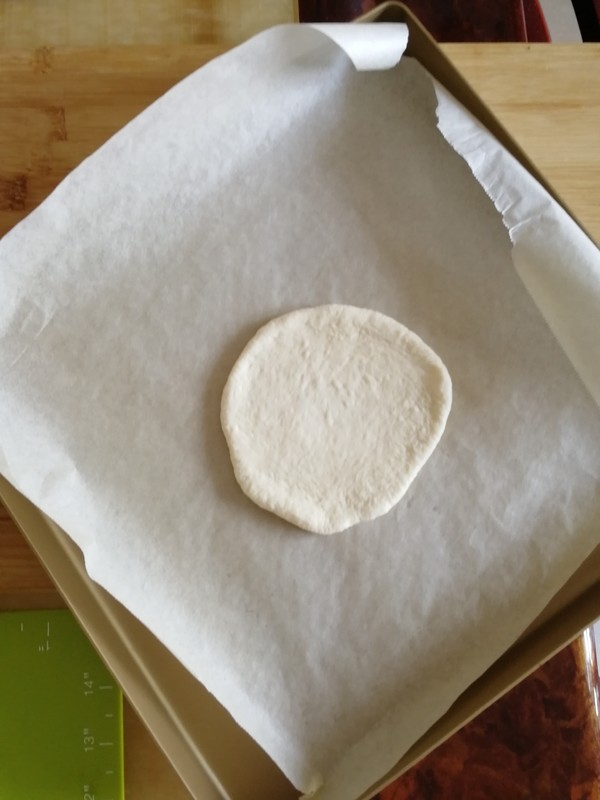
Take a loose dough. Press flat, sprinkle a little powder on the kneading pad to prevent sticking. Roll out the rolling pin and roll it into a round cake with a size of 12 cm and a thickness of about 4 mm.
13.
Take out the hot baking pan that was preheated together, put the rolled dough on the baking pan immediately, tidy it up a little, and pay attention to the hot hands.
14.
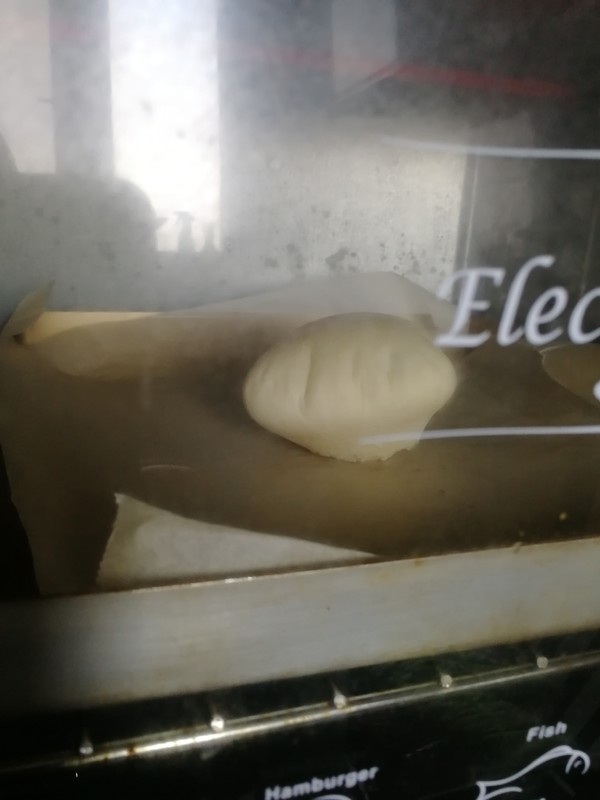
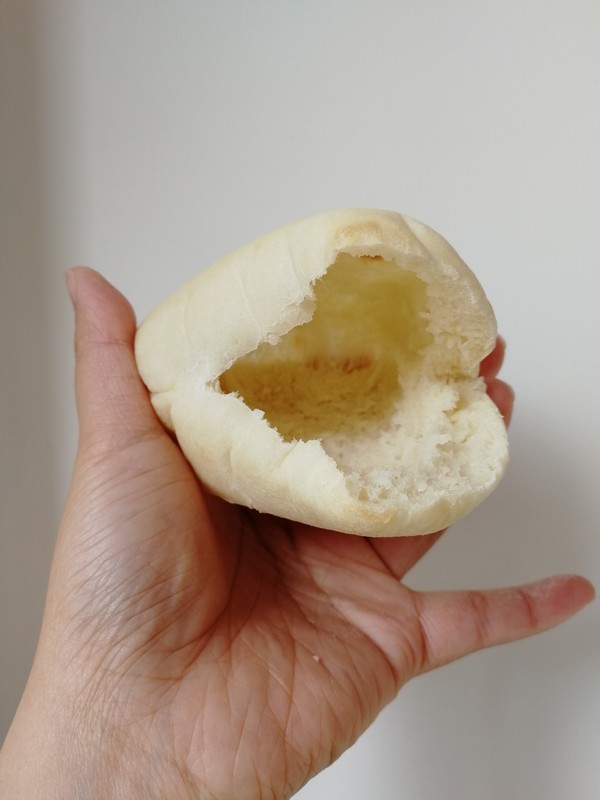
Put in the oven and bake for 4-4.5 minutes. The dough will bulge up completely in about 3 minutes, continue to bake for 1-1.5 minutes, lightly color it, and then take it out and let it cool. Roll out a dough while baking, and put it in to continue baking when the previous one is finished. Pita bread needs to be baked at a high temperature, try to bake one by one.
15.
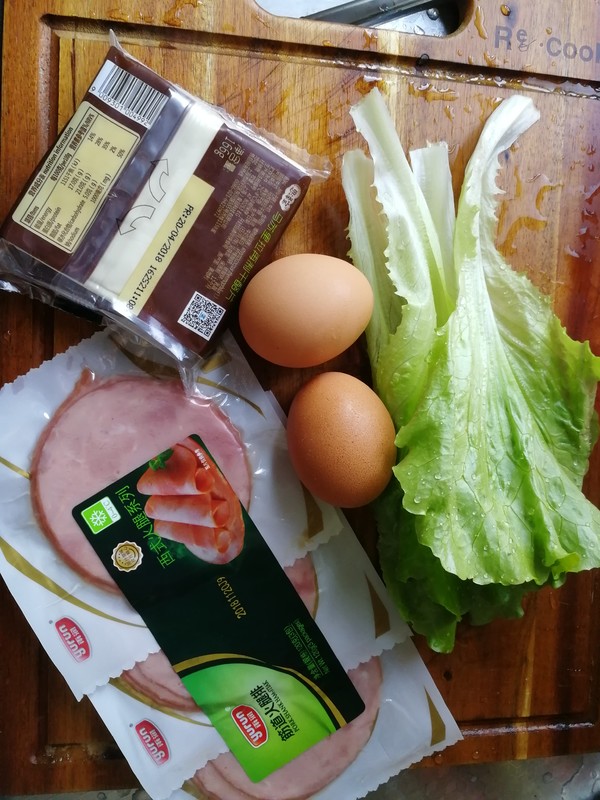
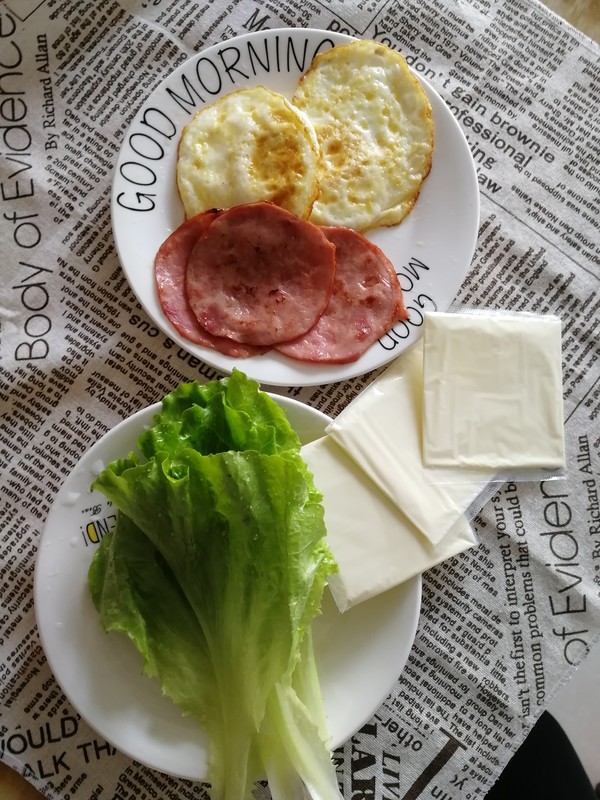
Bake them all and prepare the ingredients to fill your pockets.
16.
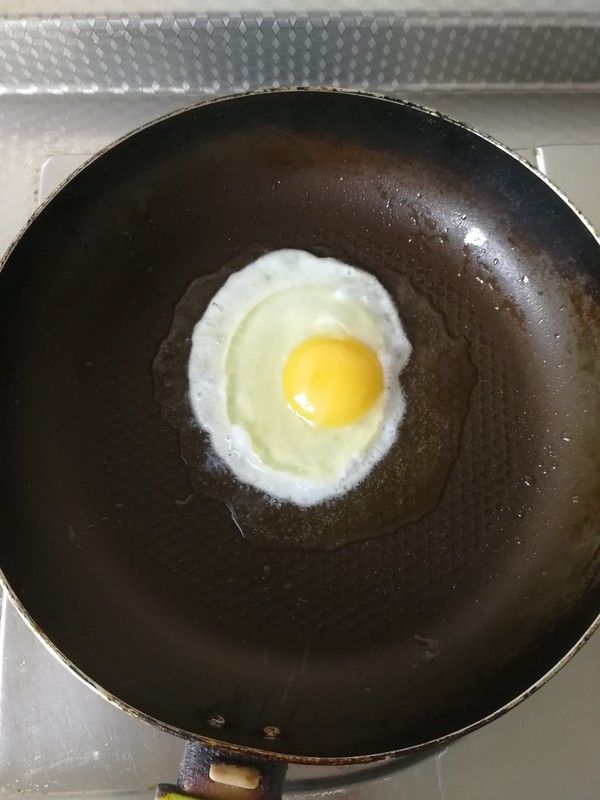
Put oil in the pan, beat in the eggs, and fry the eggs on both sides over low heat.
17.
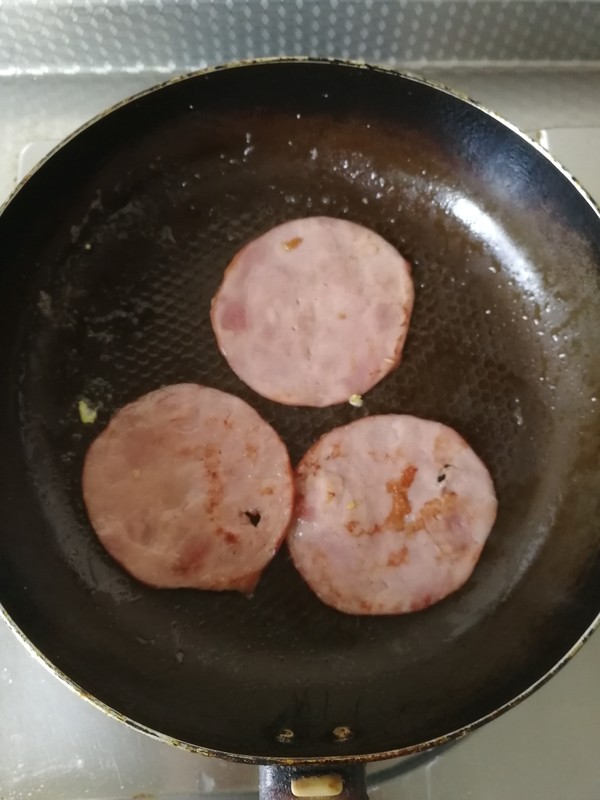
Fry the ham slices.
18.
Wash the lettuce.
19.
The pita was cut with a serrated knife.
20.
Put in all kinds of materials you like. Cheese slices, lettuce, ham slices, fried eggs, can also be squeezed into salad dressing or tomato sauce
Tips:
1. Corn oil can be replaced with butter in the same amount, softened and added when the dough reaches a thick film.
2. Be careful when rolling the dough, not too thick or too thin, which will affect the formation of pockets.
3. Bake at a high temperature one by one. The time is controlled by yourself. The time is just right. The crust will be soft after cooling. If it is hard, it means that the baking time is too long.
4. The baking temperature is 230 degrees in a small oven, and 250 degrees in a large oven, and the time is reduced by 1-2 minutes.
5. Fill the stuffing according to your preference. The crust can be eaten without bulging.
6. It can be frozen and preserved. Before eating, spray a little water in the oven and bake it at 150 degrees up and down.

