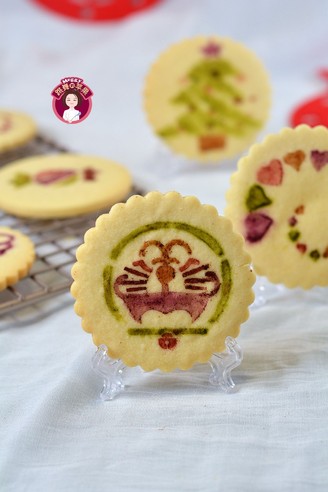
Printed Biscuits
1.
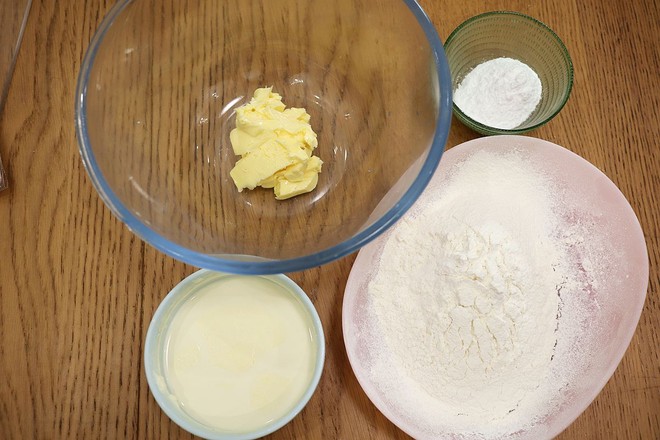
Group photo of biscuit materials: unsalted butter, powdered sugar, light cream, low-gluten flour (cake flour) softened at room temperature; light-flavored or fermented butter can be used, lightly press the finger pit with your finger to use; light cream can be used with egg liquid Substitute; the amount of powdered sugar 20-30g can be adjusted according to personal taste;
2.
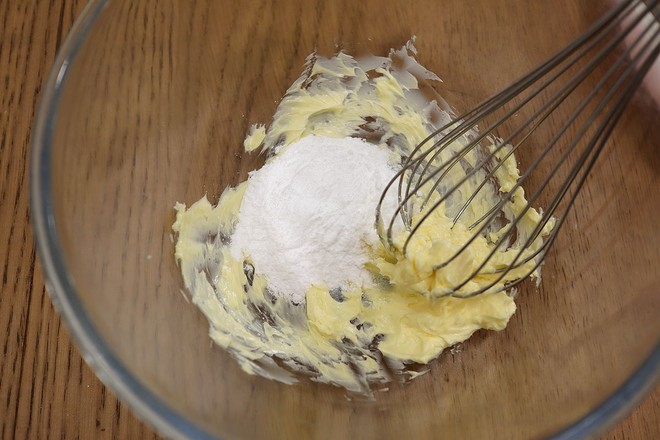
Beat the butter smoothly with egg custard, add powdered sugar;
3.
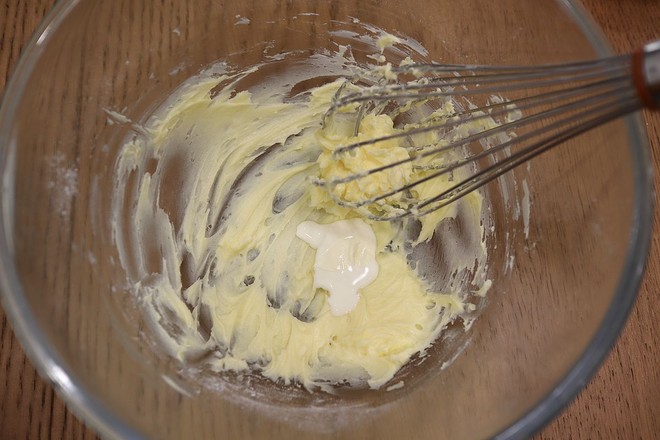
After mixing well, pour 20 grams of whipped cream into the butter in 3-4 times, each time it must be fully incorporated into the butter and then poured into the next; the butter is extracted from the milk, more or less there will be some milk residue in it , So the amount of whipped cream can be adjusted between 16-20 grams;
4.
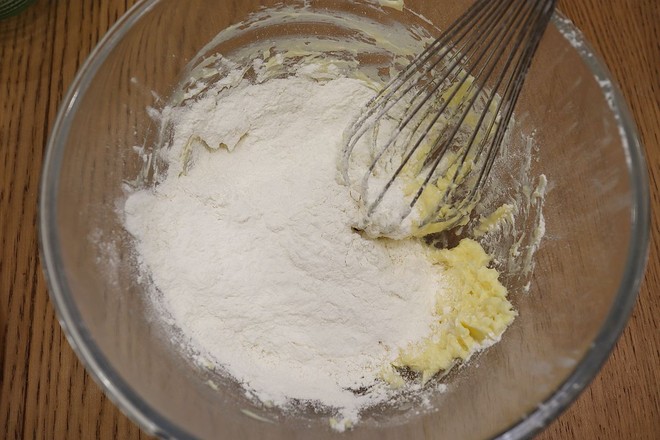
Pour the low-gluten flour into the butter paste;
5.
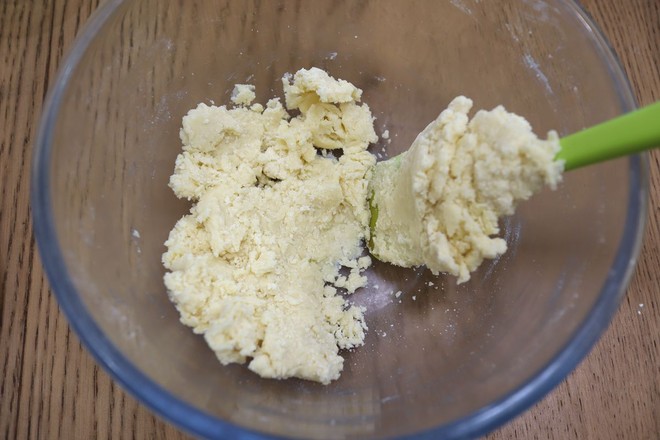
First use egg extract to stir into granules, then use a spatula to cut, mix, and press into a loose dough;
6.
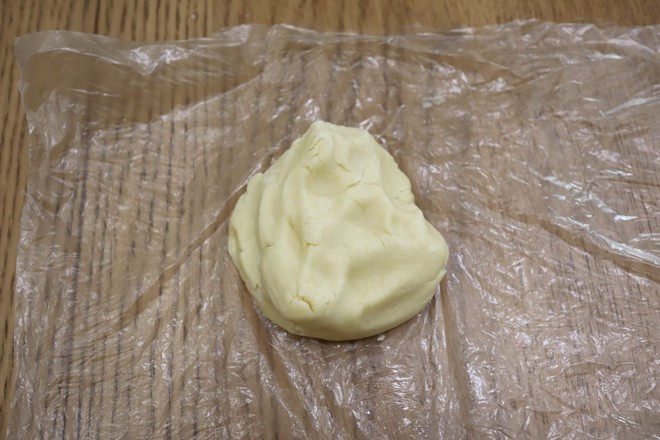
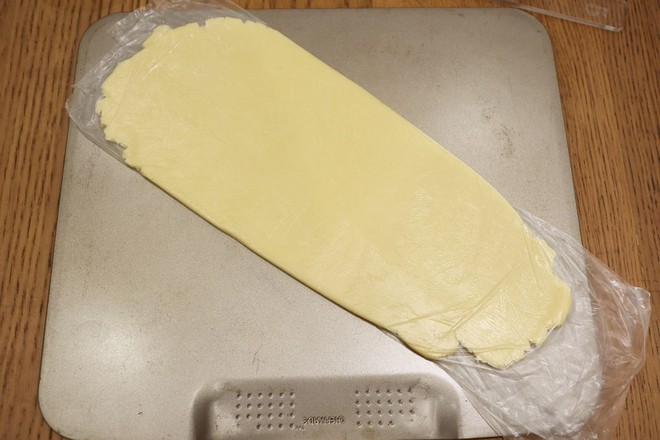
Cut the fresh-keeping bag and use it; the fresh-keeping bag is easier to use than the fresh-keeping film, is not easy to stick and can be reused 3-4 times; pour the loose dough into the fresh-keeping bag and press it into a complete dough through the bag;
7.
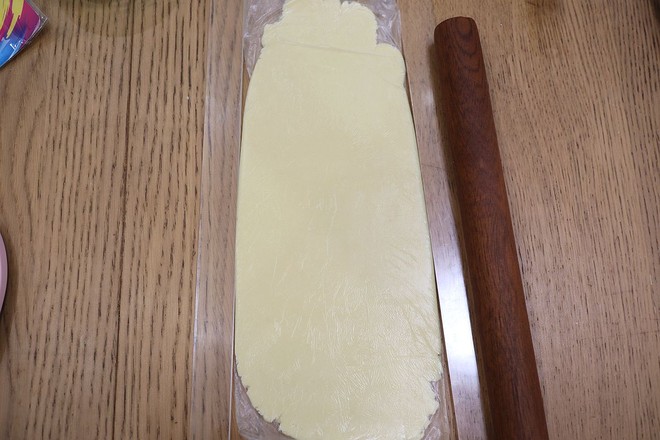
Fold both sides of the bag in half and roll it into a 5 mm thick dough piece;
8.
Put the noodles on the baking tray and put them in the refrigerator for 15 minutes before they become hardened;
9.
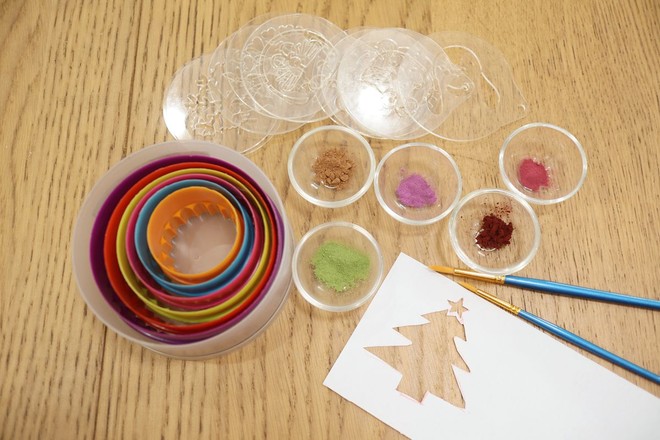
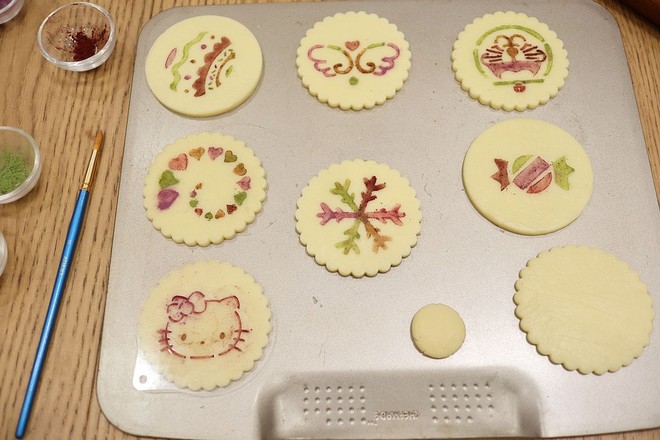
When refrigerating the noodles, prepare the small tools you will use: biscuit molds, natural plant pigments, not limited to these: cocoa powder, purple sweet potato powder, red beet root powder, spinach powder, red yeast rice powder; small brush, various powders Screen the pattern. If there is no pattern, I can carve it out on white paper. The small tree in the lower right corner is the one I cut out with scissors after I drew it myself;
10.
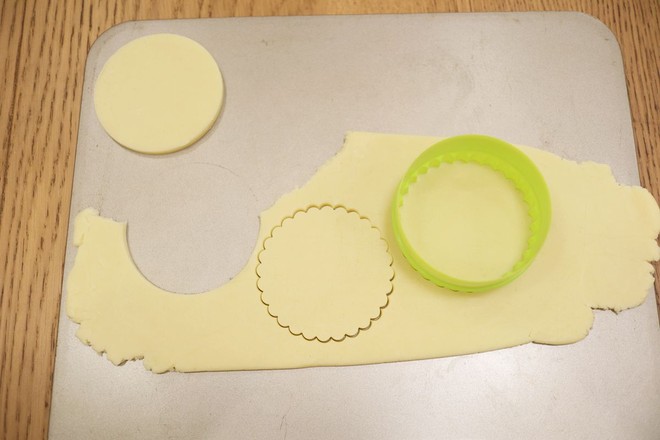
Take out the dough that has been hardened by refrigeration, remove the fresh-keeping bag, and use a die with a diameter of about 8 cm to carve out the green biscuit with the smooth side facing up. The remaining dough is kneaded, rolled, and carved again;
11.
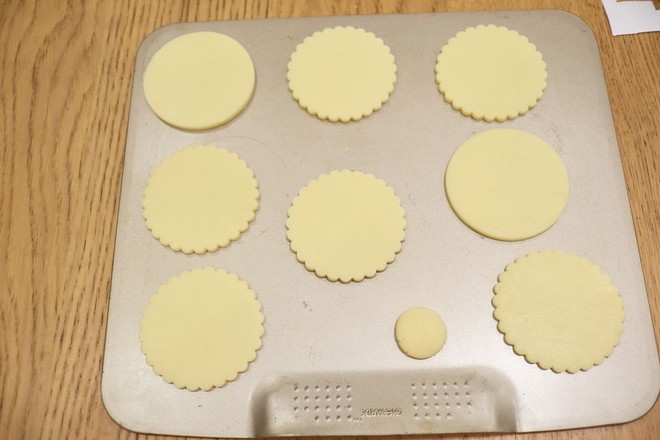
Place the engraved green biscuit code on a non-stick baking tray; press the remaining leftovers and put them flat;
12.
Place the biscuit powder sieve mold on the green biscuit, and use a small brush to dip various natural plant pigments, the colors are random, and the patterns are brushed;
13.
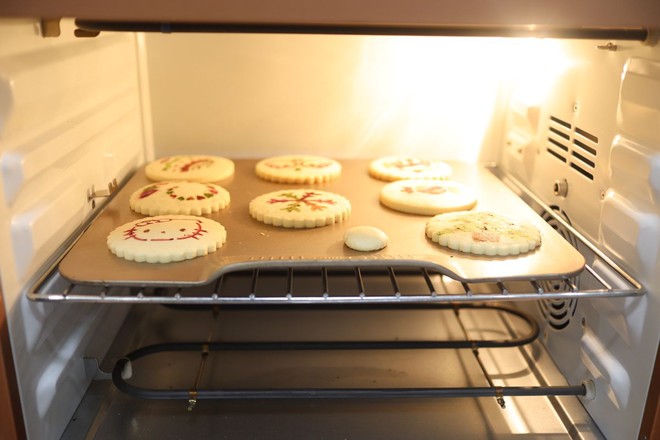
Put it into the middle layer of the preheated oven, and heat up and down at 170 degrees for 12 minutes;
14.
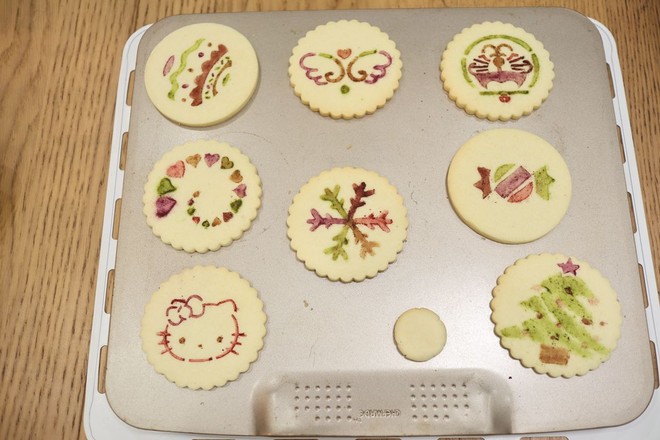
Leave the biscuits in the oven and remove them gently after drying; if you find that the biscuits have bulges, place a piece of baking paper on the surface of the biscuits after they are baked, and place a slightly heavier baking pan on it for one minute to restore the surface to be flat.
Tips:
1. The taste of this biscuit recipe is very crisp and melts in the mouth; the size of the biscuit can be adjusted as you like, but it should not be too thin.
2. The pattern on the surface can be drawn as you like; in addition, there are hollow decorations to read my other biscuit recipes;
3. The baking temperature and time are adjusted according to the actual situation of the oven used and the size and thickness of the biscuits.

