Pumpkin Funny Face Sandwich Biscuits
1.
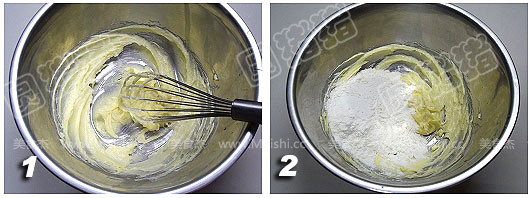
Mix the room temperature softened butter with powdered sugar, and then use a manual whisk until fluffy and swelled. Add flour
2.
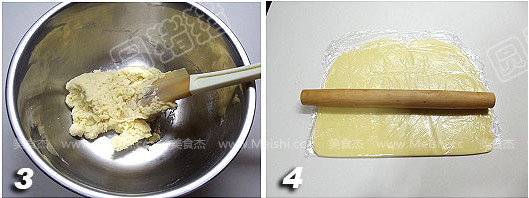
Use a rubber spatula to mix the flour and oil well. Take a large plastic wrap, put the dough in it, and cover the surface with a large plastic wrap. Use a rolling pin to roll the dough into a 3 mm thick rectangle
3.
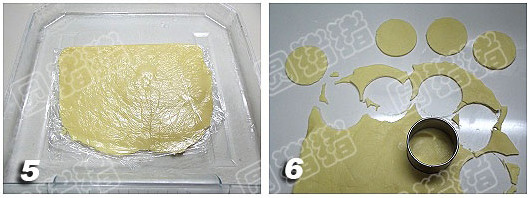
Transfer the rolled dough into the freezer compartment of the refrigerator and freeze until hardened. After about half an hour, take out the dough and use a circular cutter or other circular mold to cut the dough into a disc shape. Attach the cut edge as the handle of the pumpkin to the top of the circle
4.
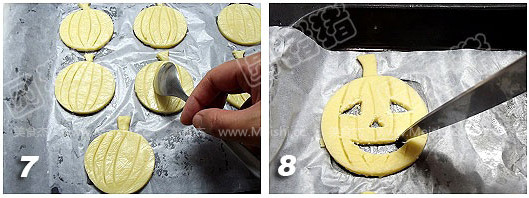
After warming up, the biscuits have become a little soft. Take a spoon and press on the pumpkin to make a stripe. Press it as deep as possible, but don't break it. Put the processed biscuits, together with the baking tray, into the freezer compartment of the refrigerator again. Take out the re-frozen biscuits again and use a sharp knife to carve out the eyes, nose and mouth of the pumpkin, and then paste a few square pieces of dough on the mouth to make teeth.
5.
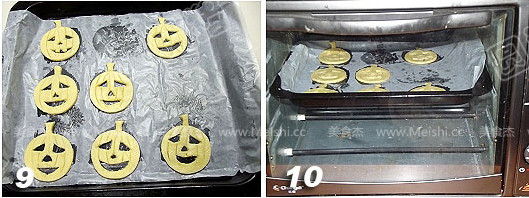
Carved look. Figure 10 Preheat the oven at 170 degrees, bake the middle layer for 8-10 minutes, watch it on the side, and it will be slightly colored.
6.
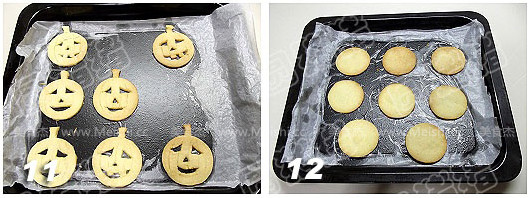
Figure 11 The finished state of baking. Figure 12 Use the above method to bake some ordinary round biscuits as the bottom
7.
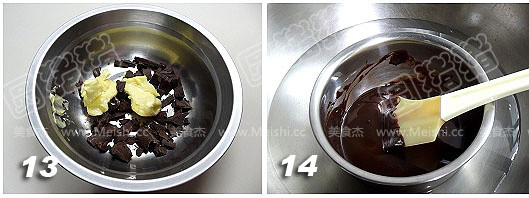
Picture 13-14, after the biscuits are baked, put them on the baking net and let them cool, and start making chocolate fillings. Chop the chocolate, cut the butter into small pieces, and add animal cream. Stir and melt into a slurry with warm water at 40 degrees. Then stir and cool down with cold water until it becomes semi-solidified
8.
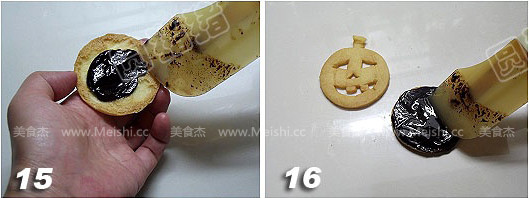
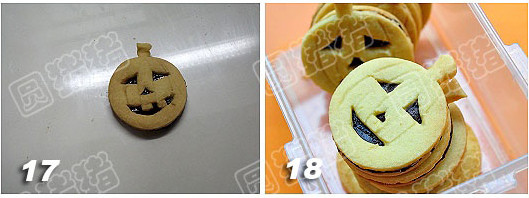
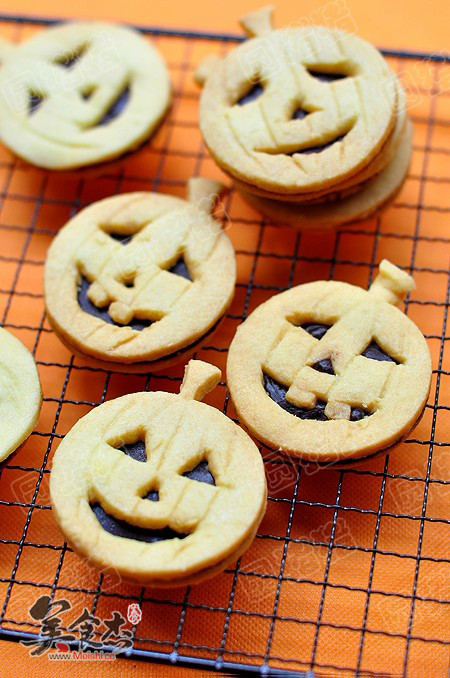
Figure 15. Spread semi-solidified chocolate paste on the round biscuit, and then cover with a pumpkin facial biscuit to complete
9.
After the chocolate has completely condensed, the biscuits can be stored in the crisper


