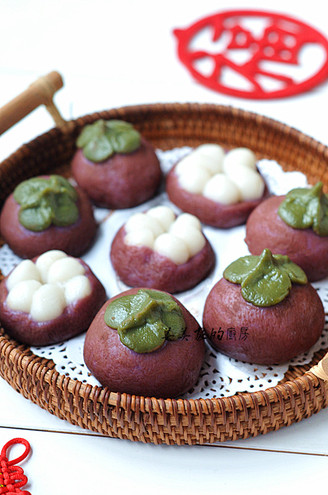
Pumpkin Snowy Mooncakes
by All ice
Favorite
1
Difficulty
Easy
Time
1h 30m
Serving
3
Snowy mooncakes were introduced to the mainland from Hong Kong. The main reason they are called "Snowy Mooncakes" is that they are different from the traditional way of making mooncakes. Because all traditional moon cakes are made of syrup, the color is golden yellow. Part of the raw material of snowy moon cakes is glutinous rice. The moon cakes made are beginning to look white. They are stored in the freezer and stored in the freezer when they are sold.
After snowy mooncakes were introduced to the mainland, they were improved by food lovers and made colorful snowy mooncakes. It is said that the masters are among the folks. Really, if you search on the Internet, you will come up with various methods and recipes for snowy mooncakes. , There are also colorful and super high-value snowy mooncake pictures, just as beautiful as they are.
When I first played baking, I made snowy mooncakes. At that time, relatives and friends around liked my snowy mooncakes. However, due to its short shelf life and the need to keep refrigerated, I made them every time. In recent years, I have become more and more busy, and I have done less. This time, at the request of the client, to organize a party, I made snowy mooncakes again.
The reason why I chose pumpkin as filling is because of the nutritional value of pumpkin and its super-beautiful color, which is more suitable for the autumn season. With the color you like, you can’t think of it as beautiful or not. This is just a trial, except for The customer tried it and gave the rest to his daughter. Although the color is less, the daughter still likes and is very happy