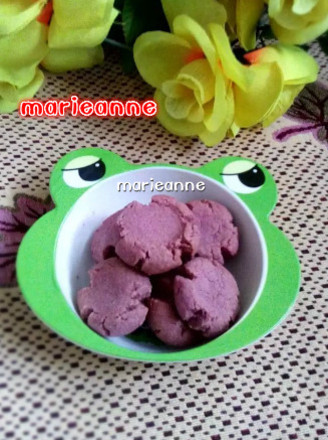
Purple Potato Margarita Cookies
1.
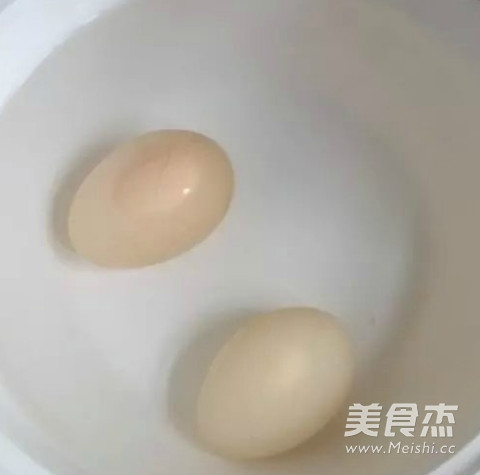
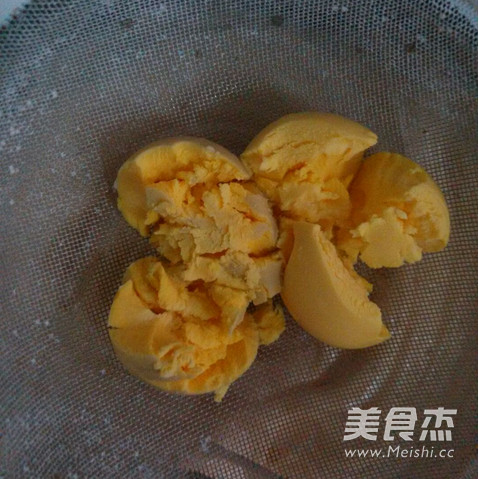
Put two eggs in a pot under cold water in advance, and boil on medium heat until the water boils. After the water has boiled, boil for about 8 minutes, remove it, place it in cold water to cool, and take the egg yolk for later use
2.
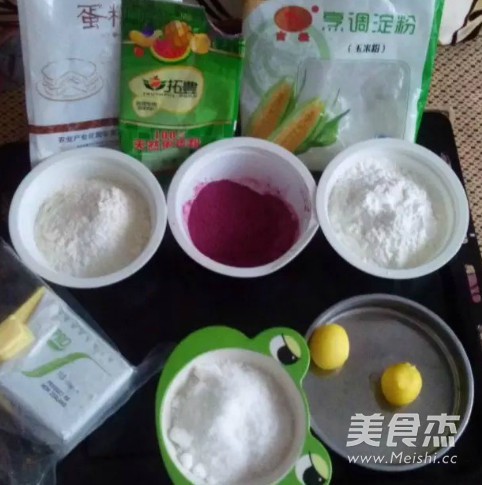
Prepare the required ingredients
3.
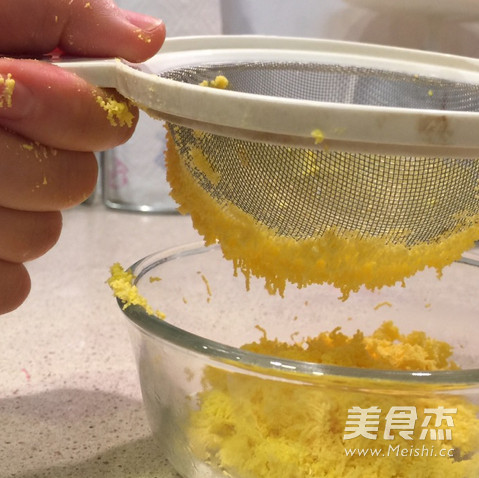
Put the egg yolk on the screen, and place a container under the screen to catch the sieved egg yolk
4.
Press the egg yolk with your fingers to pass through the sieve and become fine egg yolks, set aside for later use.
5.
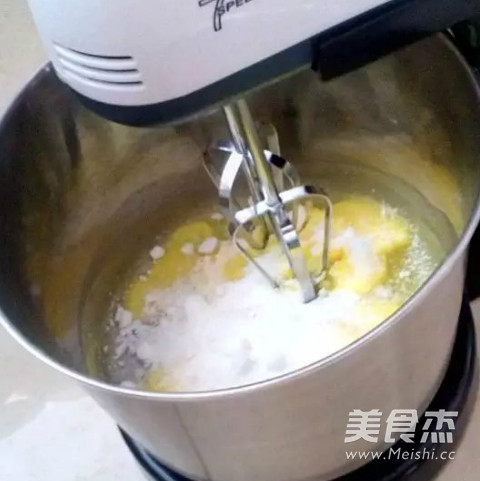
Chop the butter and after it has softened at room temperature, add soft sugar and beat with an electric whisk.
6.
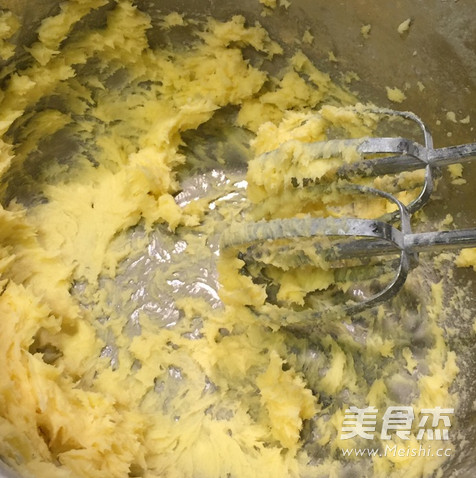
Dispatch until the volume is slightly enlarged, the color is slightly lighter, and it is puffy.
7.
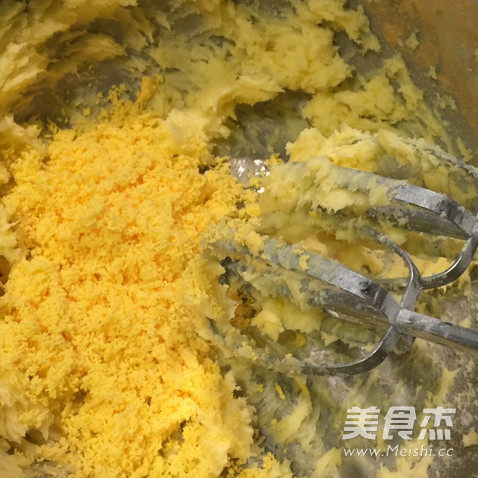
Pour in the sifted egg yolks and mix well
8.
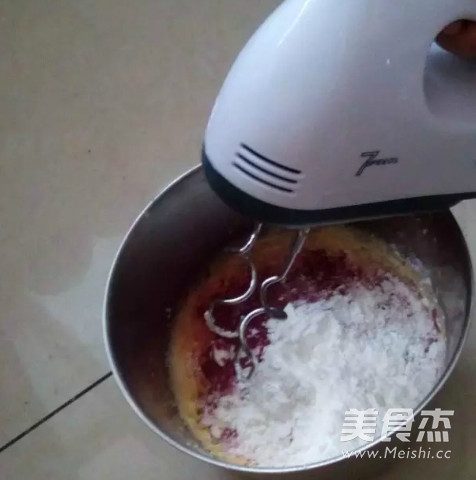
Pour all the flour and salt into the whipped butter,
9.
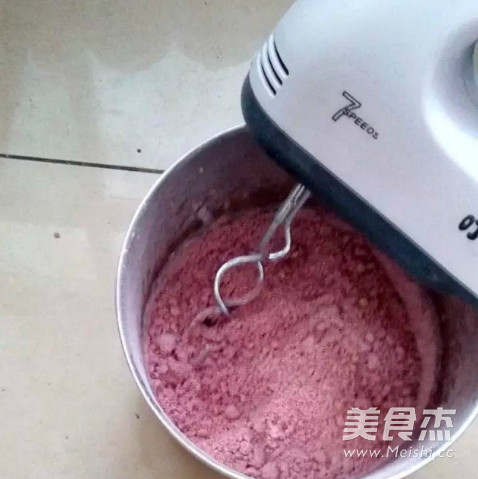
Stir evenly with electric and dough sticks
10.
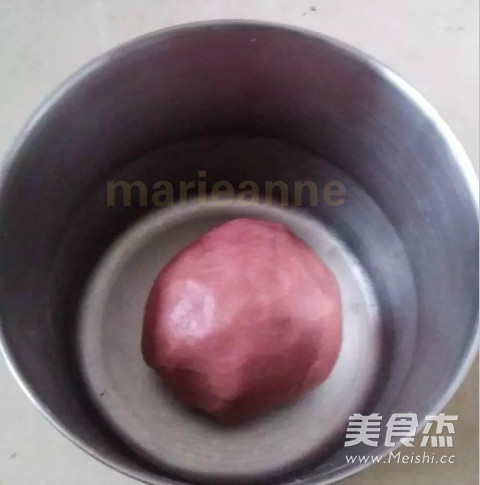
Knead the dough with your hands,
11.
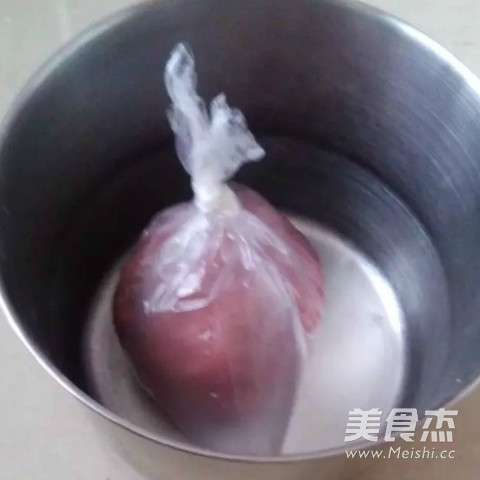
Wrap the dough in a fresh-keeping bag
12.
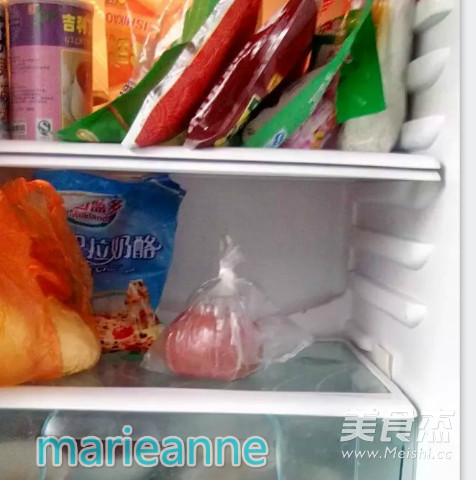
Put it in the refrigerator for 1 hour.
13.
After the dough is taken out of the refrigerator, open the plastic wrap and return to temperature for 3 minutes.
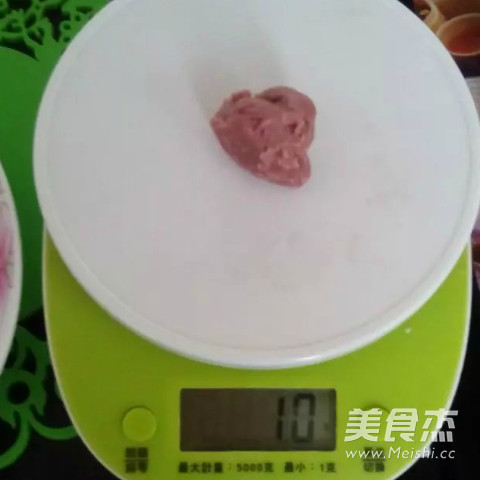
Divide the dough evenly into small doughs of about 10 grams, about 34 pieces
14.
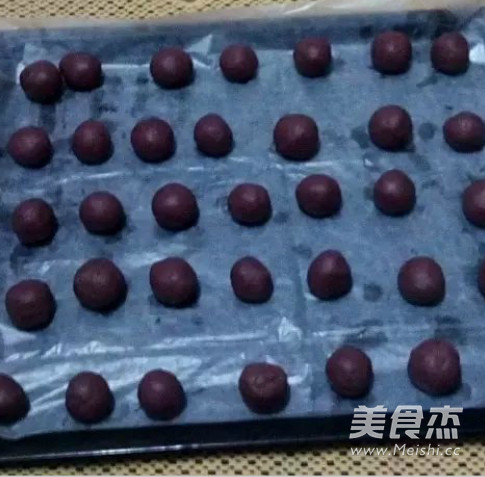
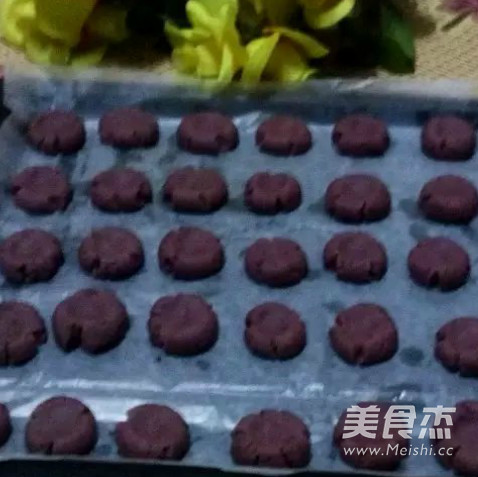
Knead all the small dough into small dough balls and place them on a baking tray (the baking tray should be lined with greased paper, if it is not sticky, the baking tray can also be left without padding)
15.
Use your thumb to flatten the small dough ball on the baking tray vertically. When pressed flat, the biscuits will naturally crack
16.
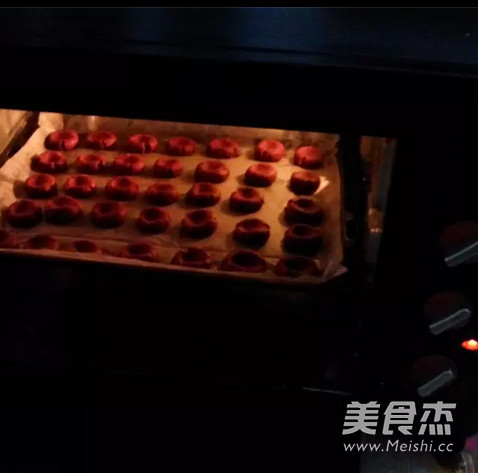
Preheat the oven at 170 degrees for 10 minutes, put the baking tray in the upper middle of the oven, bake for 20 minutes, and the edges will be slightly browned.

Tips:
1. When boiling the eggs, put the eggs in a cold pot, soak them in cold water for a few minutes, then turn on medium heat until the water boils. After the water has boiled, boil for about 8 minutes, remove it, and let it cool in cold water. Egg yolks boiled to this level are dry and easy to pass through the sieve. Sieving only requires pressing the egg yolk with your hands, and the egg yolk is easily filtered out of the sieve.
2. The state of the kneaded dough should be slightly dry, but it will not spread out because it is too dry, nor will it be too wet, and it feels like plasticine. The dough after refrigeration is harder, so that it is easy to form beautiful cracks when pressed.
3. Regarding butter softening, there are three methods: a. Use room temperature to soften, the softening time varies according to the amount of butter and the room temperature (if the butter itself is placed in the freezer, the time will be longer). If the room temperature is low in winter, you may not be able to use this method to soften the butter; b. Use a microwave to soften the butter, and the time will vary according to the amount of butter and the temperature of the butter when it is taken out of the refrigerator. It can be heated in a few seconds and can be checked at any time to see how soft the butter is. This method is very fast, but the disadvantage is that it is not easy to control and easy to overheat. Once the butter has melted into a liquid state, it must be placed in the refrigerator to re-solidify before it can be used. c. Soften the butter with heat insulation water, cut into small diced butter, and put it in a bowl. Then put hot water in the pot and put a small bowl in the hot water (note that the temperature of the hot water should not be too high, fifty or sixty degrees is sufficient. Remember, the softening temperature of the butter required for baking is twenty degrees) ), and then use a whisk to stir the butter until it becomes the state you need. The softened butter can maintain the solid form without deformation without external force. But when there is an external force, such as lightly touching it with a finger or gently stirring it with a whisk, it will sink like "mud". This state is called "softening". The softened butter can be turned into a very smooth state without particles by gently stirring a few times with a hand mixer. What if the butter is liquefied due to overheating? It doesn't matter, since it is a physical change, we can freeze the butter until it is solid. Put the melted butter in the freezer compartment of the refrigerator and take it out every ten minutes. The butter will solidify on the surface first in the freezing chamber, and then slowly solidify in the center as the temperature drops. When we see that the surface of the butter has solidified, we can stir it with a whisk to make its temperature even, and then freeze it again until it reaches the softened state we need as a whole.




![Seasonal Vegetable Patties [baby Food Supplement] recipe](https://img.simplechinesefood.com/02/024b910033009872aea33017c755a377.jpg)
