Roof Cake
1.
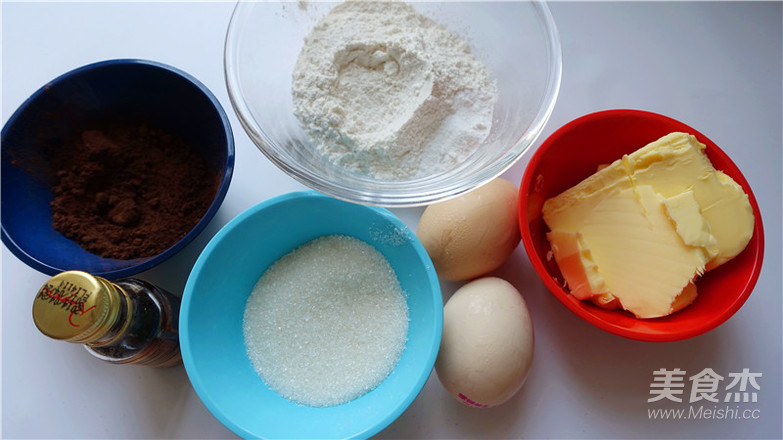
Material preparation for chocolate madeleine slices.
2.
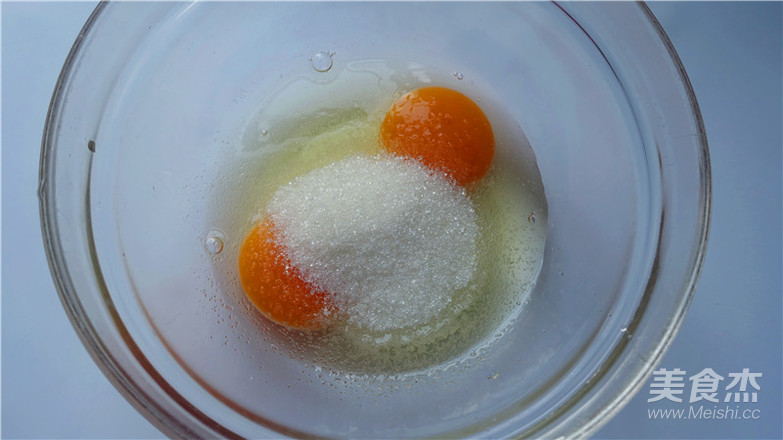
Beat the eggs into a bowl, add fine sugar, and stir evenly with a whisk. Just beat the eggs, don't beat them.
3.
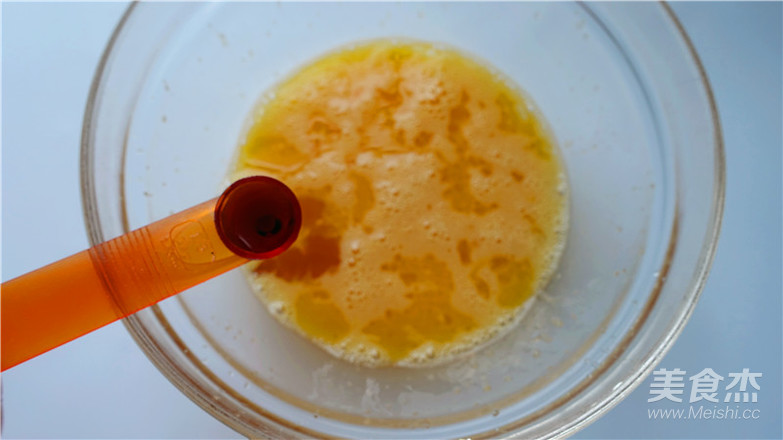
Add vanilla extract to the beaten eggs.
4.
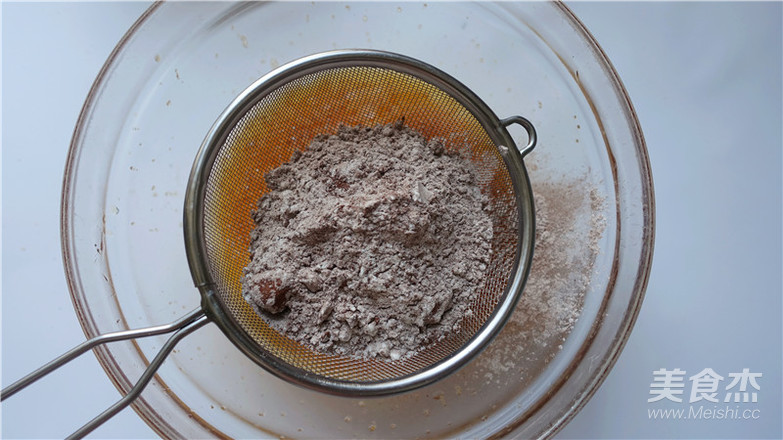
Mix low-gluten flour, cocoa powder, baking powder, and baking soda into the egg.
5.
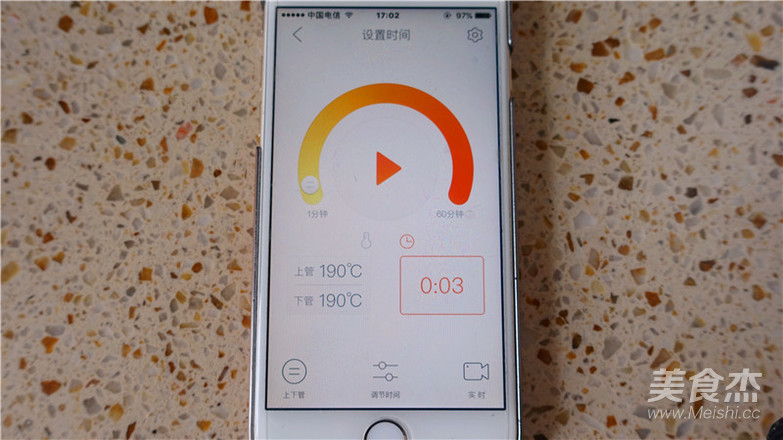
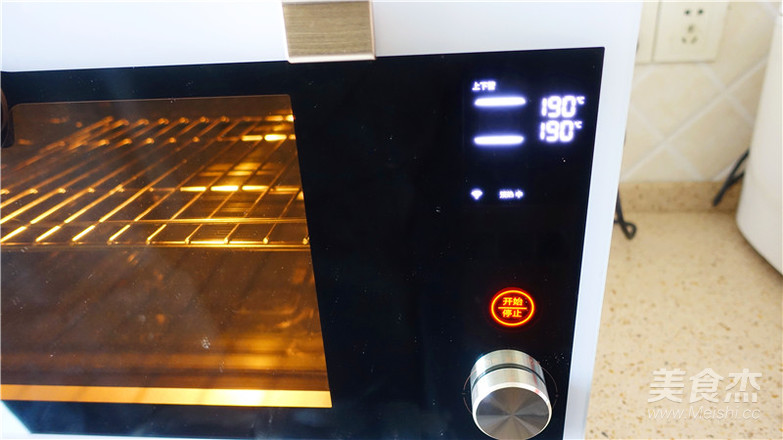
Plug in the oven, connect the oven WiFi with a mobile phone, set the oven to the upper and lower tube heating mode, the upper tube is 190 degrees, and the lower tube is 190 degrees, preheating for 3 minutes. Mobile phone control, click the start button.
6.
The orange light of the oven is on and the preheating starts.
7.
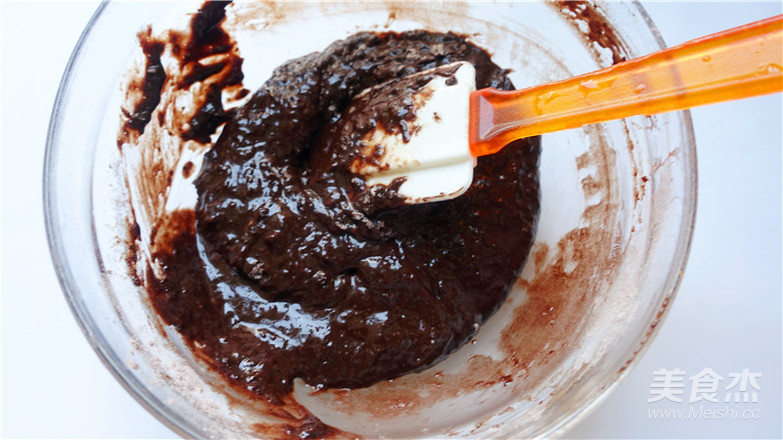
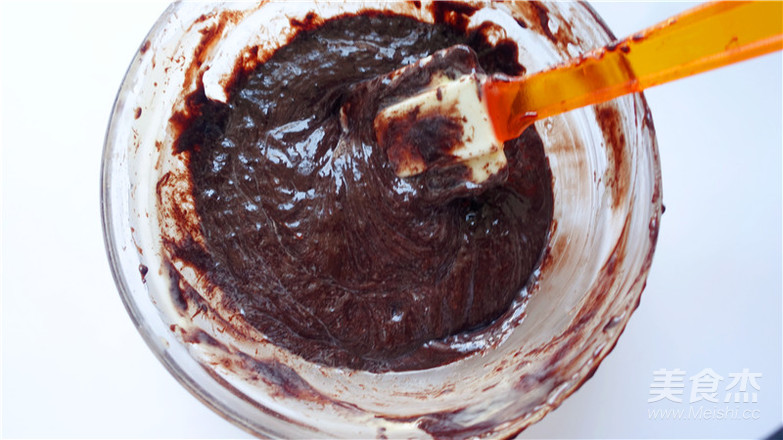
Use a rubber spatula to mix well into a batter
8.
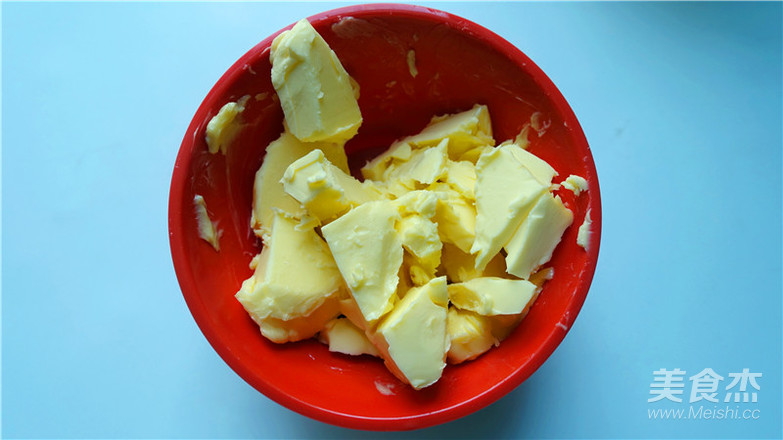
Cut the butter into small pieces and melt it over heated water.
9.
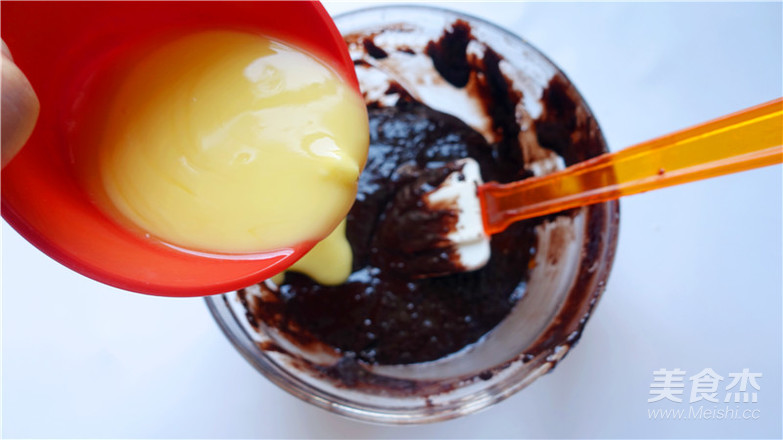
While the butter is warm, pour it into the batter.
10.
Continue to stir to mix the butter and batter evenly.
11.
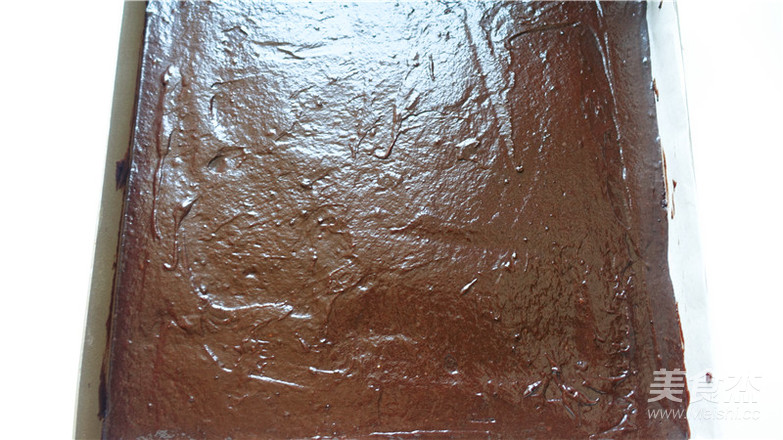
Pour the batter into a 28cm square baking pan lined with tin foil or greased paper, and smooth it with a spatula. A few shocks.
12.
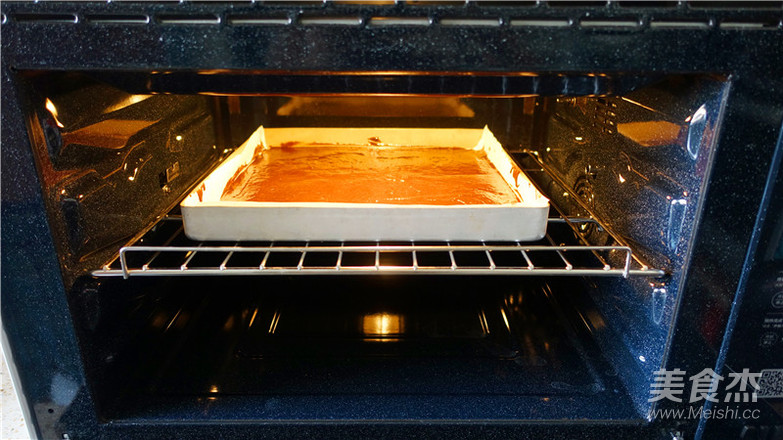
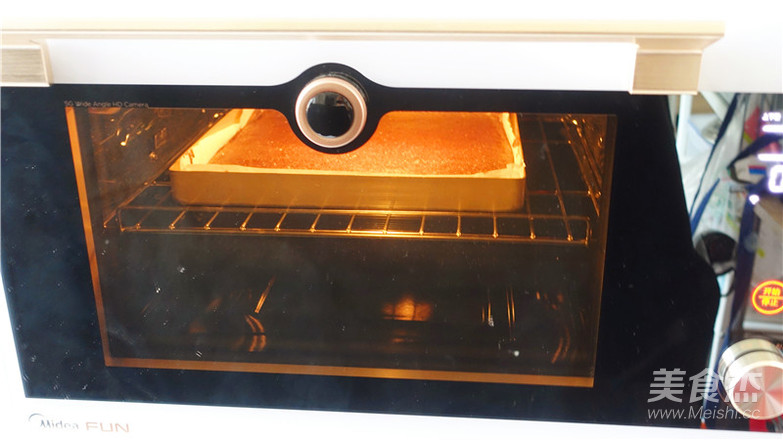
Put the baking tray into the preheated oven and count down the second layer from the top.
13.
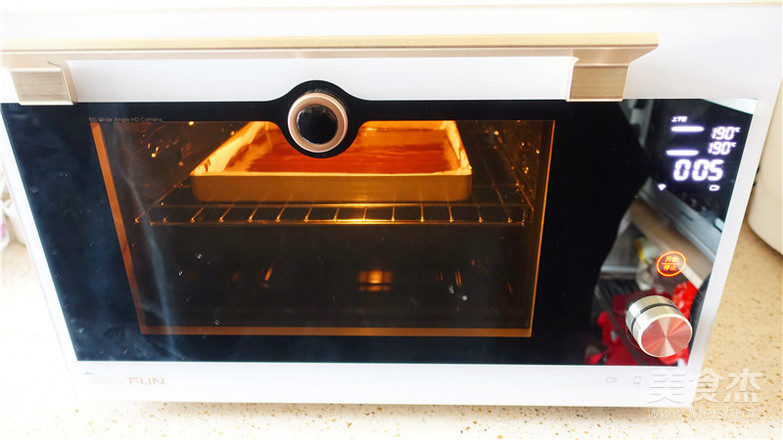
Set the oven to 190 degrees for the upper tube and 190 degrees for the lower tube, and preheat for 3 minutes. Bake for about 7 minutes. Click to start.
14.
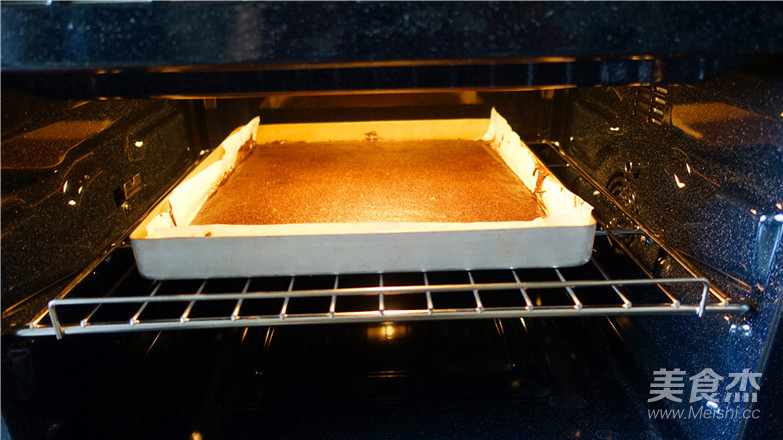
Bake mid-range cakes.
15.
Inflated cake.
16.
The cake test is over. Take out the cake and let cool.
17.
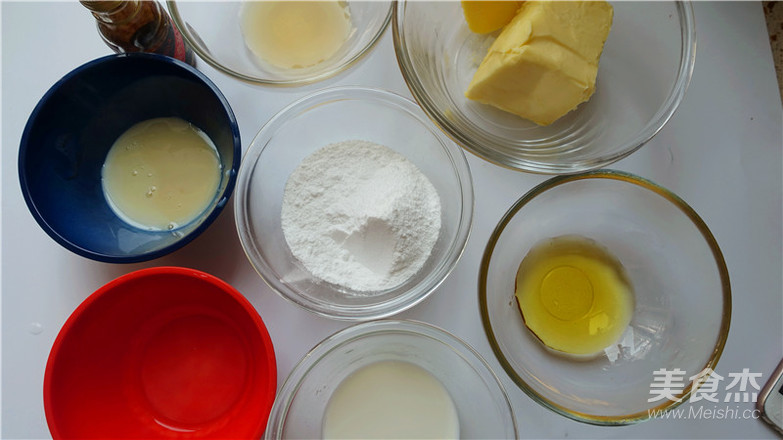
The cream ingredients are ready. 100 grams of butter, 50 grams of powdered sugar, 20 grams of condensed milk, 1/4 teaspoon of vanilla extract (1.25ML), 10 grams of rum, 10 grams of lemon juice, 2 tablespoons of milk (30ML), 15 grams of honey
18.
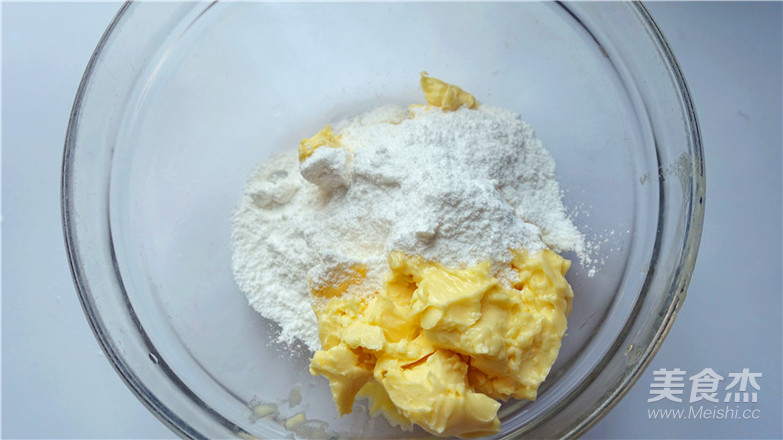
After the butter has softened, add powdered sugar and beat with a whisk for about 5 minutes, until it becomes very fluffy.
19.
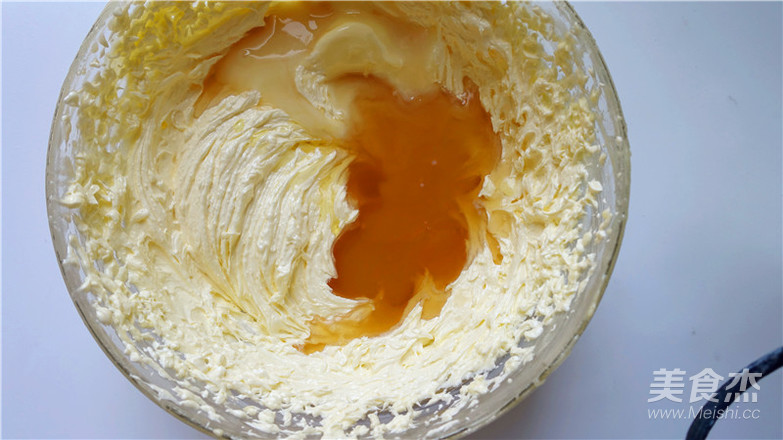
Add honey, condensed milk, vanilla extract, rum, and lemon juice all at once, and continue to beat evenly with a whisk.
20.
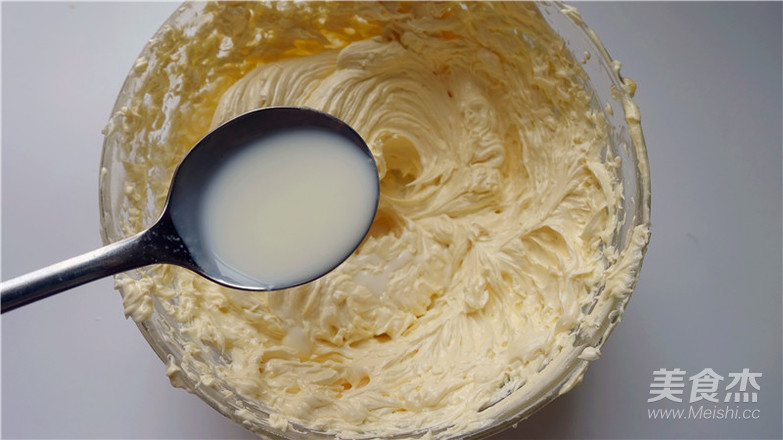
After whipping evenly, add milk and continue whipping evenly.
21.
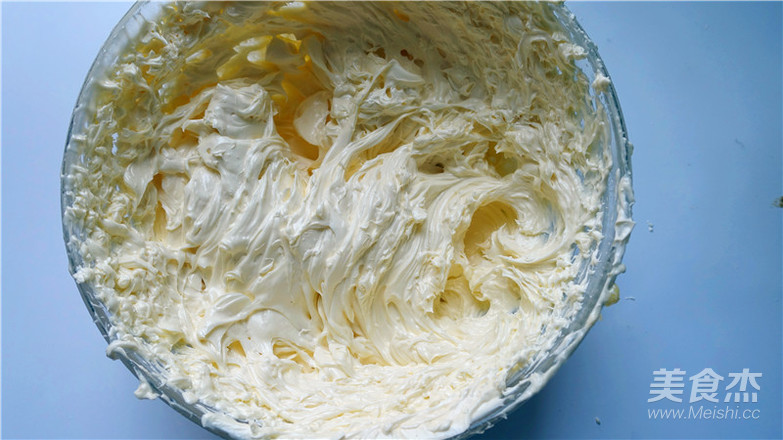
Whip the buttercream until it is smooth and delicate.
22.
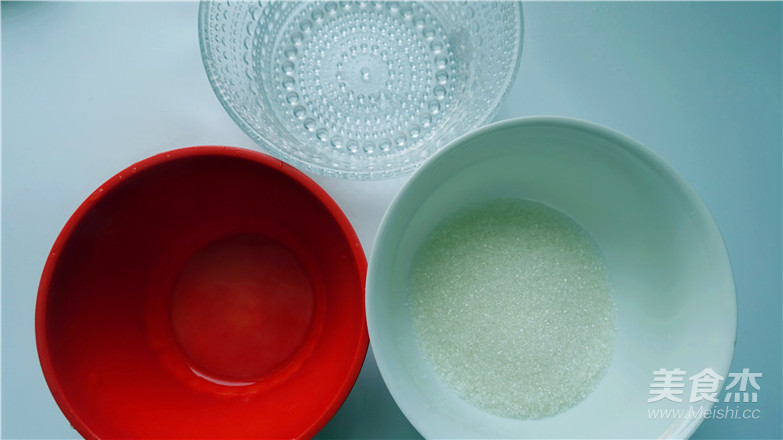
Preparation of rum syrup materials.
23.
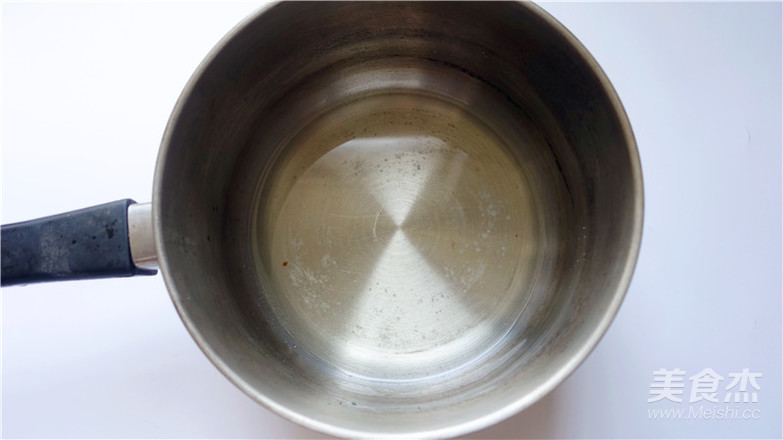
The water and the caster sugar are heated and boiled to completely dissolve the caster sugar into sugar water. After the sugar water cools, add rum and serve.
24.
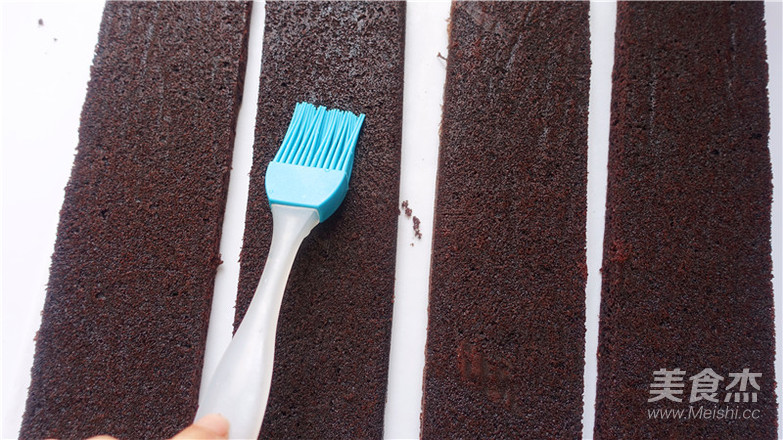
Cut the cooled cake slice into four equal-sized strips. Brush each strip with a layer of rum syrup.
25.
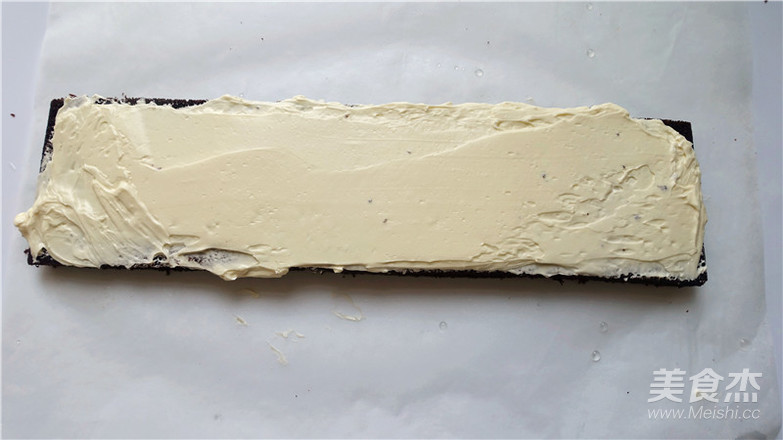
Take one of the long strips and apply a layer of cream.
26.
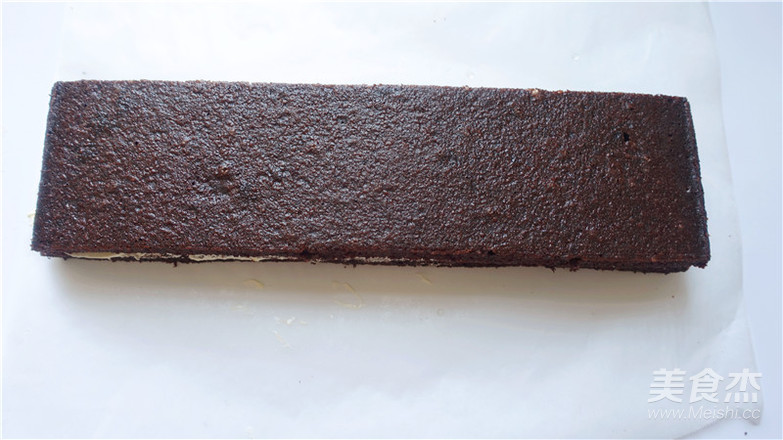
Cover with another long cake slice.
27.
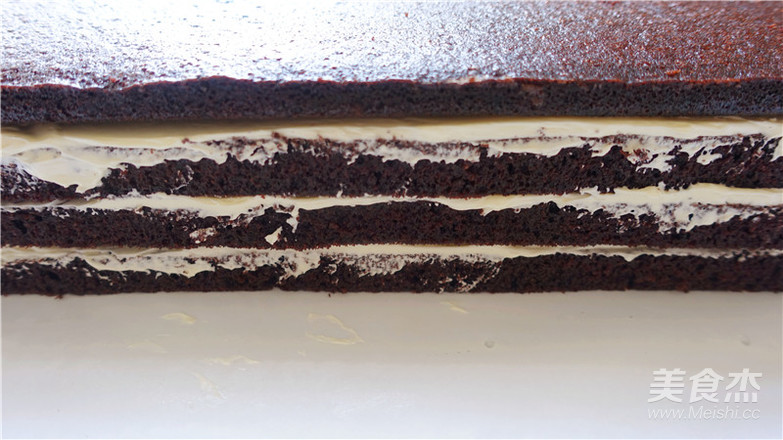
Continue to brush with rum syrup and apply cream frosting. Repeat this process until the 4 cake slices are stacked as shown in the picture to form a rectangular cake bar. Put the cake bars in the refrigerator and freeze for 15 minutes, until the buttercream hardens.
28.
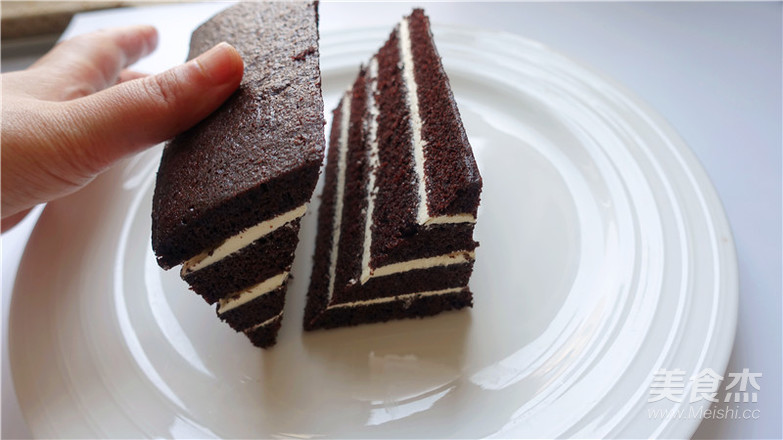
Take out the frozen cake bar and cut it in half along the diagonal with a knife to form two triangles.
29.
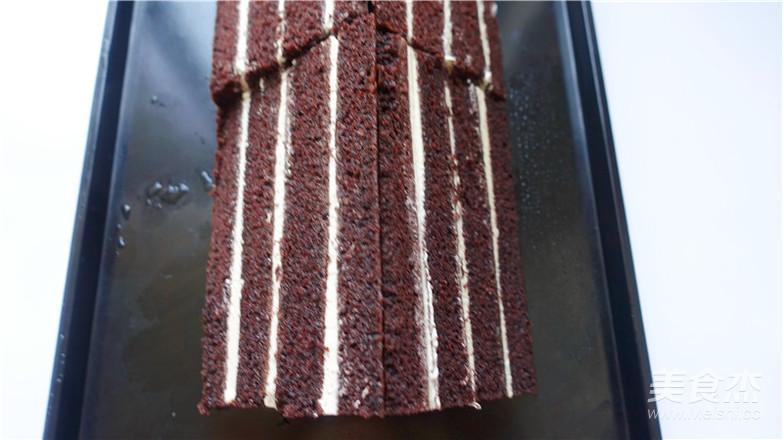
Place the two triangles back to back. Spread butter cream in the middle. Glue them back to back to form the shape of the roof.
30.
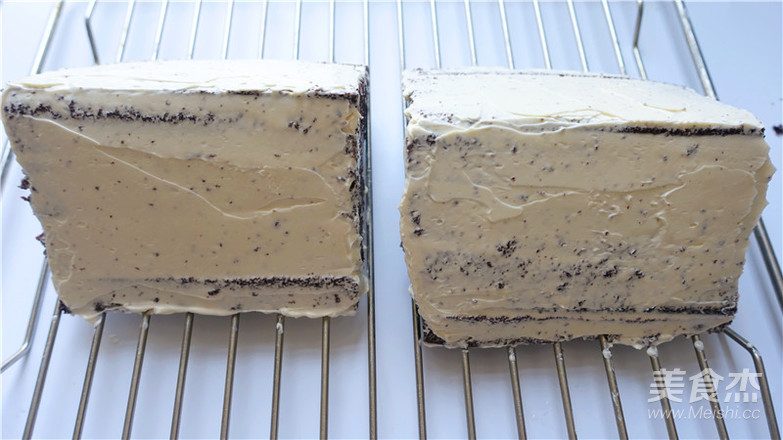
Spread a layer of butter cream on the entire surface of the cake. Put the cream-coated cake in the refrigerator and freeze for more than 15 minutes, until the cream is hard
31.
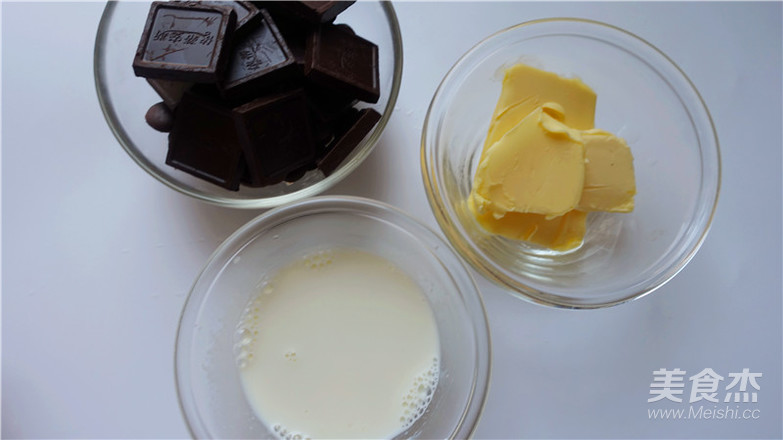
Prepare the ingredients for the chocolate sauce.
32.
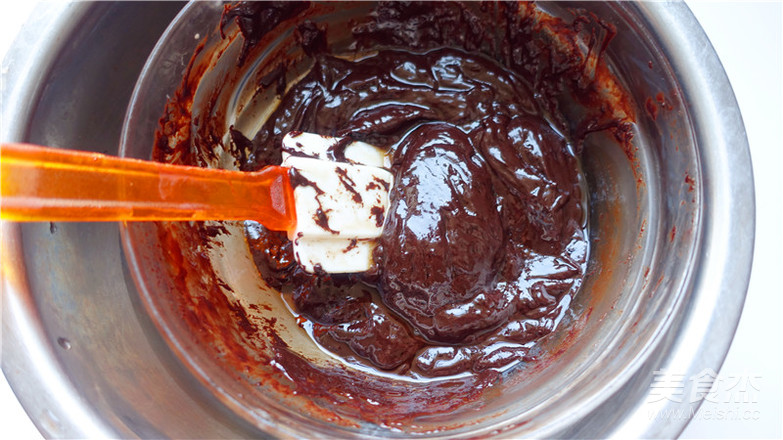
Cut the dark chocolate into small pieces and mix it with milk and butter. Heat over water and stir continuously until the chocolate and butter are all melted and become a chocolate sauce. After the frosting on the cake is hard, take it out and place it on the grid rack, and evenly pour the warm chocolate sauce on the cake.
33.
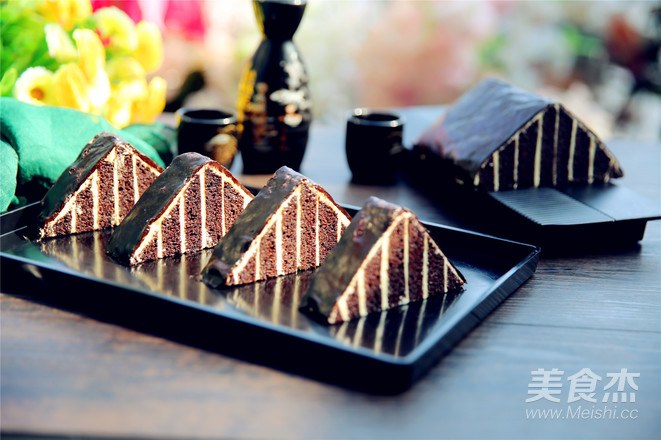
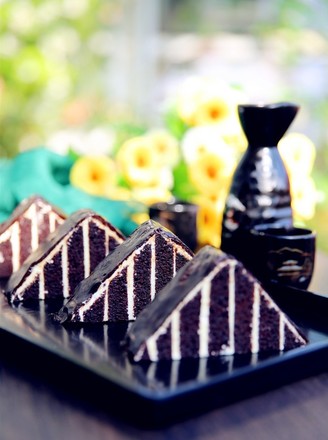
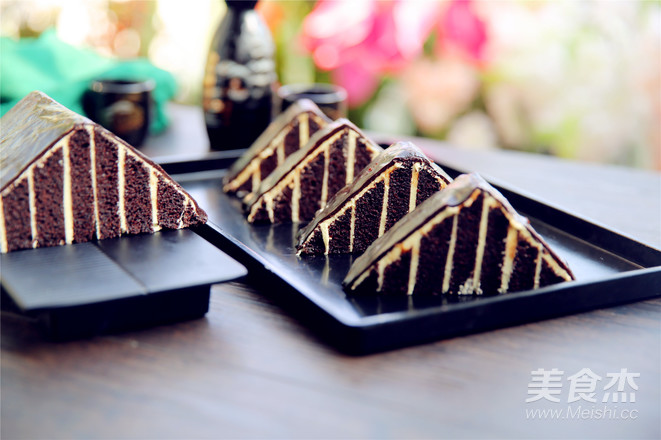
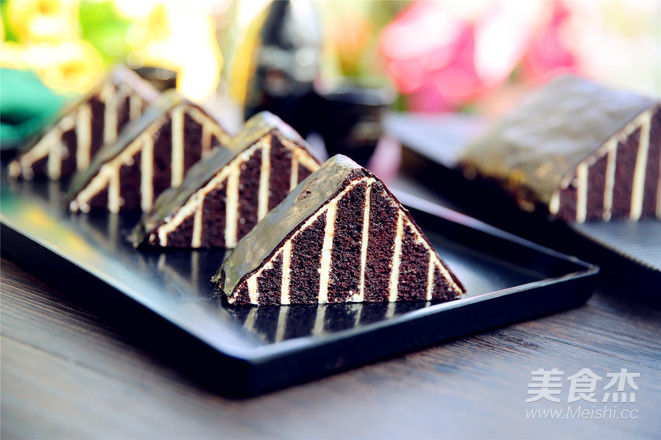
Then let it stand and wait until the chocolate drizzle sets and does not stick to your hands. Remove the cake and cut into small pieces of roof cake with a width of 2cm each.
34.
35.

Tips:
1. The specific temperature depends on the temperature of each oven. The baking time also depends on the size and thickness of the cake.
2. The cake slices must be evenly thick so that the roof will be beautiful. However, under normal circumstances, the baked cake slices will inevitably have some unevenness. At this time, you can use a knife to stick to the surface of the cake, thin the thicker part to make the thickness of the cake slice the same, and then cut into 4 slices.
3. When the cake slice is cut into 4 slices, the size of each slice should be the same. You can use a ruler when necessary.
4. Wait for the cream frost to harden before topping it with chocolate sauce. Otherwise, the temperature of the chocolate sauce will melt the cream and the sauce will mix together, and the roof surface will be pitted and unsightly.
This production uses Midea FUN oven.
1. This oven can be connected to a mobile phone for intelligent control.
2. The temperature of this oven can be adjusted from 60° to 230°, which can be adjusted through the temperature knob. It can also be adjusted on the phone. The upper tube and the lower tube independently control temperature. When adjusting, correspond to the upper tube display temperature and the lower tube display temperature respectively on the screen.
3. The adjustable range of time setting is 00:01-2:00) through the time control knob to adjust.
4. Turn fork. The rotation and stop of the fork are controlled by the fork button. When it is turned on, the corresponding turn-fork indicator on the screen is on, otherwise it is off.




![Seasonal Vegetable Patties [baby Food Supplement] recipe](https://img.simplechinesefood.com/02/024b910033009872aea33017c755a377.jpg)
