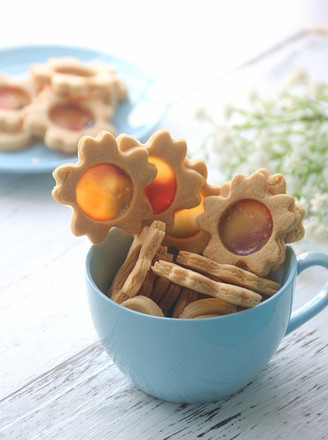
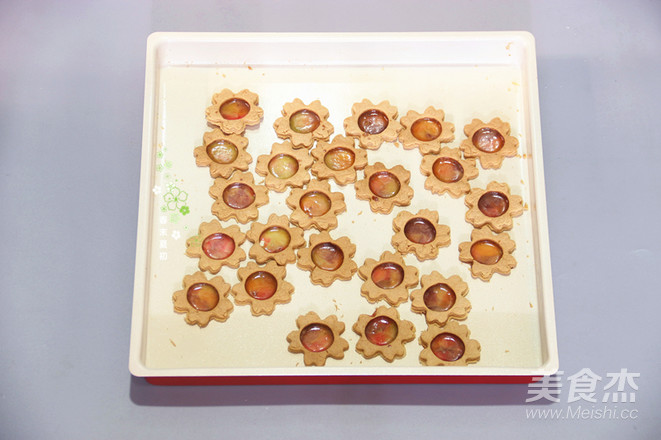
Sakura Stained Glass Sugar Cookies
1.
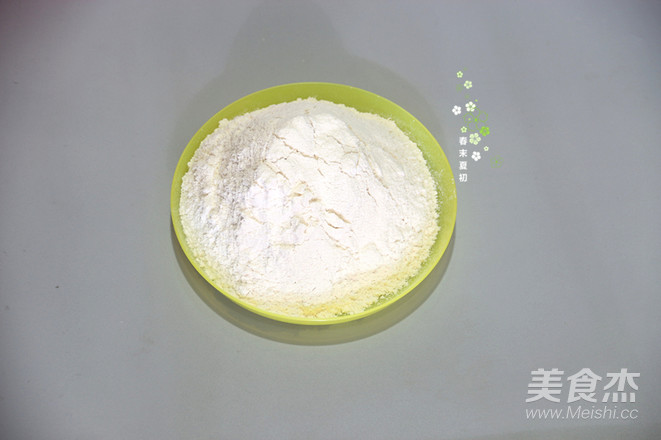
Sift the cake flour (low-gluten flour) and set aside; prepare three baking pans, put the built-in baking pan with silicone oil paper, and the other two non-stick square baking pans.
2.
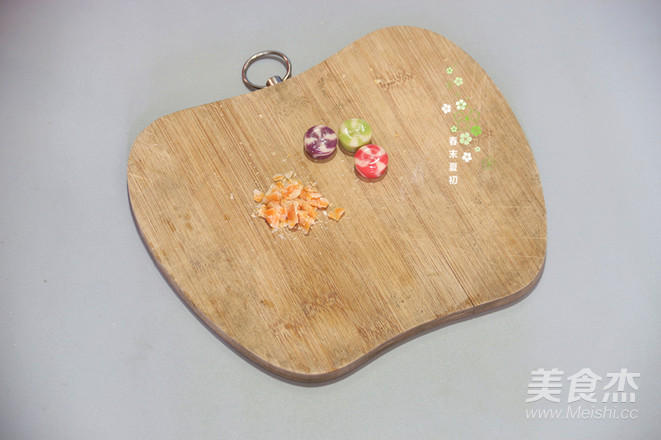
The colorful fruit hard candies are carefully cut into small pieces and set aside.
3.
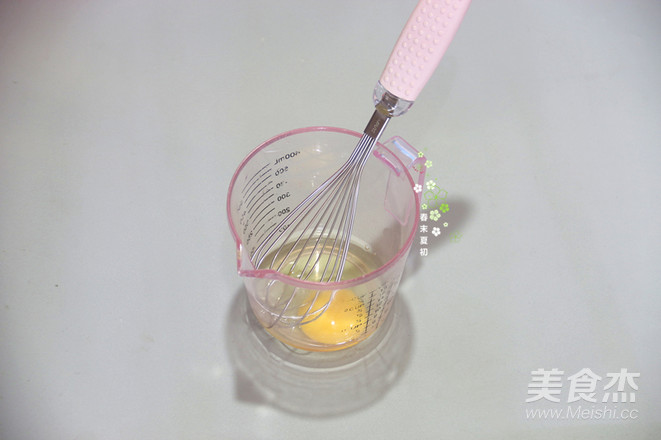
1 egg, knap to beat to form egg liquid.
4.
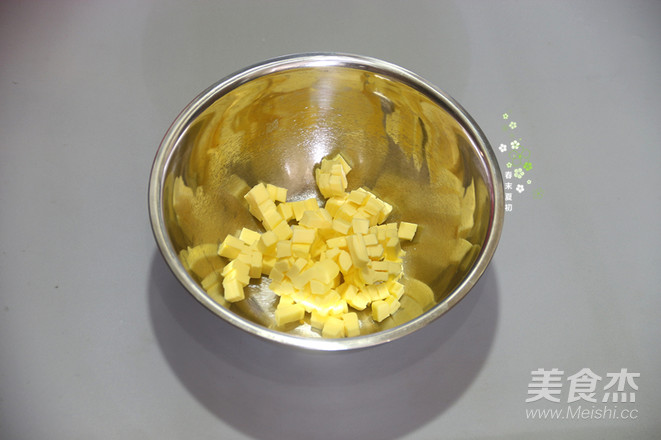
Cut unsalted butter into small pieces and soften at room temperature.
5.
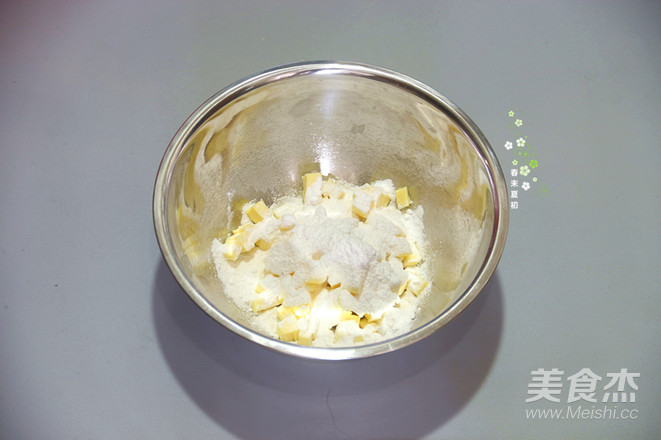
Add all the powdered sugar to the softened butter.
6.
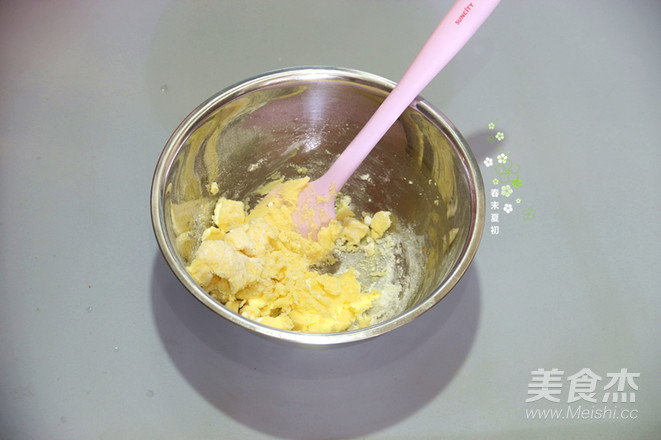
Use a silicone spatula to mix the powdered sugar and the softened butter a few times until there is no dry powder.
7.
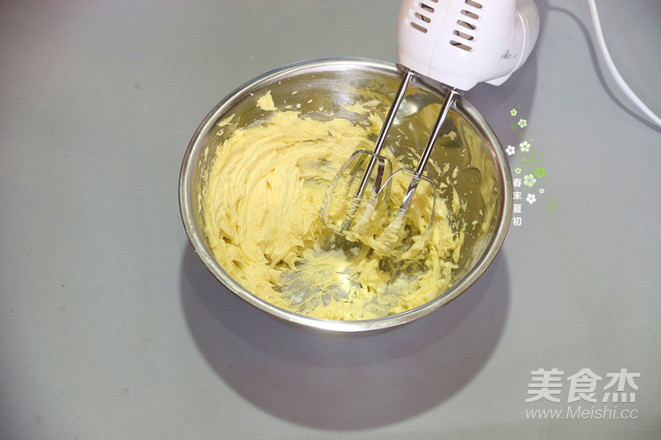
Use an electric whisk to beat the first gear.
8.
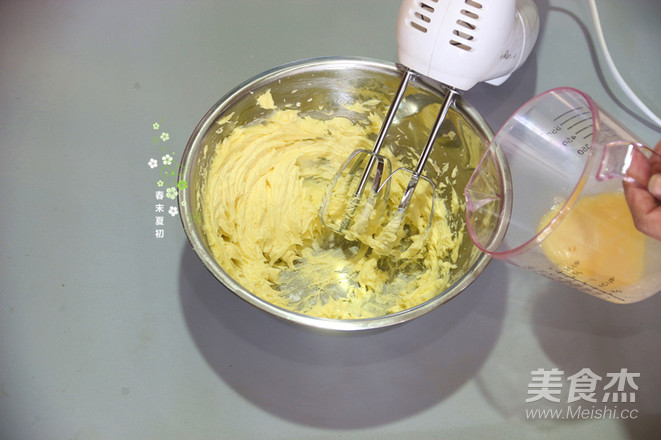
When the butter turns white a little, add the egg liquid in small amounts several times; I add it in 3 or 4 times, each time I need to beat until the egg liquid is completely integrated into the butter, and then add the next egg liquid.
9.
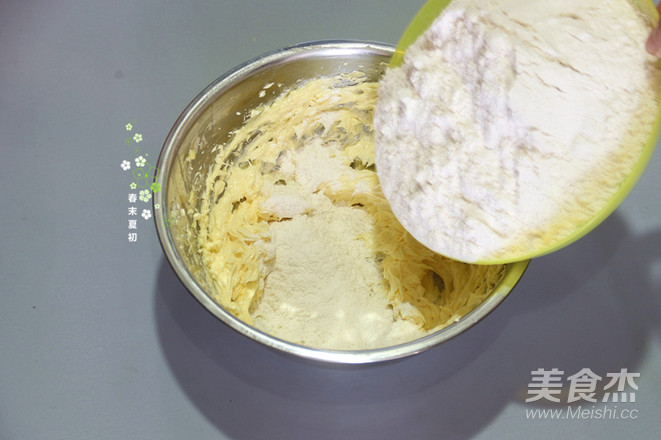
After all the egg mixture is added, the whipped butter paste is delicate and shiny, and then all the cake flour (low-gluten flour) is poured into the whipped butter paste.
10.
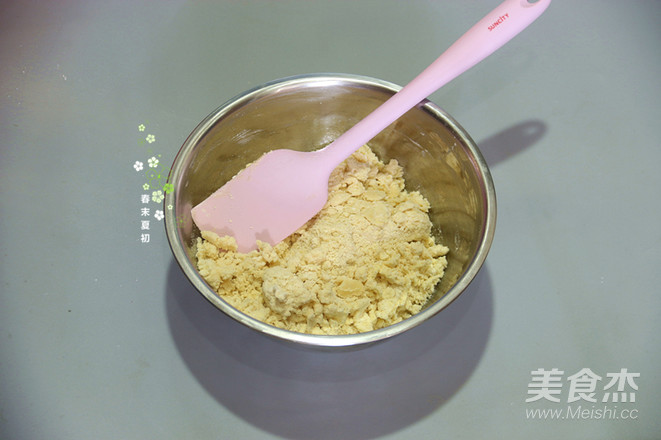
Use a silicone spatula to cut and mix the cake flour (low-gluten flour) and butter paste evenly until there is no dry powder, and knead slightly into a dough.
11.
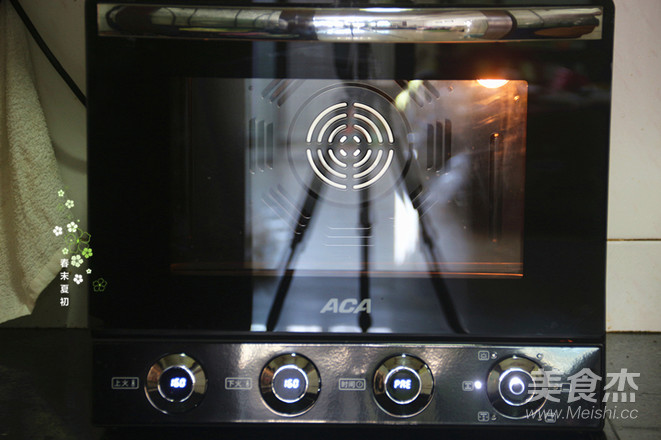
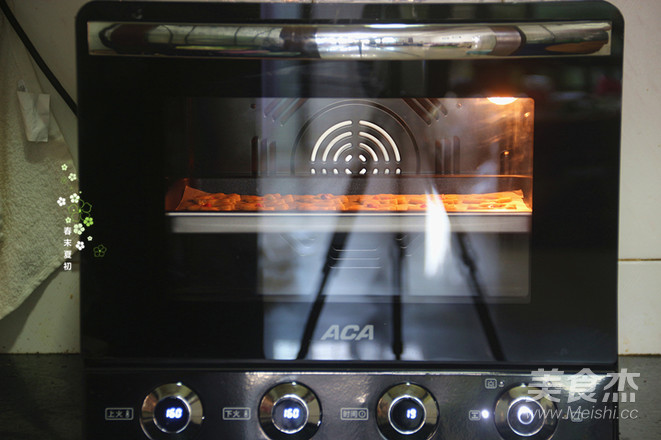
Preheat the oven, turn the knob, select the "up and down heat + hot air" function, up and down heat 160 degrees, temporarily set the baking time to 20 minutes, display PRE, and start preheating.
12.
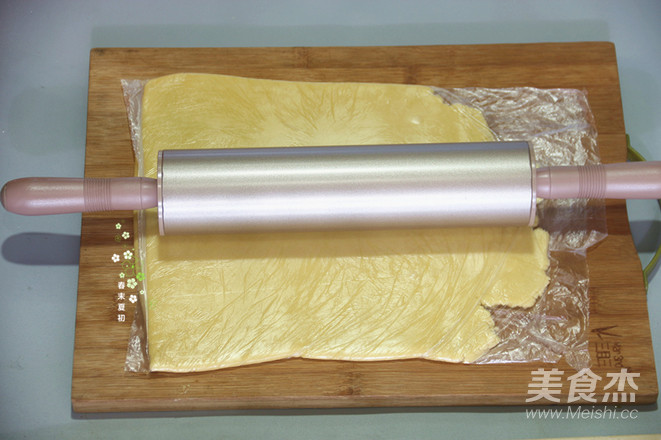
Take a slightly thicker fresh-keeping bag, put the dough into the fresh-keeping bag, use a rolling pin to roll out the dough, roll out a thin sheet about 0.2 cm thick, and then cut the fresh-keeping bag from the sides and bottom. .
13.
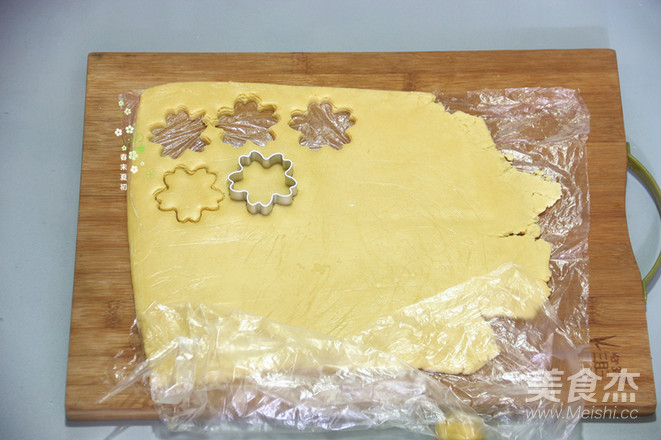
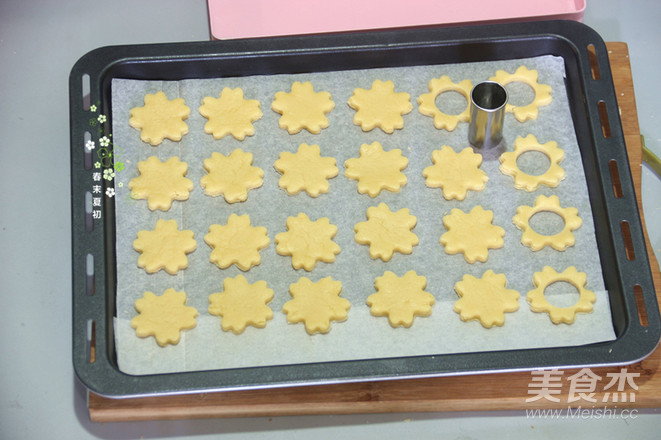
Combine a cherry blossom-shaped biscuit mold and a small round biscuit mold to cut out the pattern; keep the small round pieces, and repeat the steps of rolling out the remaining dough and printing the pattern with a small round biscuit mold.
14.
Place the biscuits carefully in the baking tray, keeping a little distance between the biscuits.
15.
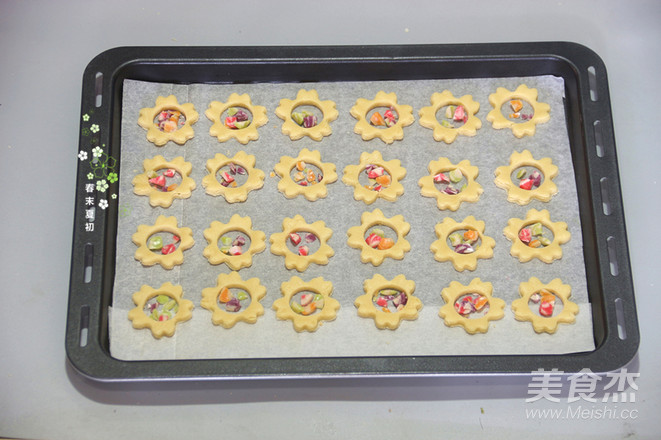
Use a small spoon to put the chopped hard candy into the hollow part of the biscuit.
16.
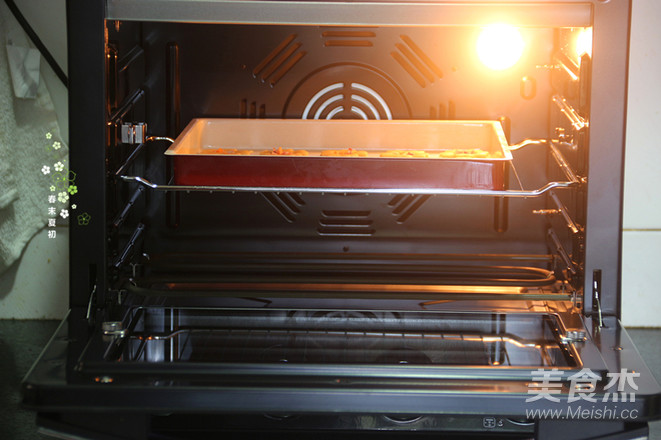
Put it into the oven together with the baking tray, the third level, "up and down fire + hot air" function, up and down fire 160 degrees, the baking time is temporarily set to 20 minutes, the actual baking time is 15, 16 minutes.
17.
Another plate made in the same way, put it into the oven, the third layer, "up and down fire + hot air" function, up and down fire 160 degrees, the actual baking time is 15 minutes.
18.
After baking the biscuits, take them out to cool, and put them in a jar sealed for storage.
19.
The small round slices in the hollow part of the biscuit and the remaining dough are not wasted, and the small round slices are printed out with a small round biscuit mold, and the same steps are used to bake, cool and seal for storage.

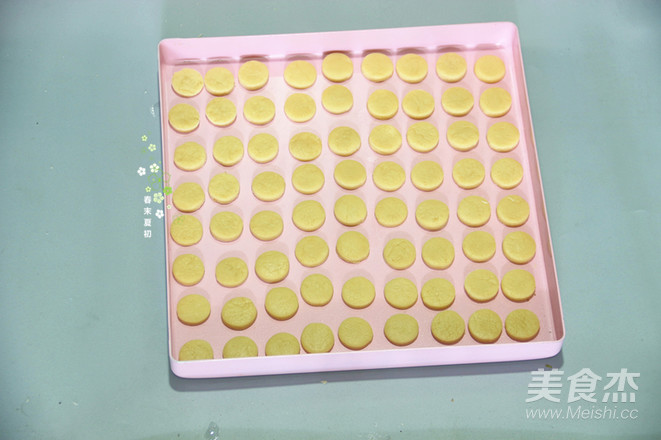
Tips:
1. The baking time and temperature of the oven are for reference. If the coloring is not obvious, you can move to a layer to bake; ACA oven 5-layer grill, you can use the third and fourth layer to bake at the same time, or you can separate it Bake, if you haven't baked it, you can even put it in the baking tray and refrigerate it.
2. The biscuit dough is easier to loosen. Please wrap it in a fresh-keeping bag to roll it out; take care when printing the pattern; the glass sugar biscuit that has been baked and cooled needs to be sealed and stored.
3. Colored hard candies can be replaced by solid colored hard candies. Please be careful with a knife when cutting the sugar.
4. Making molds: Yangchen suncity cherry-shaped biscuit mold, Chinese red square baking pan, and cherry powder square baking pan.

