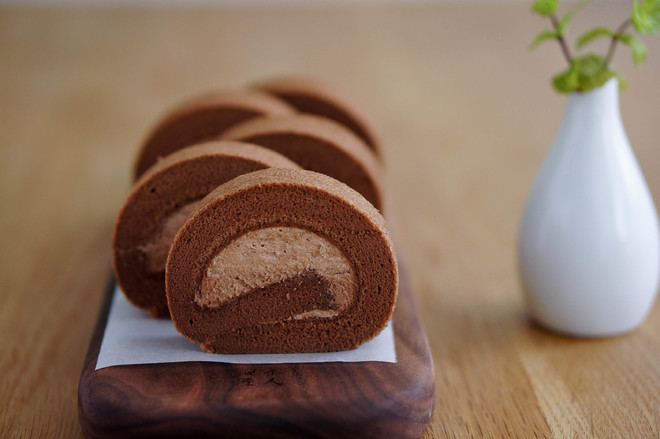
Salty Mocha Cream Roll / Perfect Towel Noodle Technique + Endless Mocha Recipe / Baking Video Cake Chapter 9 "medium Roll"
1.
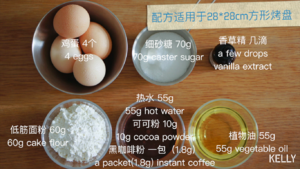
Ready to work:
1. Preheat the oven to 180°C
2. Baking pan mat silicone mat (not oil paper! Not oil cloth! Just silicone mat!)
3. Rinse the cocoa powder and coffee powder with hot water, and cool them for later use (if there is no time to cool, you can mix the powder with 25g hot water, and then add 30g cold water to reduce the temperature and dilute)
2.
Making the cake base:
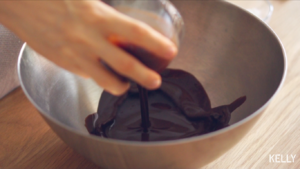
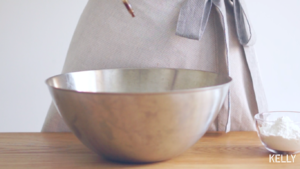
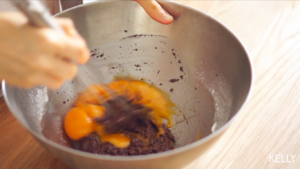
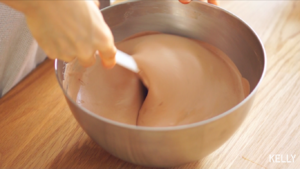
Pour the mocha paste in the egg beater
3.
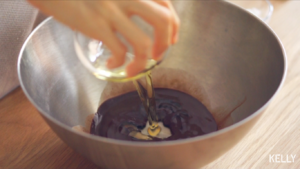
Vegetable oil
4.
Add a few drops of vanilla extract.
5.
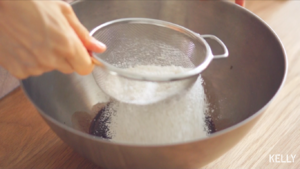
Sift in the flour
6.
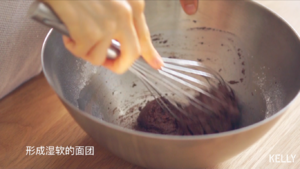
Stir it into a squishy dough
7.
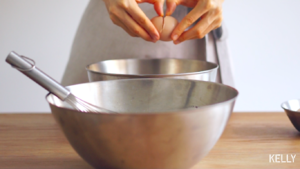
Separate the eggs and put the egg whites in a basin that is free of oil and water.
8.
Add egg yolks.
9.
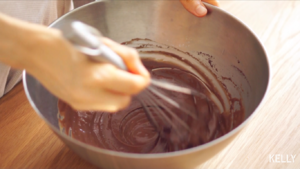
Stir evenly to form a smooth and smooth batter.
10.
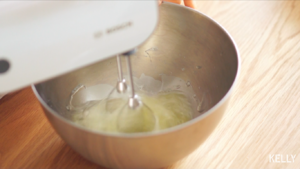
Beat the egg whites and add sugar three times.
11.
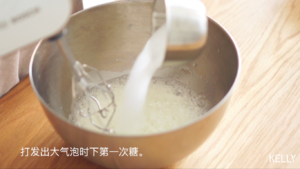
Make big bubbles for the first time now.
12.
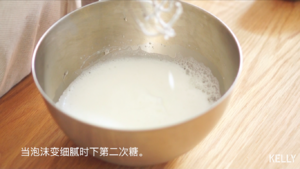
When the foam becomes fine, put the sugar a second time.
13.
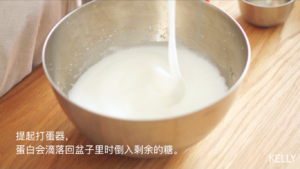
Lift the whisk, the egg whites will flow back into the basin and pour the remaining sugar.
14.
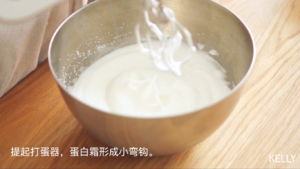
Until wet foaming. (It’s harder than the thin roll)
15.
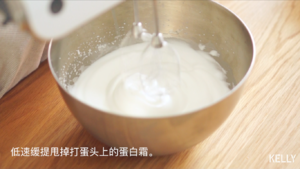
Slowly lift and shake off the meringue on the beater head.
16.
Regarding the transmission speed:
The highest speed (5th gear) is sent to the next last sugar.
Turn to medium speed (3rd gear) and send it to near wet foaming.
Turn to low speed (1st gear) and send it to completion.
the reason:
High-speed dispatch speeds up efficiency,
Grasp at a moderate speed to avoid over-spending,
Eliminate large bubbles at low speed to make the meringue stable and delicate.
Personal advice, for reference only.
If the meringue keeps failing, there are two possibilities:
1. Impurities mixed into the egg white (oil-water egg yolk)
2. The power of the whisk is too low, please try it at the highest speed. )
17.
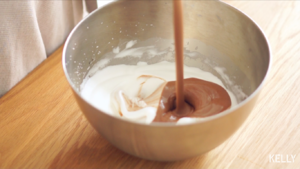
Dig a spoonful of meringue and egg yolk paste and mix evenly.
18.
Pour back into the meringue.
19.
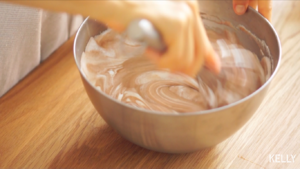
Mix evenly.
20.
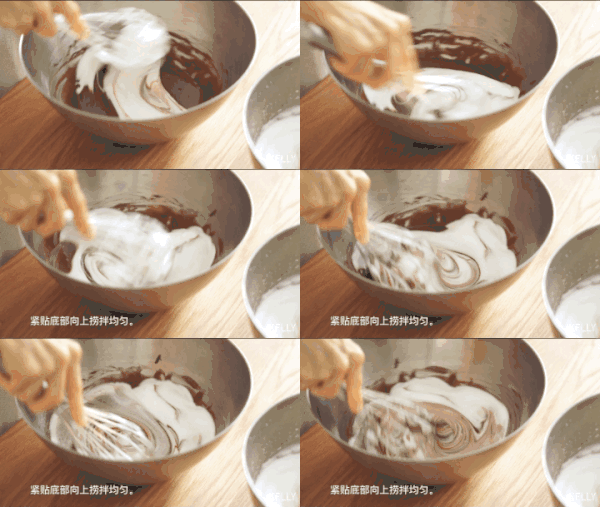
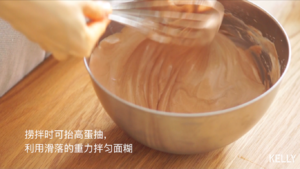
When mixing, you can raise the egg custard and use the sliding gravity to mix the batter.
21.
Use a spatula to press against the bottom to make the batter.
22.
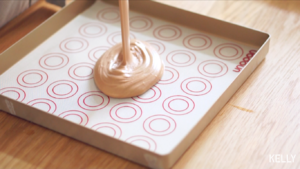
Pour it into a baking pan with a silicone mat. (Key to towel noodles)
(Silicone pad is by far the most stable method for making towel noodles. Oil paper/oil cloth/nothing can be used to make a successful cake, but the probability of failure will be higher)
23.
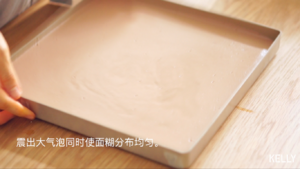
Tilt to the four corners.
24.
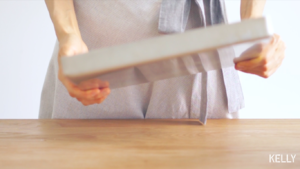
Shake out big bubbles.
25.
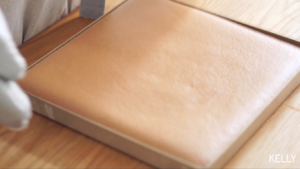
180°C, middle layer, bake for 20 minutes.
26.
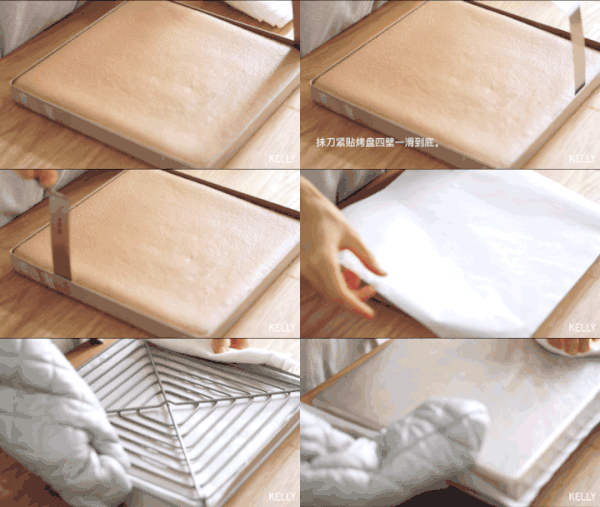
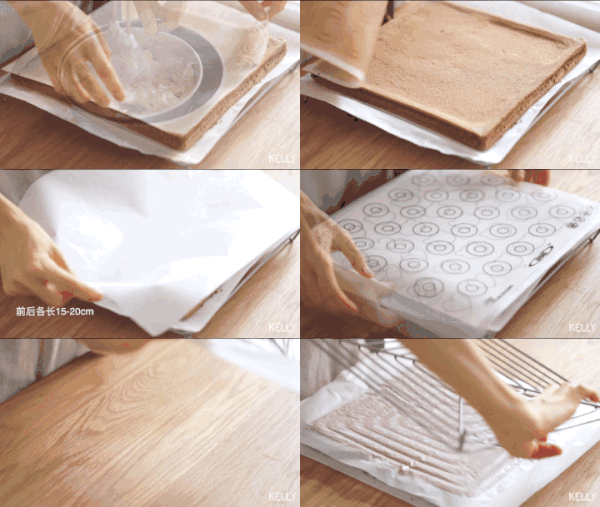
After being out of the oven, the hot air is shaken and the mold is immediately demolded.
27.
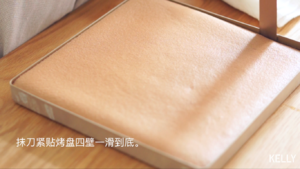
The scraper slid against the four walls to the end.
28.
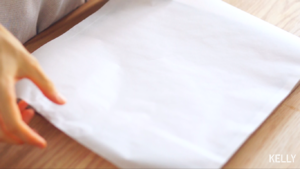
Cover with greased paper.
29.
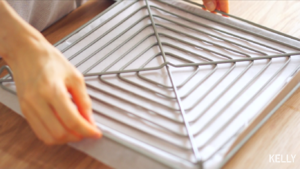
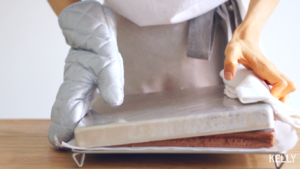
Cover upside down to dry the net.
30.
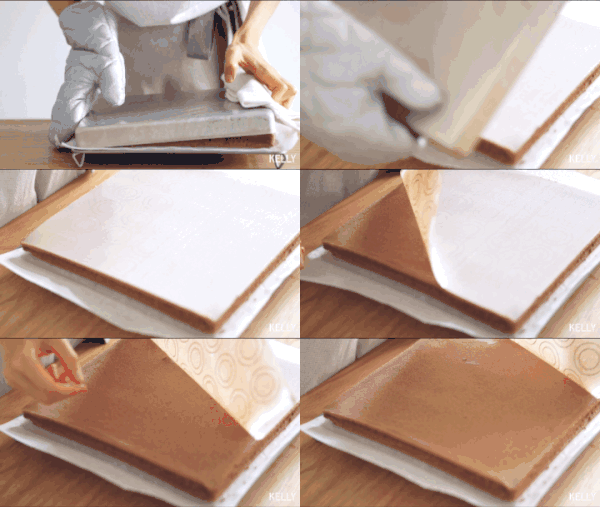
Flip upside down (be careful of hot)
31.
Shake gently and release the mold while it is hot.
32.
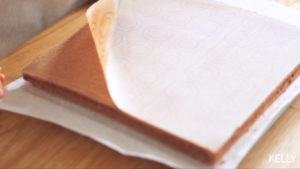
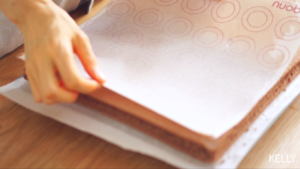
Lift up a corner of the silicone pad while it is hot, and gently tear it apart. (Key to towel noodles)
33.
You can get the perfect towel noodles~
34.
Cover it back to prevent moisture loss.
35.
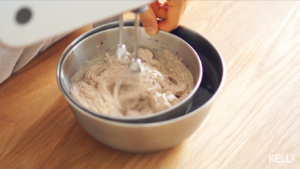
Let's make the mocha salted butter while the cake cools down.
36.
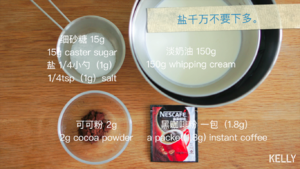
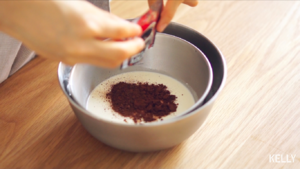
Add all the ingredients to the whipped cream.
(Whipped cream will be more stable if it is passed over ice water.)
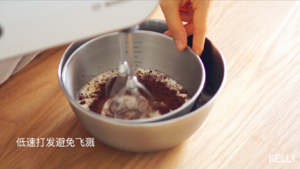
37.
Send at low speed to avoid powder splashing.
38.
Until very strong.
The cream of the cake roll (without beating the top) is harder, the harder the better, and the rolling will be easier later.
39.
Remove the silicone pad.
Put on silicone oil paper, 15-20cm long at the front and back
Cover with silicone pad.
Flip.
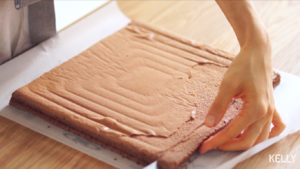
40.
Cut off the front and back edges diagonally.
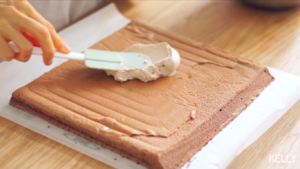
41.
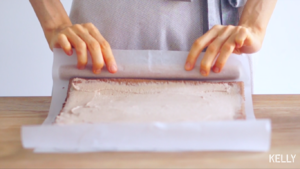
Spread the cream.
42.
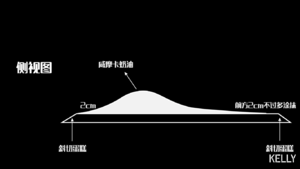
Side view.
43.
Top view.
As shown in the picture, paint it into a small hill with a convex middle.
44.
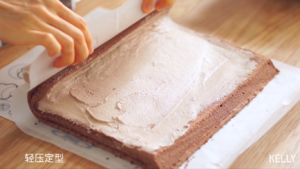
Next roll the cake,
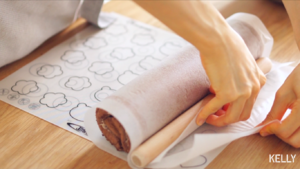
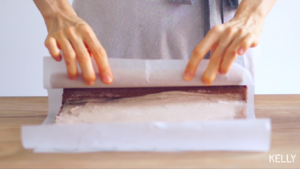
The rolling pin lifts the oil paper to roll up the cake, and lightly presses it to shape.
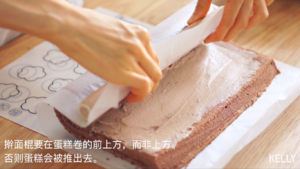
45.
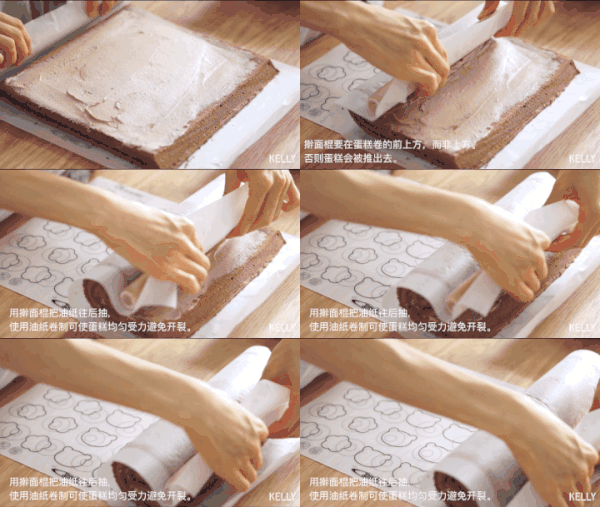
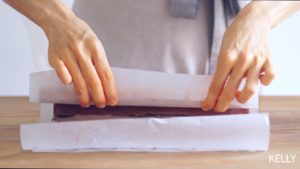
Use the rolling pin at the top of the front to move the oil paper back, and roll the cake through the oil paper.
Note: The rolling pin is on the top of the cake roll, not the top, otherwise the cake will be pushed out.
46.
Keep rolling back the oily paper, and the rolling pin must always be close to the top of the cake wrapped in the tightly-wrapped oily paper, and just roll forward a little bit until the rolling pin touches the mat.
47.
Pull forward with your left hand and push back with your right hand to tighten the cake.
48.
Look at it from another angle.
49.
I roll
50.
I roll
51.
I roll around~
52.
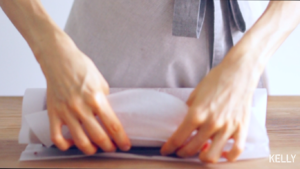
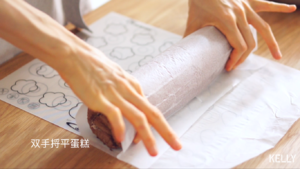
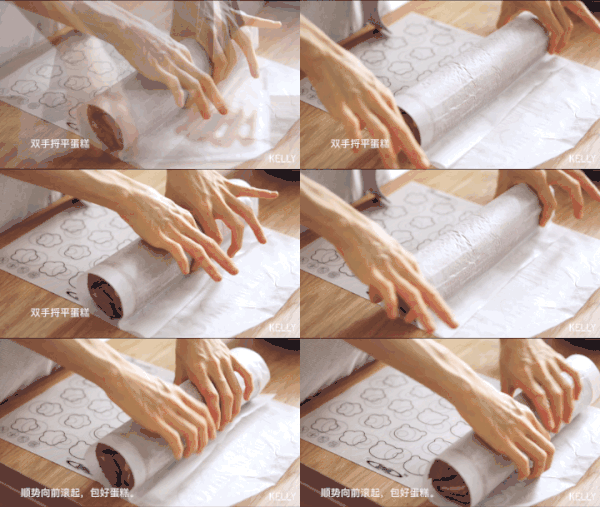
Finally, both hands flatten the cake.
53.
Roll forward and wrap the cake.
54.
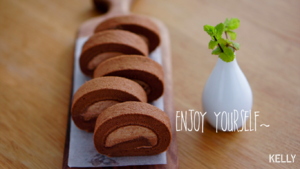
Refrigerate and cut into pieces, and the cake roll is ready~
Tips:
Towel noodle key:
Bottom silicone pad, release the mold quickly while it is hot;
Tear off a corner gently to cover and retain moisture.

