Santa Cream Cake
1.
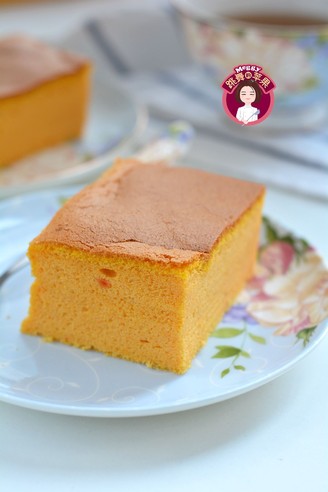
An 8-inch chiffon cake ingredients are ready
2.
Put the milk and corn oil into the basin and mix well
3.
Separate the egg white and egg yolk, put the egg yolk directly into the milk corn oil basin, and put the egg white into the oil-free and water-free basin
4.
After the egg yolk, milk and oil are fully stirred, add 20 grams of sugar and beat evenly
5.
Sift low powder and salt into the egg yolk paste
6.
Whip evenly, no dry powder particles
7.
Squeeze a few drops of lemon juice into the egg whites
8.
Use an electric whisk to make a coarse bubble and add 20 grams of sugar, and beat at a medium speed. When the white protein state is fine and white, add 20 grams of sugar. When the pattern is obvious, add the remaining 20 grams of sugar.
9.
Lift up the whisk, when there is an upright, slightly longer sharp corner, the whisk is complete. At this point, preheat the oven to 140 degrees
10.
Take one third of the egg white paste into the egg yolk paste
11.
After mixing evenly, add another third of the egg white paste
12.
Add the remaining meringue batter and mix into a fine and smooth cake batter
13.
Put the cake batter into an 8-inch movable bottom mold and shake it lightly to produce large bubbles
14.
Put it into the preheated oven, the middle layer, first start at 140 degrees, and bake for 30 minutes, then turn to 170 degrees, and bake for 20 minutes.
15.
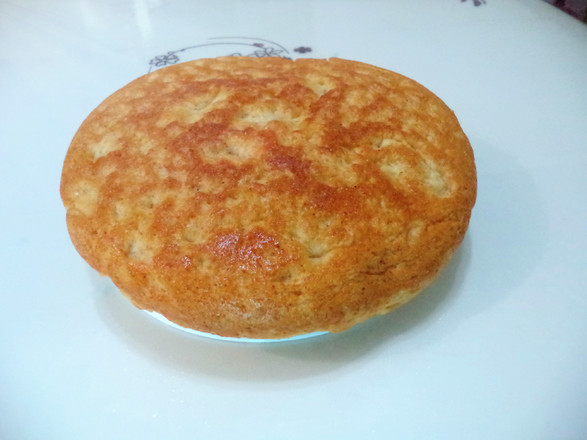
After it is out of the oven, shake it a few times to shake out the excess heat in the cake body, buckle it upside down on the drying rack, let it cool down and release it from the mold
16.
Two cakes ready
17.
Cut each cake in half crosswise, use only three of them, and eat the other one directly or use it for other purposes
18.
Wash the strawberries and drain the water
19.
One part is cut into small dices for filling, and the other part is kept as it is for surface decoration
20.
White sugar and whipped cream are ready. The whipped cream must be kept in the refrigerator for at least 24 hours before use. First put 400 grams of whipped cream and 40 grams of white sugar into the basin.
21.
It is swollen and slightly hardened, 8 or 90% is the best, especially hard ones will have too many air holes in it.
22.
Place the cake base on the paper tray, spread a layer of cream, and then evenly spread a layer of diced strawberries
23.
Spread another layer of cream, cover the cake slices, then spread the cream, spread the diced strawberries, spread the cream, and cover the cake slices in turn
24.
Apply cream on and around the surface, don’t worry too much about whether it’s level or not, because some decorations will be needed later to make up for the lack of wiping.
25.
Break the dark chocolate into small pieces and put it in a piping bag. Do not cut the mouth at the front. You can use rubber bands or tie the mouth to tie tightly at the back. Place it in a hot water pot to melt the dark chocolate
26.
Use a ruler to measure the height of the cake, use a small string to measure the perimeter of the cake, and then cut out the corresponding paper with oil paper, and use a slightly wider oil paper to cushion the bottom, cut a small opening in front of the flower bag, and place it on the oil paper. Squeeze out the pattern
27.
Grasp the time, when the chocolate is not completely solidified, wrap the paper around the cake body, gently press it with your hand, remove the oil paper, and the chocolate rim is complete
28.
Beat some whipped cream, put a suitable flower mouth in the piping bag, and put the whipped cream
29.
Decorate the bottom of the cake, flatten the bottom of the strawberry, then cut off the head, place it on the top surface of the cake, squeeze some cream, then put the strawberry on top, finally squeeze the cream on the blank space for decoration, and use the remaining Make Santa’s eyes and flower core from the chocolate, sprinkle some powdered sugar on the surface, and treat it as snow
30.
The cream cake for Santa’s meeting is ready
Tips:
This cake needs to make two 8-inch chiffon cakes, the actual amount and the height of the cake can be adjusted;
When making the chocolate rim, you must grasp the time. You can't use it before it has solidified or when it can’t be completely solidified. My first one is too long and can’t be used, so I had to make another one, so the steps in the step The chocolate flakes are not the same as the actual fringe flakes on the cake. The setting time of chocolate is about 10 seconds. If the chocolate is not pure enough, it will take a long time to solidify;
Don't whip the whipped cream too hard. There are too many bubbles in the too hard cream, and there will be a lot of cavities when you wipe the noodles, which can't be smoothed out, so you have to experience it. The best when you hit 8 or 9 minutes;
The amount of strawberries can be adjusted or replaced.