Super Simple Christmas Tree Root Cake Roll-super Popular Recipe
1.
formula:
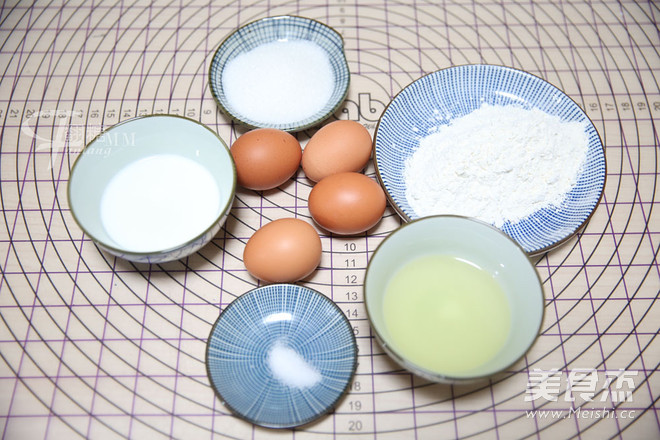
Cake roll: 4 whole eggs, 65 grams of caster sugar, 50 grams of vegetable oil, 55 grams of milk, 68 grams of low-gluten flour, 1 gram of salt Filling: 200 grams of light cream, 20 grams of fine sugar, 10 grams of cocoa powder, surface roots Decorated chocolate ganache: 110 g whipped cream, 110 g chocolate
Don't procrastinate when making cake rolls, measure the amount of ingredients needed for the cake rolls in advance.
2.
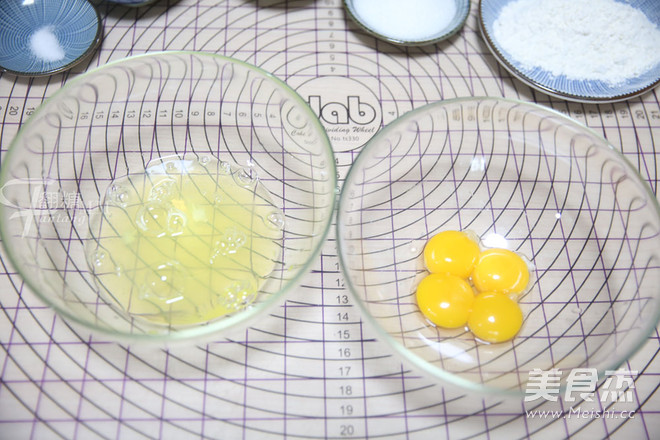
Separate the egg white and egg yolk, and separate the two bowls. Both bowls should be clean, oil-free and water-free.
3.
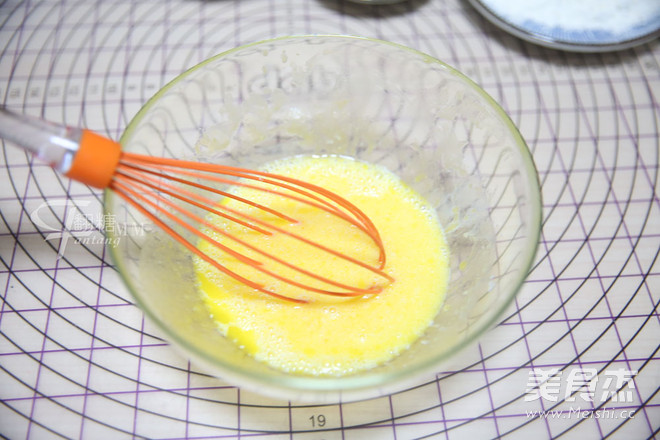
Add vegetable oil, milk, and salt to the egg yolk and stir well.
4.
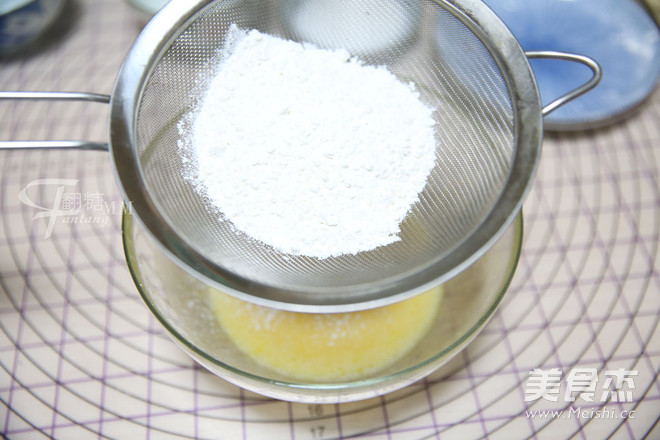
Sift the flour in the egg yolk paste.
5.
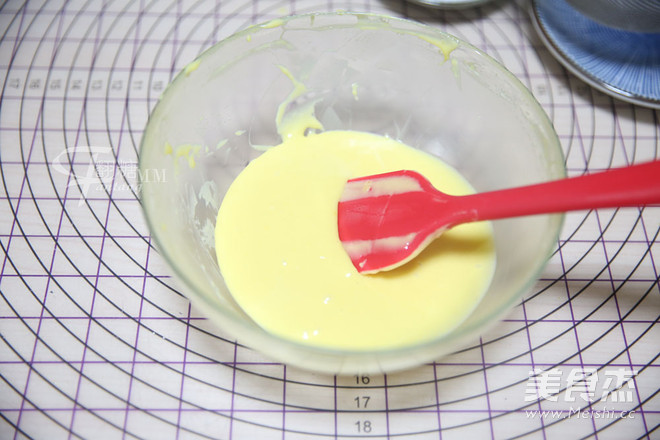
Stir all the ingredients evenly to form a fine and smooth batter.
TIPS: You can use egg cream to stir evenly, and then use a spatula to stir until it is delicate.
6.
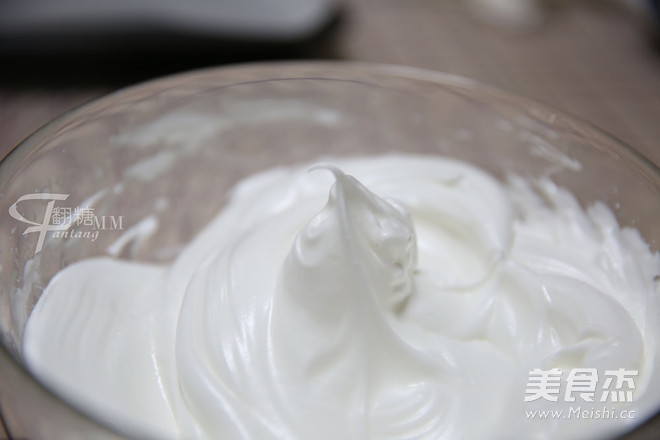
Beat the egg white below, add fine sugar to the egg white at one time, beat the egg white until it is wet and foam, and pull up the head of the whisk to show a soft corner state.
7.
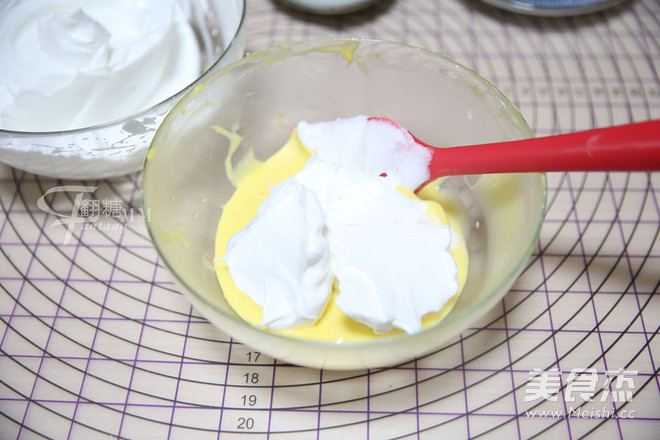
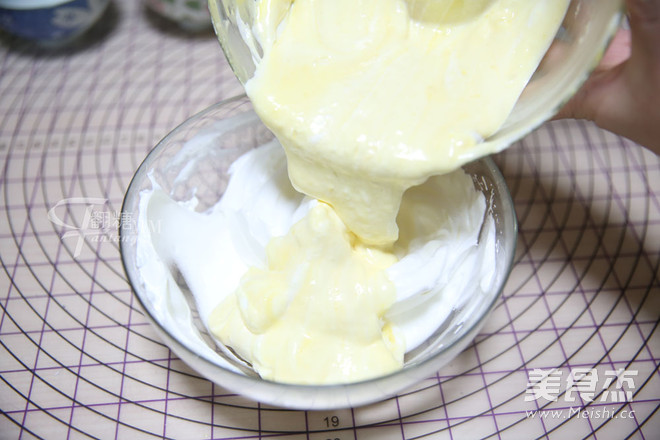
Put one-third of the egg white into the egg yolk batter, and use a spatula to stir the batter evenly.
TIPS: When mixing, stir the batter thoroughly and greatly, and mix the batter quickly and evenly. Don't carefully and slowly stir because you are afraid of defoaming. Stirring slowly for a long time will defoam the batter.
8.
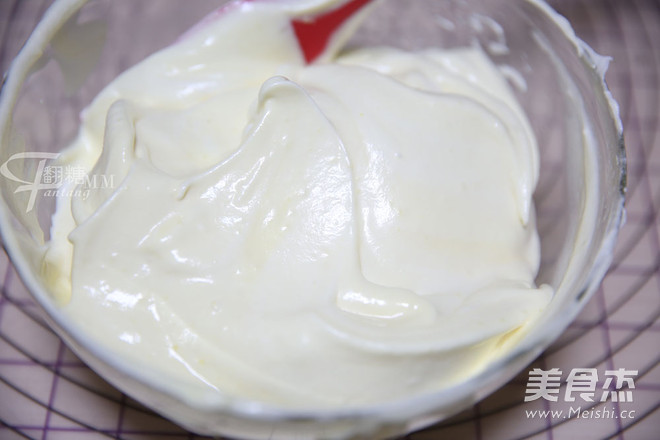
Pour the well-mixed batter back into the beaten egg white bowl, and mix until evenly mixed.
TIPS: Stirring is also a fast-turning, large-scale stirring, don't stir for too long to cause defoaming.
9.
It becomes a smooth batter with a certain consistency, the batter is not thin and does not keep bubbling.
10.
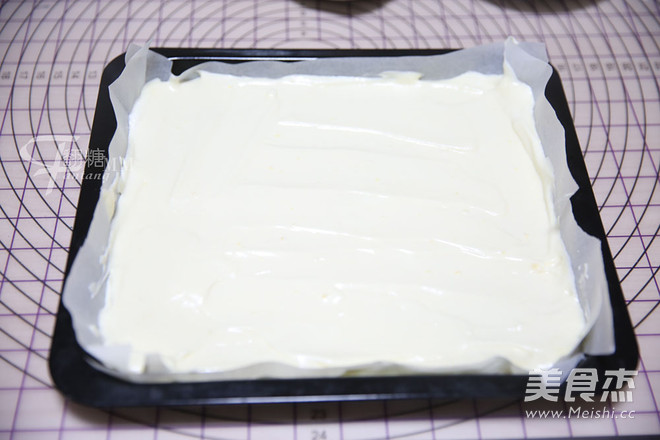
Spread greased paper on the baking tray, pour the batter into the baking tray, and smooth the surface.
11.
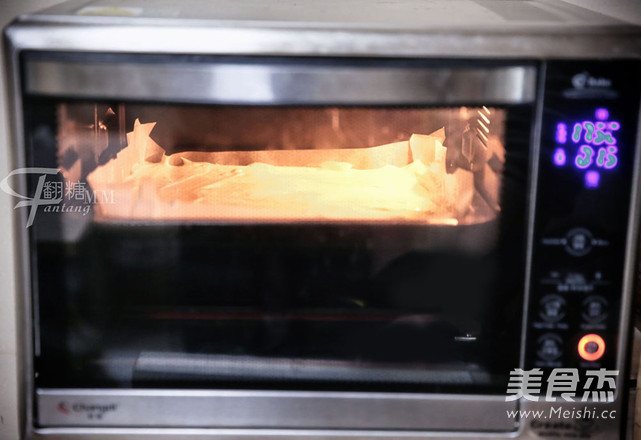
Preheat the oven up and down to 175 degrees, put it in the middle of the oven, and bake for about 13 minutes. (Adjust the temperature and time with your own oven)
12.
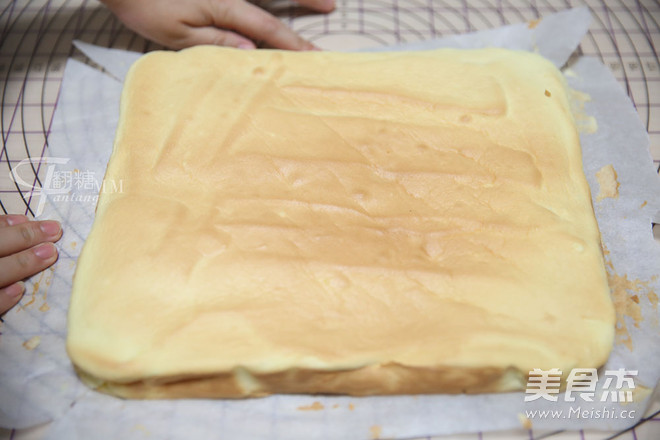
After the cake slices are baked, they are out of the oven, and immediately tear off all the oily paper around them while it is hot.
13.
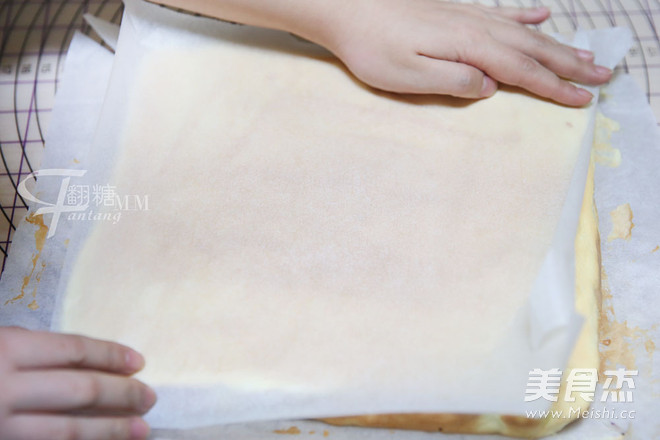
Cover the surface of the cake slice with a layer of oiled paper, remove the oiled paper on the other side of the cake slice, and then cover it back to the cake, let cool and set aside.
TIPS: During the cooling process, the oil paper must be covered on both sides to moisturize the cake slices. If the cake slices lose water too much, they will easily crack when they are rolled.
14.
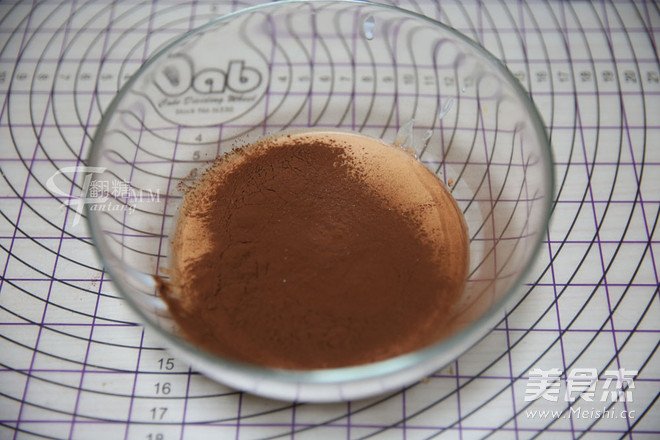
Next, make the cream filling in the cake roll: Put light cream, caster sugar, and cocoa powder in a bowl.
15.
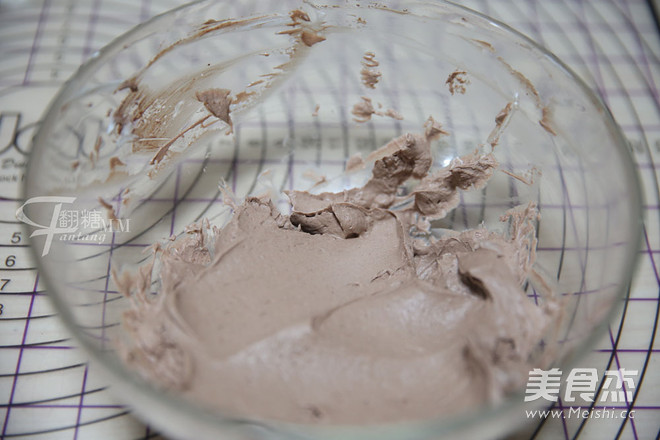
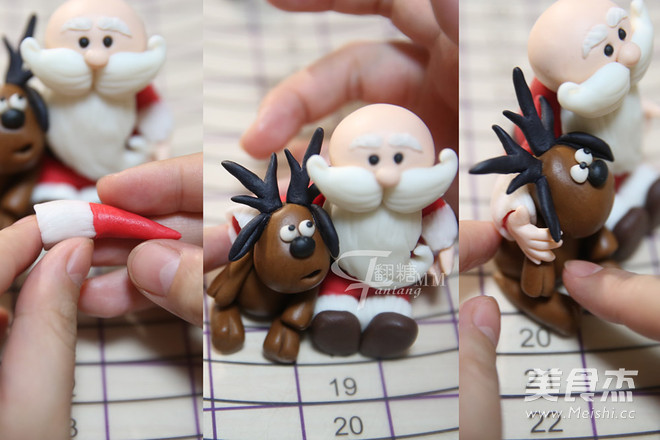
Use a whisk to whip the whipped cream. Be careful not to over whip the whipped cream, as oil and water separation will occur.
16.
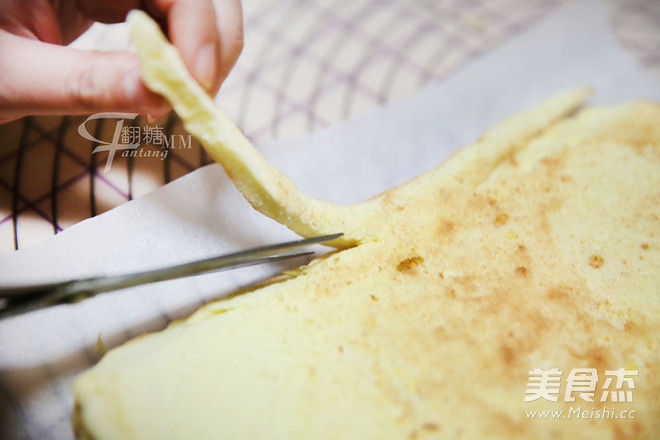
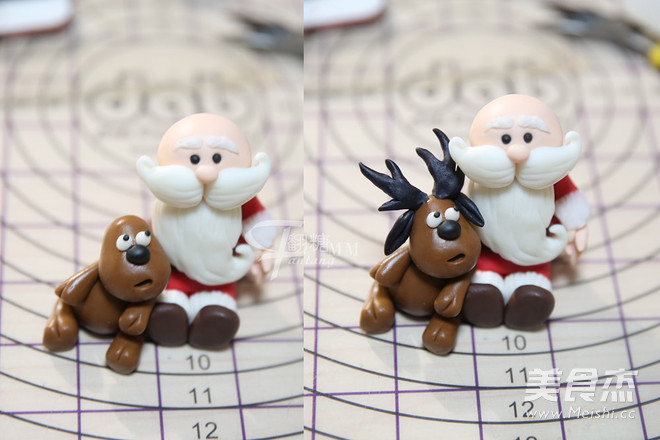
After the cake slices have cooled down, you can start the cake roll.First, use scissors to cut out a bevel on the side of the cake roll with scissors, so that it is easy to set the shape at the end of the cake roll, and it will be relatively round.
17.
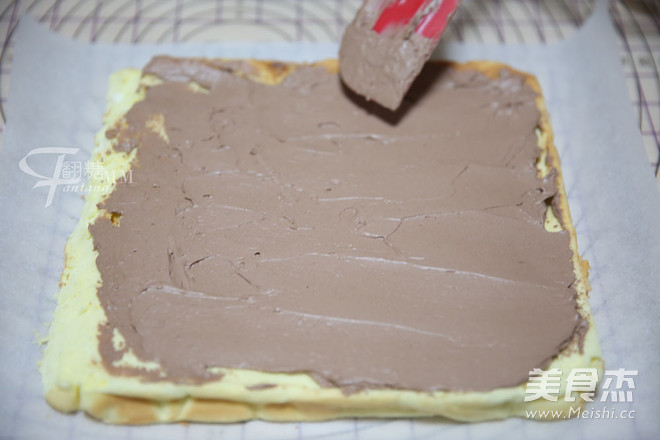
Spread the whipped cream on the cake slices, and pay attention to the cream at the end to be slightly thinner.
18.
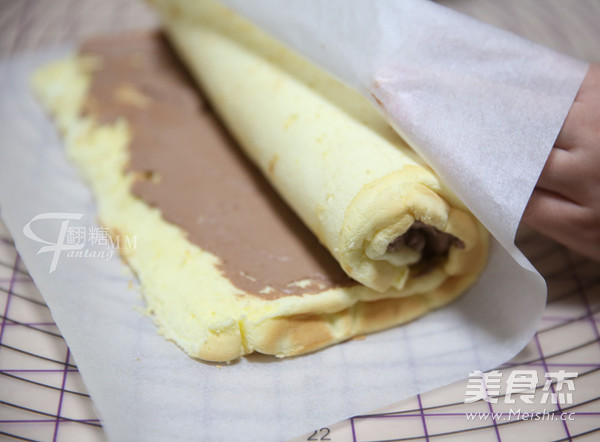
Roll the cake slices, this cake roll is very soft and will not crack, and it rolls well.
19.
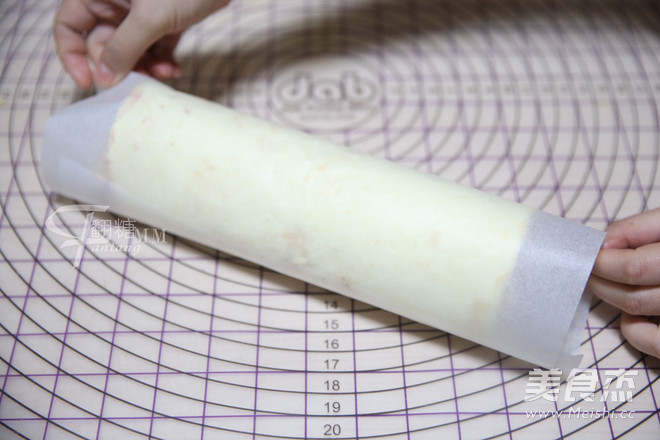
Wrap the rolled cake rolls in greased paper, and put them in the refrigerator to set the shape.
20.
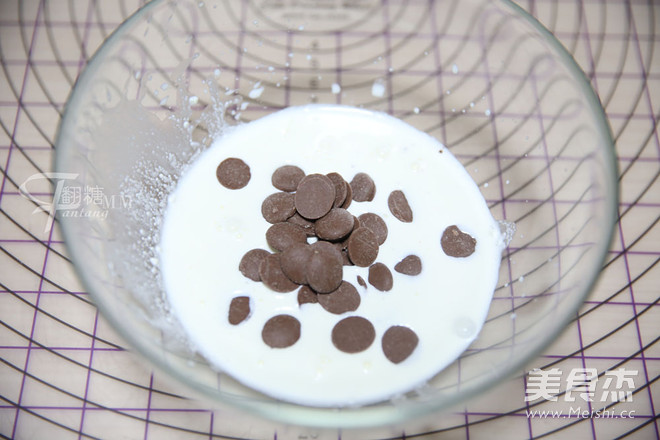
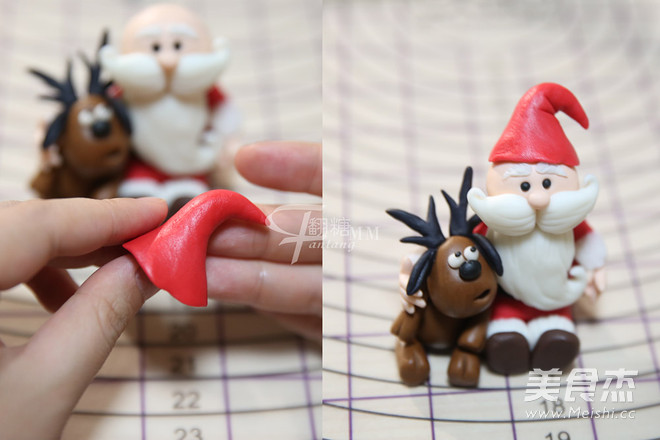
The chocolate ganache used to make the pattern of the roots below: Put the whipped cream and chocolate in a glass bowl that can be placed in a microwave oven.
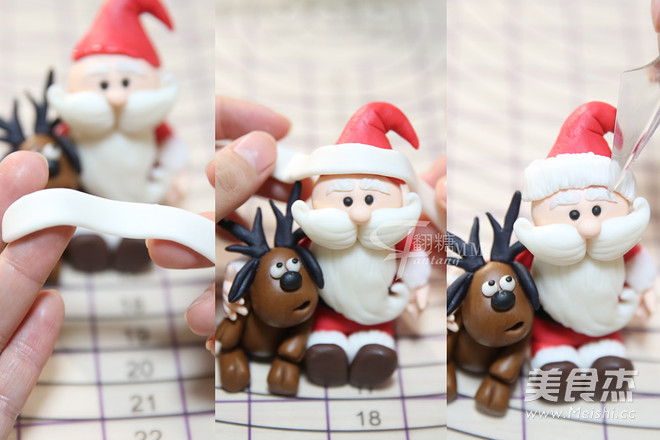
21.
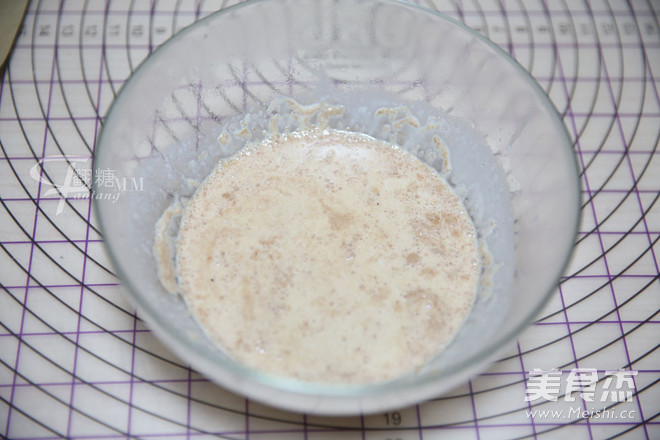
Put it in the microwave and heat it for 2 minutes. After taking it out, don't stir it, just leave it at room temperature for five to ten minutes.
22.
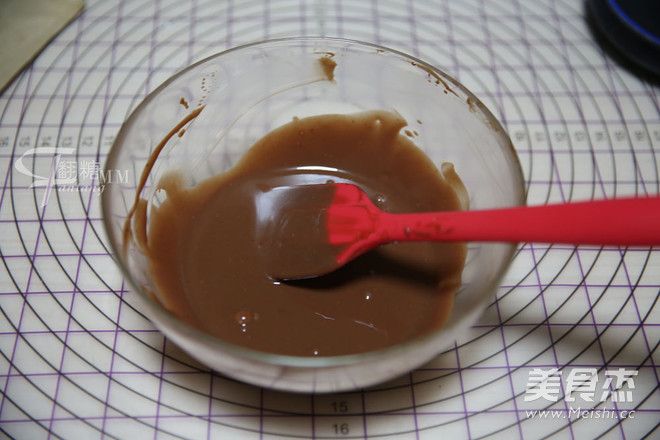
Then use a spatula to stir evenly, and it will become a smooth chocolate ganache. But at this time the ganache is still too soft, put it in the refrigerator and stir it every five minutes.
23.
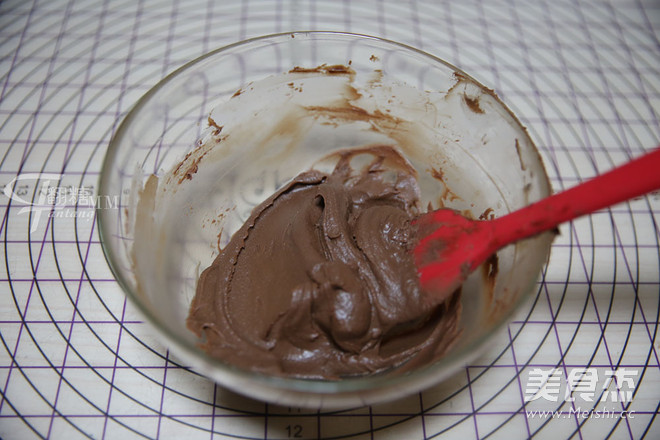
Until it becomes a ganache with moderate hardness that can be wiped off with a spatula.
24.
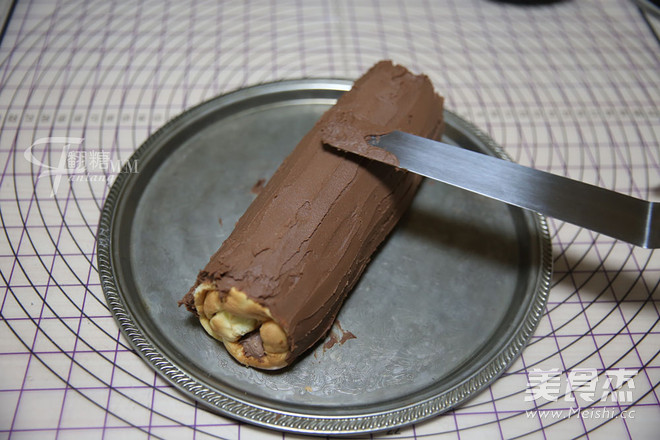
Spread the ganache evenly on the cake roll with a spatula, no need to pursue a special level.
25.
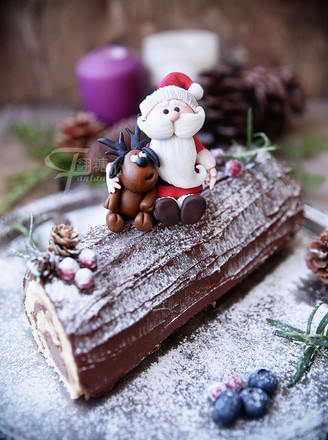
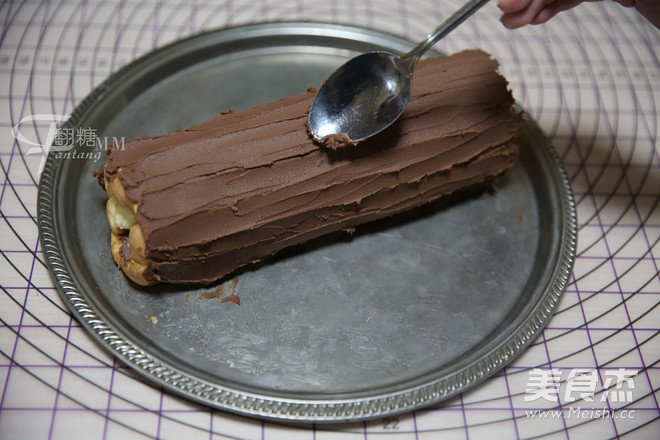
Take a large spoon and hang a pattern on the surface with the back of the spoon, which is shaped like a tree root.
26.
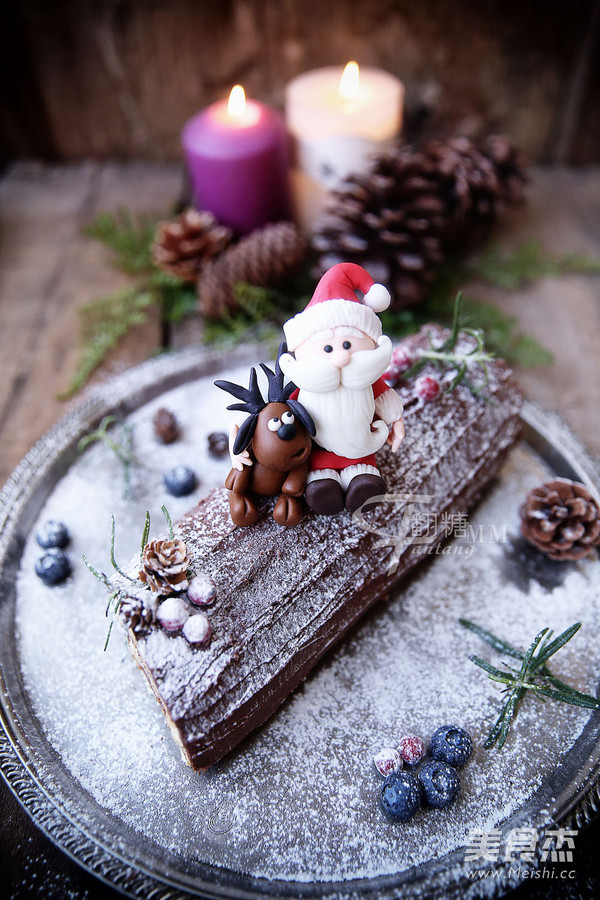
Finally, sift the powdered sugar, and the root cake is ready.
27.
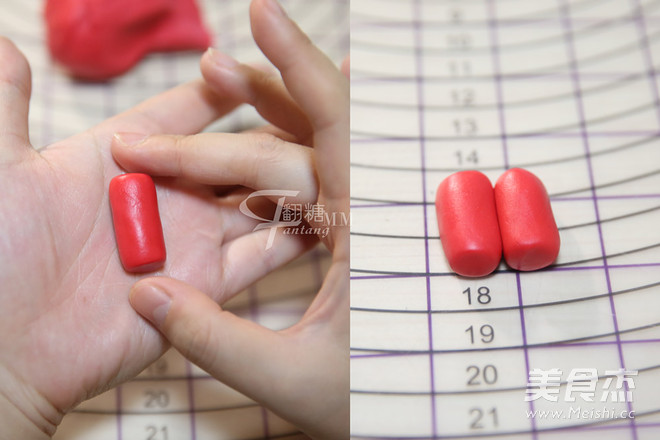
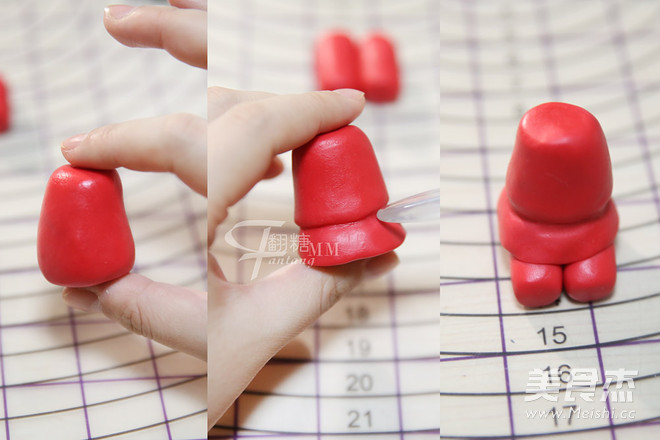
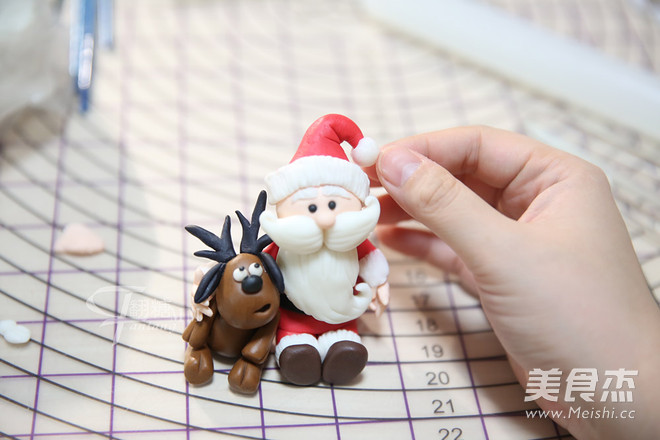
First, make fondant Santa’s leg. Use red fondant to make a cylindrical leg, and make the other leg in the same way.
28.
Make the body below, knead the red fondant into a cylindrical shape with a narrow upper side and a wide lower side, engrave a mark 1/4 from the lower side to make a waist. Paste it on the leg with edible glue.
29.
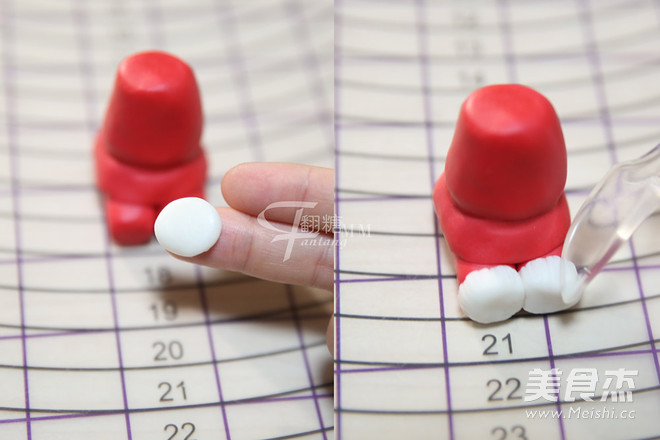
Knead a small round piece of white fondant as the decorative white edge of the trouser leg, stick it in front of the trouser leg, and use a knife to carve out traces.
30.
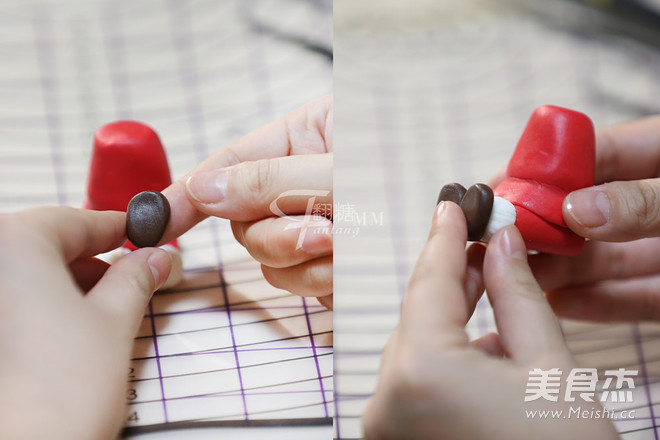
The brown fondant is kneaded into an oval shape and pasted on the front of the leg as a shoe.The same is done for both shoes.
31.
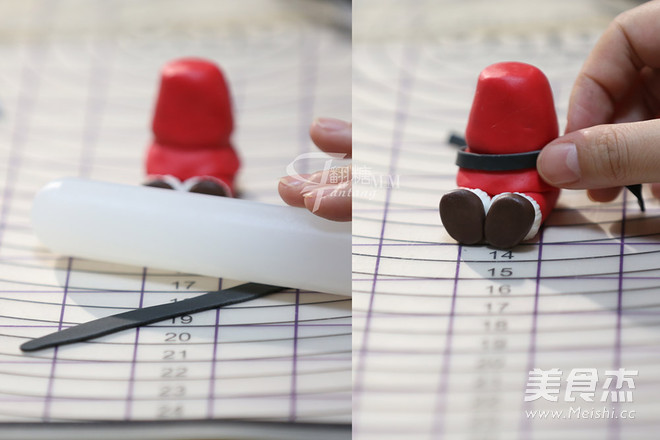
Next, make a belt, roll the black fondant into a slender strip and wrap it around the waist.
32.
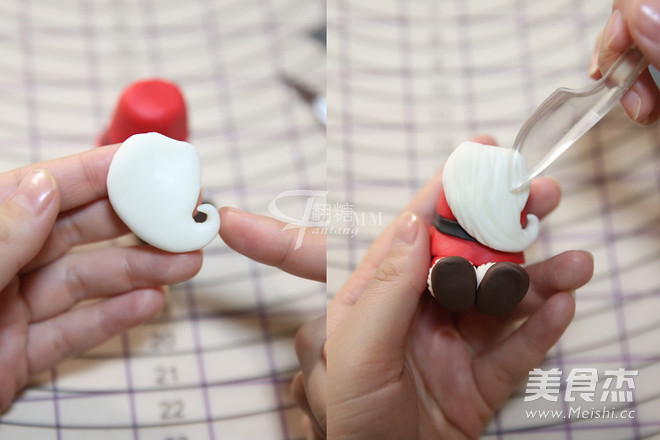
Make a big beard below, make the white fondant into a drop shape, bend the tip of the beard upward, use a knife to carve the texture of the hair on the beard, and paste it directly in front of the body.
33.
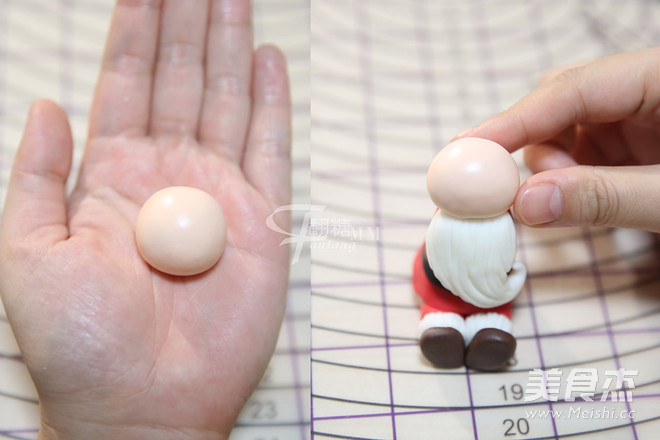
The flesh-colored fondant is kneaded into a circle the size of a quail egg and pasted on the body.
34.
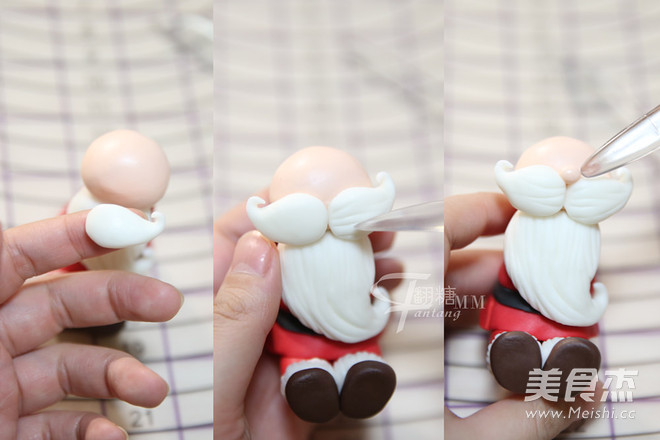
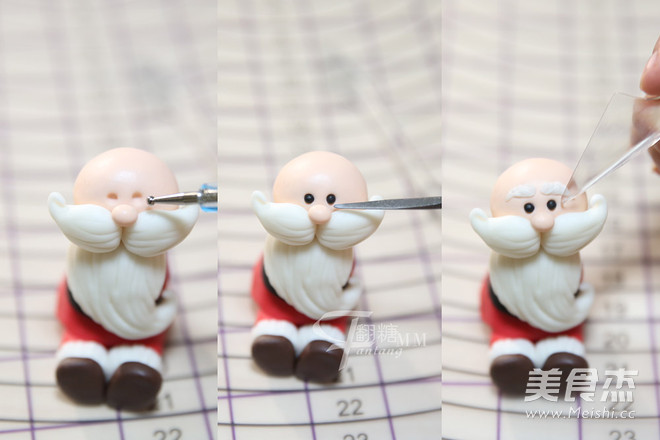
Take a small piece of white fondant into a small drop shape, bend it upwards briefly, make a total of two, and paste it on the front of the head as a beard. Also press out the texture of the hair. Rub a small flesh-colored ball and stick it in the center of the beard as a nose.
35.
Place two small dots above the nose, rub the black fondant balls to stick in the eye sockets, and finally use the white fondant to rub the eyebrows and paste them above the eyes.
36.
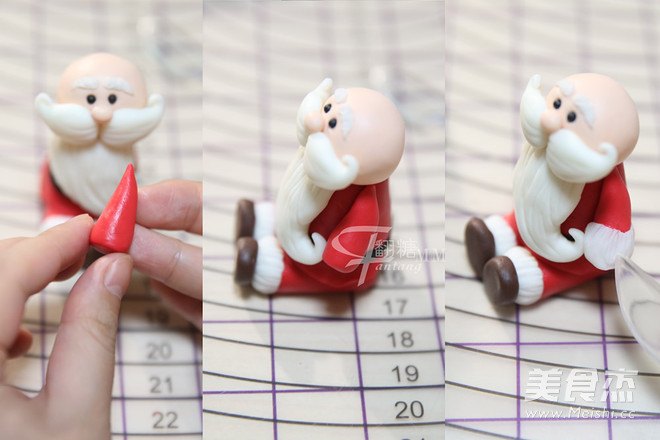
Make the arm below, roll the red fondant into a cone, paste it on one side of the body, and then use the white fondant to make the cuffs.
37.
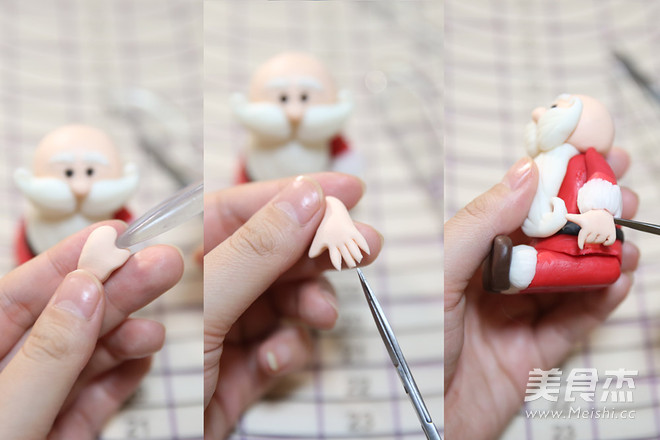
Next, make your hands, take a small piece of flesh-colored fondant and press out your thumb, use scissors to cut the remaining four fingers. Adjust the posture and paste it on the cuffs. Santa Claus is roughly done, and the next is the reindeer
38.
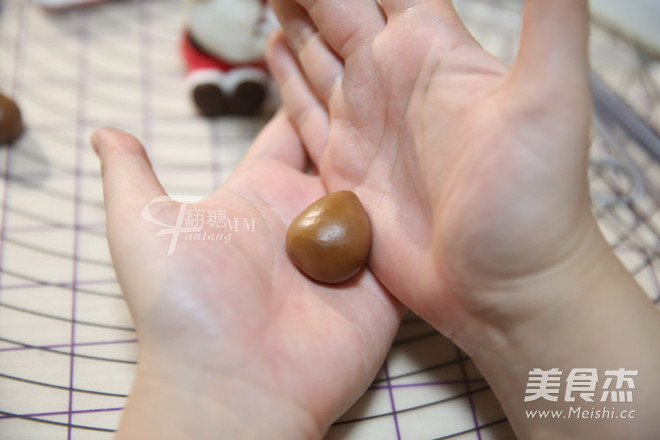
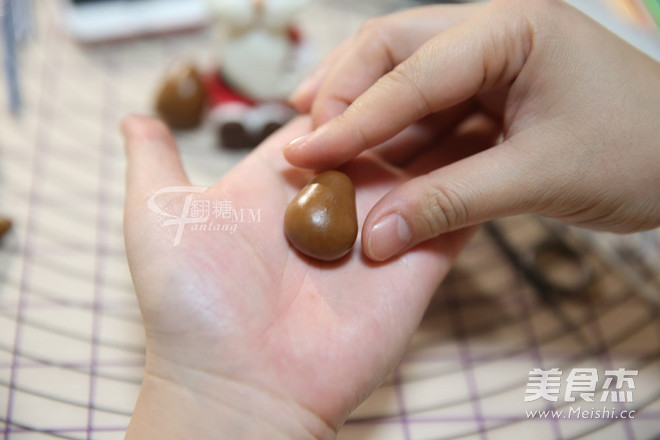
The brown fondant is rolled into a fat drop shape for the body
39.
The brown fondant is twisted into a gourd shape and used as a head.
40.
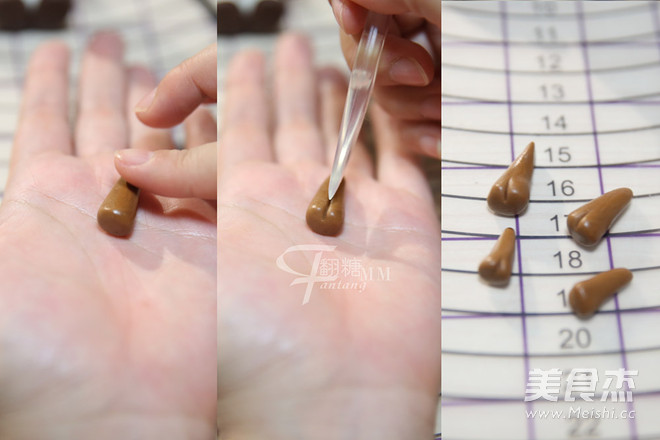
Make deer limbs: roll brown fondant into a cylindrical shape, press a dent in one section as a hoof, and use this method to make all the limbs.
41.
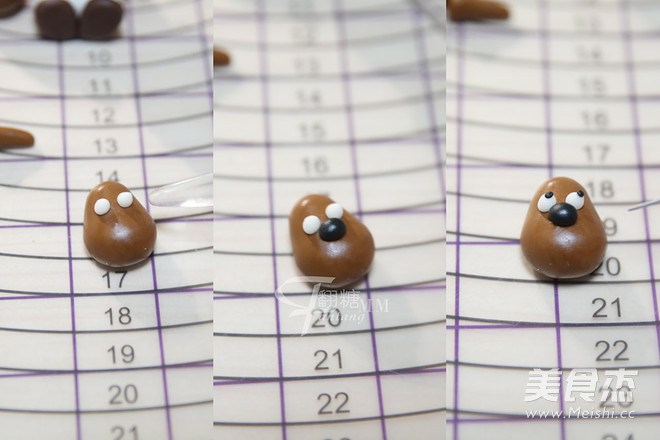
Take the finished head, paste two white balls on the half of the face, put a black ball fondant under the center of the eyes as the nose, and finally dot two small black dots on the white of the eye as the eyeballs, and the eyeballs are glued to the upper right side of the white of the eye. .
42.
To make the ears, black fondant is rubbed into a jujube core shape, and a knife is used to make a deep mark in the center.The same method is used for both ears.
43.
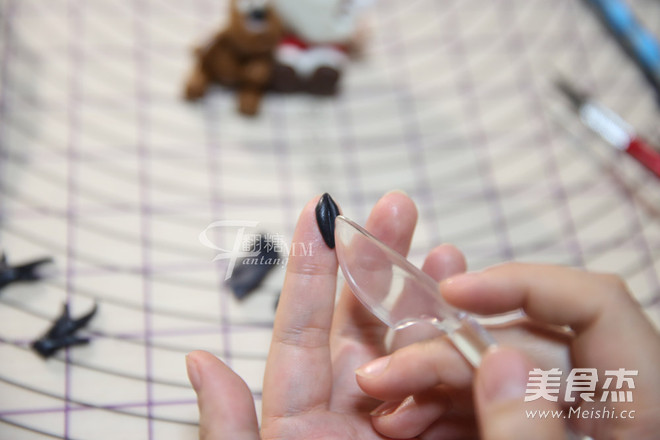
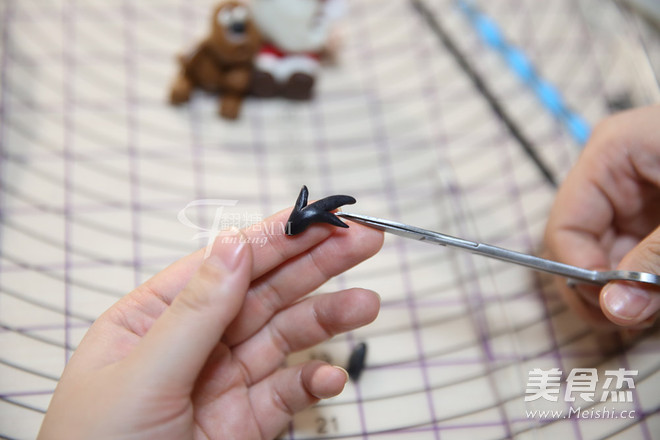
Making antlers: black fondant rolls into a long stick, cut into three pieces with scissors, adjust the shape, and make a pair of antlers and place them to dry. All parts of the reindeer are finished.
44.
Assemble and paste the reindeer together from top to bottom, adjust the angle and finally glue the antlers.
45.
Make another hand in the same way, stick it behind the reindeer, and make a hug movement.
46.
Make a hat: roll the red fondant into a hat shape, pull out the tip of the hat, and paste it on Santa's head.
47.
The white fondant is rolled into a long strip and attached to the bottom of the hat to draw the lines of the hat.
48.
The Christmas doll is ready.

