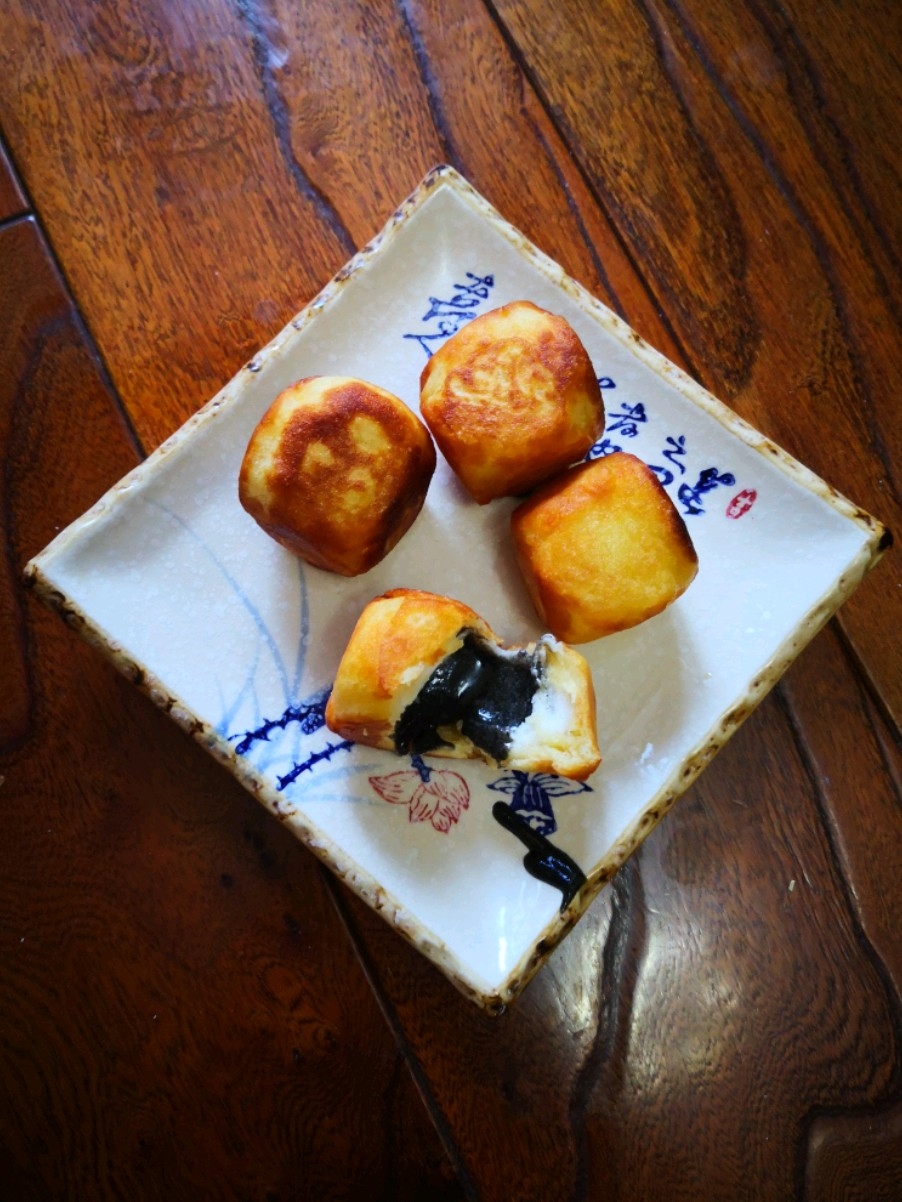
Tijiang Mooncake
1.
Put 140 grams of white sugar in the pot, add 60 grams of cold water
2.
Turn on a low fire, while stirring with a rolling pin, heat on a low heat until the sugar melts (Hint 1: Pay attention to stirring when you boil the syrup, so as to avoid the syrup paste, the taste will be bitter)
3.
Pour in 2 tablespoons of maltose (reminder 2: maltose can be bought in the seasoning area of large supermarkets and vegetable farms) and continue to heat on a low heat, while stirring with a rolling pin
4.
Heat until a lot of white foam appears on the water surface, turn off the heat
5.
The white foam will gradually disappear after turning off the heat, or use a spoon to skim off the white foam on the surface
6.
What is left in the pot is light yellow syrup, this is the boiled water extract
7.
Pour the boiled Tijiang liquid into a small bowl and let it sit aside until it is lukewarm. (Hint 3: The color of the boiled syrup is light yellow. To make Tijiang moon cakes in ancient ways, you need to boil it for 2 to 3 days to make the syrup. , Cold syrup and dough made moon cakes have hard crust; I aired the syrup to a mild surface when making it, the dough is between the dead and hot noodles, and the finished moon cake crust is soft and soft)
8.
Put 90 grams of salad oil in a wok, simmer on the fire, cook until the oil is fragrant, bubbles appear on the surface, rippling layers, and light smoke comes out. Turn off the heat and set aside until the oil cools ( Tip 4: When mixing the dough, the hot cooking oil must be kept from cooling, otherwise the hot oil will be poured into the flour, the flour will be cooked, which is not conducive to packaging)
9.
Put 300 grams of flour in the bowl and pull the flour to the side of the bowl by hand
10.
Heat and cool the sesame oil or cooking oil on the other side of the basin, and add 1/4 teaspoon of baking soda (Hint 5: Add baking soda to ensure the crispy taste of the mooncakes, and second, the mooncakes are evenly colored during baking , The color is more beautiful)
11.
Pour in 175 grams of the boiled water extract (Hint 6: When pour the water extract in the flour, Huixin recommends that you pour it in batches, first pour half of it and mix it into a dough, and then add it gradually according to the softness of the dough. Because different flours have different water absorption, so as not to pour too much extracting liquid at one time to make the flour dilution is not conducive to agglomeration)
12.
Use chopsticks to mix the extract, flax oil or edible oil, and baking soda evenly, so that the oil and water are fully mixed and compatible, and the baking soda melts in the oil and water
13.
Use chopsticks to pull the flour into the slurry solution
14.
Use chopsticks to pull off the flour and cover it on the oil slurry solution, stir with chopsticks to make the flour absorb the oil and moisture to form a flocculent dough
15.
Put the flocculent dough on the chopping board and knead it repeatedly with your hands until the surface of the dough is smooth. Cover the dough with a piece of plastic wrap and set it aside for 10 minutes. (Hint 7: Do not knead the good dough again, if you knead it again , After the dough becomes gluten due to the effect of oil, it is not easy to knead until the surface is smooth)
16.
The old rock sugar is smashed with an axe into rock sugar powder with small rock sugar particles
17.
Walnut kernels, peanut kernels and almond wood are placed in a clean, water-free and oil-free wok, and stir-fried with a spatula for about 2 minutes. Bake on a low fire to give a fragrance
18.
Put the fried walnuts and peanuts on the chopping board, and cut repeatedly on the kernels with a knife
19.
Cut the kernels into small pieces
20.
Do not put oil in the wok, add flour, stir fry with a spatula over medium and low heat, and fry until the flour is cooked from white to pale yellow, turn off the heat, pour out the flour and set aside to cool
21.
Without oil in the wok, pour white sesame seeds, stir and fry with a spatula over medium and low heat until the white sesame seeds splash in the pan, turning from white to light yellow
22.
Place the fried white sesame seeds on the chopping board. Use a rolling pin to roll the sesame seeds several times to form a sesame powder with sesame seeds.
23.
Put the edible oil in a wok, simmer on the fire, cook until the oil is fragrant, bubbles appear on the surface, ripples appear on the surface, and a slight smoke emerges. Turn off the fire and set aside until the oil cools (reminder 9 : Stir edible oil into the filling to make the filling more moist and avoid the filling to absorb the oil in the dough when it is wrapped in the crust, so that the baked mooncake will become dry).
24.
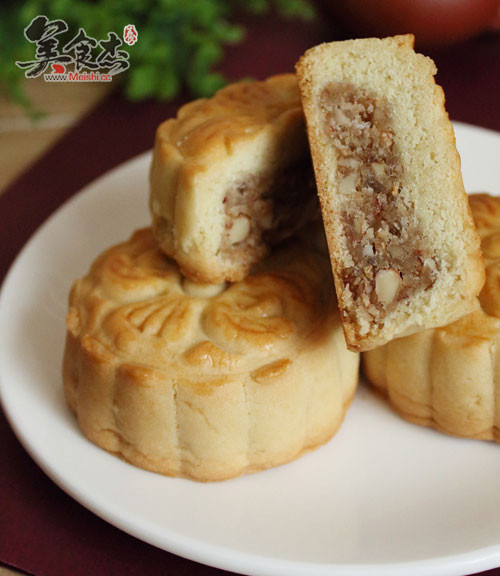
The prepared rock sugar powder, walnut kernels, almonds, peanut kernels, sesame powder and fried flour ingredients are placed in a basin, and stir evenly with chopsticks
25.
Pour the cooked cooking oil into the basin and pour 1 tablespoon of maltose
26.
Grab and mix the filling with your hands, so that all powders can absorb grease and have adhesiveness
27.
Grab a handful of fillings with your hands, the fillings can be formed into a ball, not loose or cracked, and the fillings are mixed.
28.
Divide the mixed dough into 60 grams each
29.
The mixed fillings are divided into 45 grams each (Hint 10: The ratio of the crust to the filling is 1:1 in the ancient method of making Tijiang moon cakes. I changed it to 1:3 to increase the thickness of the crust. When the teeth touch the moon cake, increase the buffer space between the crust and the filling to effectively protect the teeth)
30.
Take a dough and knead it into a ball with your hands
31.
Press the spherical dough into a round cake shape
32.
Take the central position of the oblate dope as the center, along the circumferential direction of the oblate dope as the moving speed, make the right hand make a circular motion on the edge of the oblate dope, and squeeze the edge dope into a pie crust with a slightly thinner edge and a thicker middle in the middle (Hint 11: When kneading the crust, it is better to make the crust a little bigger, so that it will bulge up during baking. If the crust is too small, it will not bulge up easily during baking)
33.
Place the round pie crust in the palm of your left hand, and put 1 filling agent
34.
With the right hand, close the edge of the pie crust like a bun, and pinch the closing part with the palm of your hand to form a cone shape. Use your thumb to press down on the top of the cone shape to form a thick round cake.
35.
Place the finished round cake in the mold and press it with your hands to make the surface of the dough flat
36.
The mold is upside down on the chopping board, and the handle of the mold is gently pushed down by hand, and the moon cake is completed. My mold is a 70-gram head, and a total of nine are made.
37.
Put a layer of tin foil on the bottom of the baking tray, and use a brush to evenly brush a layer of cooking oil on the tin foil (hint 13: the purpose of brushing the cooking oil on the tin foil is to prevent the moon cake from sticking to the tin foil during the baking process)
38.
Place the finished mooncakes on tin foil, knock a whole egg in a bowl, and stir into egg liquid
39.
Dip a brush into the egg liquid, and evenly brush a layer on the surface of each moon cake. Do not brush around the moon cake.
40.
Preheat the oven at 200°C for 10 minutes in advance, put the baking pan in the middle of the oven, and bake at 200°C for 20 minutes (Hint 14: The temperature and time of the oven can be changed according to the actual situation of the oven, because each oven is shipped from the factory) The settings are different, some ovens have a higher internal temperature than the set temperature, and some ovens have a lower temperature)
41.
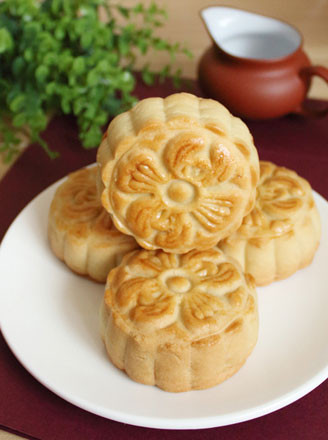
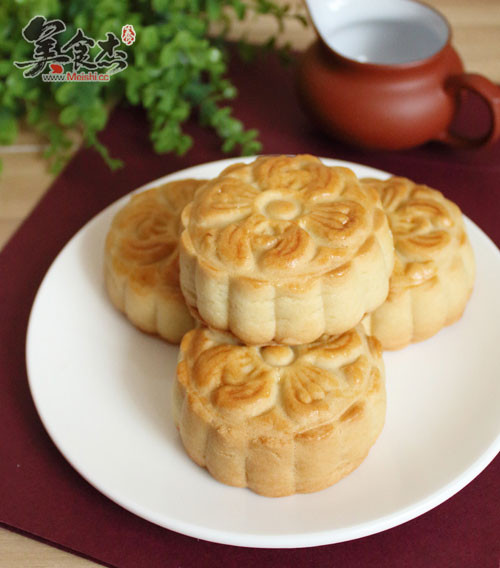
Baked moon cakes

