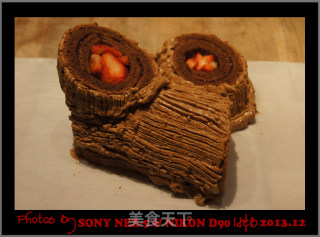
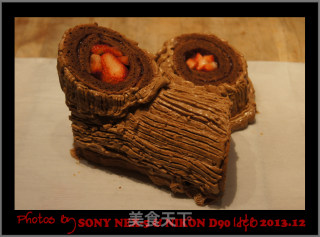
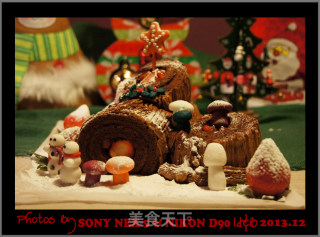
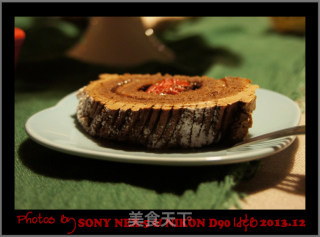
2013 Tree Root Cake---let's Have Christmas Together
1.
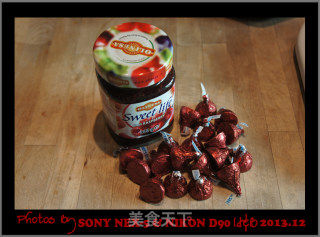
Jam and chocolate are ready, any jam, dark chocolate or milk will do
2.
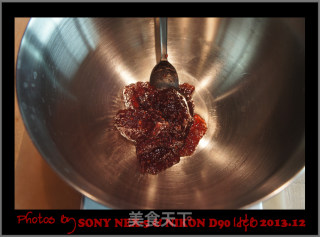
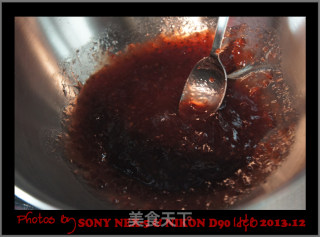
Jam in a small clean pot
3.
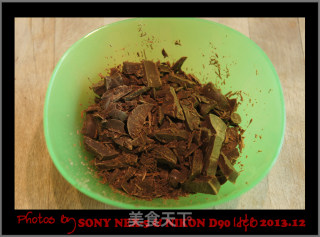
Chopped chocolate and set aside
4.
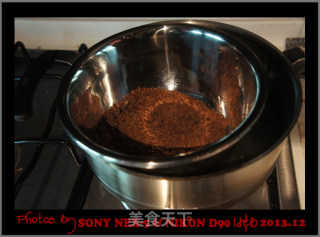
Put the jam pot on the fire and heat it up on medium heat
5.
While heating, stir until the temperature of the jam comes up, you can try it with your fingers, and the jam is heated to the extent that it is not hot to your hands.
6.
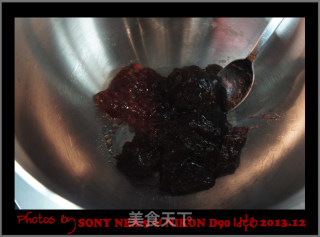
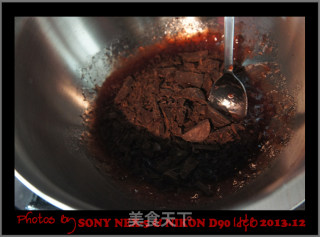
Turn off the heat and add the chopped chocolate
7.
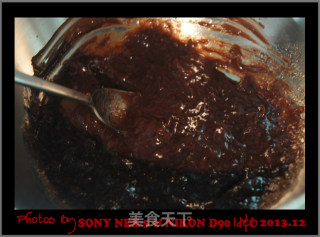
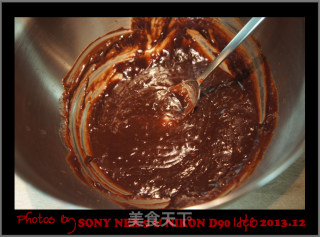
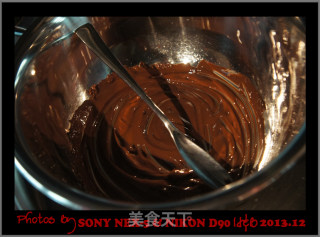
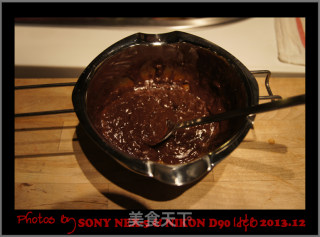
Just melt the chocolate with the heat of the jam, then mix well and let cool for later use
8.
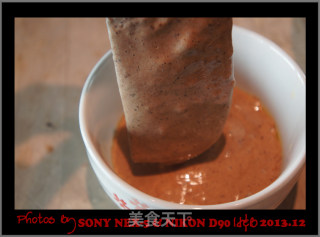
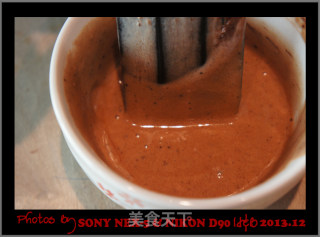
This one is left to cool, and it is slightly solidified. Stir it with a spoon. If the room is too cold, you can heat it on the fire when you need to use it for a while. This will make it easy to spread on the cake. Easy to apply evenly
9.
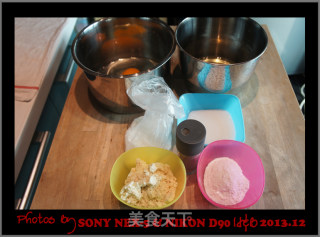
Prepare the ingredients for making cake rolls
10.
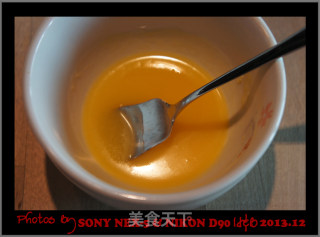
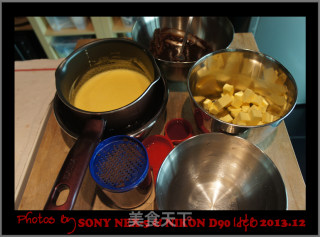
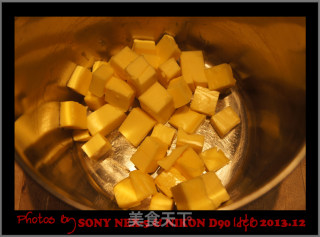
Cut the butter into small pieces and melt the water. When the butter pieces are melted into this state, they can be removed from the heat. Be careful not to overheat the butter to separate the oil, water and oil.
11.
Use the remaining temperature of the butter liquid to continue to melt the remaining butter
12.
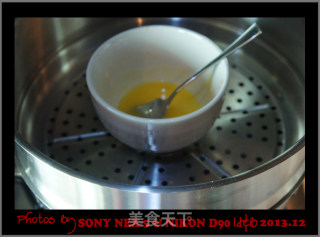
After the butter liquid has melted, put the small bowl of butter back on the steamer, and continue to use the remaining temperature to keep the butter liquid in a flowing state
13.
First use a whisk to break up the whole eggs
14.
Sift the powdered sugar and almond powder into the egg bowl
15.
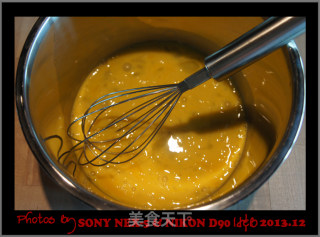
Use a whisk to beat the liquid egg, powdered sugar and almond powder together into a lighter almond paste, set aside
16.
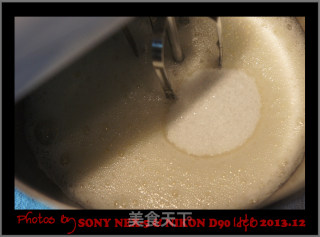
The egg whites are first beaten into a fish-eye bubble state with a whisk
17.
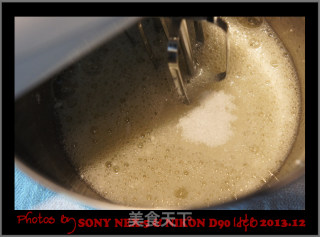
Add 1/3 fine sugar for the first time
18.
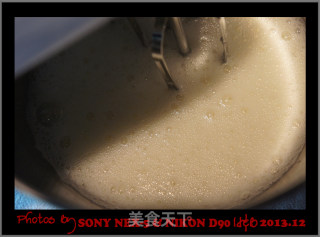
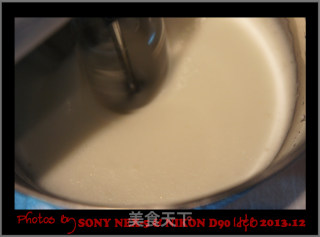
And then whipped into a fine foam
19.
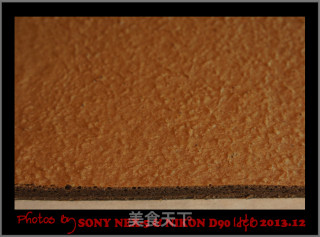
Then add the remaining 2/3 caster sugar
20.
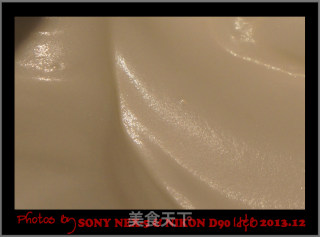
The whisk from low speed to high speed, quickly whipping egg whites to the beaten state
21.
Make it into this finely solidified and non-flowing protein paste.
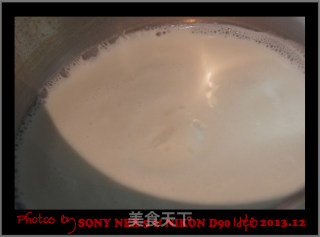
22.
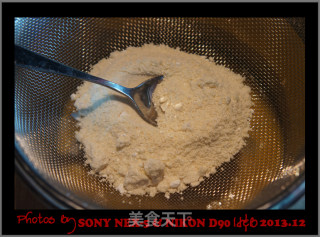
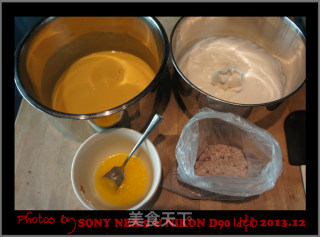
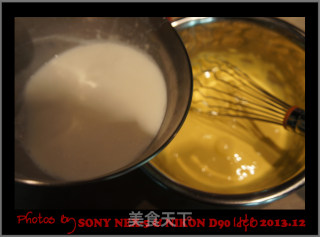
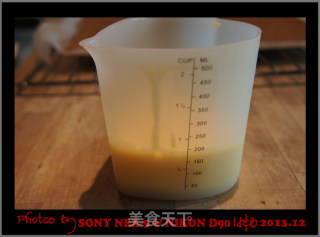
Prepare the prepared egg yolk paste, meringue paste, butter liquid and pre-mixed low-powder cocoa powder
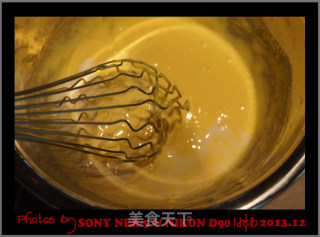
23.
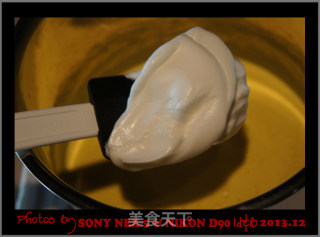
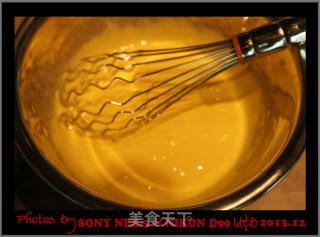
Take 1/3 of the egg white and put it in the egg yolk batter
24.
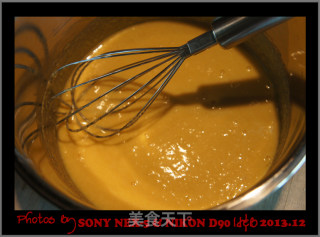
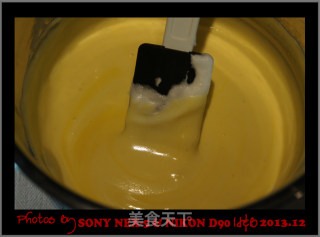
Use a spatula to stir evenly
25.
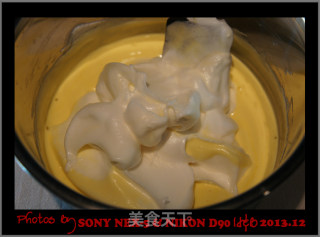
Take the other 2/3 of the egg white and put it in the egg yolk batter
26.
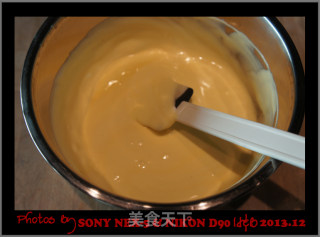
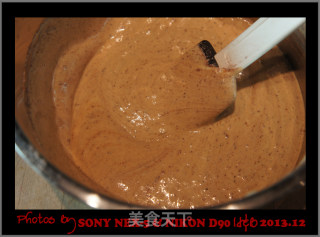
Use a spatula to mix evenly into a smooth paste
27.
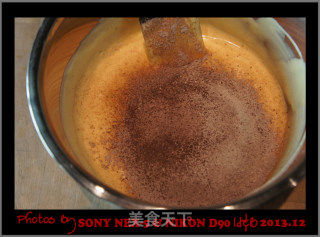
Low-flour cocoa powder first sift 1/2 the amount into the egg batter bowl
28.
Turn the pot gently and stir evenly with a spatula
29.
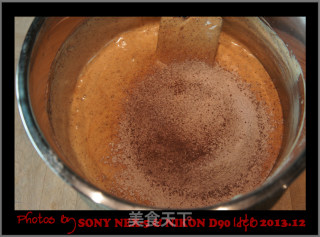
Sift the rest of the powder into the egg paste bowl
30.
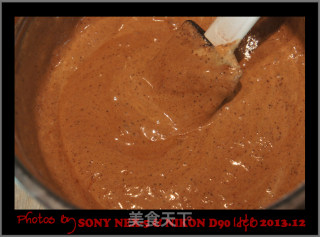
Continue to use a spatula to mix evenly into a cocoa batter
31.
Take a small amount of cocoa batter and put it in the butter liquid
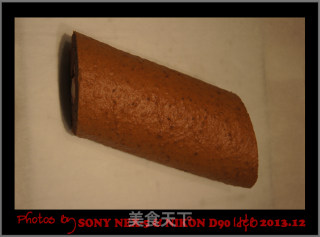
32.
Quickly mix the butter liquid and batter evenly
33.
After mixing well, pour the butter liquid back into the batter bowl
34.
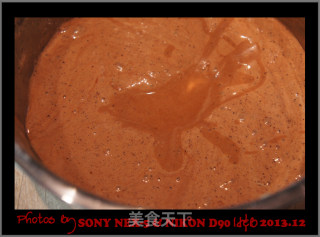
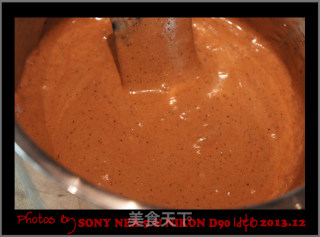
Use a spatula to mix the butter liquid and the cocoa batter together, and the French cocoa almond batter is ready
35.
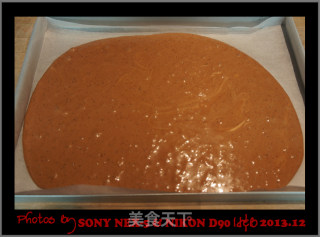
Pour the batter quickly into the baking dish
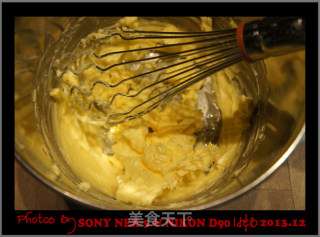
36.
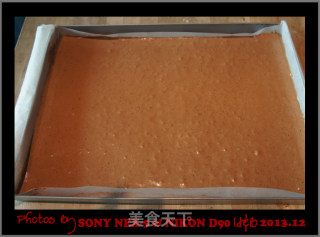
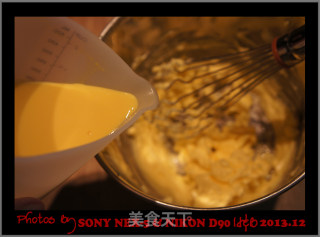
Scrape the surface of the flat batter with a scraper, then pick up the baking pan and shake it on the table a few times to shake out the big bubbles in the batter. The middle layer of the oven is 175 degrees for about 12 minutes.
37.
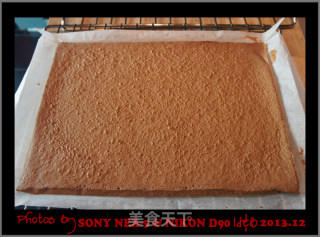
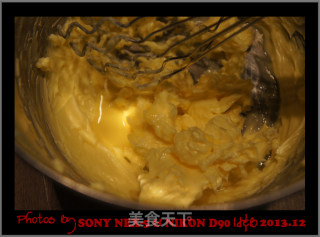
After the cake slices are baked, take them out quickly, move the cake slices to another grill, and tear off the cake paper around the cake slices to dissipate heat.
38.
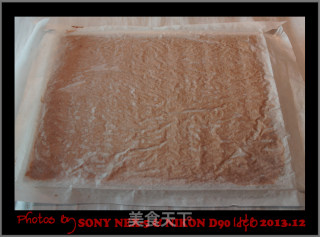
When the bottom of the cake slice is not hot to the touch, take a piece of cake paper to cover the cake slice and turn it over, and remove the cake paper at the bottom
39.
Let the cake slices cool for later use
40.
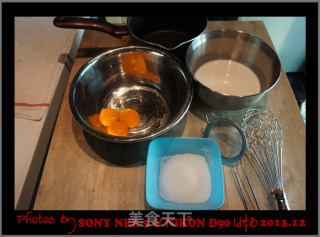
Prepare the ingredients for the English sauce, and prepare a clean small colander
41.
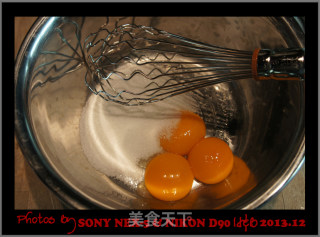
Put the egg yolks and caster sugar into a clean basin
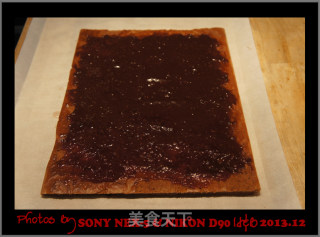
42.
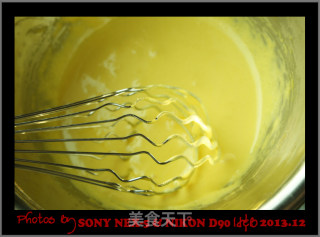
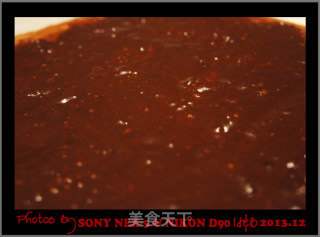
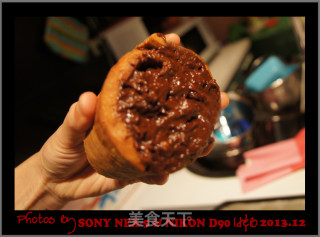
Use a whisk until the batter turns white and lighter
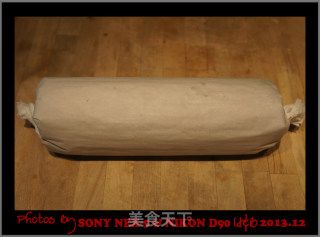
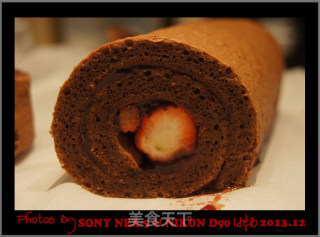
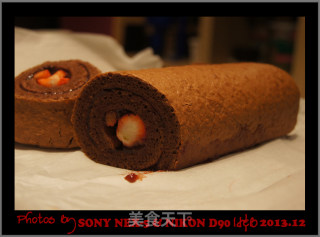
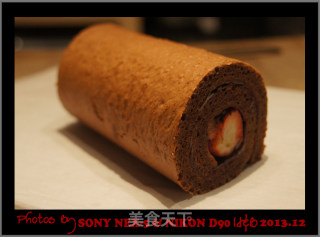
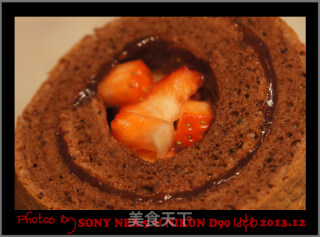
43.
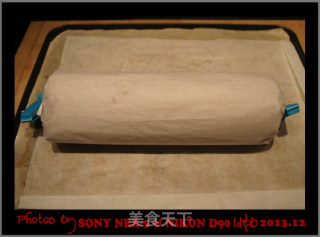
Pour the milk into a small bowl and cook until the milk is about to boil off the heat
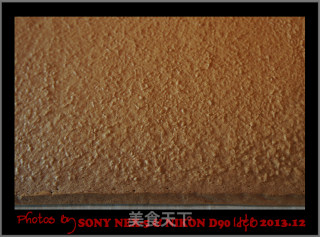
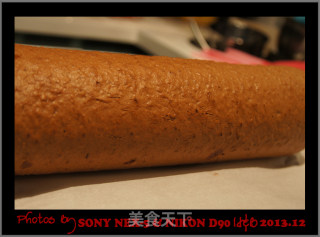
44.
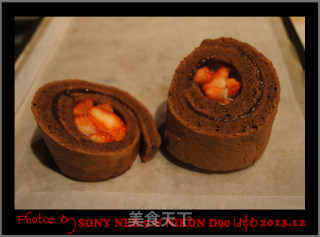
Do not let the milk cool, just pour it into the custard bowl as it is hot, and be careful to pour it in a small amount several times.
45.
Each time you pour a little bit, use a whisk to beat the milk and custard until they are fully integrated before pour into the next
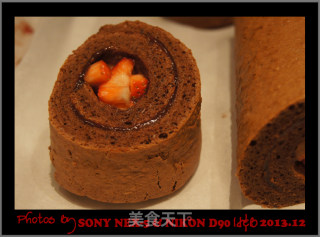
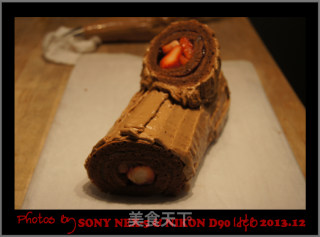
46.
The milk and custard are completely fused
47.
Add all the milk to the egg batter several times
48.
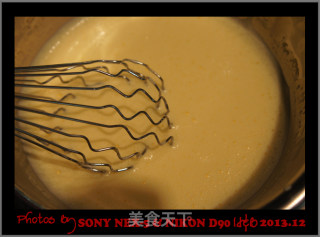
Pour the custard liquid into a small pot and set aside
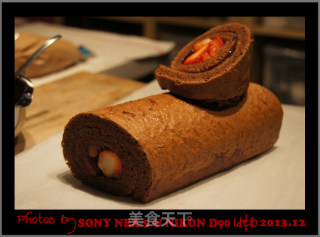
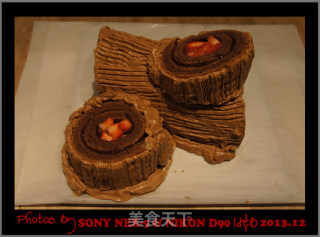
49.
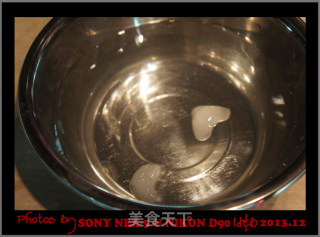
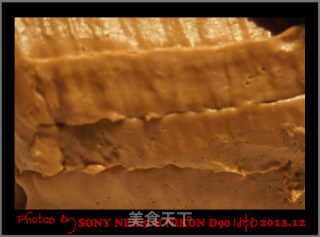
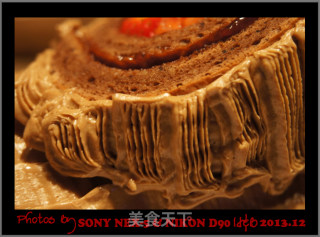
Prepare a basin of ice water for use
50.
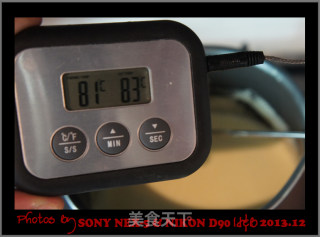
Put the custard liquid on fire and heat it up on a small fire, and heat it to a temperature of about 80 degrees to get off the fire
51.
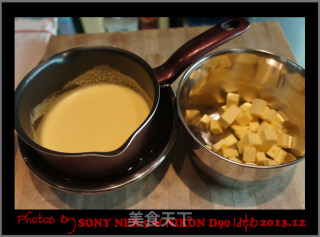
Immediately after leaving the fire, put the small pot into the ice water prepared in step 49, and cool it for later use
52.
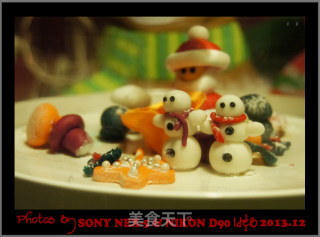
English sauce is ready
53.
Prepare the ingredients for the English sauce cream frosting first, you need to use the prepared English sauce and softened butter
54.
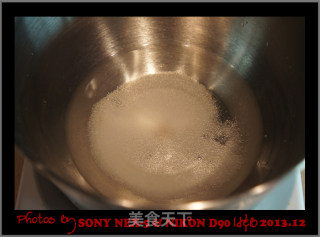
Prepare to make cherry rum syrup, put the caster sugar and water into a small bowl
55.
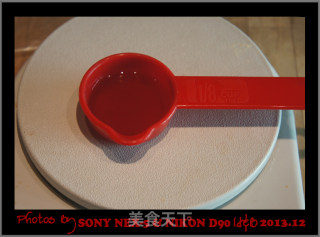
Weigh 30 grams of cherry wine in advance
56.
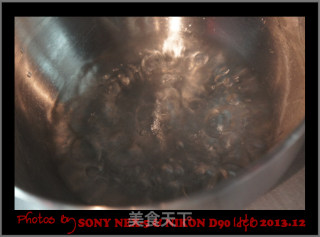
Put a small basin filled with sugar and water on the fire and boil on high heat. After it is boiled, let it boil for a while to get out of the fire.
57.
After the syrup cools, add the cherry wine
58.
Just stir well, the cherry rum syrup is ready, set aside
59.
Prepare the ingredients for the chocolate rum butter cream
60.
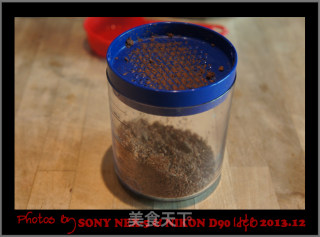
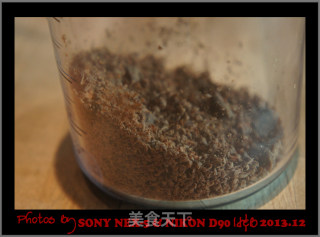
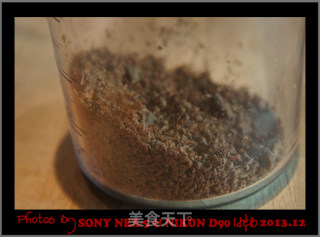
The chocolate is grinded into fine particles
61.
The planed ones are really broken. Like the chocolate I used, it’s okay if you don’t plan it. If it’s a big piece like Dove, you can plan it if you can plan it, or break it if you can’t plan it.
62.
This is the material for the outer layer of all the sandwiches, some are already done, some are still short of the last few steps
63.
Before finishing the last few steps, prepare the cake slices. After the cake slices cool down, turn the side to be coated with the filling up, and cut a narrow strip at the beginning of the cake roll (it will be compared after it is rolled). neat)
64.
Then cut a small narrow slice at the end of the cake slice obliquely (the oblique cut end will help the cake roll to be more compliant)
65.
At this time, start to make the rest of the filling, first confirm whether the British sauce is completely cooled
66.
Then filter it into a container
67.
The filtered sauce is very smooth
68.
Butter softened at room temperature
69.
Put the chopped chocolate chips in a small clean basin, and then heat them in water to melt
70.
Just melt into a chocolate paste like this, let cool and set aside
71.
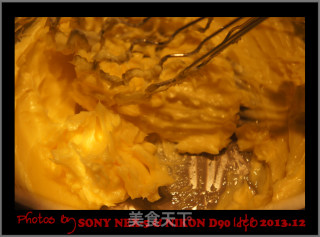
Beat the softened butter with a whisk
72.
The British sauce also needs to be added to the butter several times in small amounts
73.
Add a little bit each time, don’t be greedy, otherwise it will be troublesome to separate oil and water
74.
Beat the butter and sauce thoroughly until they are fully integrated before adding the next one
75.
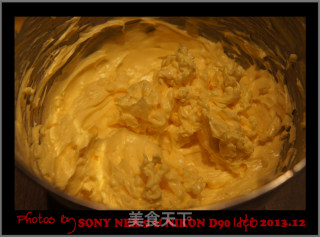
After all the sauces are added, the cream is ready, the butter in the basin should be in this state (the step of adding the sauce to beat the butter shows that I have been whipping with a manual whisk, although the electric one is not Tired is faster, but the sauce needs to be added in small amounts several times, and you should keep adding whipping and whipping. If you accidentally use an electric power, you will pass the butter)
76.
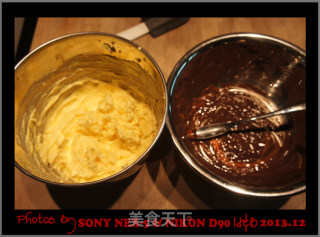
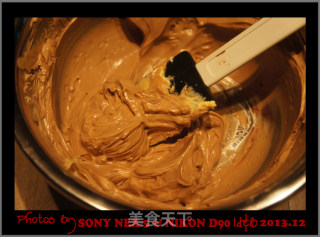
Next, start to make the chocolate rum butter cream, because there is less chocolate, make sure that it is not solidified before using it.
77.
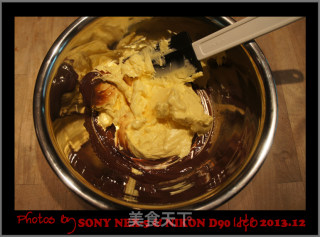
Put the buttercream in the chocolate basin
78.
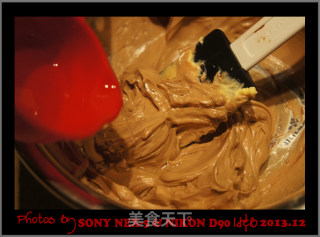
Use a spatula to mix the cream frosting and chocolate sauce together evenly
79.
Then add rum to the basin
80.
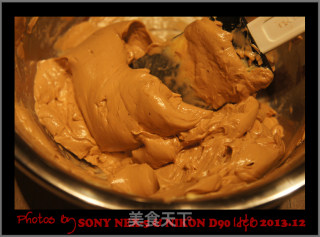
Pay special attention to this when stirring. Never separate water and oil. This step is not easy. If you are not confident, you can skip the rum. Adding rum will add more aroma, and I think the frame setting effect is better, and the chocolate rum butter cream is ready.
81.
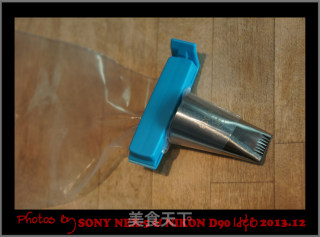
Prepare a piping bag and such a flower mouth, one side is flat and the other side is sharp teeth, put the cream into the piping bag for later use
82.
Begin to prepare the cake assembly. First coat the surface of the cake slice with cherry rum syrup. The surface looks moist.
83.
Use a spatula to smooth out the raspberry and chocolate sauce poured on the surface of the cake slice. Make sure to empty the sides of the cake slice. Don’t wipe it.
84.
The raspberry chocolate sauce is very thick and thick, so that the filling will have a certain thickness
85.
Spread strawberries at the beginning of the cake slice, then roll it into a cake roll, keep it in the refrigerator for 1 hour
86.
Take out the refrigerated cake roll, touch it and feel hard, you can open the cake paper
87.
Then the cake roll is ready
88.
The cake roll should be cut into three parts, first cut a slightly larger piece, pay attention to see if the cut surface is beautiful, wait until the cut surface is not decorated and use it in the same year.
89.
This is the larger piece
90.
Cut a smaller piece
91.
At this time the cake roll is cut into this shape
92.
The cross section of the other side should also be beautiful
93.
The smaller piece and the larger piece
94.
These two cross-sections are also exposed directly, and you can use crushed strawberries to decorate the lower part of the sandwich.
95.
Melt a little more chocolate
96.
Spread the chocolate sauce evenly on the bottom of the small cake roll
97.
Look at the location and place the smallest piece on top of the largest piece to form a root shape. The small piece of cake roll is like the one in my picture. If the side is tilted, you can cut it diagonally with a knife and it will be obedient.
98.
Use the flat side of the piping mouth to squeeze the cream frosting side by side on the largest cake roll
99.
After squeezing the largest one, use the side of the tines to squeeze the cream on the smallest one.
100.
After the smallest piece is squeezed, use a fork to mark the surface of the larger piece
101.
Put the other piece in the right place, and then use the tines to mount the cream like the smaller piece
102.
Finally, sift the cocoa powder on the surface of the cake, and the cake part is ready
103.
Finally, sift the cocoa powder on the surface of the cake, and the cake part is ready
104.
Make the fondant decorations in advance, and don’t let them dry.
105.
Decorate the cake with fondant and strawberries, then sift the powdered sugar in the appropriate position to decorate, the Christmas tree and the cake are complete~~~~~~
106.
Refrigerate before eating, and then cut the noodles to make it look beautiful and taste better. Fondant cannot be stored in the refrigerator. After you enjoy the fondant, you can eat or continue to store the cake. It will last a long time.
Tips:
The finished picture is really hard to add here, and I can’t upload one after sending 20 pictures, so I'm speechless. . . The finished picture will be sent in the form of a diary.


