")
)
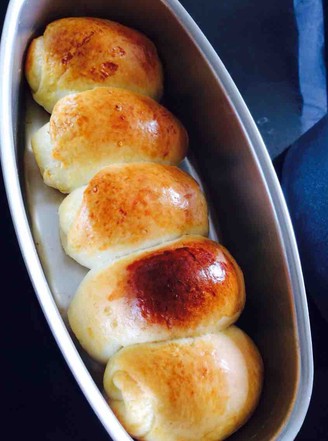
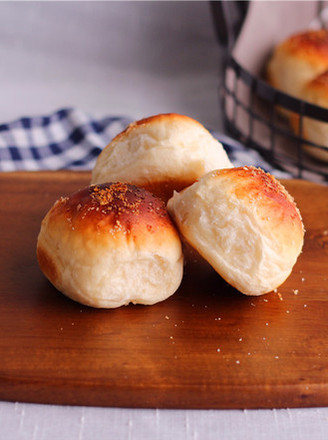
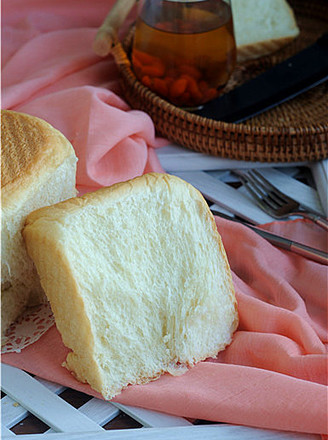
A Bread Recipe that Was Once Popular on The Internet and Worth Thousands of Silver: Old-fashioned Bread (bread Machine Version)
by Espresso light mood
Favorite
Difficulty
Normal
Time
2h
Serving
2
There was a time when the old-fashioned bread recipe of "love and freedom" was on the Internet for a long time. Almost everyone who played baking was giving free homework. The recipe was really good and the bread made was delicious. It is said that the formula is worth thousands of silver, and it is really lucky for us to use it in vain. Thank you for your love and freedom.
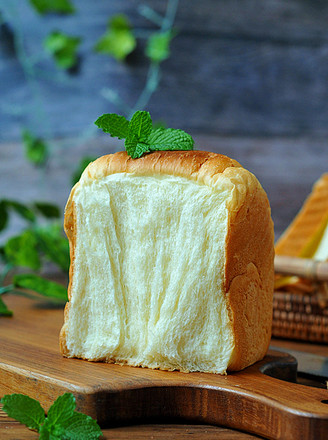
The oven version of the [old-fashioned bread] made more than N, never failed, what does this show, the recipe is good. This time I switched to a bread machine, and it succeeded only once. I am very satisfied with the taste and taste. The original formula is a mixture of high-gluten flour and low-gluten flour. It is made of small bags. This time I used a bread machine to make toast because the low-gluten flour would affect the effect, so I changed it to high-gluten flour. The finished product has good effect. , Thank you once again for the recipe for love and freedom.
The brand, performance, and power of each bread machine are different. You still have to make some adjustments based on the characteristics of your own machine. You don’t have to follow my approach, unless your machine is the same as mine. You are also welcome to make bread machine toast. We can communicate with me more, we learn from each other's strengths, and make bread machine toasts that are both internal and external. "
 recipe")
)
 recipe")
)
 recipe")
)
 recipe")
)
 recipe")
)
 recipe")
)
 recipe")
)
 recipe")
)
 recipe")
)
 recipe")
)
 recipe")
)
 recipe")
)
 recipe")
)
 recipe")
)
 recipe")
)
 recipe")
)
 recipe")
)