Apple Pie
1.
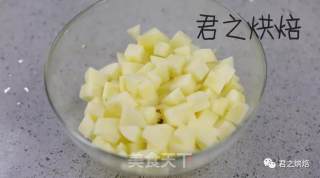
First, peel and core the apple, then cut into small cubes.
2.
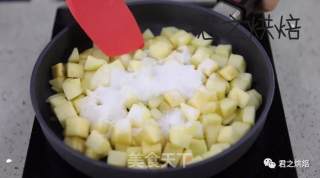
Pour diced apples, sugar, lemon juice, and salt into a saucepan, heat over medium heat, and stir fry.
3.
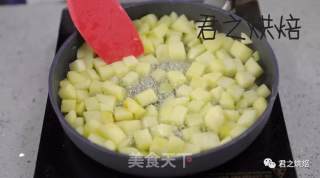
As it heats up, all the sugar will melt and the apple will start to ooze a lot of juice. At this time, turn the heat to low, and fry the diced apples gently until the water is boiled dry, about 15 minutes.
4.
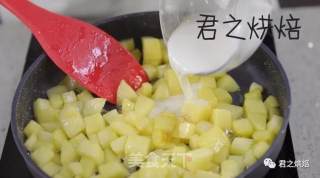
After 15 minutes, the water has almost boiled dry (if there is more water, you can turn on high heat to collect the juice). Corn starch and water are evenly mixed to form starch water. Pour the starch water into the pot and continue to stir fry.
5.
When the starch water is heated, the apple filling becomes very sticky and thick. You can turn off the fire at this time. Use the fried apple filling after cooling.
6.
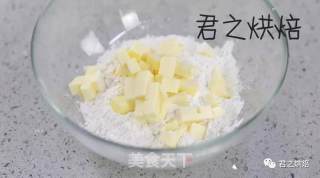
Then make the pie crust. Cut the butter into small cubes (no need to soften) and mix with low-gluten flour.
7.
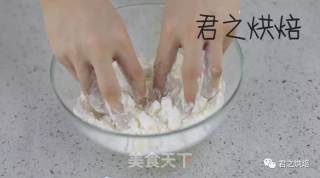
Grasp the flour continuously with your hands to make the flour and butter mix well.
8.
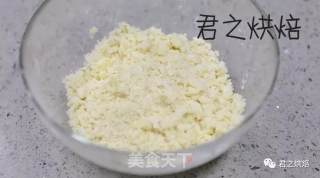
After mixing, the flour will show the state of coarse corn flour.
9.
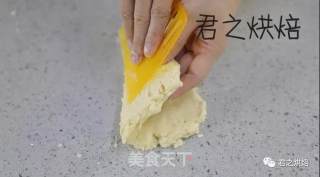
Add ice milk (just take it out of the refrigerator, you can replace it with ice water if there is no milk). Knead roughly into a dough.
10.
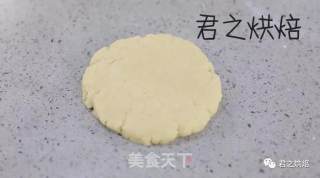
Place the dough on the countertop or chopping board, flatten it, fold it in half, and continue to flatten it. Repeat several times until the dough becomes smooth (just stop when the dough becomes smooth, don't roll the dough too much).
11.
Cover the kneaded dough with plastic wrap and let it stand for 1 hour. If the room temperature is high, put it in the refrigerator and let it stand still.
12.
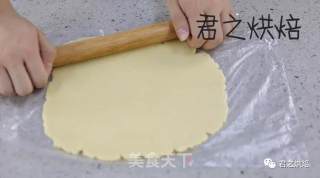
Put a piece of oil paper or plastic wrap on the bottom of the dough after standing still (it is convenient to pick up the rolled dough). Roll out the dough into a large thin square dough sheet.
13.
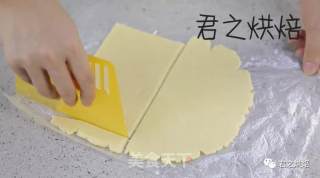
Cut out a square piece of about 11cm*18cm.
14.
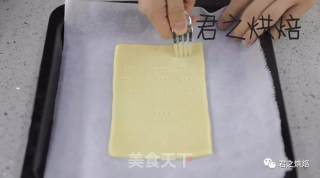
Place the cut dough pieces on a baking sheet lined with greased paper, and pierce some small holes evenly.
15.
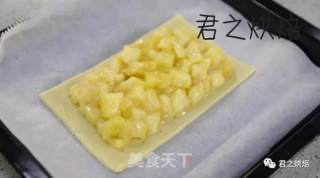
Spread the apple filling. Leave about 1cm at the edge. The apple filling should be spread higher so that the baked pie will look full.
16.
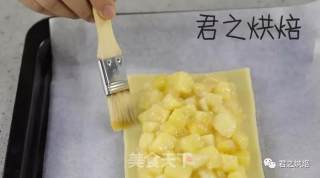
Apply a thin layer of whole egg liquid on the edges as a binder (milk is also possible).
17.
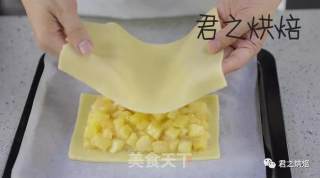
Roll the rest of the pie dough into a larger square dough, enough to cover the entire pie. Cover it on the pie.
18.
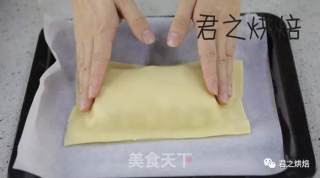
Use your hands to make the newly covered pie crust evenly fit the whole pie.
19.
Cut off the excess pie crust.
20.
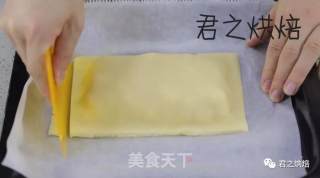
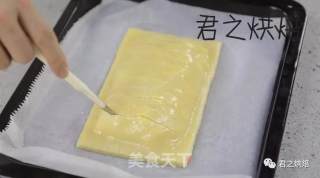
Finally, brush a layer of whole egg liquid on the surface of the pie. Then use a sharp blade to cut even horizontal stripes on the pie. The blade should cut through the pie. After resting for 20 minutes, you can preheat the oven. Preheat the oven to 210°C for the upper and lower fires, put the baking pan in the middle of the oven, and bake for about 25 minutes (adjust according to the actual situation of the oven) until the surface is beautifully golden and ready to be baked.
21.
Finished product.


Tips:
1. Adding lemon juice to the apple filling can make the color of the apple not darker and increase the taste. Use fresh lemon squeezed juice or bottled concentrated lemon juice. There is no or you can leave it alone, but the color of apple filling tends to turn brown.
2. The surface brush liquid uses whole egg liquid, you can also use milk instead. The difference is that the whole egg liquid will give the surface of the baked pie a golden yellow luster, while brushing with milk will give it a matte effect.
3. The pie crust dough should be rolled out a little thinly to roll out the top and bottom two pieces (too thick will not taste good).
4. The lines drawn with a blade on the surface of the pie crust are not only for decoration, but also for the heat in the filling to radiate during baking. So the blade has to cut through the dough and cut to the pie filling. Use a sharp thin blade to make a beautiful cut. The bread cutter I used, or an old-fashioned razor blade if I don’t have it.
5. No sugar is added to the pie crust, so it is not sweet. This is more delicious and not greasy when paired with sweet pie fillings.
6. If you want a more traditional flavor, you can add a little cinnamon powder to the pie filling (just add it when frying the filling).






![Seasonal Vegetable Patties [baby Food Supplement] recipe](https://img.simplechinesefood.com/02/024b910033009872aea33017c755a377.jpg)
