Cantonese-style Bean Paste Egg Yolk Mooncakes (super Detailed Steps, Suitable for Novices)
1.
Public number: Goddess baking (sharing dry goods and good things from time to time)
2.
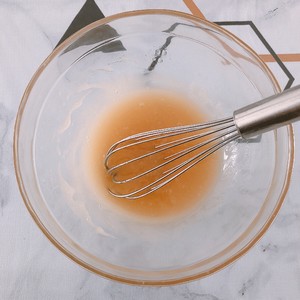
Invert syrup ➕ peanut oil ➕ water, stir with egg extract until it is completely emulsified, without any requirement.
3.
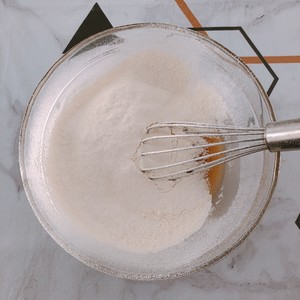
Sift and add all-purpose flour.
4.
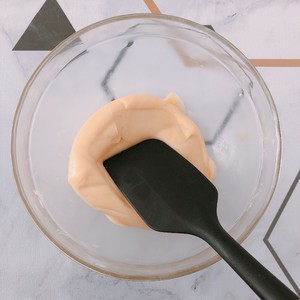
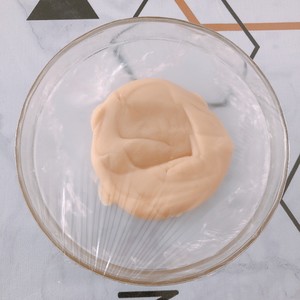
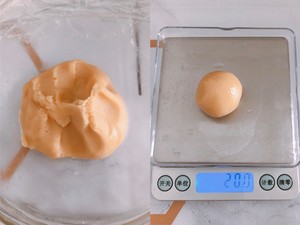
Stir it with a spatula until there is no dry powder, and the hardness is moderate, as shown in the picture. The mooncake skin is rusty when pinched, and it is gluten-free. Wearing disposable sterile gloves can also be kneaded into a ball, no need to knead. (The Wudeli medium-gluten flour I used has a protein content of 12.2. If your flour has low gluten and poor water absorption and is in a very wet state, you can add 10-20 grams of flour. If it is very dry, add 10-20 grams of invert syrup)
5.
Seal the fresh-keeping film and relax at room temperature for 1-3 hours.
6.
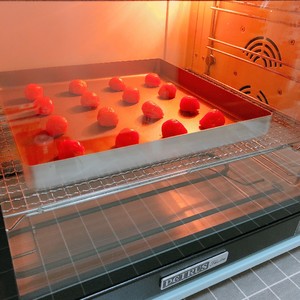
Half an hour before the dough is relaxed, prepare the filling. The salted egg yolk is sprayed with high-quality white wine to sterilize and remove the smell. Put it in the oven without preheating. Bake at 160 degrees for 5 minutes. Don't bake for too long, don't bake a lot of oil, the finished product will be dry, bake it for later use.
7.
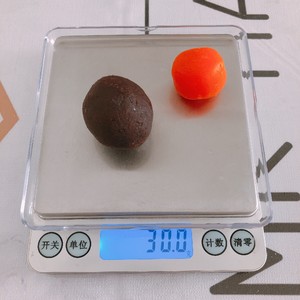
⚠️Operate with disposable sterile gloves throughout the process! Next, let's divide the red bean paste. Because each egg yolk is different in size, the egg yolk and bean paste weigh 30 grams. (It is recommended to choose salted egg yolks within 10g for 50g small mooncakes. A good package is not easy to leak. Egg yolks over 15g can be cut in half.)
8.
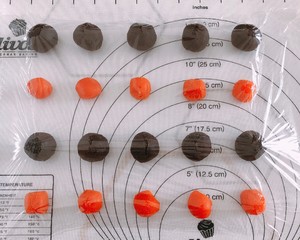
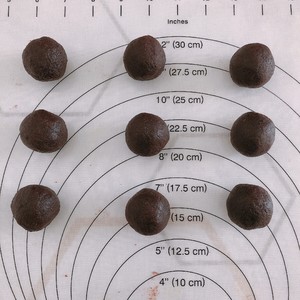
The red bean paste balls into balls, and the corresponding egg yolks are placed in order. Seal with plastic wrap.
9.
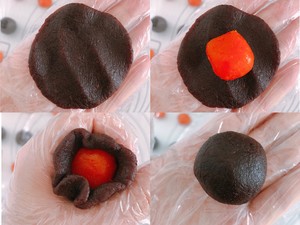
Take a bean paste ball in your palm✋, press it flat, wrap the salted egg yolk, hold it with one hand, and slowly close the mouth of the other hand upwards, wrap it tightly and evenly without leaving air, and close the mouth tightly. Rub your hands round and evenly.
10.
Wrap everything in plastic wrap and seal for later use.
11.
The mooncake skins are also loose, so let's divide the mooncake skins into 20 grams each, and round them into a total of 20.
12.
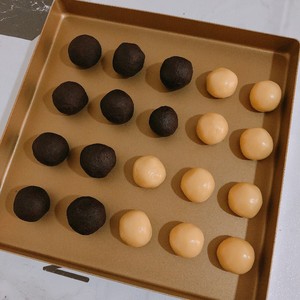
The filling and crust are ready, and the plastic wrap is sealed for later use.
13.
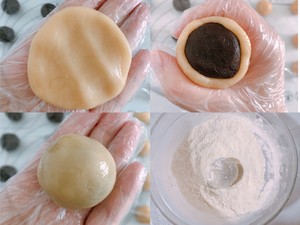
Take a mooncake crust in the palm of your hand✋ flatten it, thick in the middle and thin around it, like a bun crust (⚠️No big jagged edges on the edge of the cake crust means it’s in a good state. The big jagged teeth indicate that it’s too dry and cracks easily when baking. Add 10-20 grams of inverted syrup. Remedy, it's okay with small jagged)
♨️Put the packed filling, hold the filling with four fingers of your left hand, press the filling with your thumb lightly, and slowly turn the tiger's mouth with the right hand to gather upwards. The skin does not move and the filling does not move. Pack tightly, do not leave air, and the finished product will crack Open and close the mouth to fit, rub both hands evenly.

14.
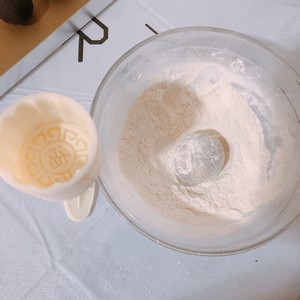
Put the wrapped mooncake into a flour bowl and roll it around to make the surface of the mooncake sticky with flour, and then rub off the excess floating powder, otherwise the white spots on the surface will affect the appearance. Sprinkle some flour in the mold and shake it off to prevent sticking.
15.
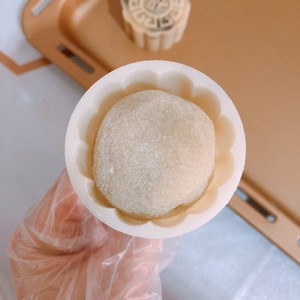
Gently roll the mooncake into an oval shape and fit it into the mold to prevent the mold lace from scratching the mooncake skin.
16.
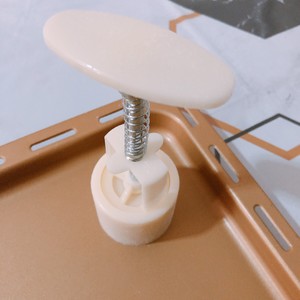
Arrange the moon cakes on the baking tray, press the moon cakes directly onto the baking tray and stop moving. (Place the bakeware right in front of the body, hold the mold firmly with the left hand, press down vertically with the right hand for 5 seconds to keep it still, let the mold pop up and release the mold)
⚠️Pay attention to vertical and even force to prevent the height of the moon cakes from being different, and do not let the cake crust squeeze out from under the mold. ⚠️Attention, don't be too heavy or too light. Too heavy makes the egg yolk in the filling leak out, and the pattern is not clear when it is too light.
17.
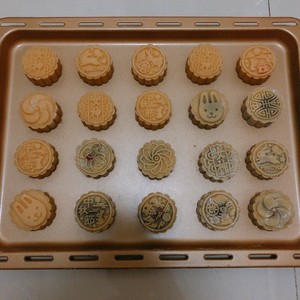
All packages are completed. 🐻This process is as fast as possible, if it is too slow and waiting for too long, the finished product is also prone to problems. ⚠️Slowly make a mooncake cover and seal it with plastic wrap to prevent it from drying and cracking.
18.
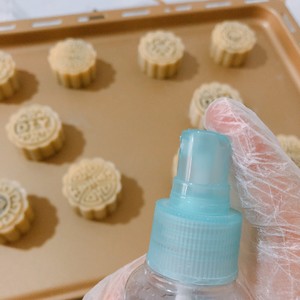
Before entering the oven, spray 4-5 water mist evenly with a watering can 10cm above the moon cake, without too much. Let the water mist fall naturally on the moon cakes. It must be a fine mist, not a big drop of water.
19.
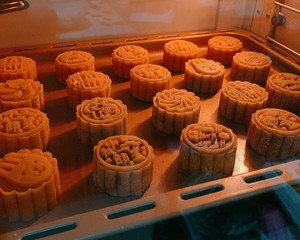
Then put it in the preheated oven, Bacui's new product k55, bake at 200°C for 10 minutes to set the shape.
20.
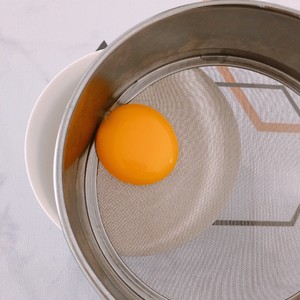
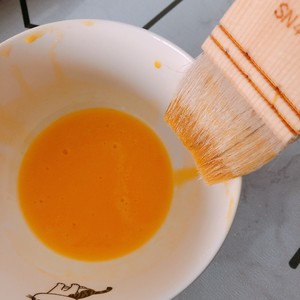
In the meantime, prepare an egg yolk plus about 5 grams of egg white, and sift it again.
21.
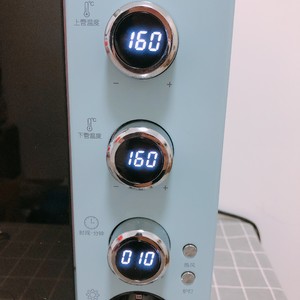
After the mooncake is shaped, take it out, turn the oven down to 160 degrees and continue heating.
22.
Dry the mooncakes until they are not hot before brushing with egg wash. The surface temperature is about 40-70 degrees.
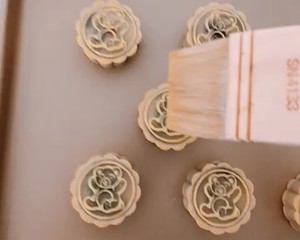
⚠️Wool brush must be used, not silicone brush. After the brush is dipped in the egg liquid, the front and back sides are scraped clean on the sides of the bowl, and the egg liquid cannot drip, which is basically non-existent.
23.
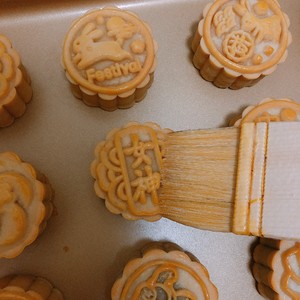
⚠️Swipe back and forth on the surface of the mooncake, swipe, don’t push the mooncake pattern too hard. Only brush the protruding patterns, don't brush on the flat surface (girls think of it as a makeup brush, this process is to apply highlights, in order to show the three-dimensional features of the moon cake). ⚠️I brushed it about 3-5 times, only one dip each time, and a small amount of brushing several times. Don't be too bold, this is a fine job. If it is accidentally too much, just dip the paper and suck it out.
24.
It looks like this after brushing, a thin layer.
25.
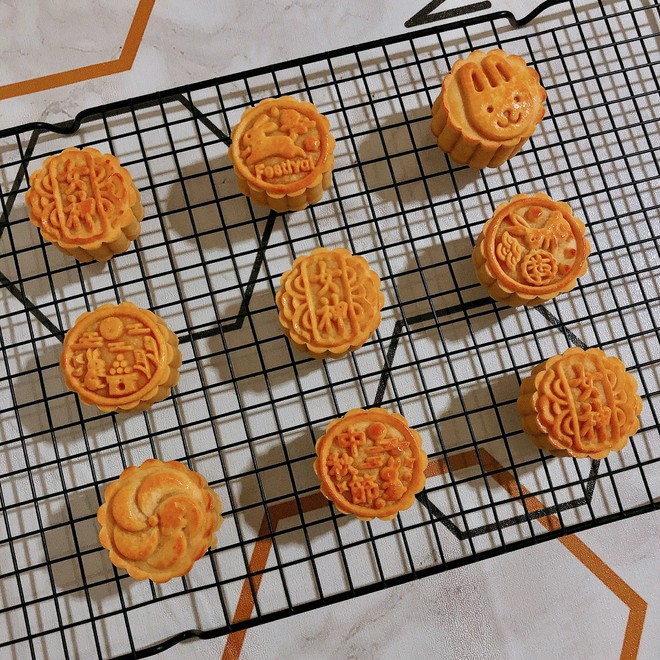
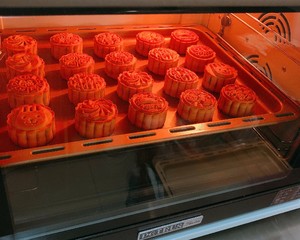
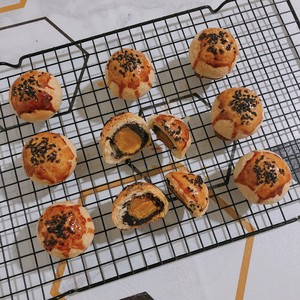
Put it in the preheated oven and bake it for 5 minutes at 160°C. The color is satisfactory and it is ready to go out. If it is not cooked or painted, put it on the upper layer and add another 5 points. Turn off the fire if you are satisfied with the coloring. You don’t need to bake for too long, the mooncake crust is very cooked. ⚠️Whether it is painted or not, how fast it is cooked, etc. are related to the actual temperature in the oven, whether the heating is even, etc., pay attention to adjust according to the temper of your own oven.
26.
The mooncake is soft right out of the oven, do not touch it, it will harden after it has cooled completely before touching it. You must wear disposable sterile gloves 🧤, otherwise it will easily deteriorate.
27.
After cooling completely, seal it, store at room temperature and wait for oil return. Do not refrigerate, which will affect oil return. After 1-3 days of oil return, the color of the skin is better and more oily, and the crust will become soft, waxy and delicious, with the best taste.
28.
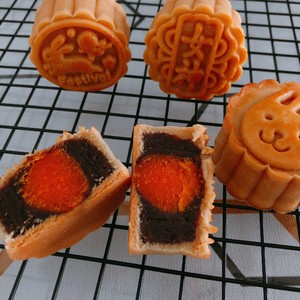
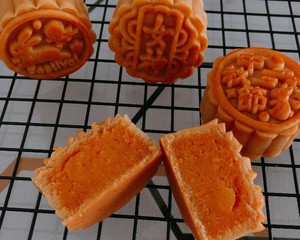
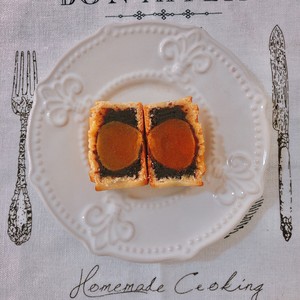
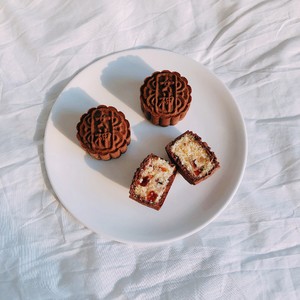
I won't wait for the oil to return, and cut one after it has cooled down. Bean paste and egg yolk filling.
29.
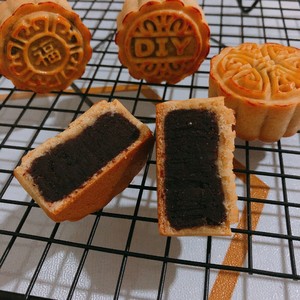
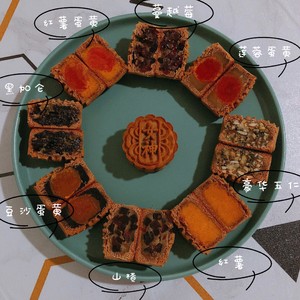
And red bean paste
30.
I also made sweet potato filling🍠 Homemade universal sweet potato filling🔗https://www.xiachufang.com/recipe/105888986/
31.
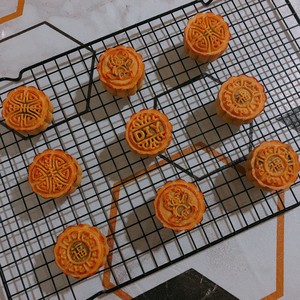
Perfect~
32.
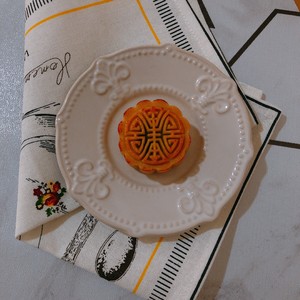
The second day of oil return~
33.
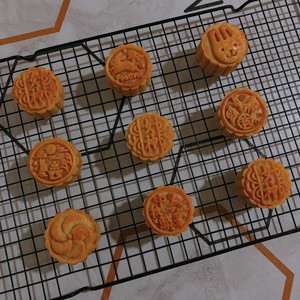
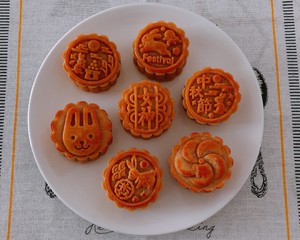
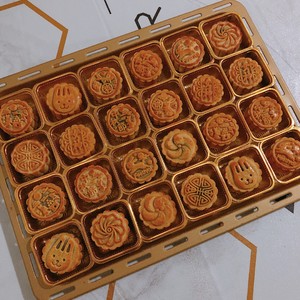
Afternoon tea arrangement~
34.
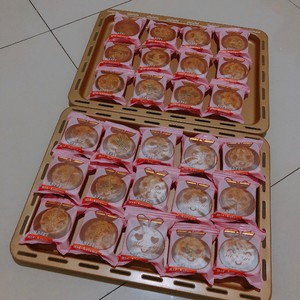
If you need to pack it for private house or gift, wait for the mooncake to cool completely before packing. There will be moisture when the packaging is heated, which will accelerate the moldy and deterioration of mooncakes. Keep sealed for 7-15 days. Put in the bottom tray ~ After baking the mooncakes, you must wear disposable gloves🧤
35.
Put in the deoxidizer and seal with the sealing machine
36.
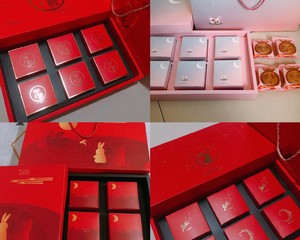
The packaging is simple and festive~
37.
😍Brown sugar coconut cranberry mooncakes (full-bodied coconut fragrance)
🔗https://www.xiachufang.com/recipe/105936137/
38.
😍Dust-free egg yolk pastry🍭 (the steps are super detailed, suitable for novices)
🔗https://www.xiachufang.com/recipe/105931960/
39.
😍Luxury five-ren mooncake fillings🌰 (a simple version for beginners, a variety of filling combinations are necessary for private rooms)
🔗https://www.xiachufang.com/recipe/105916081/
40.
You can add V to the baking group, take pictures for consultation, and note the kitchen, and the circle of friends will block me from Do Not Disturb.


Tips:
🌹About the shelf life of moon cakes: Moon cakes are high-sugar and high-oil foods. The best storage conditions are to put a deoxidizer at room temperature and store it at room temperature. It can be stored for 7-15 days and eat as soon as possible. Refrigeration will prolong the storage time, but the crust is easy to age and taste different.
In addition, the shelf life is related to the production sanitary conditions and the oil content of the filling.
⚠️Analysis and solutions to common problems of moon cakes:
1. Waist reduction: not cooked, the middle circle is not fully cooked, the setting temperature is too low, and the oven is not heated uniformly (solution: extend the baking time, increase the temperature during setting, if it is not an air furnace, reduce the density of moon cakes)
2. Relief: The skin is too soft, the temperature in the oven is too low, and the baking time is too long (solution: increase the dry powder or reduce the inverted syrup for the mooncake skin, increase the temperature in the oven, and reduce the baking time)
3. Separation of the filling and peeling: the filling is too dry, and the filling is inconsistent in softness and hardness (solution: add some liquid to the filling and mix it evenly to keep it soft. It is best for novices to buy the filling and do not fry it yourself)
4. Cracking: The crust is too dry and hard, the temperature in the oven is too high, too much flour, and the flour is too gluten. There is no water spray before entering the oven. (Solution: reduce the flour or increase the inverted syrup on the mooncake crust, reduce the temperature in the oven, Change to all-purpose flour and spray water before entering the oven)
5. Moon cakes deteriorate quickly: Hygiene is unqualified during production (solution: use disposable gloves throughout the process to keep the filling and skin hygienic. After baking, you must wear disposable gloves to touch the moon cakes, and then seal them after they are completely cooled, otherwise there will be moisture Accelerated deterioration)
6. The moon cake pattern is not clear and three-dimensional: the pressure of the mold is too light, the egg liquid is too much, and the moon cake skin is too soft.
(Solution: The pressure of the mold is a little heavier, press several times or hold it down for 3 seconds, and use a wool brush to brush a few times. Increase the flour or reduce the invert syrup on the mooncake skin)
7. Sticky hands after returning to the oil: not cooked (solution: re-enter the oven and bake for about 5 minutes)

