Cantonese-style Moon Cakes (3 Flavors)
1.
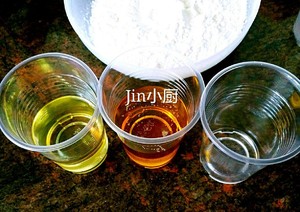
Weigh the peanut oil, invert syrup, flour, and soap first.
2.
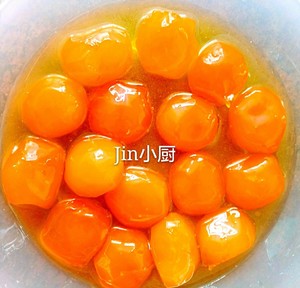
Soak the egg yolk with a proper amount of salad oil and a teaspoon of white wine for half an hour, then take it to the oven and bake it at 180 degrees for 5 minutes to remove its fishy. (This step can be prepared while the dough is relaxing.)
3.
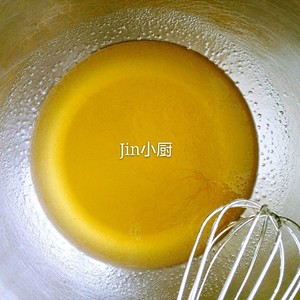
Pour peanut oil, soap and invert syrup in a small clean bowl and mix well with a whisk, and then mix until no particles are completely integrated.
4.
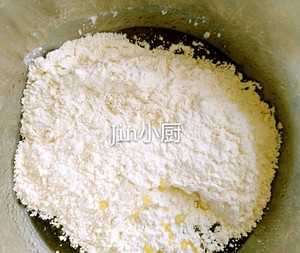
Add flour and stir evenly with a spatula.
5.
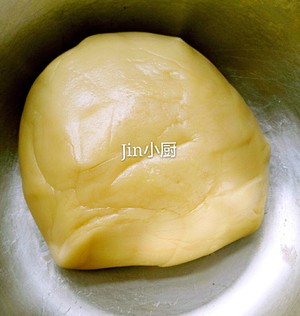
Always stir until a smooth and delicate dough. (Picture) Cover with plastic wrap and relax at room temperature for more than 3 hours. (I did it at 7 o'clock in the morning and covered it with plastic wrap, and I did it at 12 o'clock noon)
6.
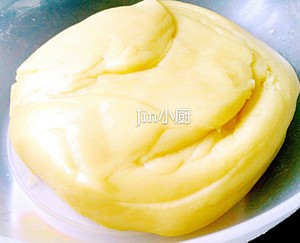
The loose mooncake dough is very smooth, very beautiful and not sticky.
7.
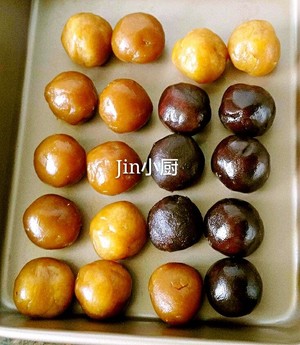
When the dough is loose, I start to divide the fillings. My egg yolk is 12 grams, and the fillings I divided are 38 grams each, 12 ten 38 = 50 grams! The mooncake crust is divided into 25 grams (generally the ratio of the crust to the filling is 3:7, in fact, 4:6 is also OK, it depends on what you like). Divide the filling and knead it into rounds. You don’t have to be so round here. Row.
8.
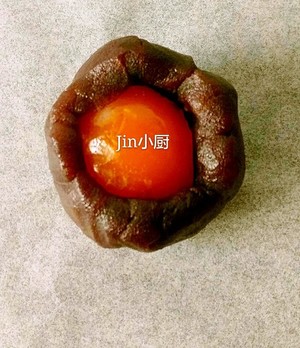
Flatten the divided fillings, wrap the egg yolk (pictured), and close the mouth, just like we usually make dumplings.
9.
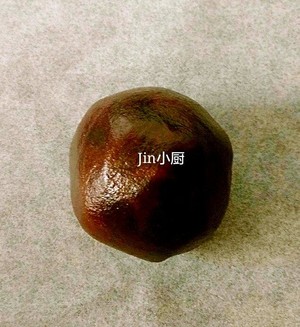
Gently roll it around with your hands, and it will become a round, beautiful and smooth mooncake filling.
10.
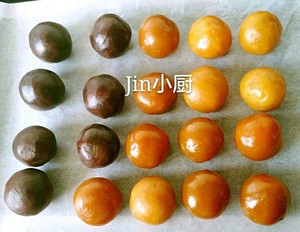
Wrap all the fillings in the egg yolk. (If you like to eat red bean paste, you don’t need to wrap the egg yolk for the red bean paste. Just follow the ratio of the skin to the filling to be 3:7 or 4:6. People in our family prefer to eat egg yolk, so I also wrapped the red bean paste with egg yolk, it was really good, you should try it too 😊)
11.
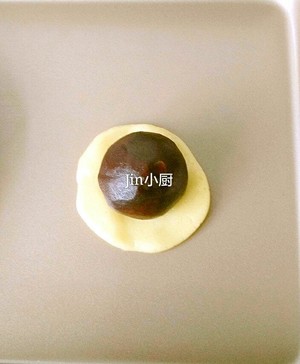
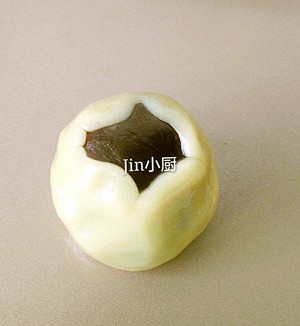
First make the divided pie crust into a small ball, then squeeze it and put on the mooncake filling. (Pictured)
12.
Push up gently with your hands until the filling is gathered.
13.
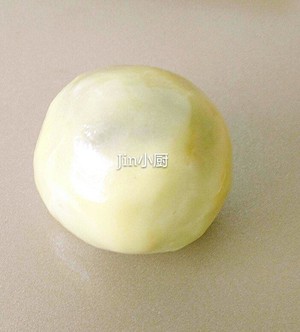
Use your hands to make a circle around the periphery, and the smooth and delicate mooncake filling is ready.
14.
Sprinkle a little dry powder into the mold first.
15.
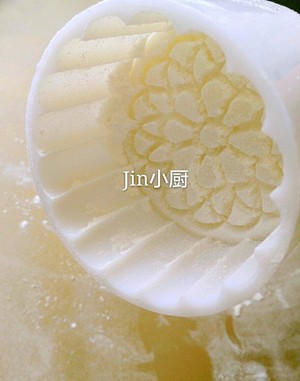
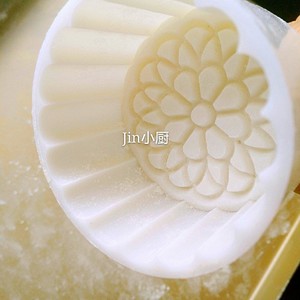
Shake it with your hand, knock the mold down to get rid of the excess dry powder. Now you can see that the mold is very clean and dry. (Pictured)
16.
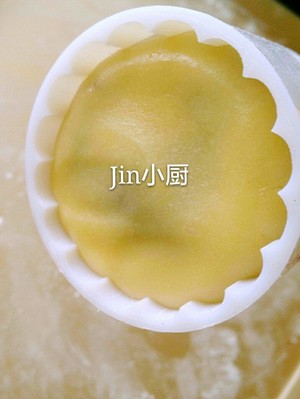
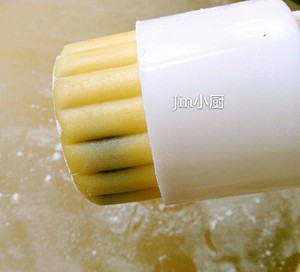
Put the mooncake fillings in, place the mooncake mold on a clean sticky board with the mouth down. Sprinkle a thin layer of dry powder on the sticky board and push it down gently. (It can only be a little bit of dry powder, not too much.)
17.
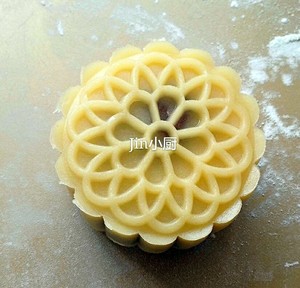
When I get to this place, I have to talk in more detail. When the mooncake is unmolded, hold the upper end of the mooncake mouth gently with your hand. You need to unmold little by little. You can't pull it out with force. The shape of the mooncake is easy. Deformed.
18.
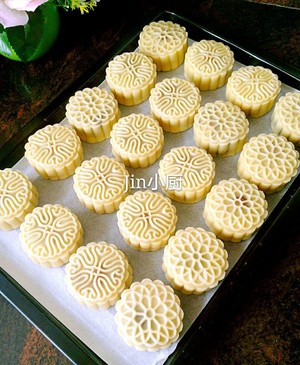
The shape of the mooncake is perfect when it is slowly demoulded.
19.
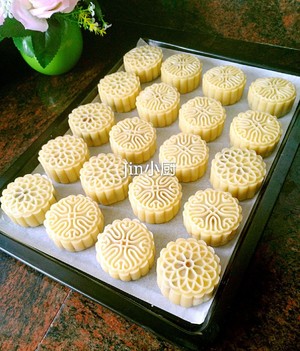
Press all the moon cakes and put them on the pre-padded high-temperature oil paper, leaving a certain distance between each moon cake. Then put it in the middle of the preheated oven at 195 degrees for 6 minutes to set.
20.
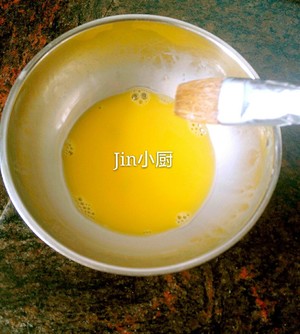
At this time, you can prepare egg yolk water, one egg yolk plus 10 grams of water, when brushing the egg liquid, the brush must scrape off the excess egg liquid on the edge of the bowl. (As shown in the picture) The brush for egg wash must be a fine-bristled brush.
21.
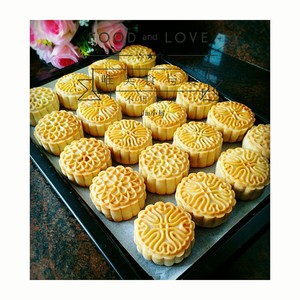
This is what it looks like when it comes out of the oven for 6 minutes. Use a brush to evenly brush the egg liquid on it, and then send it to the middle of the oven at 180 degrees for 15 minutes to bake.
22.
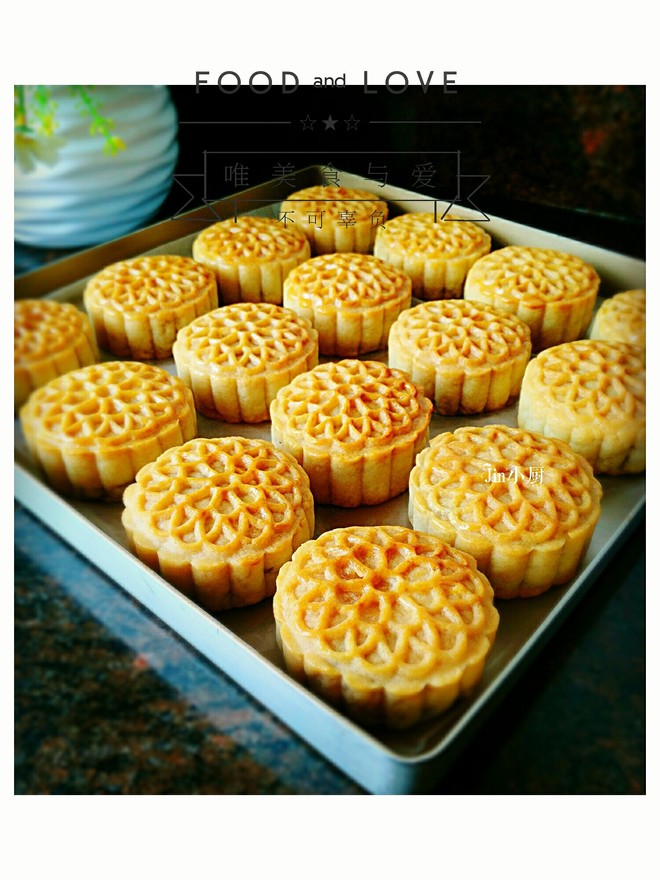
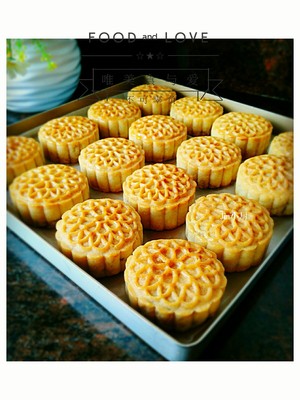
This is how Meimei’s mooncakes were born. They must be completely cooled before they can be put in a sealed box to return the oil. They can be eaten within 2-3 days.
23.
As long as you follow the recipe, you will be successful!
Tips:
1. Preheat the oven 5 minutes in advance.
2. I bought my invert syrup and fillings, egg yolks and fillings.
3. The temperature of each oven will be different. During the baking process, you should observe the situation of the moon cakes at any time. If you find that the coloring is satisfactory, cover it with tin foil.
5. I don’t specialize in making mooncakes, I just share the process of how I can make mooncakes and make them for my children, but it’s also self-willed to make them by myself. As long as you buy the ingredients, you can pack them as you like. You can match as you like, as family members like it!

