Cantonese-style Moon Cakes
by Zero Zero Baking
Favorite
Difficulty
Normal
Time
30m
Serving
2
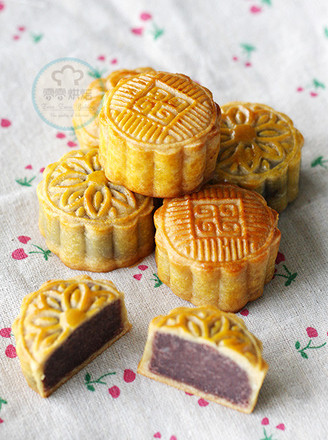
Moon cakes are traditional Chinese desserts. It is a custom to eat moon cakes during the Mid-Autumn Festival, so it is also called Moon Cake Festival. Moon cakes are round and round, which symbolizes reunion and harmony.
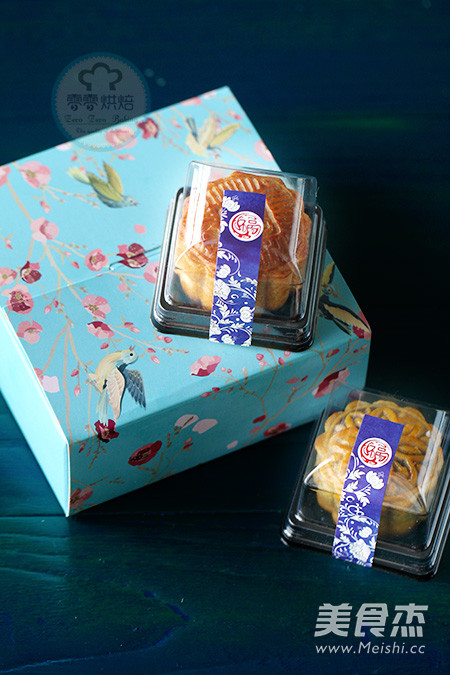
Mooncake Festival is coming soon. Mooncakes are ready to be made. To be honest, I didn’t like to eat mooncakes when I was a kid. My family didn’t seem to like them very much. Every time before the Mid-Autumn Festival, when relatives and friends gave mooncakes, we would give them to grandma. Not making some mooncakes for children during the holidays is really afraid that he will play down this important holiday. In addition to eating at home, the prepared mooncakes are also given to relatives and friends to taste. After all, making them by yourself is not ordinary.
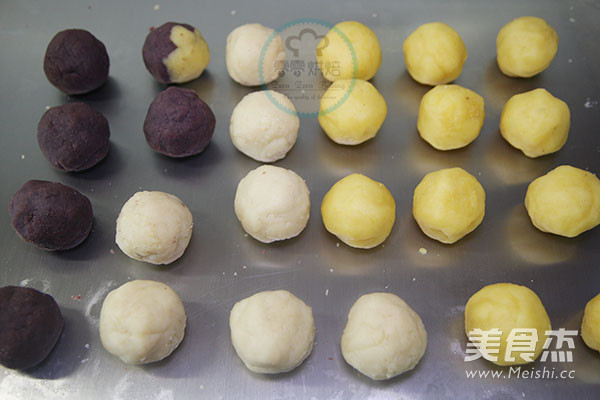
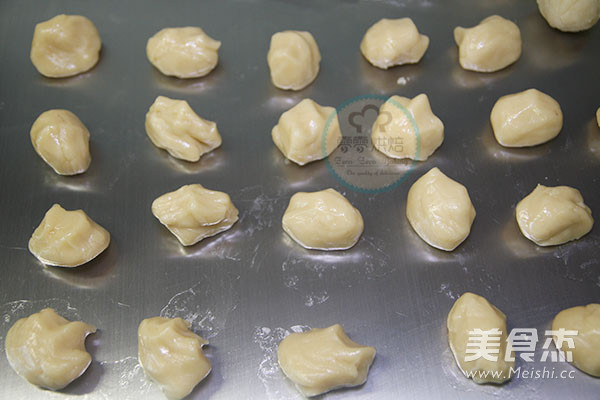
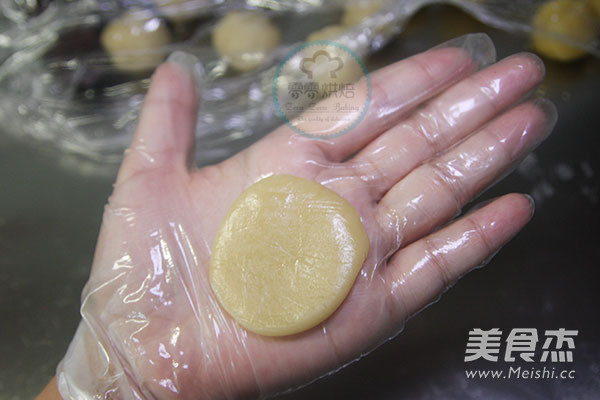
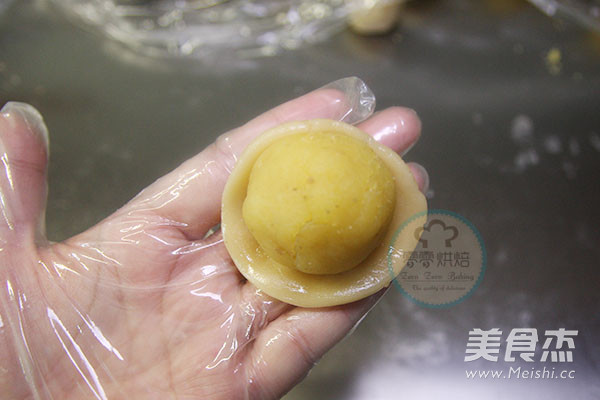
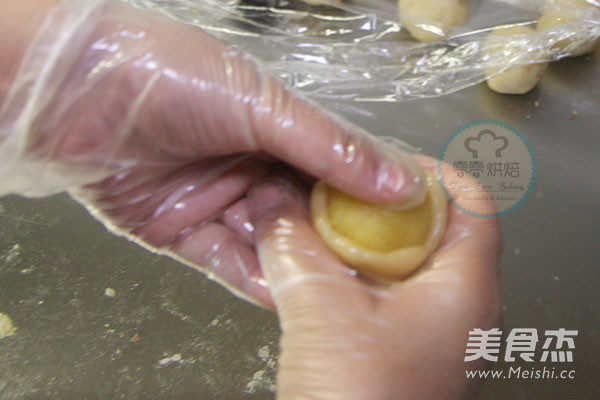
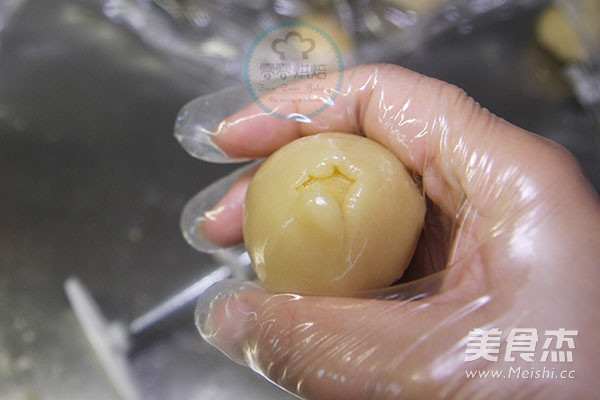
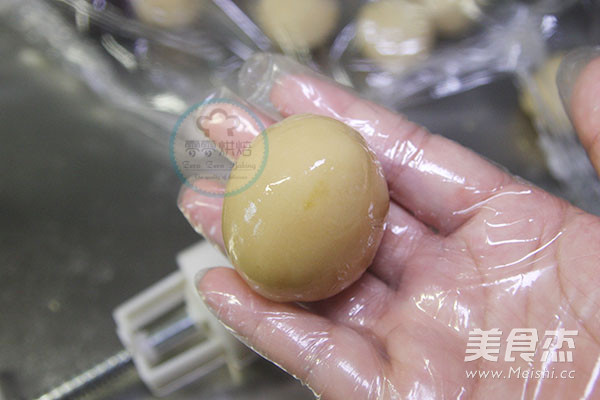
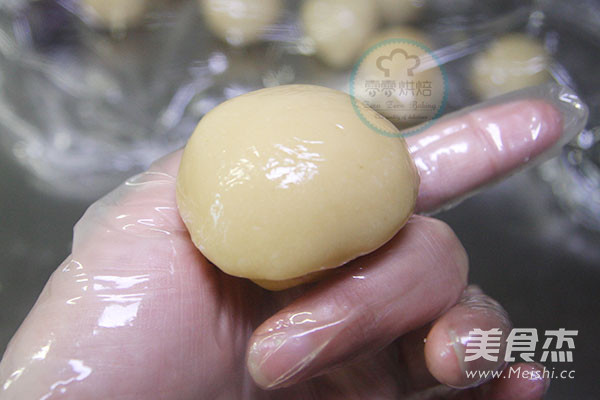
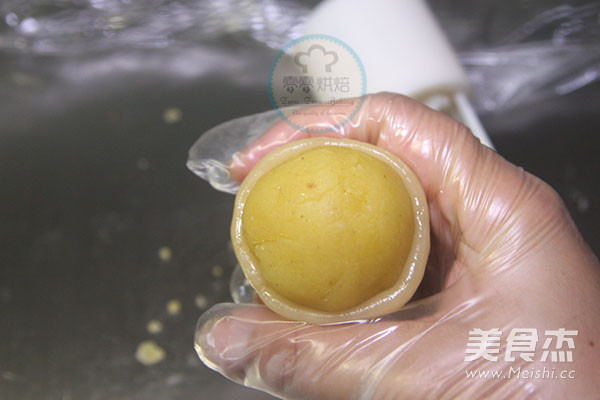
Speaking of making mooncakes, I think the most difficult thing for a novice to master is the technique of wrapping. After all, the stuffing is not as easy as making a bun, but if the technique is well mastered, it is not that difficult to make.
This time I made not only the crust, but also the fillings. It was probably because the fillings were added with their own hard work and adjusted according to their taste. After tasting the finished product, I feel that the original mooncake taste is still Not bad, not as unpalatable as I remember.
This time, the recipe for this mooncake is also what many friends around want, so I sorted it out for reference to those who need it. Here only introduces the recipe for mooncakes. For the filling method, you need to refer to the next recipe.
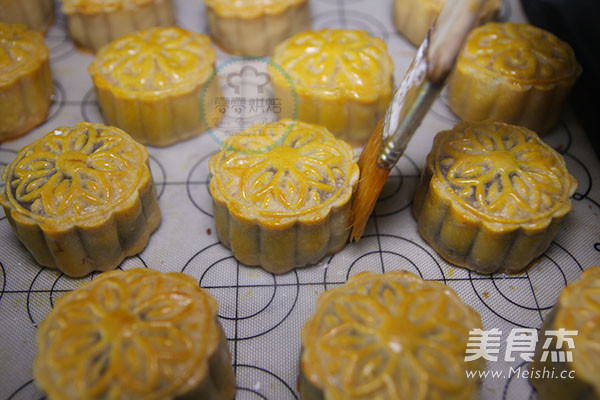
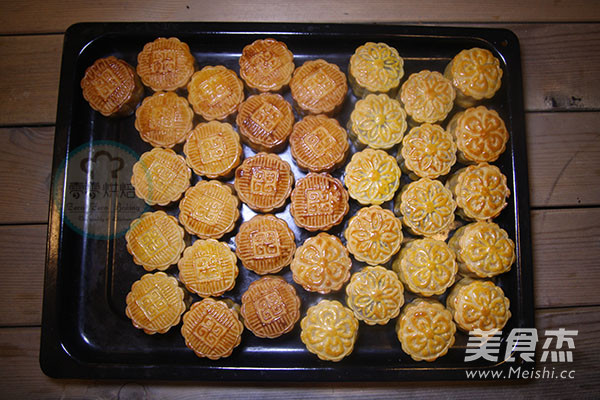
For this recipe, I made 36 moon cakes of 50 grams in size.

![Seasonal Vegetable Patties [baby Food Supplement] recipe](https://img.simplechinesefood.com/02/024b910033009872aea33017c755a377.jpg)
