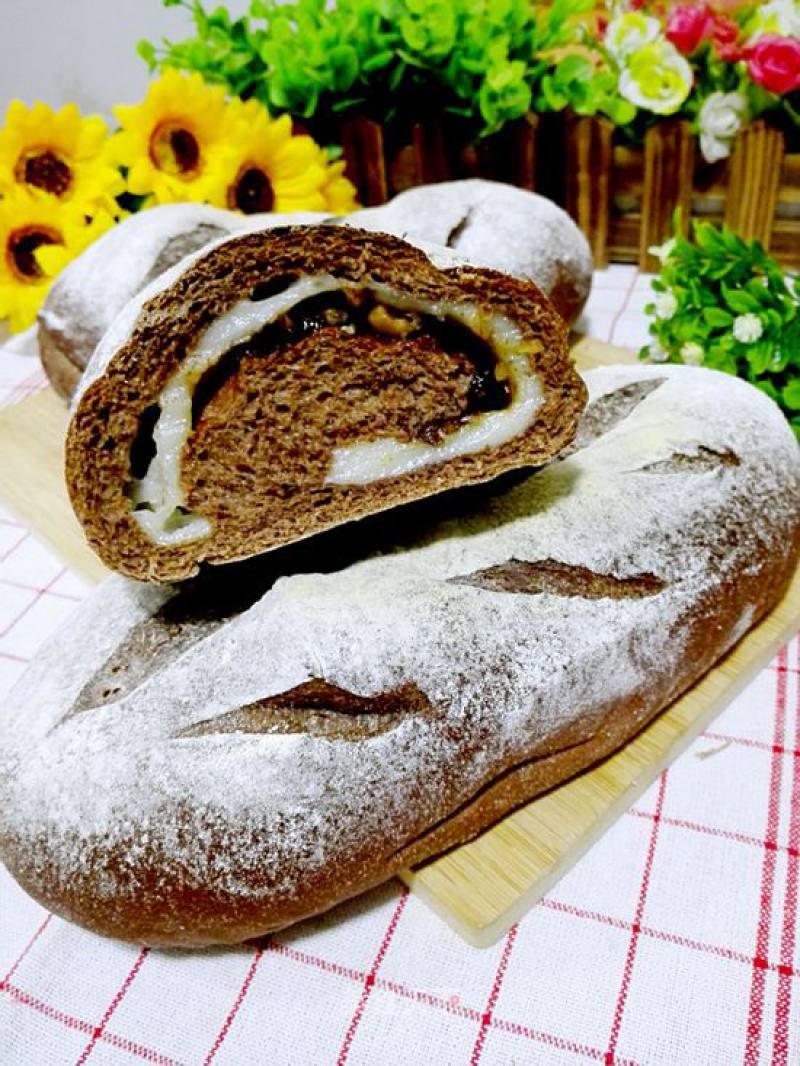
Cocoa Whole Wheat Mochi Soft European Buns
1.
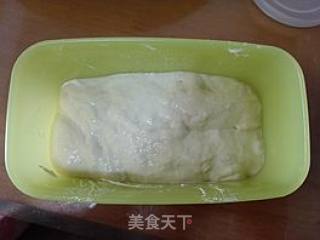
Make medium seed one day in advance: mix 100 grams of flour with 3 grams of yeast and 64 grams of water to form a dough, ferment at room temperature for 1 hour, then put it in the refrigerator to ferment for 17 hours (in summer, put it in the refrigerator to ferment) until the dough is fermented and expanded. After the highest, the middle dropped slightly. It can be seen that the inside is honeycomb-shaped. Take out 55 grams for use. Divide the rest into 2 portions and freeze them. Take out 1 portion for bread next time.

2.
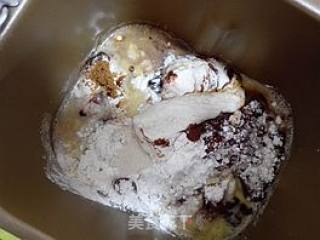
Beat the eggs into the bread bucket and add water (I used a larger egg, and 120 grams of water is just right. It is recommended not to add the entire amount of water at one time when making it, and leave a portion of the water. After kneading the dough, it will be based on the softness of the dough. See if you want to continue to add), put sugar and salt on the opposite corners of the bread bucket, pour in high-gluten flour and whole wheat flour, and finally sprinkle the yeast on the surface of the flour (to avoid the yeast being in contact with the salt) and finally put the medium seed dough Into.
3.
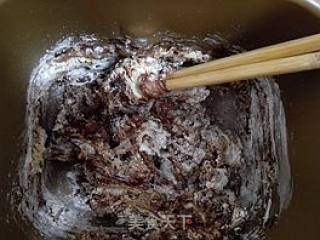
Use chopsticks to stir until you can't see the dry powder.
4.
Start the "kneading" program of the bread machine, stop the machine when the dough is kneaded into a dough, and knead the dough with your hands. It is soft and not particularly sticky. Release your hand and stick only a small amount of dough on your hands. This degree of softness is sufficient. Continue to "make noodles". If the dough is hard, add water little by little, if the dough is too wet, add dry flour little by little until it is soft and hard.
5.
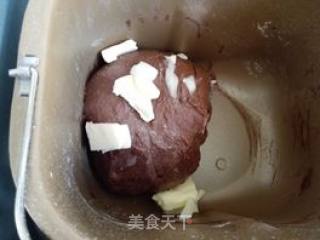
After a "kneading" program is over, add softened butter and continue to start the "kneading" program.
6.
After the second "kneading" process is over, take a small piece of dough and slowly stretch it out with both hands. You can pull out a large piece of non-breakable film, and knead the dough to this extent.
7.
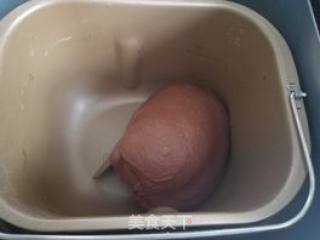
Re-round the dough and put it in the bread bucket.
8.
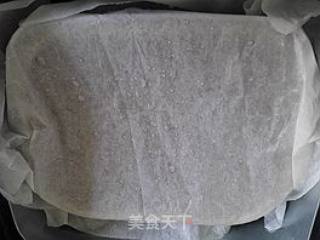
Cover a piece of baking grease paper on the bread bucket, and flick some small drops of water on the paper.
9.
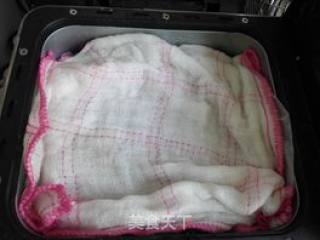
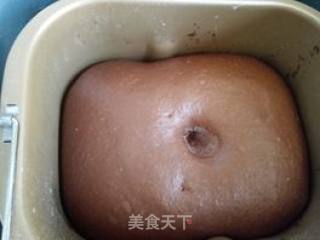
Cover with a damp towel, then cover the lid of the bread machine and wait for the dough to rise to twice its size.
10.
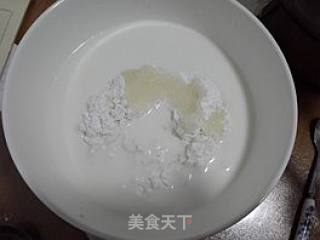
Prepare mochi while waiting for the dough to rise: Pour glutinous rice flour, cornflour, milk and sugar into a large bowl.
11.
Stir well with chopsticks.
12.
Put the pot on the high heat and steam for 20 minutes. If there is no liquid on the surface, you can turn off the heat and bring it out.
13.
When it is warm, add butter.
14.
Knead it all well, let the butter be absorbed in (still a bit hot, I put on anti-scalding gloves and put on disposable gloves to knead), wrap it in plastic wrap and refrigerate for later use.
15.
The dough is fermented to twice its size. Dip your fingers in dry flour or water and poke a hole so that the hole does not rebound or collapse.
16.
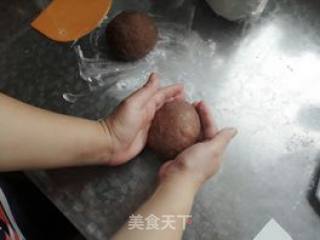
Take out the dough and press it to exhaust, divide it into three equal parts, buckle it with both hands to make it round.
17.
Cover with plastic wrap and relax for 15-20 minutes.
18.
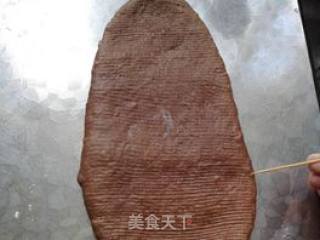
Sprinkle thin flour on the chopping board, roll the dough up and down into an oval dough sheet, puncture all the bubbles with a toothpick, and exhaust the gas.
19.
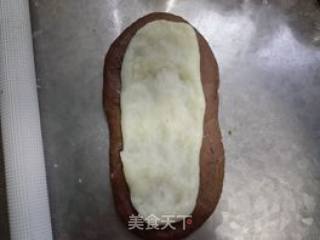
Turn the dough over and spread 1/3 of the mochi.
20.
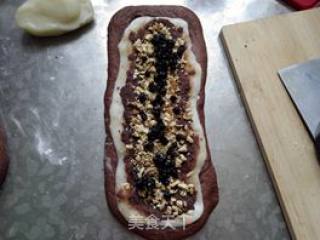
Spread a layer of red bean paste on mochi, then sprinkle a layer of crushed walnuts and a layer of dried blueberries or raisins.
21.
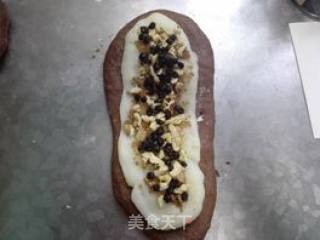
I also made another flavor: sprinkle a layer of brown sugar powder, a layer of crushed walnuts and a layer of dried black currant on the mochi.
22.
With both hands, press the two sides to the middle and roll them down from top to bottom, to the bottom, thin the bottom edge.
23.
Glue the bottom edge firmly.
24.
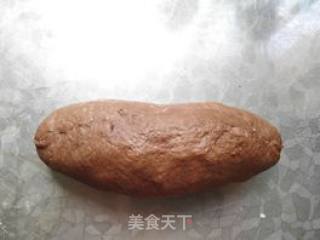
The two ends are sharpened to form an olive shape (I made it a bit ugly! You can also shape it into any shape you like).
25.
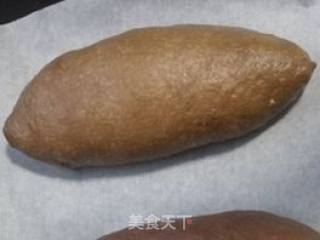
Place the bottom side down in a baking tray, cover it with plastic wrap, and place it in a warm and humid place for secondary fermentation. It will be about 2 times the size. Press it lightly with your fingers and it will bounce back a little.
26.
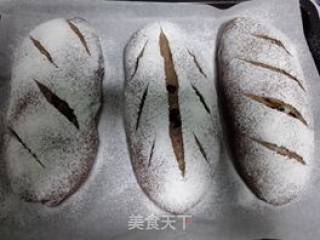
Cut at random with a blade, and sift a layer of flour on the surface.
27.
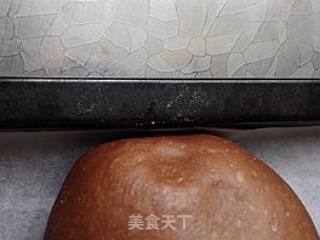
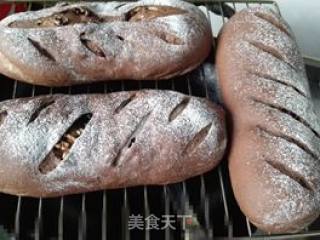
Put it into the preheated oven with upper and lower fire at 220 degrees, bake for 8 minutes, adjust to 160 degrees, and bake for 16 minutes. Pay attention to enough color, cover with a piece of tin foil. Place it out of the oven on a cooling rack and let it cool to the palm of your hand and put it in a fresh-keeping bag. It will not harden after three or four days at room temperature.

Tips:
1. Remember not to add all the water before making the dough. After all, the water absorption of different flour brands will be different, and the humidity of the dough will also be affected by whether the climate is humid or not.
2. Fermentation must be based on the state, and you cannot judge whether the dough is good or not according to the length of time.
3. The temperature and firepower of each oven are different, so the temperature and time given in the article are for reference only, and must be adjusted according to the temper of the oven.
4. If the color is enough, if the bread is not yet cooked, put a piece of tin foil on the bread and continue to bake it to avoid too dark color. You can click on the bread, if it bounces immediately, it will be cooked. But be careful not to burn your hands.

