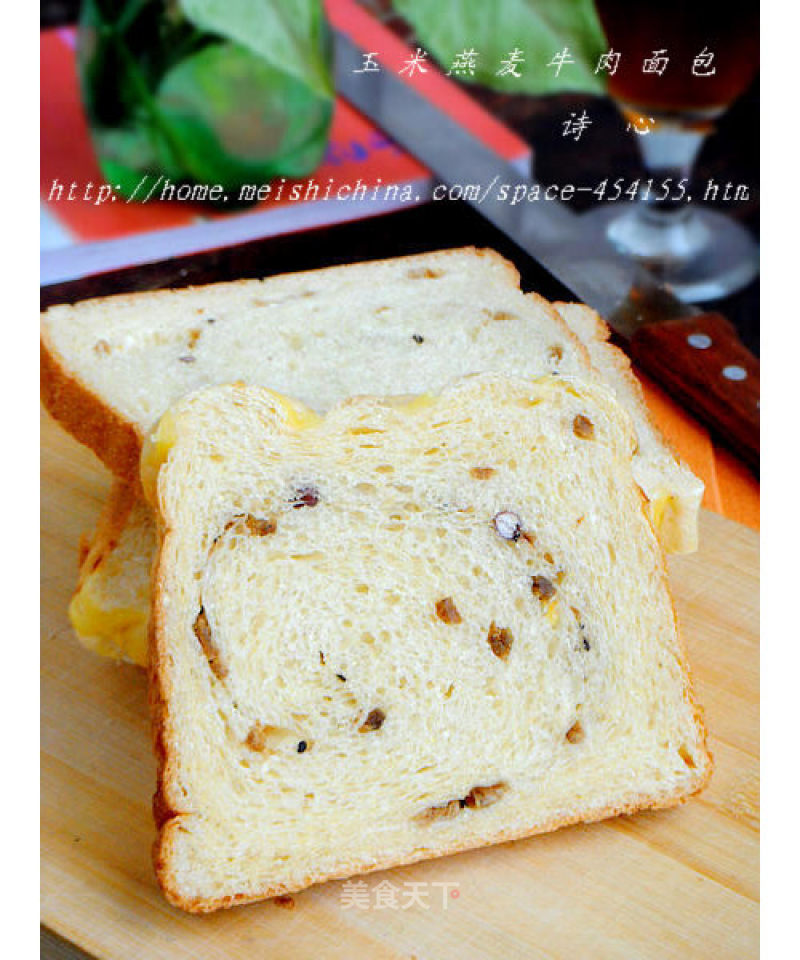
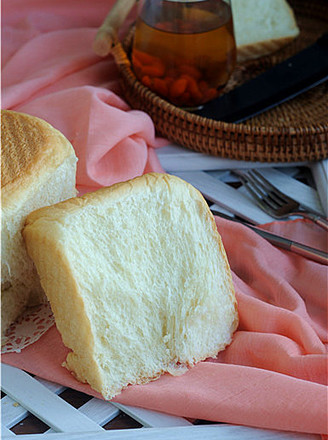
【corn Oatmeal Beef Bread】---- Fully Nutritious Bread
1.
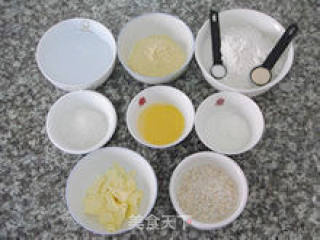
Dough raw material illustration.
2.
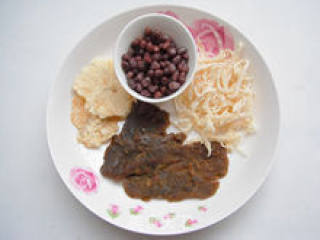
Ingredients diagram.
3.
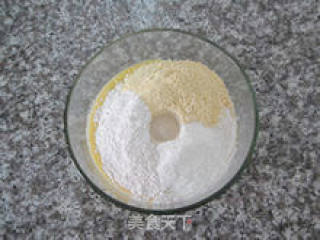
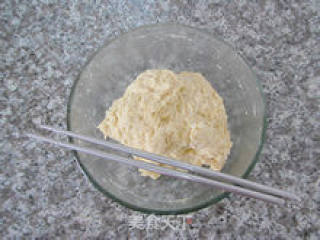
Take a larger pot and add ingredients except butter and oatmeal in the order of liquid first, then powder. Finally, dig a hole in the flour, put yeast in it, and then bury it.
4.
Use chopsticks to stir until there is no dry powder. (It takes about half a minute, this is done to save the dough time for the bread machine)
5.
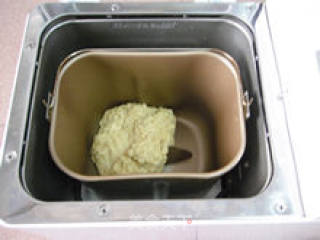
Pour the mixed dough into the bread maker.
6.
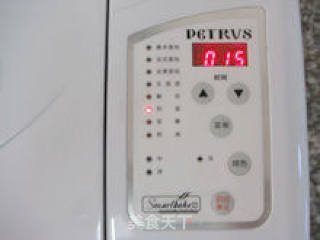
Close the lid and start the dough mixing program of the bread machine. (1 program is 15 minutes)
7.
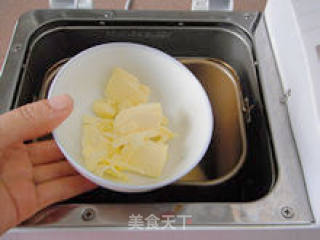
After the kneading program is over, the bread machine will stop mixing, add butter at this time, and start the kneading program again.
8.
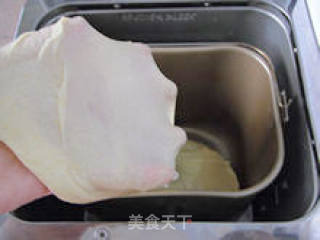
After the 2 kneading procedures are over, take the dough and check it, and the film can be easily stretched.
9.
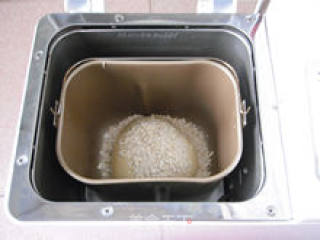
Add oatmeal and start the dough mixing process.
10.
In about 3 minutes, all the oatmeal will be wrapped in the dough. At this time, manually close the dough mixing program.
11.
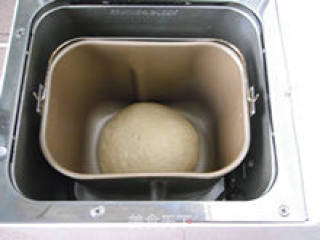
Cover with plastic wrap, start the fermentation function of the bread machine, and ferment the dough to about 2.5 times its original size.
12.
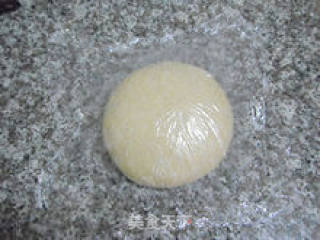
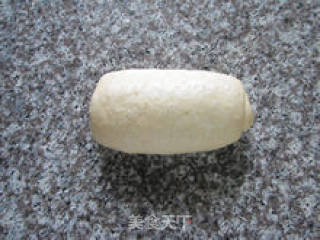
The fermented dough is taken out and vented, rounded, covered with plastic wrap and let stand for 15 minutes.
13.
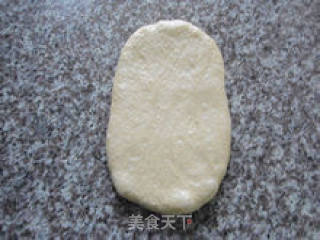
After 15 minutes, roll the dough into an oval shape.
14.
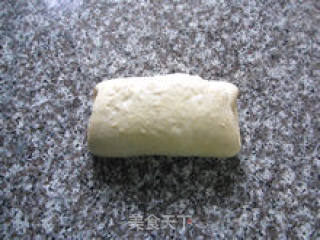
After three-folding, cover with plastic wrap and let it stand for 10 minutes.
15.
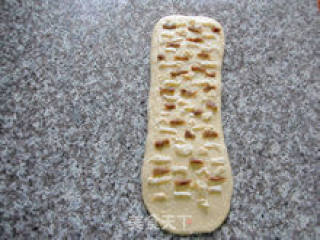
Then rotate 90 degrees and roll it out into long strips. Spread the right amount of beef jerky, squid shreds and sea fish fillets, and finally put honey red beans. Because the honey red beans are relatively small, they can be placed in the crevices of the meat. If the honey red beans are sprinkled first, the meat will be difficult to spread. (Note that the width of the dough should be equal to the length of the bread machine in this step)
16.
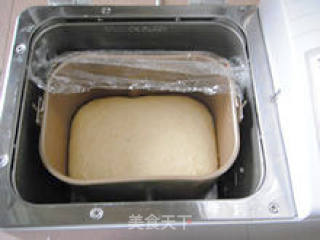
Roll it up tightly from top to bottom, put it into the bread bucket, cover with plastic wrap, and start the fermentation function of the bread machine for fermentation.
17.
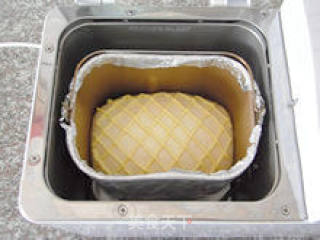
When the dough has risen to 2 to 2.5 times its original size, squeeze the custard sauce evenly on the surface of the dough and wrap tin foil on the bread bucket.
18.
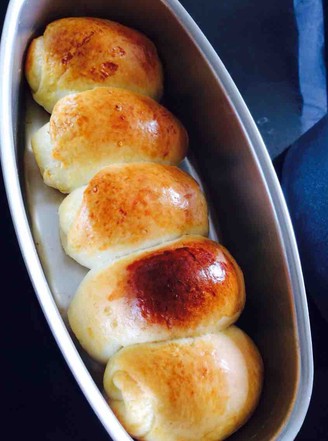
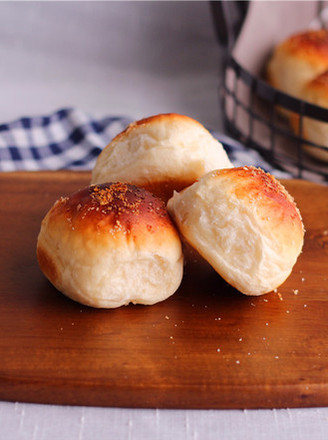
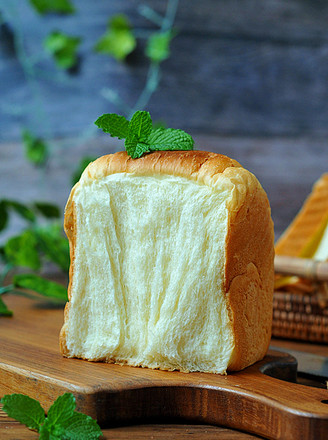
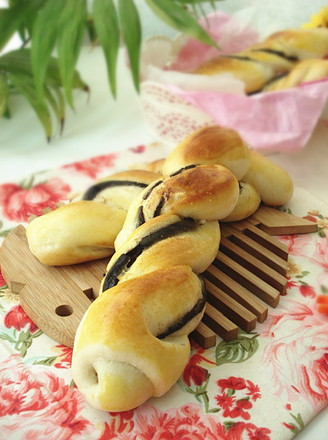
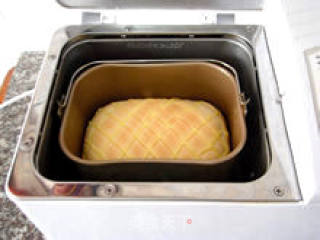
Start the baking function and set the time to 35 minutes. Choose "medium" for coloring and start baking. After 15 minutes of baking on the way, quickly remove the tin foil and continue baking until the end. The picture shows the baked bread. After being baked, it is poured out and placed on the baking net to dry to the palm temperature, and then put it in a fresh-keeping bag or fresh-keeping box and keep it sealed.

Tips:
Poetry heart phrase:
1: The amount of water in each recipe is related to the water absorption of the flour and the temperature at the time. Therefore, when trying a recipe for the first time, it is best not to add all the water at once. It depends on the state of the dough.
2: I like to mix the ingredients in a larger bowl into a state without dry powder in front of the peace. The purpose of this is to save the dough time of the bread machine, which not only saves electricity, but also better maintains the bread. Machine, prolong the service life. Especially for people who make bread every day, it is even more necessary.
3: Generally, in a normal recipe, the dough will be wrapped on the mixing knife and stirred. If the dough is rolled around by the mixing knife and not wrapped on it, it means that the dough is too hard and the amount of water is too low.
4: Depending on the bread machine, the mixing time is different, but the kneaded dough is in the same state and can hold out a thin and unbreakable film. Even if it breaks, the hole is smooth. If the dough cannot reach such a complete stage in the same time, you need to add kneading time as appropriate.
5: Because the heating tube of the bread machine is on the four walls, the color of the bread surface will not be too deep. If the coloring during baking is now "light", the surface color of the bread will be a little lighter, if you choose "medium", the surface color of the bread will be more beautiful, but the crust will be thicker, so when baking At that time, I like to choose "medium" for coloring, and then wrap the bread bucket with tin foil, coax it to bake for 15 to 20 minutes, and then remove it. (This technique comes from the predecessor of "Love and Freedom")
6: After baking, the bread should be poured on the baking net to cool, not in the baking tray, so as to avoid moisture. When it is aired to the palm temperature, it can be sealed and stored in a fresh-keeping bag.

