Decorated Birthday Cake
by Looking for Peach Blossom Island
Favorite
Difficulty
Hard
Time
2h
Serving
2
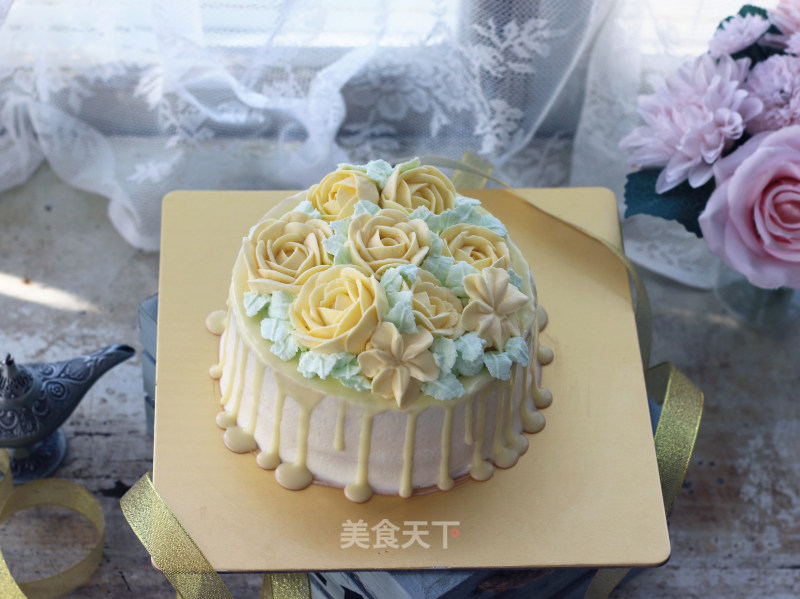
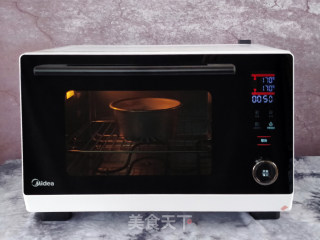
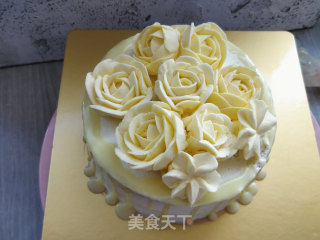
The child reminded me several times half a month in advance that she was going to celebrate her birthday and asked me to make a birthday cake with a lot of flowers. Although there are many pastry shops, it is safer to do it yourself if you want to use safe and hygienic materials and no additives. I just received the Mei's steaming oven for evaluation, so I used it to give the children this decorative cake. The children like it very much. I ate more than half of it by myself and my family is also very happy.
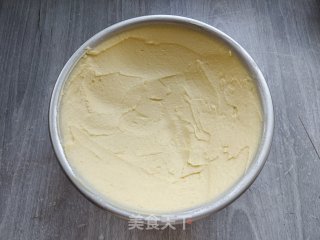
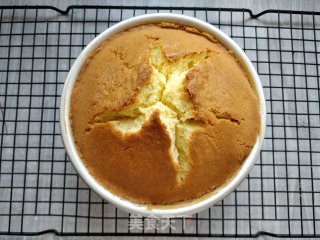
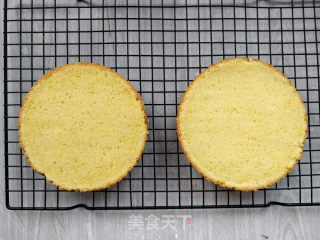
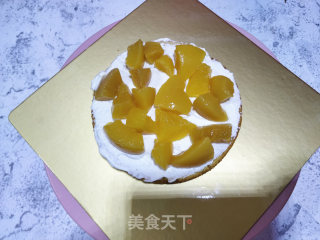
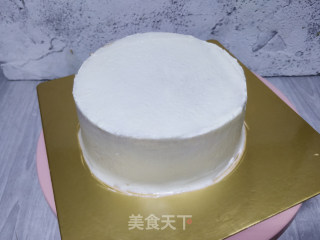
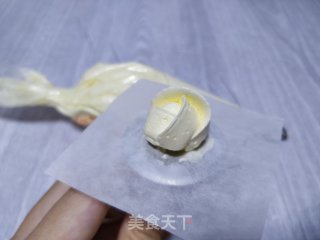
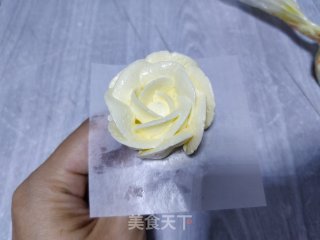
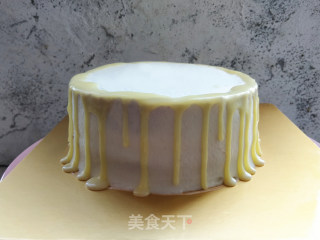
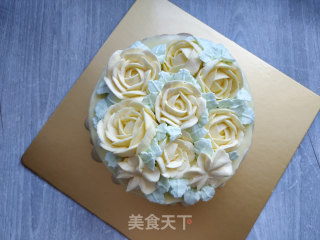
The cake base is a 6-inch original pound cake made in a Midea steaming oven, and the mold used is a 6-inch round mold that was given away. The filling is made of canned yellow peaches, the noodles are whipped cream that melts in the mouth, the glaze is white chocolate ganache, and the flowers are Italian cream. Considering that it is for children, the original colors of the flowers are used as much as possible, and the whole cake has no additives. Let me talk about the specific approach:
Material: (a six-inch round mold can be made)
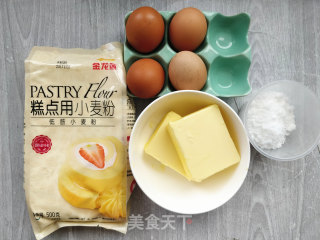
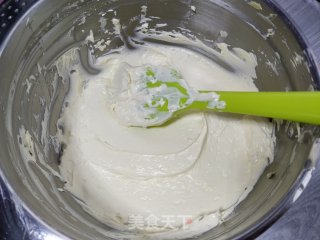
Cake base: 240 grams of unsalted butter, 240 grams of low-gluten flour, 100 grams of caster sugar, 4 eggs.
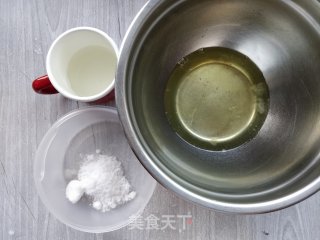
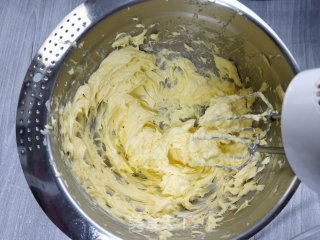
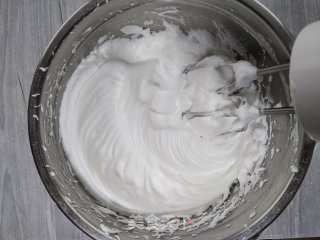
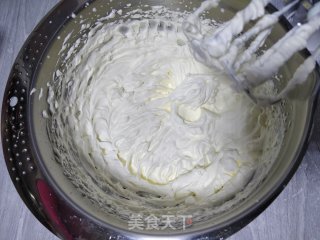
Decorated Italian butter cream: 300 grams of unsalted butter, 38 grams of white sugar (boiled sugar water), 46 grams of water, 120 grams of egg white, 24 grams of fine sugar (whipped egg white).
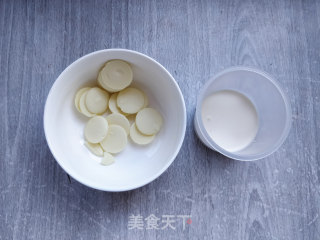
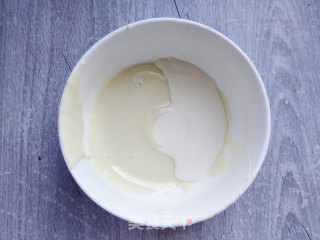
Glaze: 30 grams of white chocolate, 30 grams of light cream.
Others: 200 grams of whipped cream, 15 grams of caster sugar, 2 canned yellow peaches, 1 drop of green food coloring. "

