Dirty Bag
1.
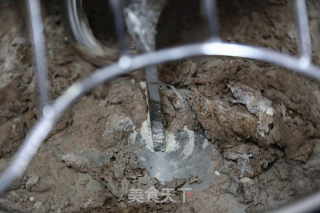
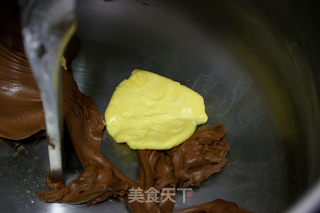
Every time I saw this huge cook machine in school, I was jealous and hated too fast, so I came back yesterday and quickly defeated a few thousand oceans, so I didn’t have anything to dry first, [not the same as the bread machine]. Slowly pour a mixture of milk and water [cold water in summer, warm water in winter] along the side of the tank. At the beginning, it will form a dough slowly and then add butter quickly.
2.
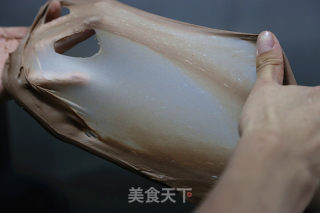
The basin should be smooth and clean, and the time should not be too long, otherwise it will be over, when the thin fingerprint film can be pulled out.
3.
If you are using a cook machine, you can observe the status at any time or you can stop it, grab a ball of dough and look at the condition of the film. When the film is slightly thicker and reaches the stage of development.
4.
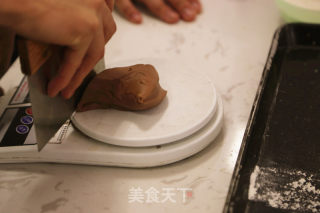
The beaten noodles are divided immediately, 120g each.
5.
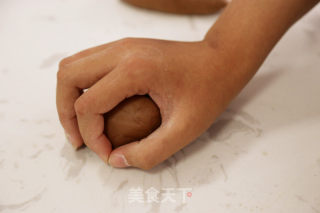
The dough is formed into a smooth dough in this shape by hand.
6.
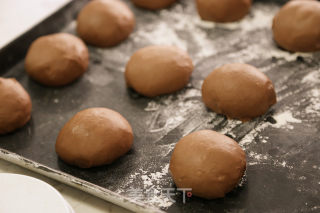
Put it all in a large baking pan, sprinkle some powder on the pan, and put it in the freezer for about 30 minutes. If the temperature is particularly low, the time can be shortened [this is to prevent fermentation and affect the taste].
7.
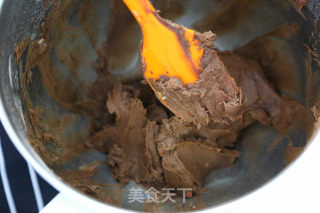
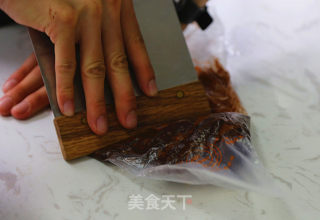
In the meantime, we will make the filling cream: soften the butter at room temperature, low powder, and put the cocoa powder into a large container and mix well.
8.
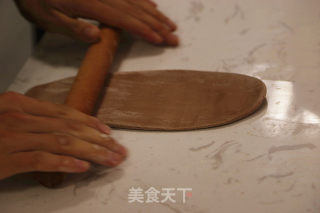
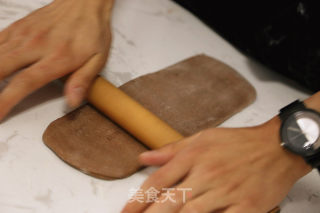
Take out one of the wagged dough and roll it out from the middle to both ends. Remember not to roll it back and forth. Make sure that both hands are even.
9.
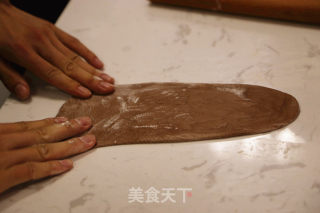
Turn it over and arrange it into a square with your hands. It is best to have the same width. It will look good later.
10.
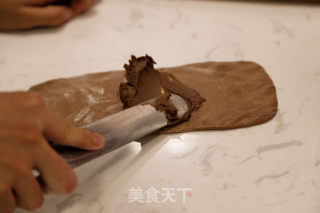
Start spreading the filling cream, remember it is in the middle, leave a little distance on both sides, so as not to show the filling when the bag is off, remember to spread evenly [approximately 30-40g for each].
11.
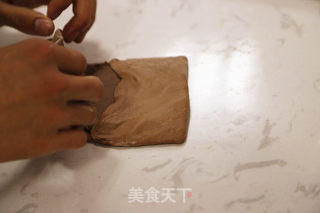
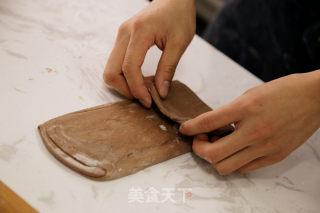
Fold it from top to bottom.
12.
Remember to tidy up the edges, otherwise they will all be exposed after you roll them out.
13.
When rolling it into a rectangle, it should be lightly filled with stuffing.
14.
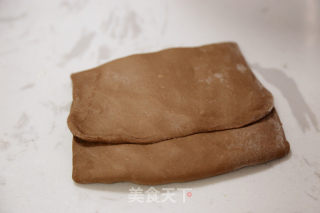
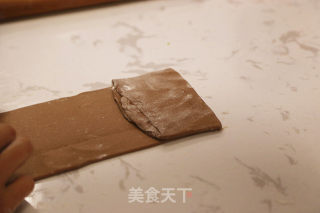
Fold down a quarter from the top down, fold the bottom quarter up and fold it in half.
15.
Huh, that's how it drops, and the freezer will wake up for about ten minutes.
16.
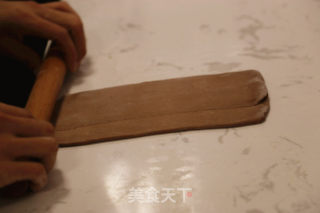
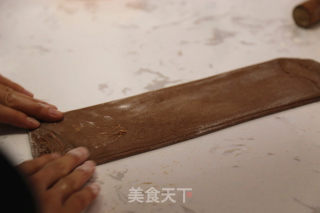
Take it out and roll it out into a rectangle.
17.
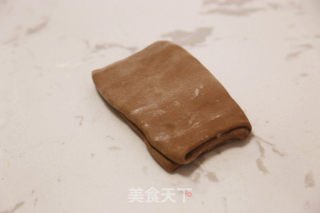
Turn it over and fold it in half as above.
18.
The freezer will be allowed to wake up again for about ten minutes.
19.
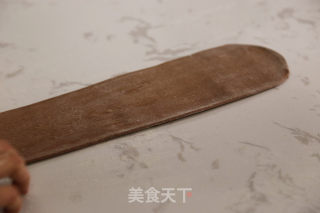
Roll out the rectangle again. If you want a richer layer, roll it out as long as possible, but the strength must be controlled. Understand, there is stuffing inside.
20.
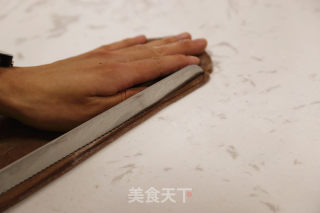
Turn it over gently, [Remember that it’s fine if it’s broken for the first time, this side will be rolled in later, it’s best not to].
21.
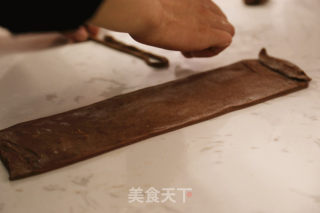
Cut off the left and right sides and the bottom edge with a knife.
22.
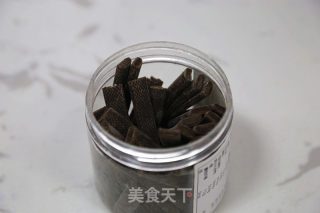
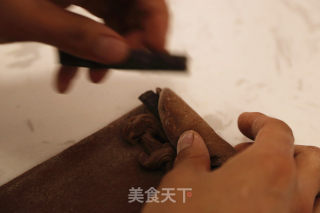
Don't waste the cut, put it on top of the top, and put a chocolate bar.
23.
That's it. There are some on the Internet, so you can find it yourself, or other chocolates.
24.
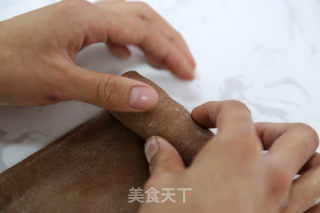
Roll it down a bit, and then put a chocolate bar.
25.
Take the opportunity to roll down.
26.
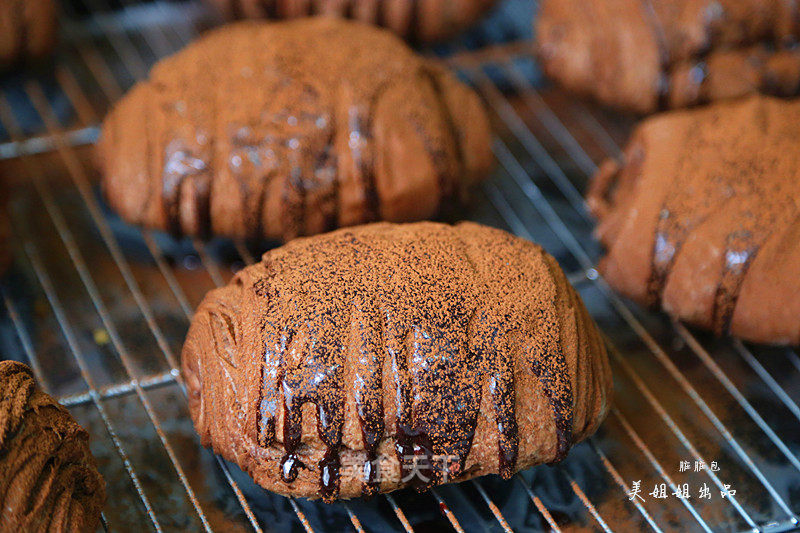
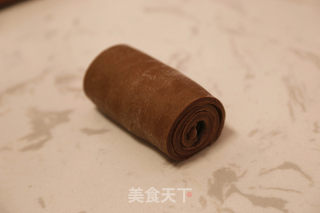
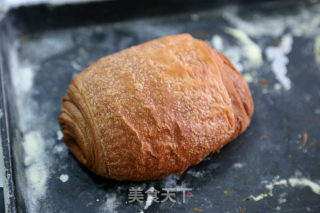
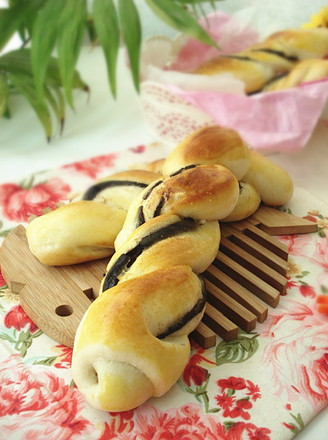
A super good-looking roll is completed. Remember that the interface must be put down or it will be opened when it is fermented.
27.
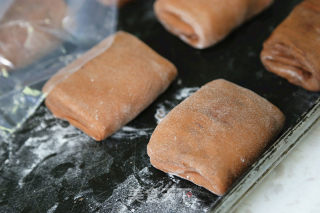
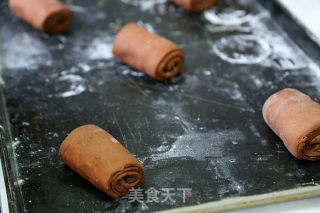
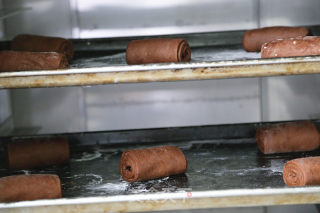
Put everything in the baking tray, remember to leave a place in the middle, the fermentation will increase.
28.
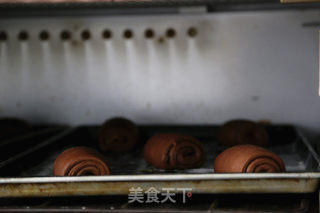
Put it in a professional proofing box. If you have an oven at home, put a bowl of warm water in the summer and close the door. It usually takes about an hour.
29.
The fermented oven is put into the oven, the heat is 190 degrees, and the heat is 170 degrees. Bake for about 10 minutes first, and turn the oven down for five minutes. [Inverting the oven is to change the direction of the baking tray] We use a professional oven. , Time is not absolute.
30.
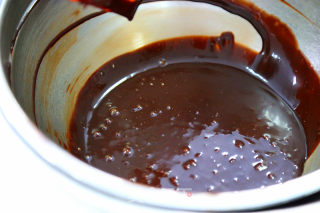
When baking, let's make the glaze sauce: the whipped cream and the chocolate melt in water, while stirring, let it cool slightly.
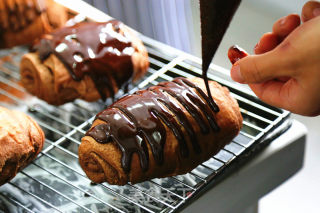
31.
Get it in the piping bag, see if it is not, use this spatula to easily get it down.
32.
Remember to let the baked bag cool before pouring the sauce, remember.
33.
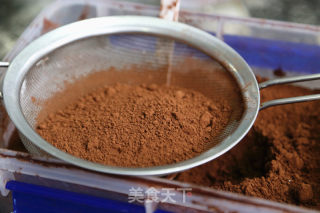
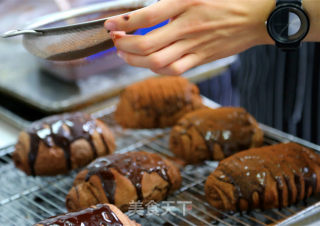
Prepare a little cocoa powder and put it in the sieve.
34.
Seeing that it is dry without this sauce, you can warm it up appropriately.
35.
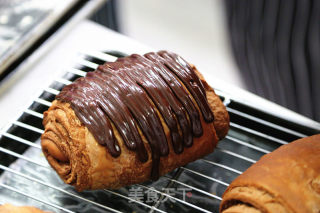
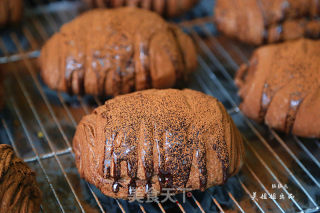
This is just right, the left and right arcs are evenly poured down, and it looks very cool, isn't it?
36.
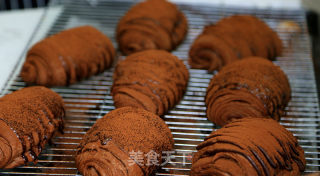
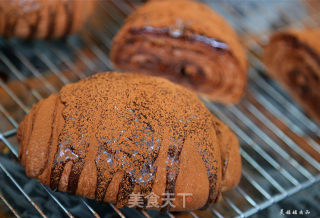
Finally, pick up the sieve and gently shake some cocoa powder on it, evenly, not too thick and not good-looking or delicious.
37.
Everything is done. I have worked so hard to eat authentic, clean and assured dirty bags. When you see all the tiredness here, you will feel that it is nothing.
38.
If you want to share with friends, remember that you must not use bags to pack. It is recommended that you buy some medium-sized boxes at home. The bread can be packaged. After all, sharing is also a very happy thing.
39.
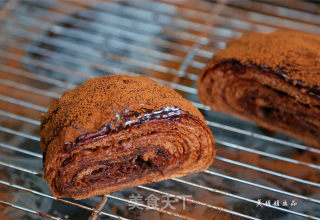
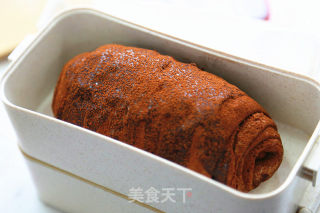
Cut one, drooling.
40.
The lunch box I took to school at noon, and it was just right to put a dirty bag, haha, the next day’s breakfast was finished.
41.
While you still have time, try your best to do what you most want to do, become the kind of person you most want to be, and live the kind of life you most want to live. This world will always be bigger than you want. More exciting, don’t lose to life.
Tips:
Those who like food can follow my food WeChat: yuner6421! I will share some food dynamics and practices every day. There are groups to join, boys don’t want it.

