Gradient Cream Decorated Cake

Gradient Cream Decorated Cake

by meggy dancing apple

5.0 (1)
Favorite

Difficulty

Hard

Time

2h

Serving

2

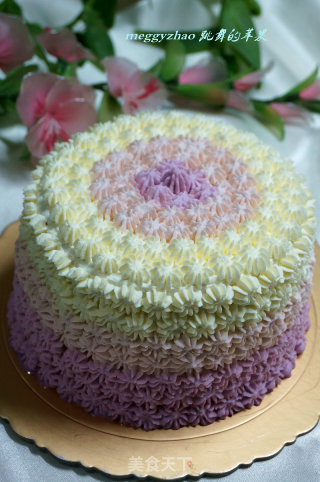
Today, I made a small fresh cream decorating cake. The gradual color method is used, which is a wasteful purple color, which is very beautiful for personal use and gifting.
Without complicated piping techniques, the most common 10-petal flower piping nozzle is used. Whipped cream is very important. The cream on the inner surface can be distributed up to 9 so that it can be mixed with the diced fruit to play a strong supporting role; the outer surface does not need to be 100% smooth, because it is also decorated with flowers on the outside, which can hide the ugliness. ; The cream for decorating flowers is best distributed until 7; if it is too hard, the decorating flowers will not be delicate and have large vacuoles. If possible, it is best to use three pots to blow the three colors of cream separately, so that the texture of the framed flowers is basically the same. It seems simple to decorate flowers, but the more you do it, the more you find that there are many doorways inside. I will continue to strengthen the practice. There is heating in the room in winter, and the room temperature is still quite high. It is recommended to beat the cream as you use it. Don't dispose of it all at once, otherwise the hot air will give you a "sample"! "

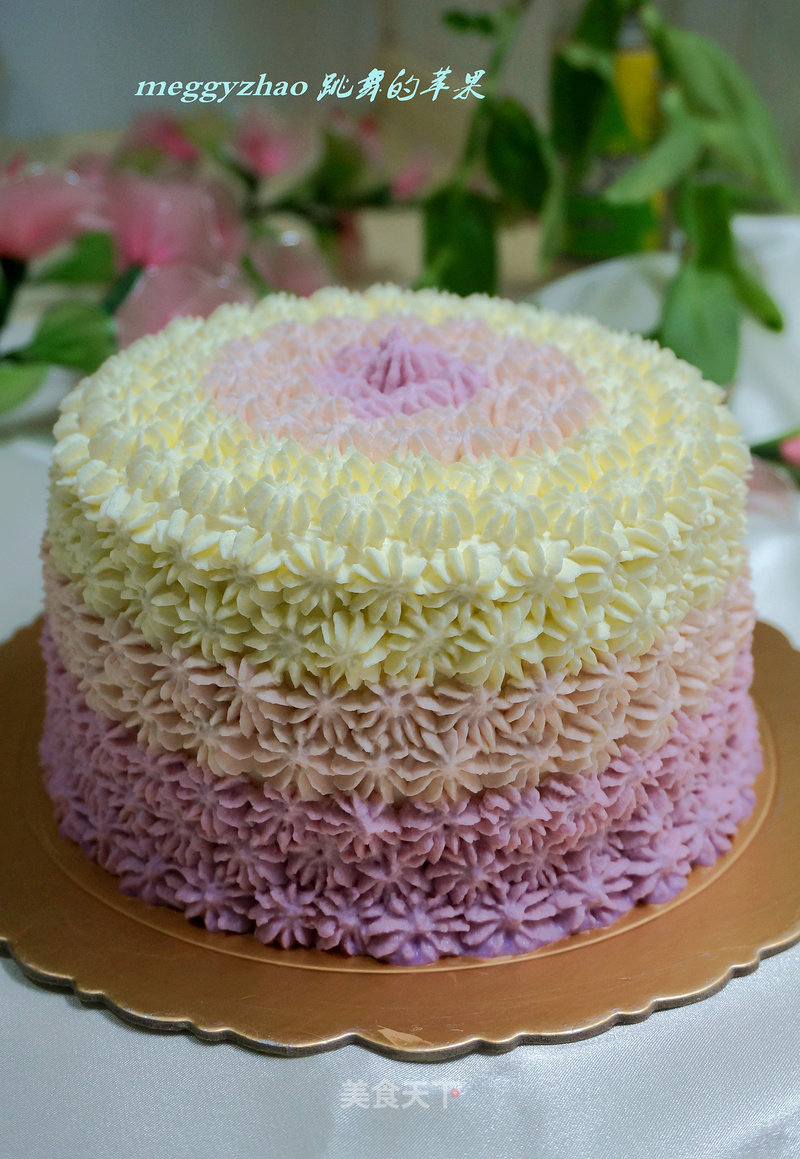
Gradient Cream Decorated Cake

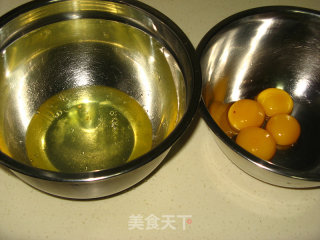
1. Separate the egg whites and egg yolks, and put the egg whites into the oil-free and water-free basin

Gradient Cream Decorated Cake recipe

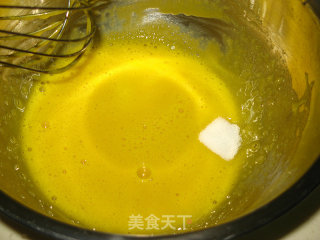
2. After the egg yolks are beaten, add 20 grams of sugar and mix well

Gradient Cream Decorated Cake recipe

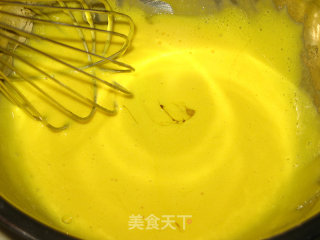
3. Add 50 grams of corn oil and mix well

Gradient Cream Decorated Cake recipe

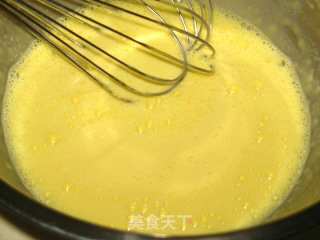
4. Add 50 grams of milk and mix well

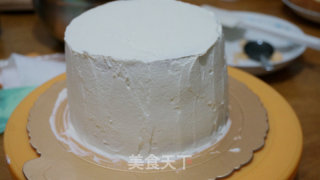
Gradient Cream Decorated Cake recipe

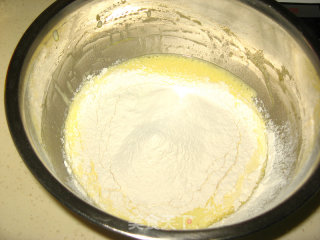
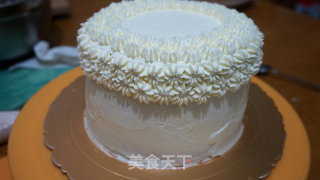
5. Sift in the cake flour

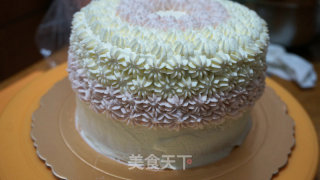
Gradient Cream Decorated Cake recipe

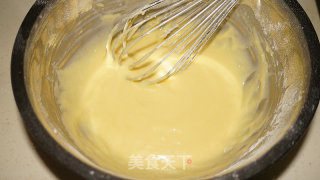
6. Mix well, no dry powder particles

Gradient Cream Decorated Cake recipe

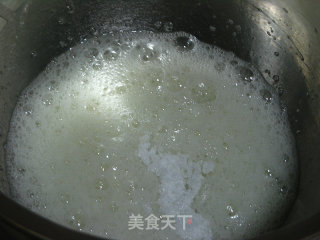
7. Whisk the egg whites with an electric whisk, and add white sugar to the egg whites in 3 times. The speed is also adjusted from low speed to high speed when large bubbles are produced, when white and delicate shapes are produced, and when lines are produced.

Gradient Cream Decorated Cake recipe

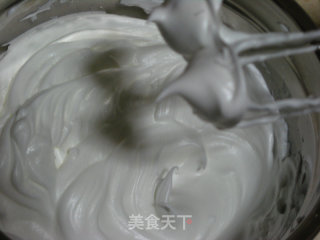
8. Lift up the whisk, the egg whites are short and sharp; now you can start to preheat the oven, 140 degrees

Gradient Cream Decorated Cake recipe

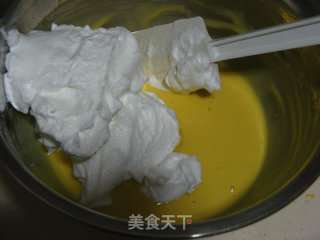
9. Mix the egg white batter and egg yolk batter in three times. After each time, stir thoroughly and evenly, then add the next egg white batter. Use the bottom-up mixing method. Do not use the spatula to make circles in the basin. This will cause Severe protein defoaming

Gradient Cream Decorated Cake recipe

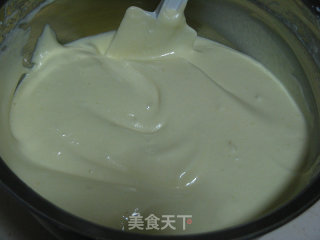
10. After mixing evenly, it becomes a smooth cake batter

Gradient Cream Decorated Cake recipe

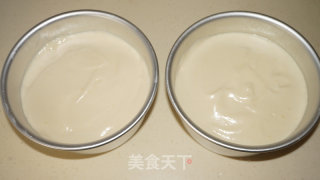
11. Pour the cake batter into two 6-inch molds and shake them twice to produce large bubbles

Gradient Cream Decorated Cake recipe

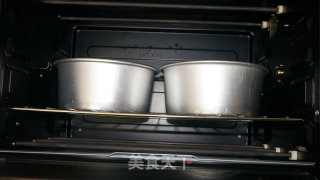
12. Put it into the preheated oven, the middle level, the upper and lower fires are 140 degrees, 40 degrees

Gradient Cream Decorated Cake recipe

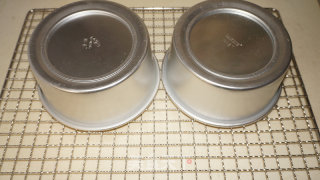
13. Take it out of the oven, shake it twice, shake out the excess heat, then buckle it upside down on the drying rack, let it cool thoroughly before demoulding

Gradient Cream Decorated Cake recipe

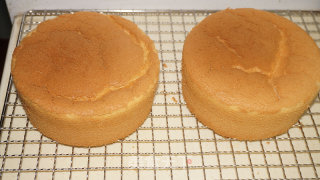
14. Demoulding success

Gradient Cream Decorated Cake recipe

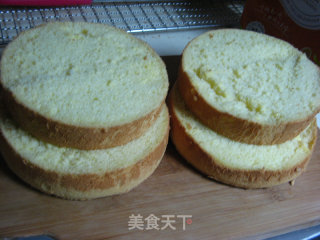
15. Each cake is cut into two slices horizontally. Actually only 3 slices are used, because after putting the fruit filling and cream, it will be very tall. Two slices are a bit short, four slices are too high, and three slices are just right.

Gradient Cream Decorated Cake recipe

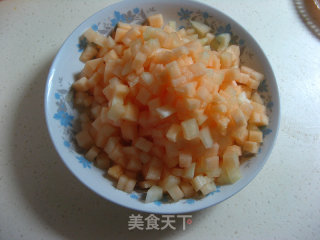
16. Cut the cantaloupe into small cubes for later use

Gradient Cream Decorated Cake recipe

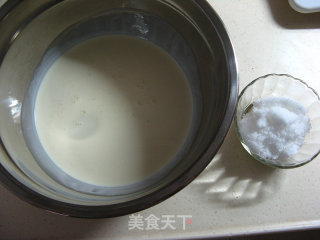
17. The cream and sugar for filling and spreading the surface are ready

Gradient Cream Decorated Cake recipe

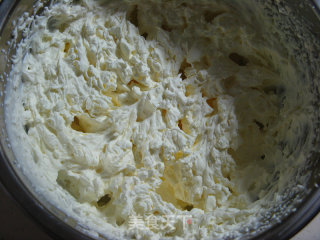
18. Whipped cream

Gradient Cream Decorated Cake recipe

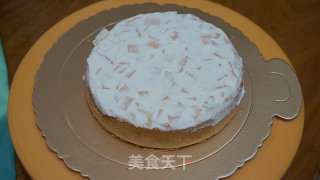
19. Take a piece of cake and place it on the cake tray, and complete the filling with a layer of cream, a layer of fruit, and a layer of cream.

Gradient Cream Decorated Cake recipe

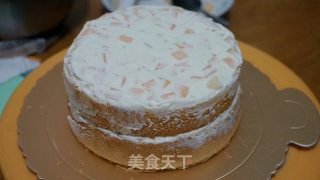
20. After covering a piece of cake, the filling is done as above

Gradient Cream Decorated Cake recipe

21. Cover the third piece of cake, and then spread the whole surface, do not need to be 100% smooth, and decorate the flowers later, just to hide the ugliness

Gradient Cream Decorated Cake recipe

22. Dispatch new cream, choose your favorite flower mouth and mount white cream flowers

Gradient Cream Decorated Cake recipe

23. Add purple food coloring, and mount lavender cream flowers around and on top respectively

Gradient Cream Decorated Cake recipe

24. Add a drop of purple pigment to the whipped cream to finish decorating the rest of the cake. Lo and behold, a gradient cream decorated cake is finished. It looks like I like it, and it's a good face to give someone away!

Gradient Cream Decorated Cake recipe

Tips:

The cake base uses the chiffon cake recipe and production method. When mixing the egg whites and egg yolks, do not randomly stir in a circular motion. Mix from the bottom up or cut and mix; after putting it into the mold, shake it twice. , Shake out big bubbles, but don't shake it for a long time to avoid defoaming; shake twice after the oven to shake out the excess heat to prevent the waist from collapsing; the cream is best to be beaten as soon as you use it, and the color should not be once Put too much, pick out a drop with a clean toothpick, and adjust the color to your satisfaction.

Comments

Similar recipes

Pumpkin Puree Chiffon Cake with Water Bath

Egg, Pumpkin Paste, Cake Flour

Crispy Pumpkin Biscuits

Cake Flour, Pumpkin Powder, Corn Starch

Spinach Paste Cake

Cake Flour, Egg, Spinach Paste

Pumpkin Pound Cake

Butter, Cake Flour, Pumpkin Puree

Rice Cooker Braised Bread

Cake Flour, Evaporated Milk, Shimizu

Custard Snowy Mooncakes

Glutinous Rice Flour, Sticky Rice, Starch