by Pot pot bowl
Difficulty
Normal
Time
15m
Serving
2
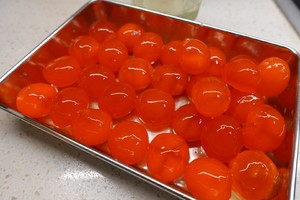
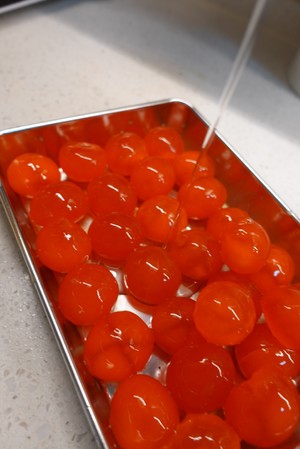
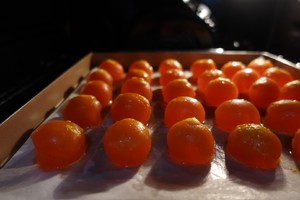
1. The first part is to process the salted duck eggs first. I use freshly knocked duck eggs. When the salted egg yolk is particularly good, it is usually baked at 180 degrees for 6 minutes
2. If the egg yolk is not good enough, it can be soaked overnight in oil-sealed refrigeration
3. Bake in the oven at 180 degrees for 6 minutes
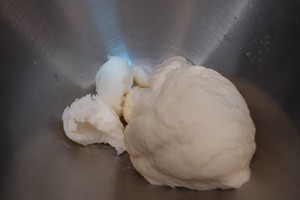
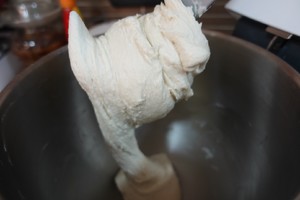
4. The second part is kneading the noodles, knead all parts except the lard, and then add the lard
5. Just knead the lard well, no need to leave the film
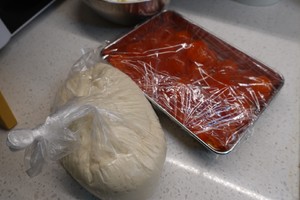
6. Seal it and put the salted duck eggs in the refrigerator and keep them for later use
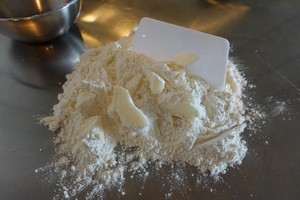
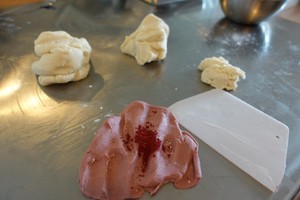
7. The third part: making shortbread, use a scraper and hands together to knead into a fine and even shortbread
8. Use your hands and a scraper to mix the lard and flour evenly and finely
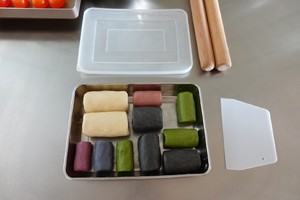
9. Divide the shortbread into the weight you need, and then match the color. The color can be dark or light according to your preference. You can add a little bit to see the effect. If you need to adjust it, just increase it. Don't add too much at once~
10. The toned pastry is sealed and refrigerated for later use
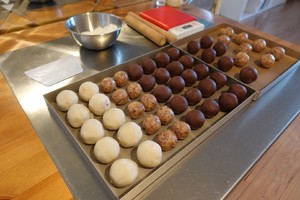
11. The fourth part: prepare the filling, my specification for egg yolk pastry is 80g, the red bean lotus paste is 25g each with a salted egg yolk, and the cloud leg filling is 35-38g, all weighed and rolled into a ball, sealed and refrigerated. use! Note that the filling must be round, so that the egg yolk pastry and cloud leg pastry wrapped in this way are round! After all the fillings are rounded, continue to seal and refrigerate!
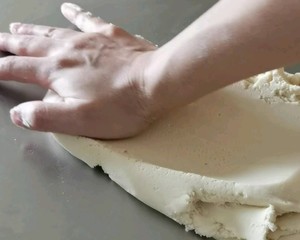
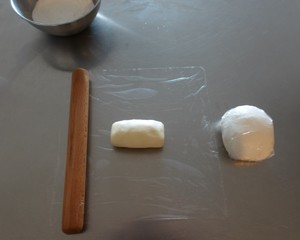
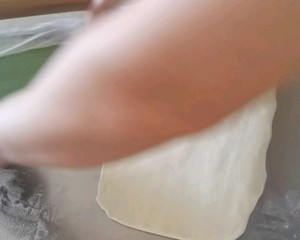
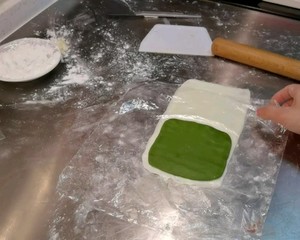
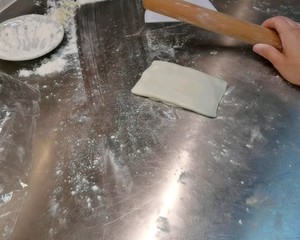
12. The fifth part, enter the main topic, first roll out the shortbread. This recipe is 36 pieces, and the shortbread crust is divided into 4 equal parts, each time 9 pieces! The puff pastry is placed on the plastic wrap. As part of the pictures and videos were not taken completely, the picture of the puff pastry was used to indicate
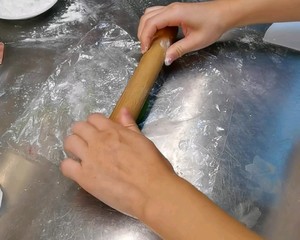
13. Roll the shortbread, put it on the plastic wrap and operate like video operation
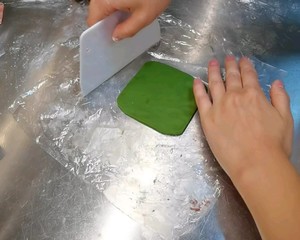
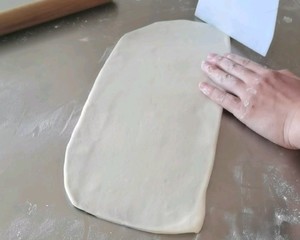
14. Finally, use a scraper to reshape
15.
Note: There are 36 pieces in this recipe, and the puff pastry is divided into 4 equal parts, making 9 pieces at a time.
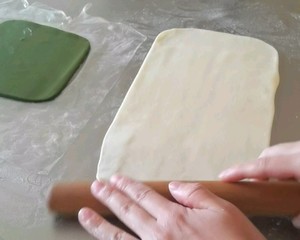
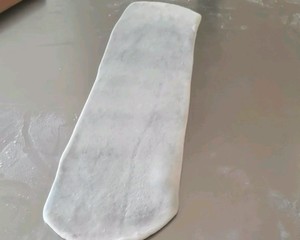
Rolled oil leather, length 25-30cm, width 12cm
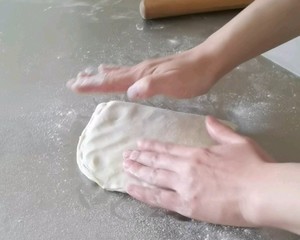
16. Put the puff pastry on the oily skin to check the size, and operate it on the plastic wrap until it is the right size
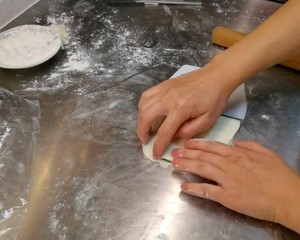
17. As shown in the video, operate the seal
18. This operation makes the shortbread evenly distributed
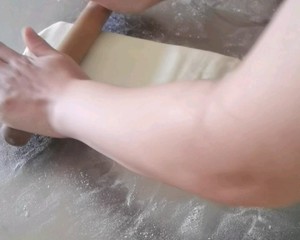
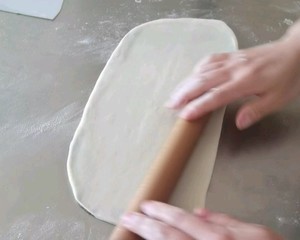
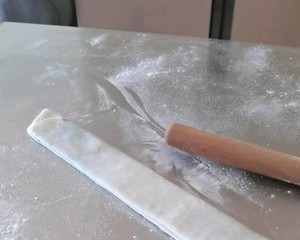
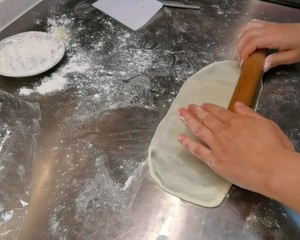
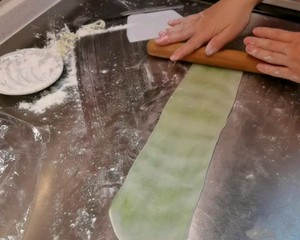
19. Roll out from the middle to both sides
20. To 28-30 length and 12cm width, cut off the obvious white edge
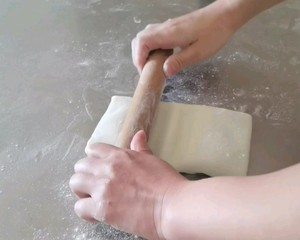
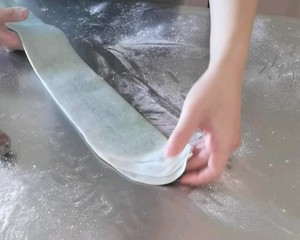
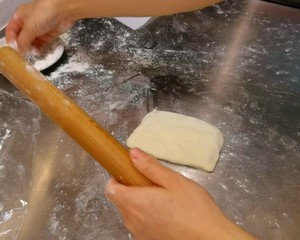
21. Tri-fold after cutting off the edges
22. Flip it over and repeat the previous steps
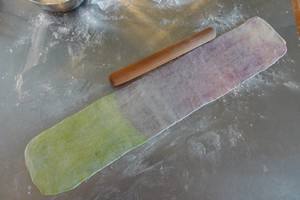
23. Roll the length to 10-12cm wide and 50-60cm long
24. The skin is too dry, spray some water, and fold it in half
25. Roll out from the middle to both sides
26. Keep repeating
27. The rolled length, the chopping board is not long enough, just like me, roll one section and fold it
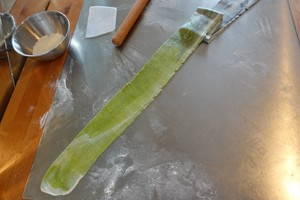
28. To 8cm wide and 100cm long, the bottom of the rolled side is rolling and cutting off the white edges! Note that this is the amount of 9! It must be 100cm long and no more than 10cm wide! The width is too wide and the length is definitely not long! So be sure to follow the size range on the steps!
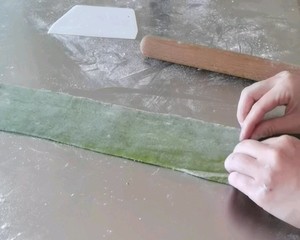
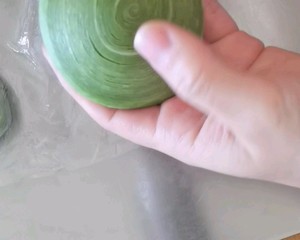
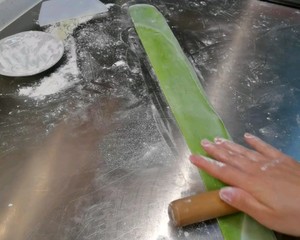
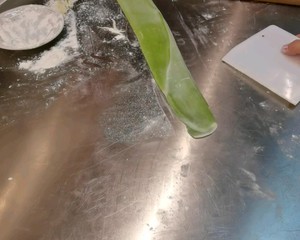
29. The edge curling makes them more compact. Use the ring finger and little finger of both hands to stick at the ends, and keep the edges stable when curling so that the curling will not cause too much deformation
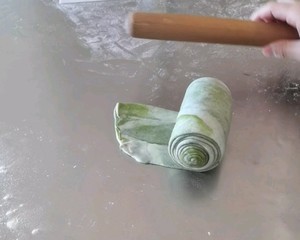
30. When the mouth is closed, the tail rolls out
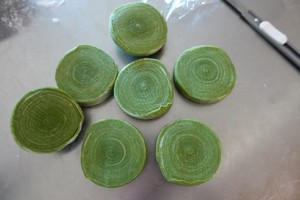
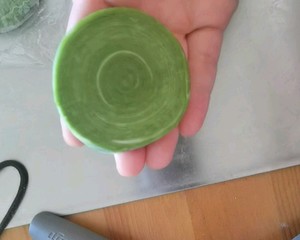
31. Before cutting into sections, make a gesture to see the thickness of each section before cutting
32. Start to roll out the cut mixed dough~ You can see which side is more beautiful, and the beautiful side is facing down
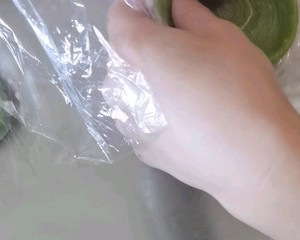
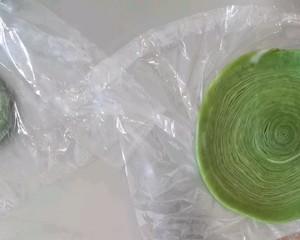
33. What should I do if the skin is too dry and there is a fault after several rolls? Water spray can't solve the problem, so I have an exclusive trick
34. Put it on the cling film and roll it out, don’t be afraid that the cling film will be wrinkled and it won’t be affected at all after finishing.
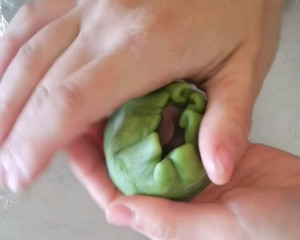
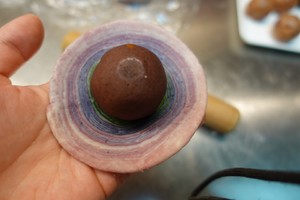
35. Align the top of the filling with the center of the dough and wrap the filling
36. Slowly push in and close your mouth
37. Spheronize, push evenly the skin that is accumulated at the bottom when closing, so that the taste is even and the appearance is good
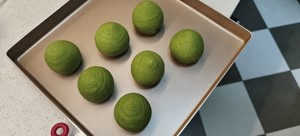
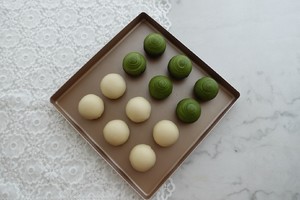
38. 200 degrees preheating, 180 degrees 20 minutes)
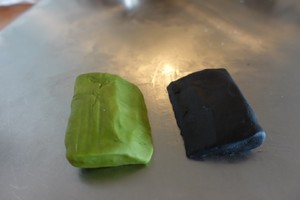
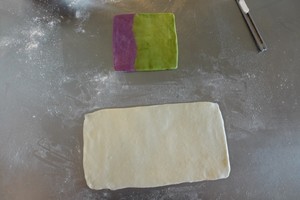
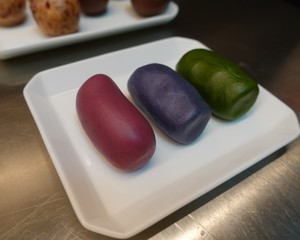
39. Two-color superimposition, each color is processed in the first image
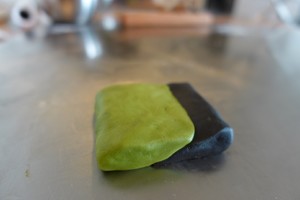
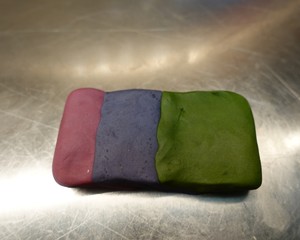
40. Superimpose
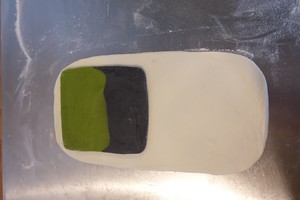
41. Roll into the right size
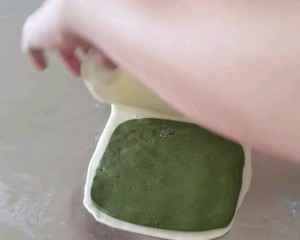
42. Place it on the oily skin as shown in the picture. Don’t make a mistake when you place it, it’s not a gradual salad if you make a mistake.
43. The steps are the same as before
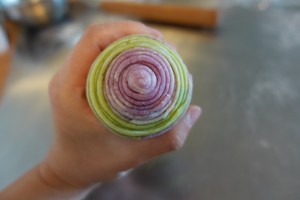
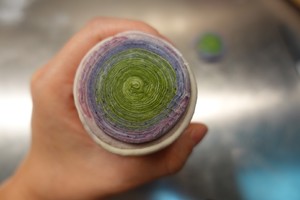
44. Roll up
45. Equally divided into segments
46. Each is valid and usable
47. Packaged
48. My favorite color: purple sweet potato powder and matcha powder
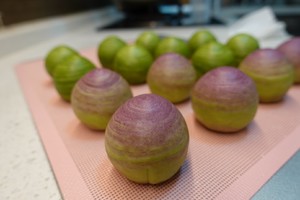
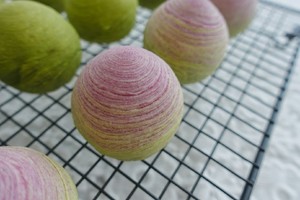
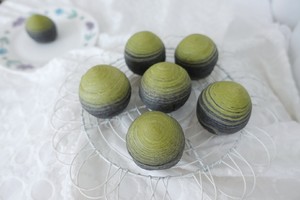
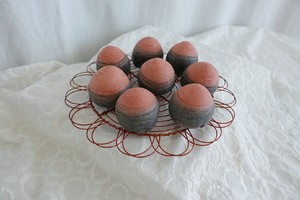
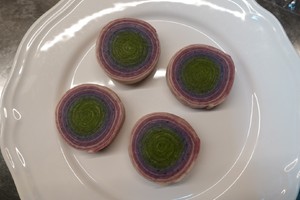
49. Matcha powder plus bamboo charcoal powder
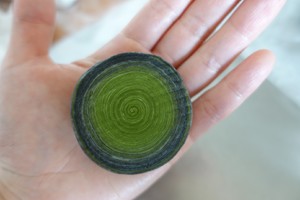
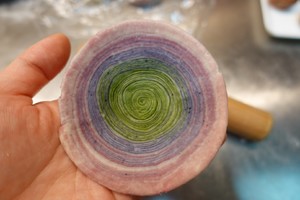
50. Matcha with bamboo charcoal, it looks very low-key and high-end
51. Good-looking (。・ω・。)ノ♡
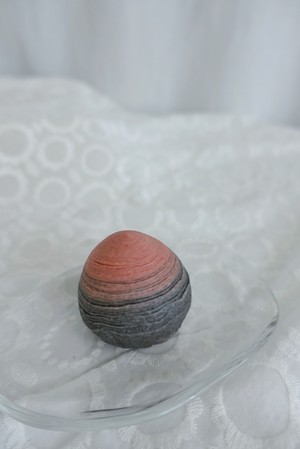
52. Red yeast rice powder with bamboo charcoal also looks good
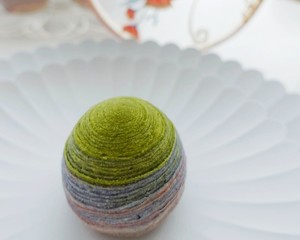
53. Bamboo charcoal must be mastered, not too shallow or too dark, it's best to adjust it to dark gray
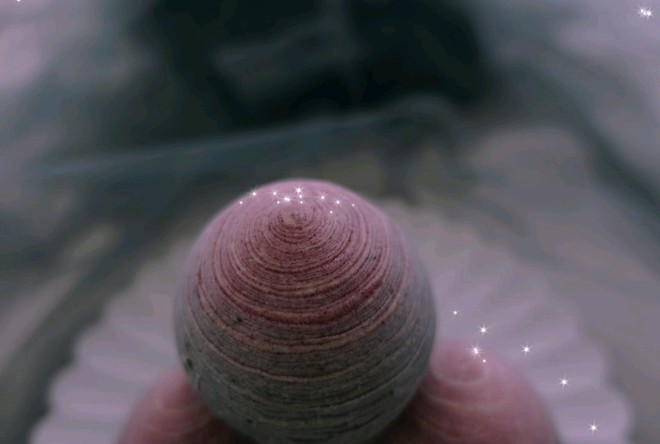
54. And my favorite starry sky color! Purple sweet potato powder with butterfly pea pollen!
55. Three colors or more gradient colors
56. Overlay is processed as steps 38 and 39
57. Good effect
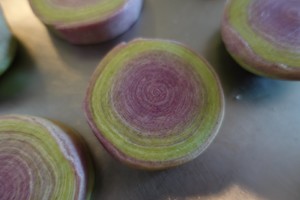
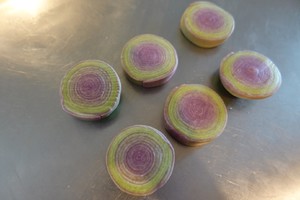
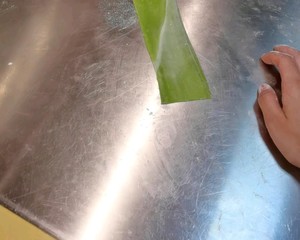
58. Cut open
59. Roll out
60. Stuffing
61. Baked
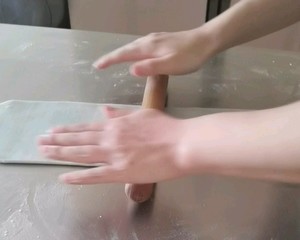
62. Welcome to join the group to exchange and learn from each other, buy all kinds of small appliances
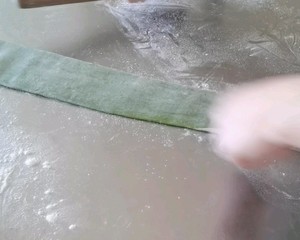
63. The following demonstrates the practice and main points of 2 quantities of meringue roll out on the plastic wrap and place it on the oil skin
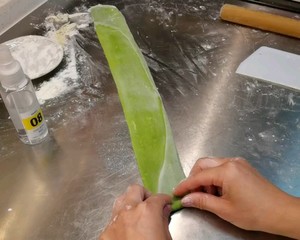
64. seal
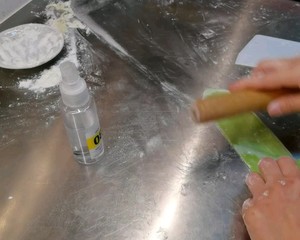
65. Press the rolling pin to open the video operation
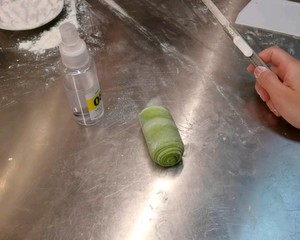
66. 6cm wide and about 18cm long, with obvious white edges cut off
67. After three folds, enter the video operation and press and roll out
68. Roll out to about 40cm long and 5cm wide, and fold in half (the skin is dry and you can use a delicate watering can to spray some water)
69. Fold in half and roll out to length, the length is within 60-70cm and width 3-4cm
70. Roll the end harder to cut off the obvious white edges
71. If it’s dry, you can spray some water first and then start rolling. Be careful at the beginning.
72. Tighten the ring fingers on both sides while curling to prevent excessive deformation when curling
73. Use a rolling pin to roll the tail hard and then roll it up
74. After the roll is finished, cut with a knife, you can see that the texture is particularly delicate, and then roll the skin and everything are the same as the previous steps 31-36.