Italian Slipper Bread

Italian Slipper Bread

by Fei Fei

4.6 (1)
Favorite

Difficulty

Easy

Time

2h

Serving

2

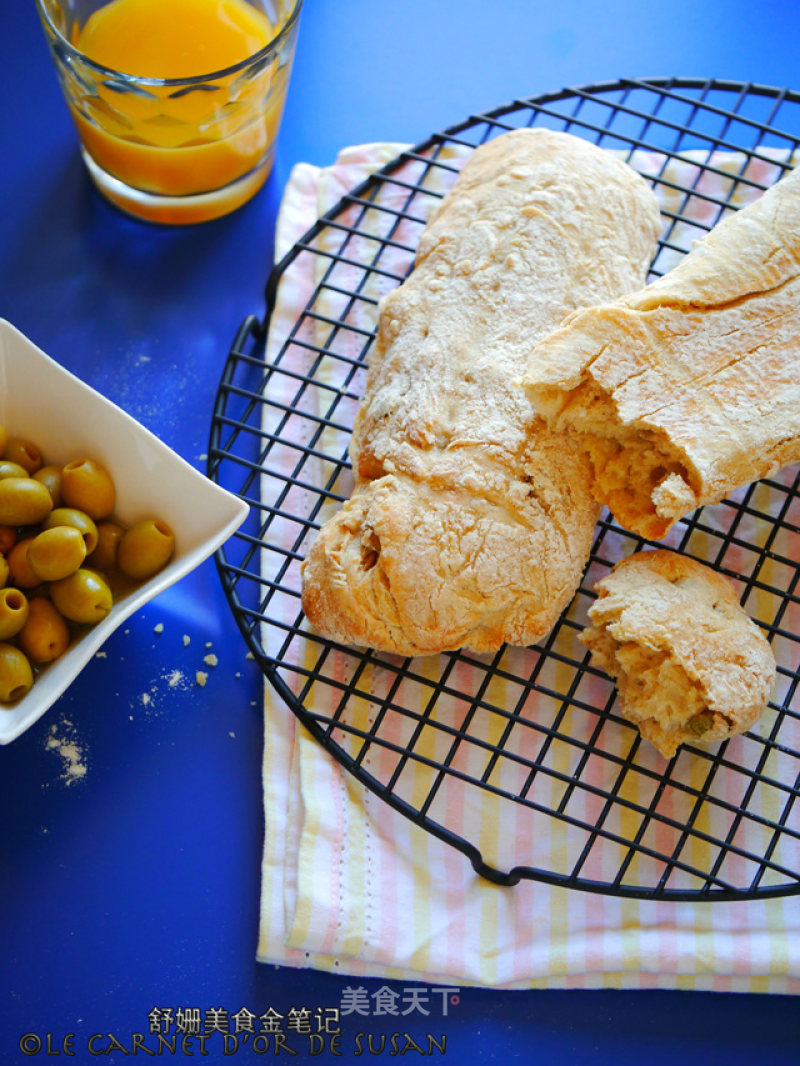
The delicious European bread without a bread machine --- Ciabatta, also called Italian slipper bread (probably because it looks like a slipper bar: )), the Chinese transliteration is Qiao Bada, which is a kind of Italian bread. Its water content is said to be It can be as high as 90%. The water content of Baguette is about 50% (the ratio of surface water is 2:1). Slipper bread with high water content produces a crispy crust and a noisy and soft inside. Since I started to make this bread, I have decisively abandoned the baguette. Every time I eat a delicious baguette, the oral mucosa on the front teeth will be wounded, because it is harder. Eating Italian slippers does not have this problem. Make your own. The slipper bread does not use so much water, and it reduces the amount of olive oil. By the way, I add some olives and minced garlic that I like. I use a wooden spoon for the whole process (except for the last step), and I don’t need to use bread. The machine is basically a delicious European bag with zero difficulty. I have always hated soft animals, but strangely, when the slippers are shaped, they feel soft, but I don’t find it annoying, probably My brain has already told me that this soft and shapeless dough will turn into a delicious chubada under the encouragement of the fire: )"

Ingredients

Italian Slipper Bread

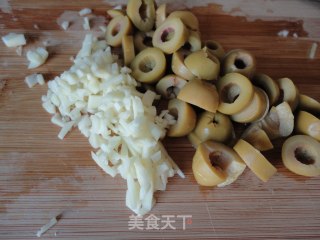
1. Chop garlic, cut green olives into slices

Italian Slipper Bread recipe

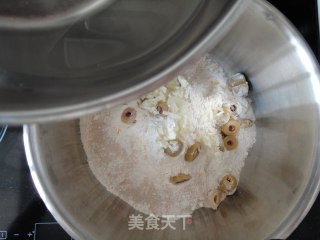
2. Mix 250 grams of all-purpose flour, 6 grams of salt, 5 grams of yeast and chopped garlic green olives. Add warm water (185 to 195 grams, adjust according to the degree of water absorption of the flour)

Italian Slipper Bread recipe

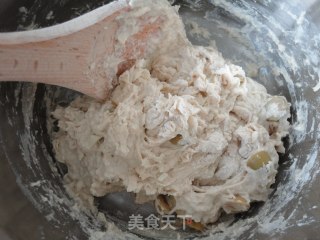
3. Stir it with a wooden spoon to make a very wet dough.

Italian Slipper Bread recipe

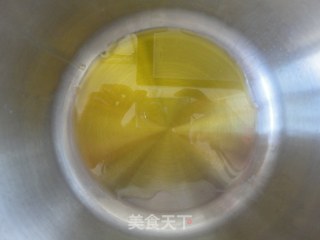
4. Take another clean basin (the bottom I used is about 15cm in diameter) and add 30ml of olive oil to cover the bottom of the basin.

Italian Slipper Bread recipe

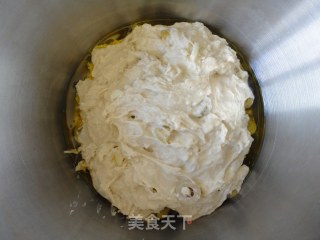
5. Use a wooden spoon to put the dough in a basin containing olive oil. No stirring is necessary. Use a wooden spoon to smooth the surface. Cover with plastic wrap.

Italian Slipper Bread recipe

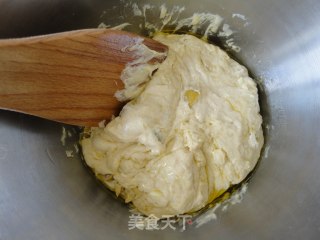
6. Let it stand for an hour when the dough has grown to 1,5 to 2 times as large, knead the dough with a wooden spoon for about 1 minute (same as manual kneading, from the outside to the inside). Pay attention to ensure that there is a layer of olive oil on the bottom of the basin when you are finished.

Italian Slipper Bread recipe

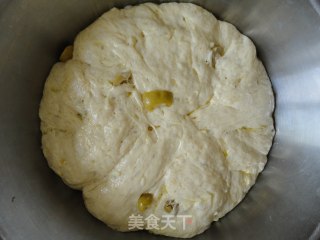
7. Repeat step 6 (kneading the dough with a wooden spoon) 3 times, that is, the total fermentation time of the dough is about 3 and a half hours to 4 hours. The dough is 3 times to 4 times larger, and the surface layer is clearly visible. .

Italian Slipper Bread recipe

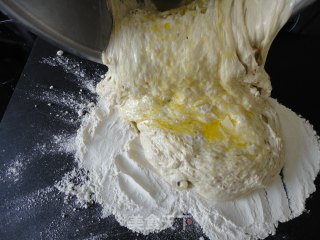
8. Spread a lot of flour and pour the dough into the flour pile. (At this time, you can start the oven to prepare)

Italian Slipper Bread recipe

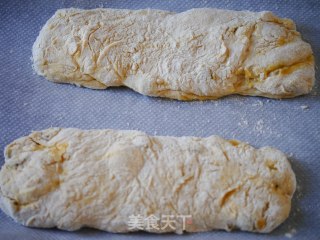
9. When the dough is covered with flour on all sides, cut it in half and shape it by hand to form two small rectangles. During the shaping process, try to be gentle not to break the bubbles in the dough. Heat the oven at 230 degrees for 20 minutes. The shaped dough sits for 15 minutes , The oven is preheated, and the dough can be put into the oven.

Italian Slipper Bread recipe

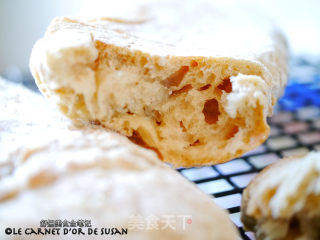
10. The porous and the different shapes and sizes of the holes are the reason for the softness and deliciousness of the Qiao Bada Italian slippers bread.

Italian Slipper Bread recipe

Tips:

1.Different flour brands have slightly changed water absorption.


2. The amount of live yeast used is adjusted according to the instructions on the packaging bag. The one I used made it clear that a small pack of 5 grams is suitable for 250 grams of flour.


3. The olive oil started to prevent the dough from sticking to the basin. In the end, it was actually dissolved in the dough and entered the oven together.


4. When I bake this bread, I will bake the oven at 230 degrees for about 7 to 8 minutes to make the bread basically shape, and then change it to the lower fire for 5 minutes to allow the bread to fully expand upward, and finally return to the upper and lower fire settings. When the temperature reaches 220 degrees, the surface becomes scorched and crisp. The specific oven usage method feels different depending on the individual oven and usage habits.

Comments

Similar recipes

Cabbage Bacon Pancakes with Black Pepper Omelette

All-purpose Flour, White Shark Sticky Rice Noodles, Water

Tomato Lump Soup

All-purpose Flour, Tomato, Egg

Pimple Soup

All-purpose Flour, Spinach, Carrot

Potato Cake

Potato Chips, All-purpose Flour, Chopped Green Onion

Pumpkin Buns

All-purpose Flour, Mashed Noodles, Caster Sugar

Pumpkin Pattern Buns

All-purpose Flour, Pumpkin Puree, Shimizu

Nutritious and Healthy Cornmeal Buns!

Corn Flour, Boiling Water, All-purpose Flour